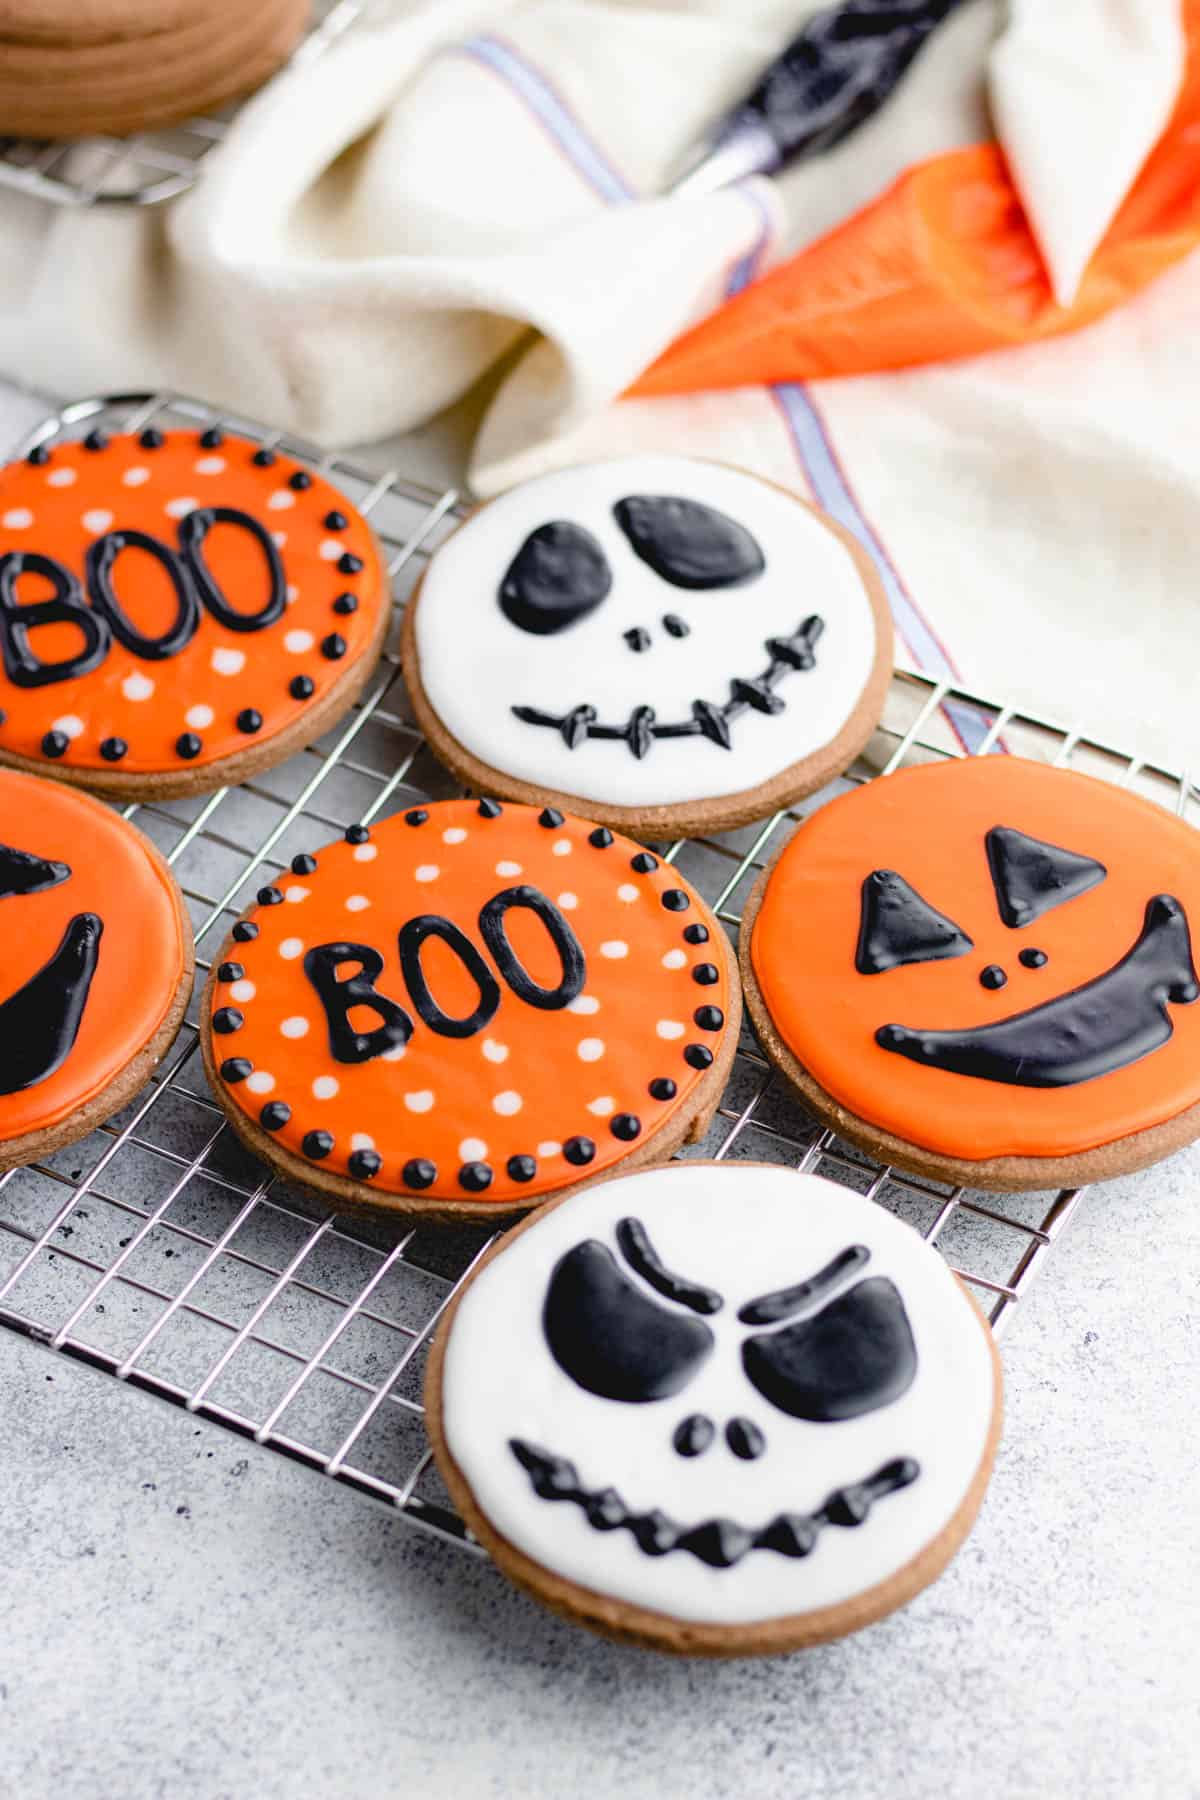
Halloween is one of the most festive times of the year, and what better way to celebrate than with some deliciously spooky sugar cookies? As an experienced baker and avid Halloween enthusiast, I’ve spent countless hours experimenting with different decorating techniques. In this article, I will share my favorite Halloween sugar cookie decorating ideas that are sure to impress your friends, family, and trick-or-treaters!
Why Halloween Sugar Cookies?
Halloween sugar cookies are not just sweet treats; they’re an opportunity to unleash your creativity! Decorating cookies can be a fun activity for all ages, whether you’re hosting a Halloween party, having a fun night in, or simply looking to brighten someone’s day with some festive goodies. Plus, they make fantastic gifts!
The Basics of Making Sugar Cookies
Before diving into decorating ideas, let’s quickly go over how to make the perfect sugar cookies. You want your cookies to be crispy on the edges and soft in the center. Here’s a simple sugar cookie recipe:
Ingredients
- 2 3/4 cups all-purpose flour
- 1 teaspoon baking soda
- 1/2 teaspoon baking powder
- 1 cup unsalted butter, softened
- 1 1/2 cups white sugar
- 1 egg
- 1 teaspoon vanilla extract
- 3 to 4 tablespoons milk
Instructions
- Preheat your oven to 375°F (190°C).
- In a small bowl, stir together flour, baking soda, and baking powder.
- In a large bowl, cream together the butter, sugar, egg, and vanilla.
- Gradually blend in the dry ingredients.
- Roll rounded teaspoonfuls of dough into balls, and place onto ungreased cookie sheets.
- Flatten each ball slightly with the bottom of a glass, and sprinkle with sugar.
- Bake 8 to 10 minutes in the preheated oven, or until golden.
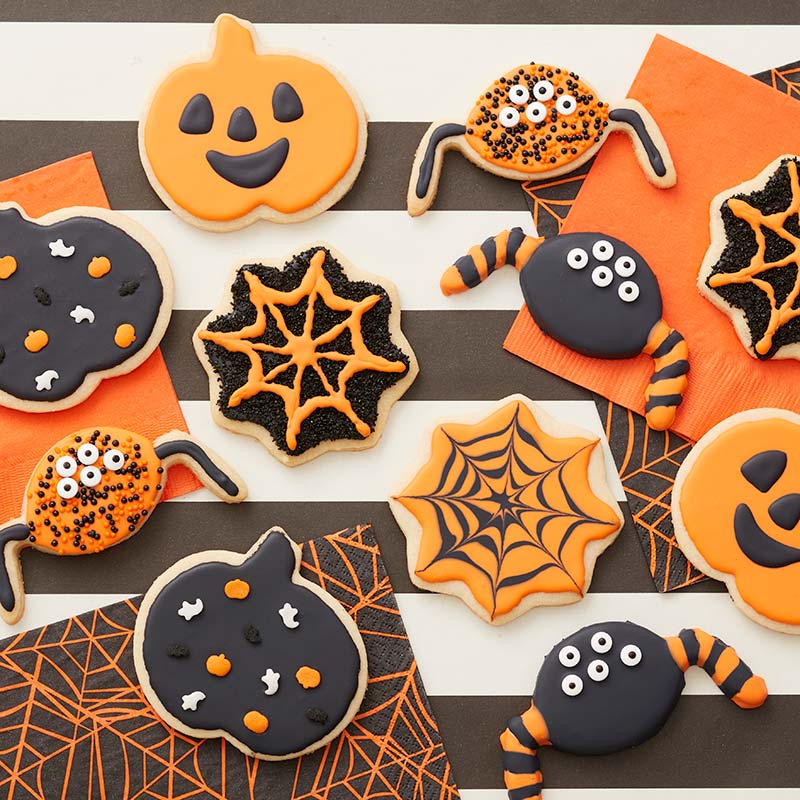
Let your cookies cool completely before decorating. This step is crucial for a successful decorating experience!
Essential Decorating Tools
Before you start decorating, gather the necessary tools:
- Piping bags and tips
- Food coloring
- Rolling pins
- Cookie cutters (Halloween shapes)
- Sprinkles, edible glitter, and other toppings
Festive Halloween Cookie Shapes
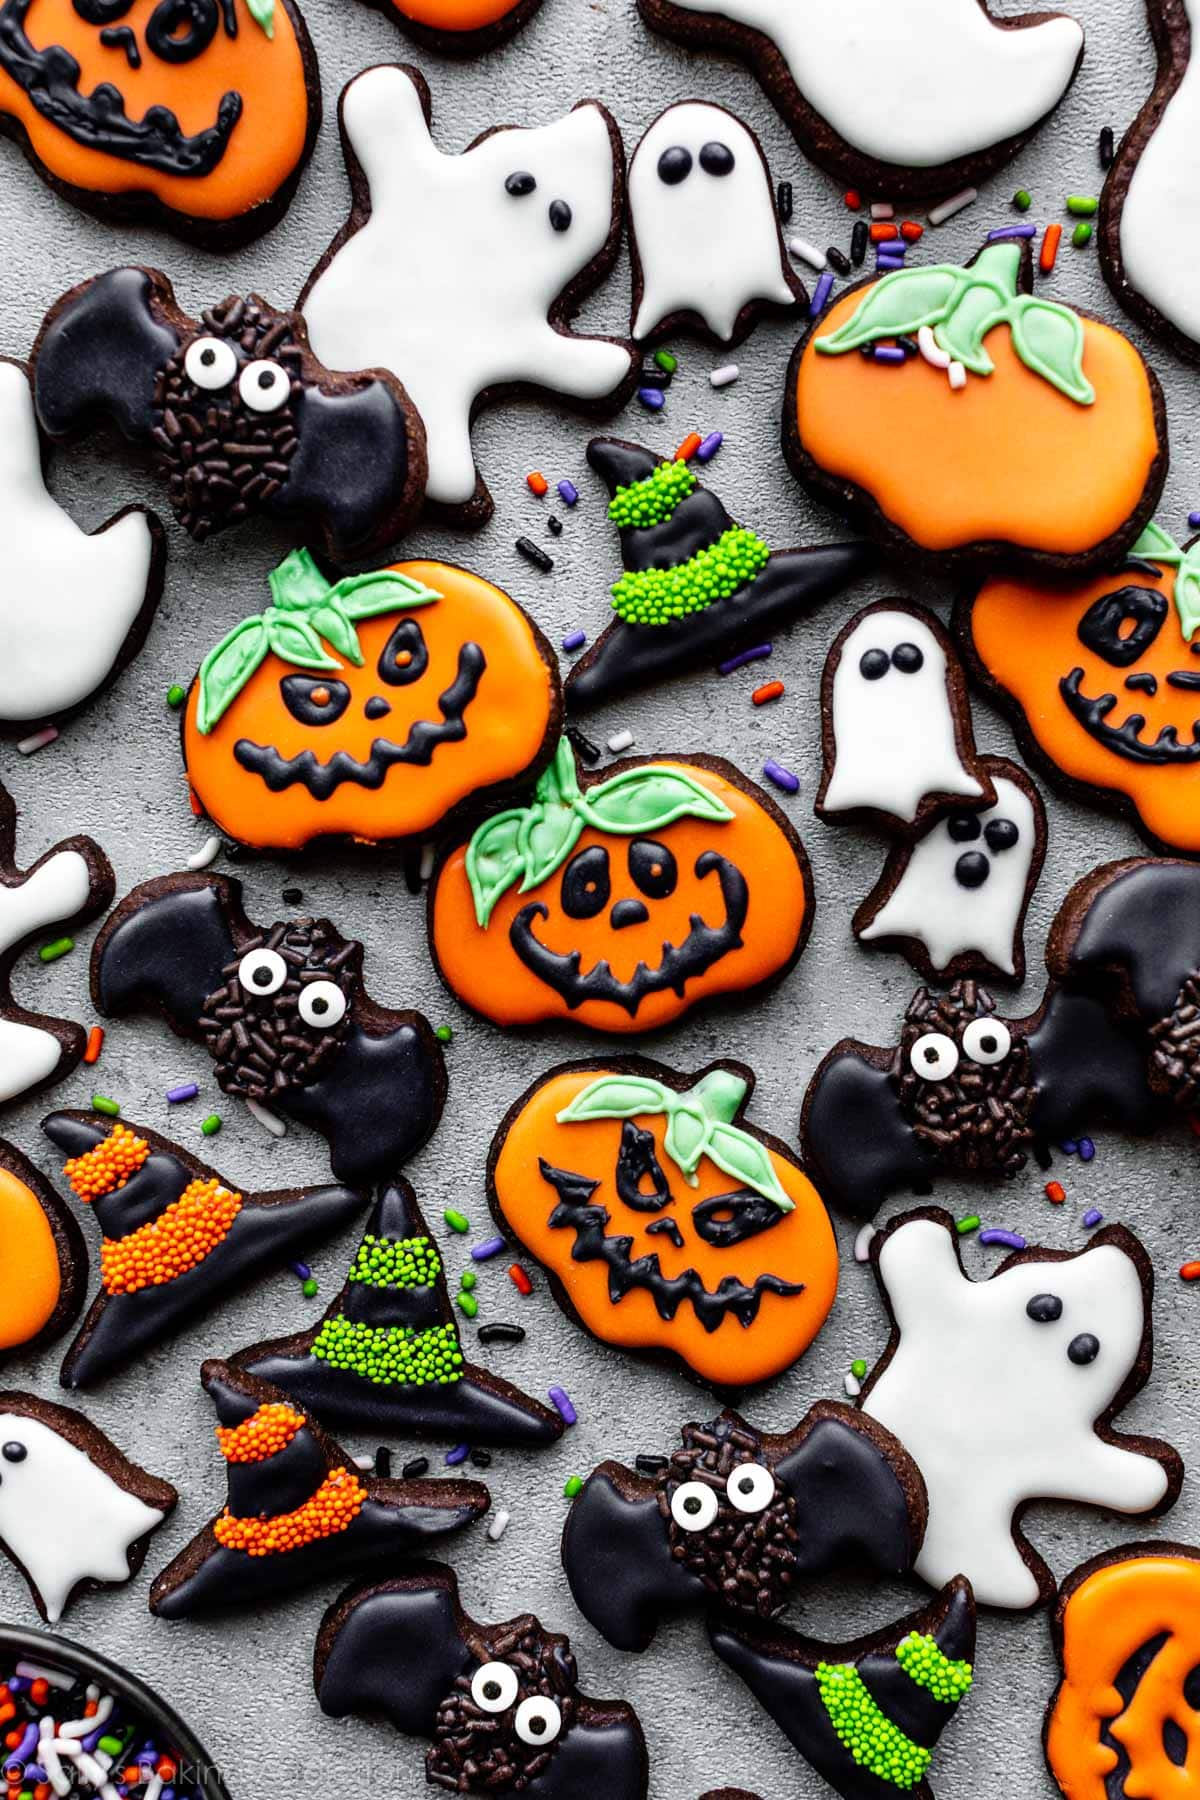
When it comes to Halloween, the sky’s the limit! Here are some classic cookie shapes you can use:

| Shape | Description |
|---|---|
| Jack-o’-lantern | Traditionally a pumpkin shape, you can add faces. |
| Ghost | Soft and spooky, perfect for a spooky touch. |
| Bats | Dark and elegant, great for a more gothic vibe! |
| Spider | Perfect for adding a creepy crawl to your platter! |
Colorful Icing Techniques
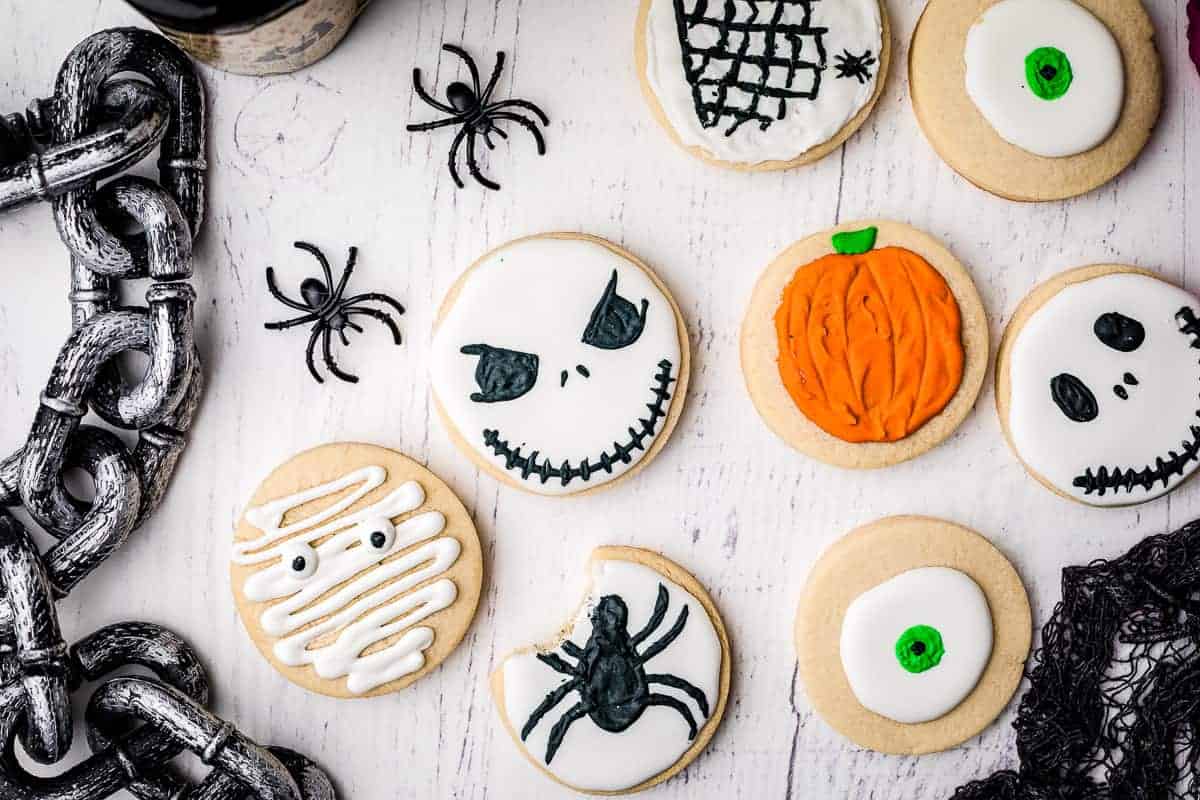
The foundation of your cookie’s personality begins with its icing! Here are some popular techniques to consider:
Royal Icing
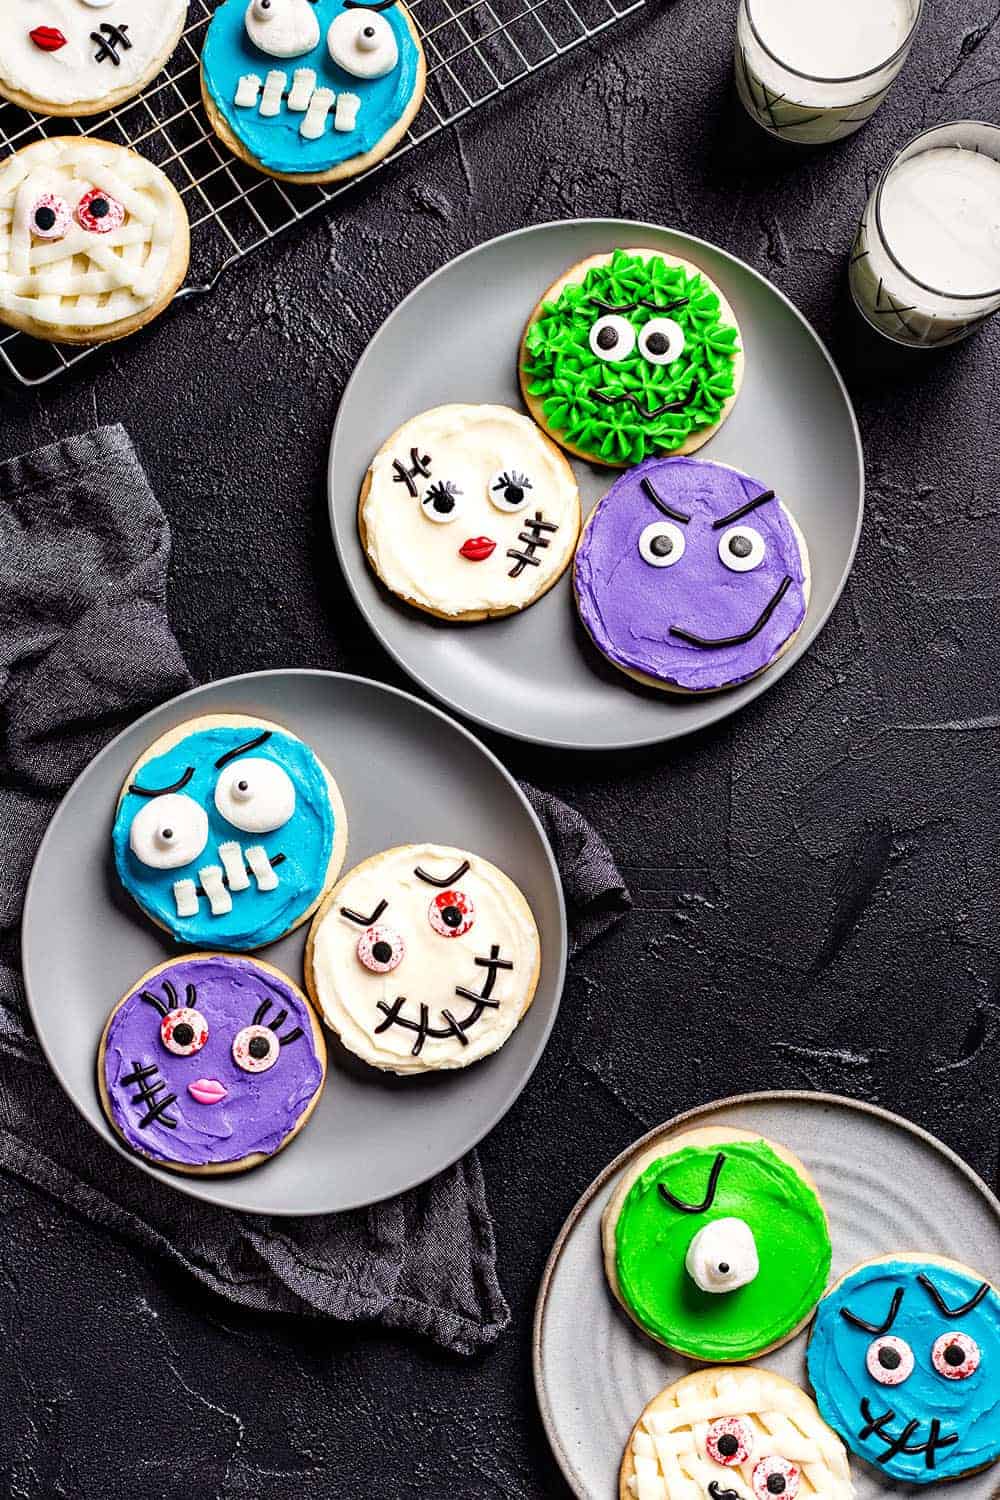
This icing is ideal for intricate designs as it dries hard and smooth. To make royal icing:
- 2 egg whites
- 3 cups powdered sugar
- 1 teaspoon lemon juice
Mix until the icing forms stiff peaks. Use this for piping outlines and detailed decorations.
Flood Technique
This method involves flooding the base of the cookie with thinned royal icing. Here’s how to do it:
- Thinning royal icing with water until it’s of a pouring consistency.
- Pipe an outline around the edge of your cookie.
- Fill in the center by making small dots and use a toothpick to spread the icing.
Sprinkle Magic
Once your base icing is applied, sprinkle colorful edible decorations while the icing is still wet for a delightful finish!
Creative Decorating Ideas
Now that you’ve got the basics, let’s explore some creative decorating ideas that are sure to bring your Halloween sugar cookies to life!
1. Wicked Witch’s Brew
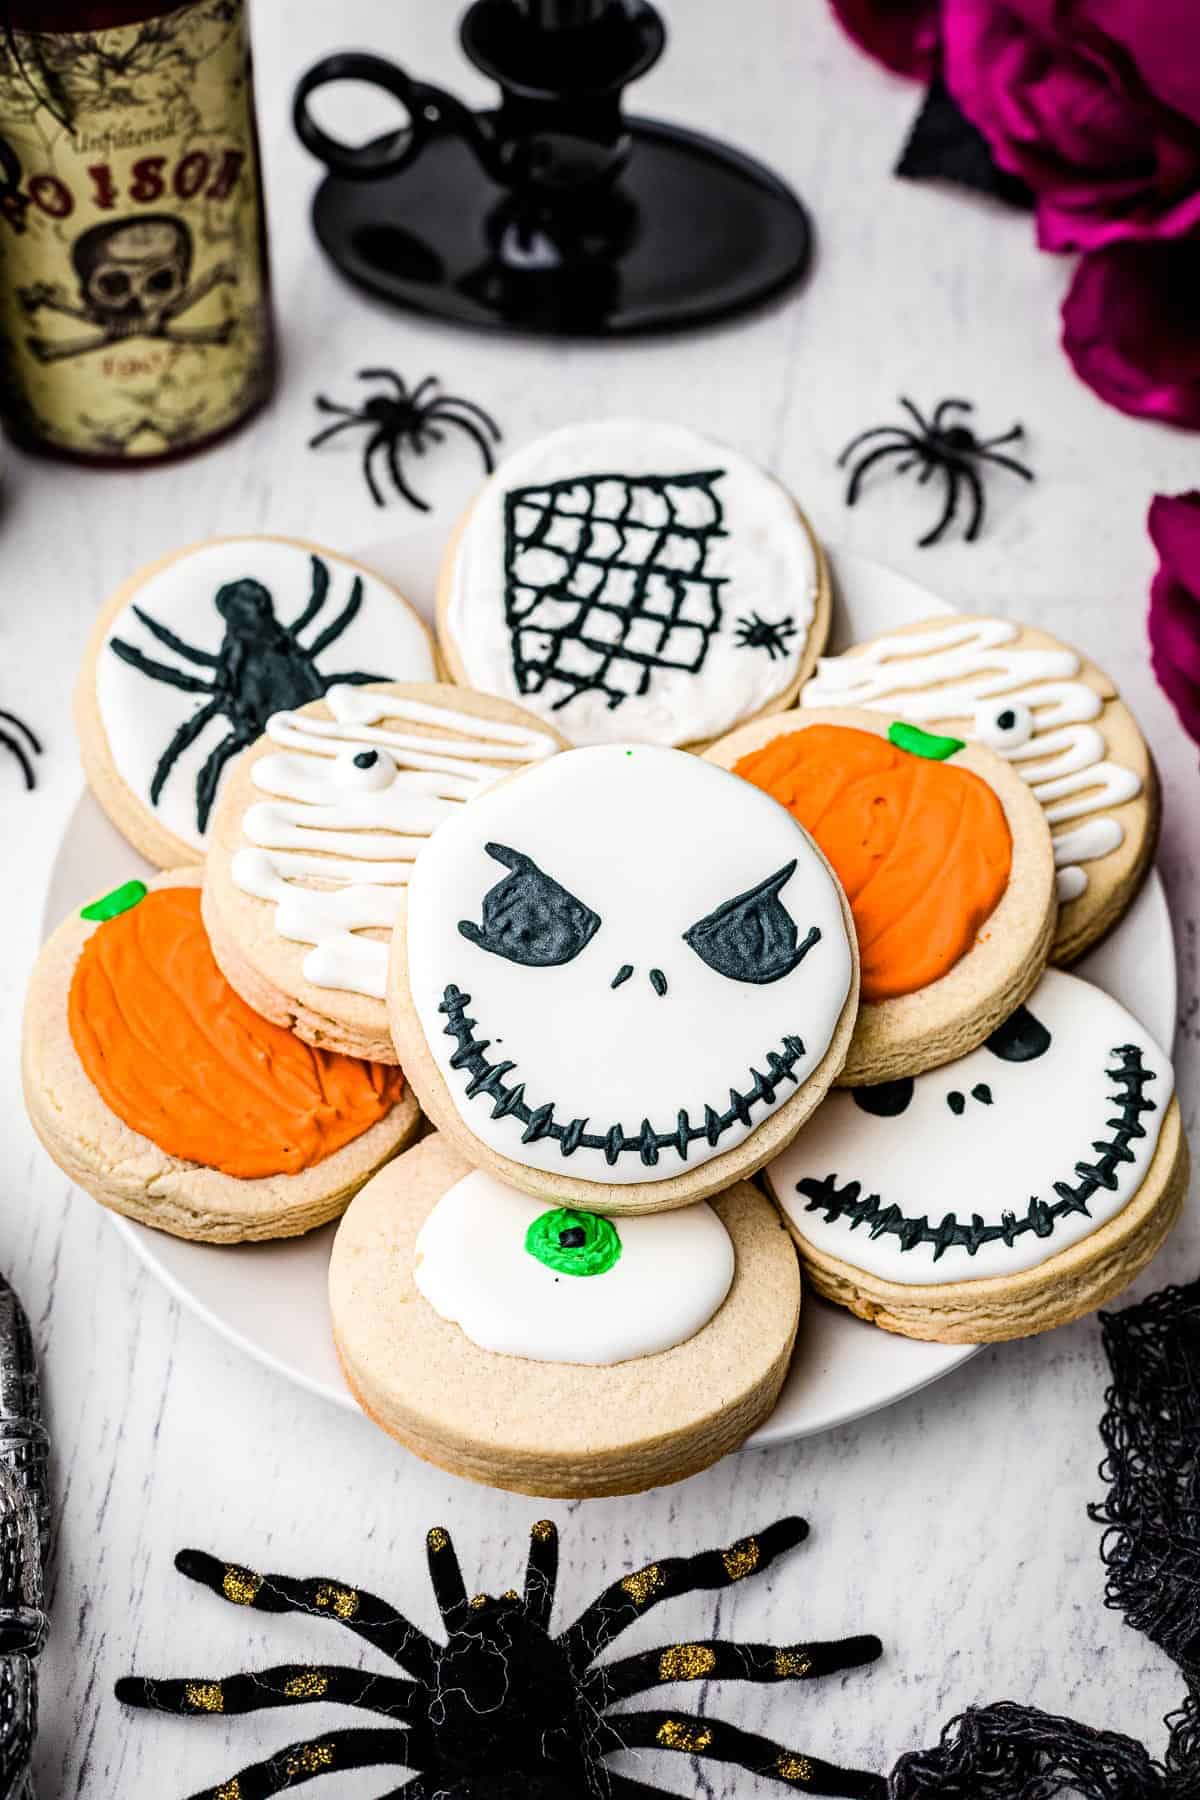
Transform your cookies into bubbling cauldrons! Use green icing to create a cauldron shape and top with black candy eyeballs for an eerie effect.
2. Mummy Cookies
Pipe white royal icing in strips over a round cookie to create a mummy look. Add two small candy eyes for a cute touch.
3. Spooky Spider Webs
Use black icing to pipe a spider web design on a round cookie. Place a small chocolate spider on top for added fun!
Personal Experience
Last Halloween, I hosted a cookie decorating party at my house. Everybody from kids to grandparents got involved, and it was a joy to see everyone express their creativity. Watching the little ones pipe their first spooky designs was particularly heartwarming! It created lasting memories and a beautiful platter of cookies to share.
Pros and Cons of Halloween Sugar Cookie Decorating
Pros
- Encourages creativity and fun among all ages.
- Provides a delightful treat for Halloween gatherings.
- Easy to customize for dietary restrictions (gluten-free, etc.).
Cons
- Can be time-consuming if aiming for intricate designs.
- Requires careful handling of icing for best results.
- Messy—be prepared to clean up afterward!
Frequently Asked Questions
What type of icing is best for sugar cookies?
Royal icing is widely regarded as the best option for sugar cookies due to its smooth finish and ability to dry hard.
Can I make sugar cookies in advance?
Absolutely! You can bake and freeze undecorated cookies for up to three months. Just remember to let them cool before freezing.
How do I store decorated cookies?
Keep decorated cookies in an airtight container at room temperature. If cookies are layered, place parchment paper between them to prevent sticking.
Can I use other shapes for Halloween cookies?
Definitely! Feel free to experiment with various Halloween shapes, such as monsters, skeletons, and candy corn!
Conclusion
Decorating Halloween sugar cookies is not just a pastime—it’s a way to bond with family and friends, share creativity, and indulge in some festive fun. I hope these decorating ideas inspire you to create your very own spooky cookie masterpieces. So grab your rolling pin, pipe some icing, and let the Halloween spirit fill your kitchen!