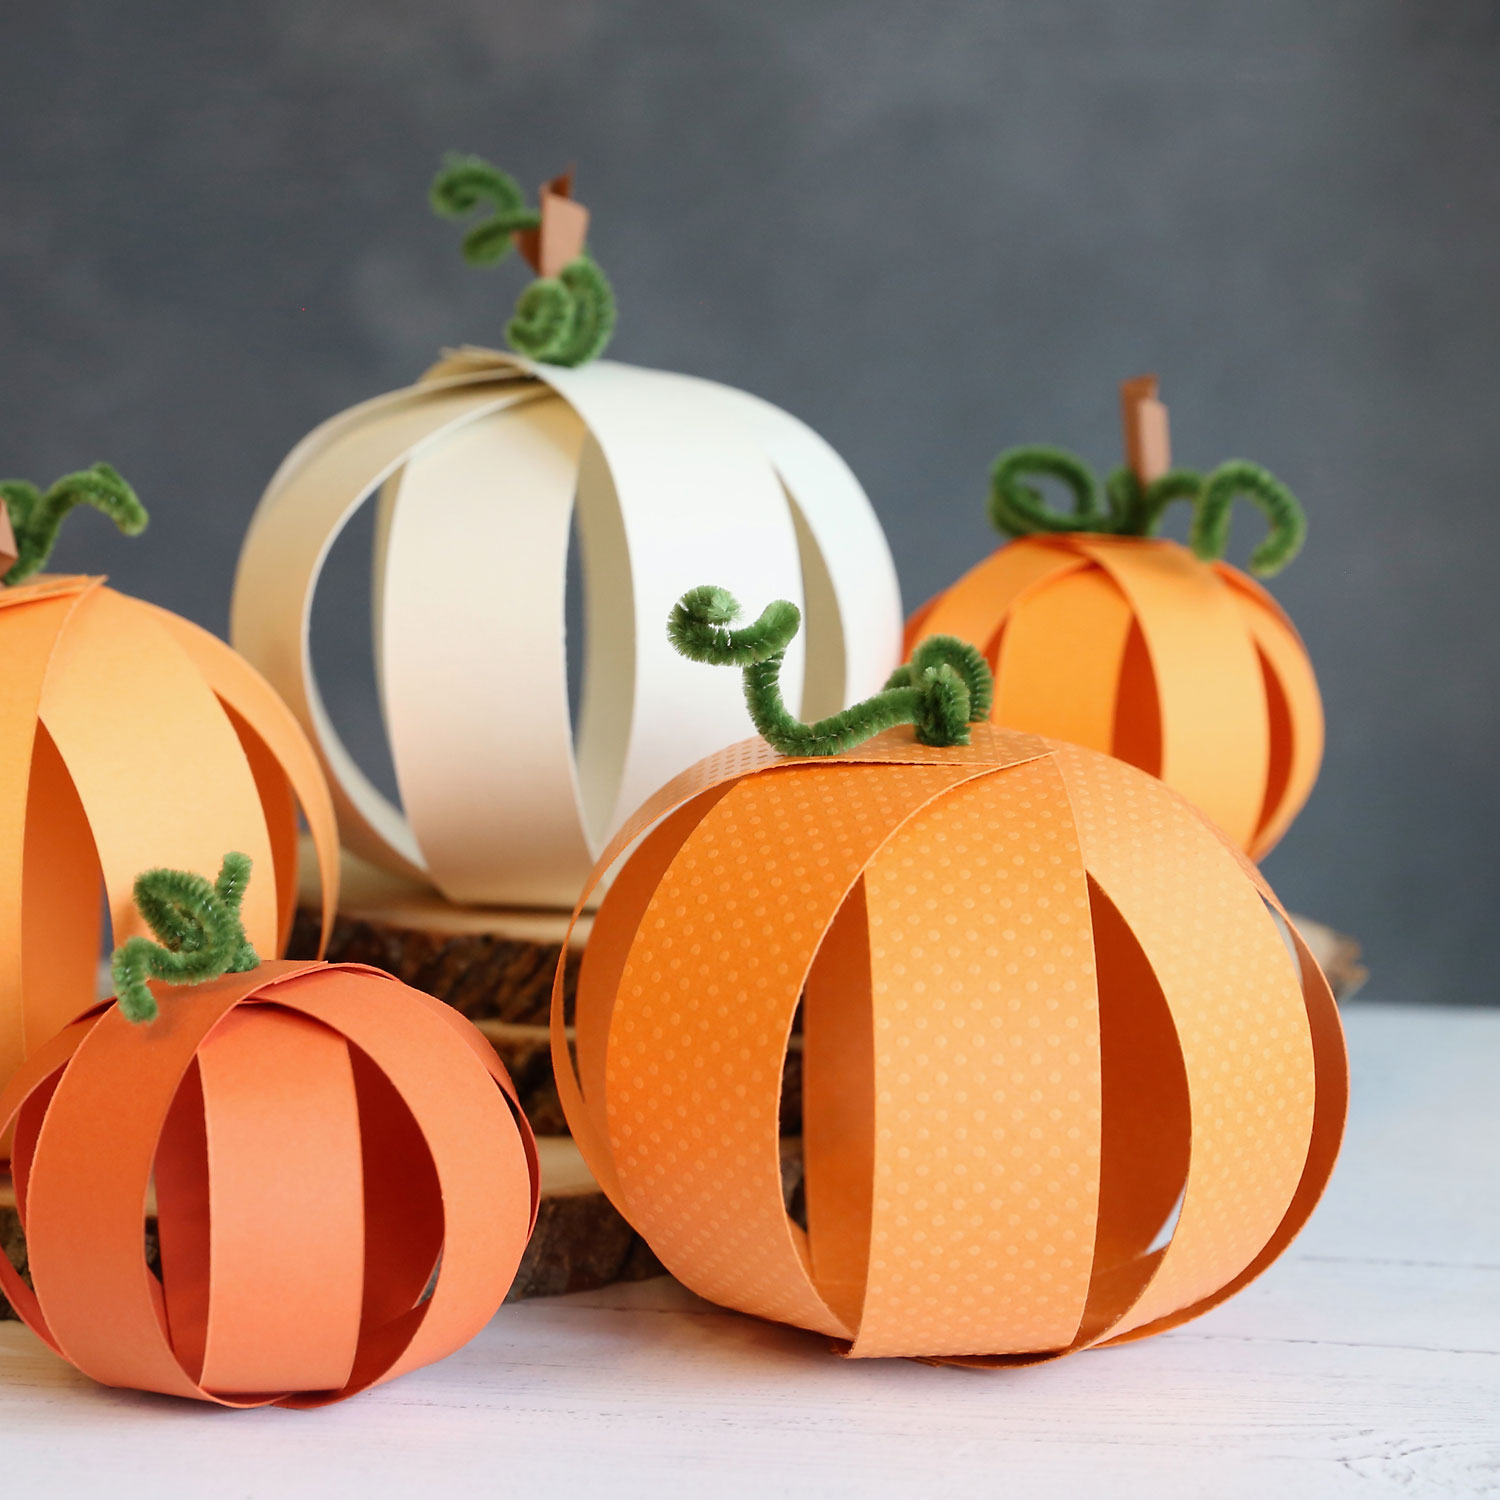
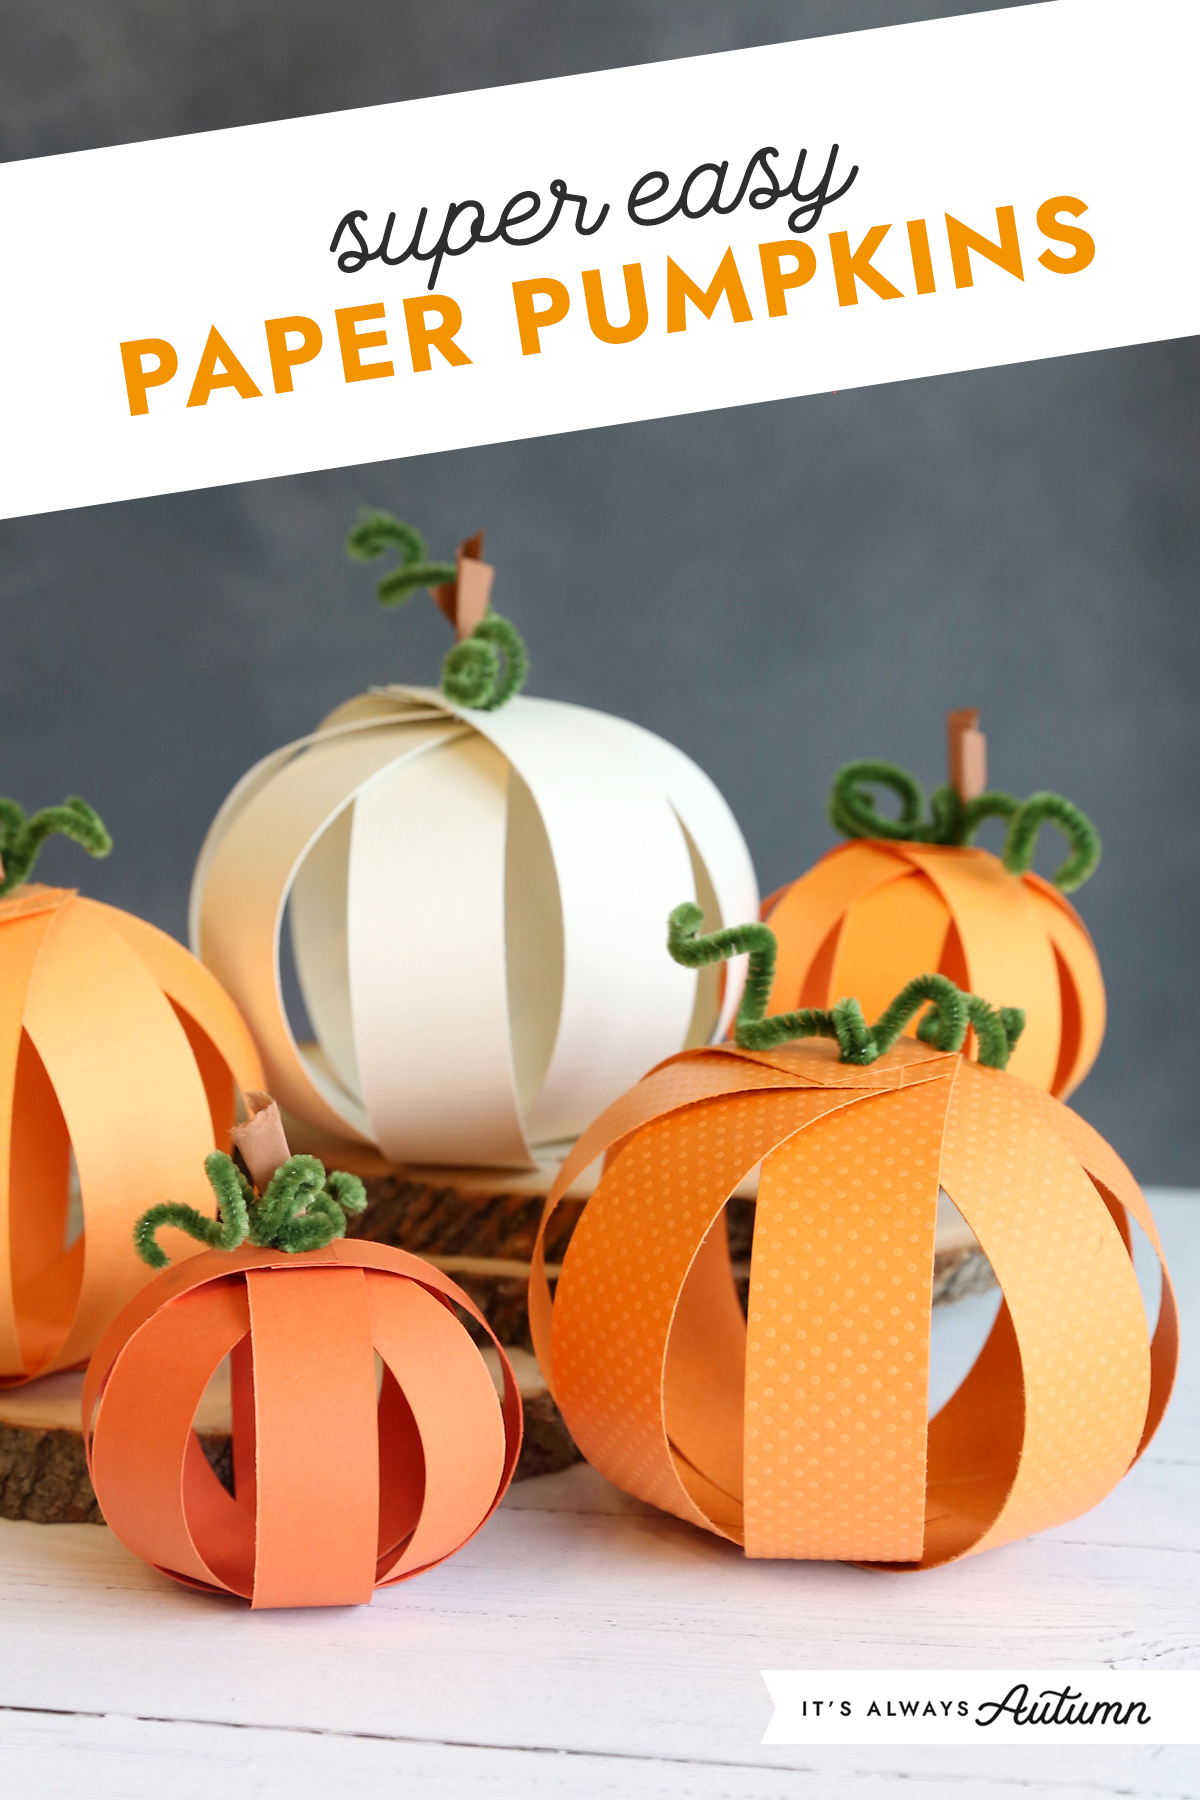
As the leaves begin to change and the air turns crisp, it’s that delightful time of year when we can unleash our creativity with some festive fall decor. One of the most enjoyable and accessible projects is decorating paper pumpkins, which can add a charming touch to your home without the mess of real pumpkins. In this article, I’ll share a variety of ideas, techniques, and tips from my own experience to make the most out of your paper pumpkin decorations.
Why Choose Paper Pumpkins for Fall Decor?
Paper pumpkins are not only eco-friendly and easy to make, but they also provide a versatile medium for all kinds of artistic expression. Here are a few reasons to consider paper pumpkins for your autumn decorating:
- Cost-Effective: Paper is inexpensive and often readily available.
- Customizable: You can use various colors, patterns, and finishes to suit your style.
- Kid-Friendly: Perfect for crafting with children, as there are no sharp tools required.
- Durable: Unlike real pumpkins, they won’t rot or spoil, allowing for long-term enjoyment.
Gathering Your Supplies
Before diving into the crafting process, let’s gather the supplies needed for your paper pumpkin decorating adventure:
- Colorful paper (orange, green, brown, and patterned paper)
- Scissors
- Glue or double-sided tape
- Pens, markers, or paint for embellishing
- Ribbon or string for accents
- Templates for pumpkin shapes (optional)
Creative Techniques for Paper Pumpkin Decoration
1. Classic Painted Pumpkins
One of the simplest yet most effective ways to decorate your paper pumpkins is through painting. Here’s a step-by-step guide:
How to Paint Paper Pumpkins
- Start with a basic pumpkin shape cut out of orange paper.
- Using acrylic paints, add depth with shades of yellow and brown.
- Allow the paint to dry completely before adding any additional designs.
2. Stenciled Designs
Stencils can add intricate designs that are hard to achieve freehand. Use stencils for:
- Creating patterns like leaves or vines.
- Adding words or festive sayings such as “Happy Fall.”
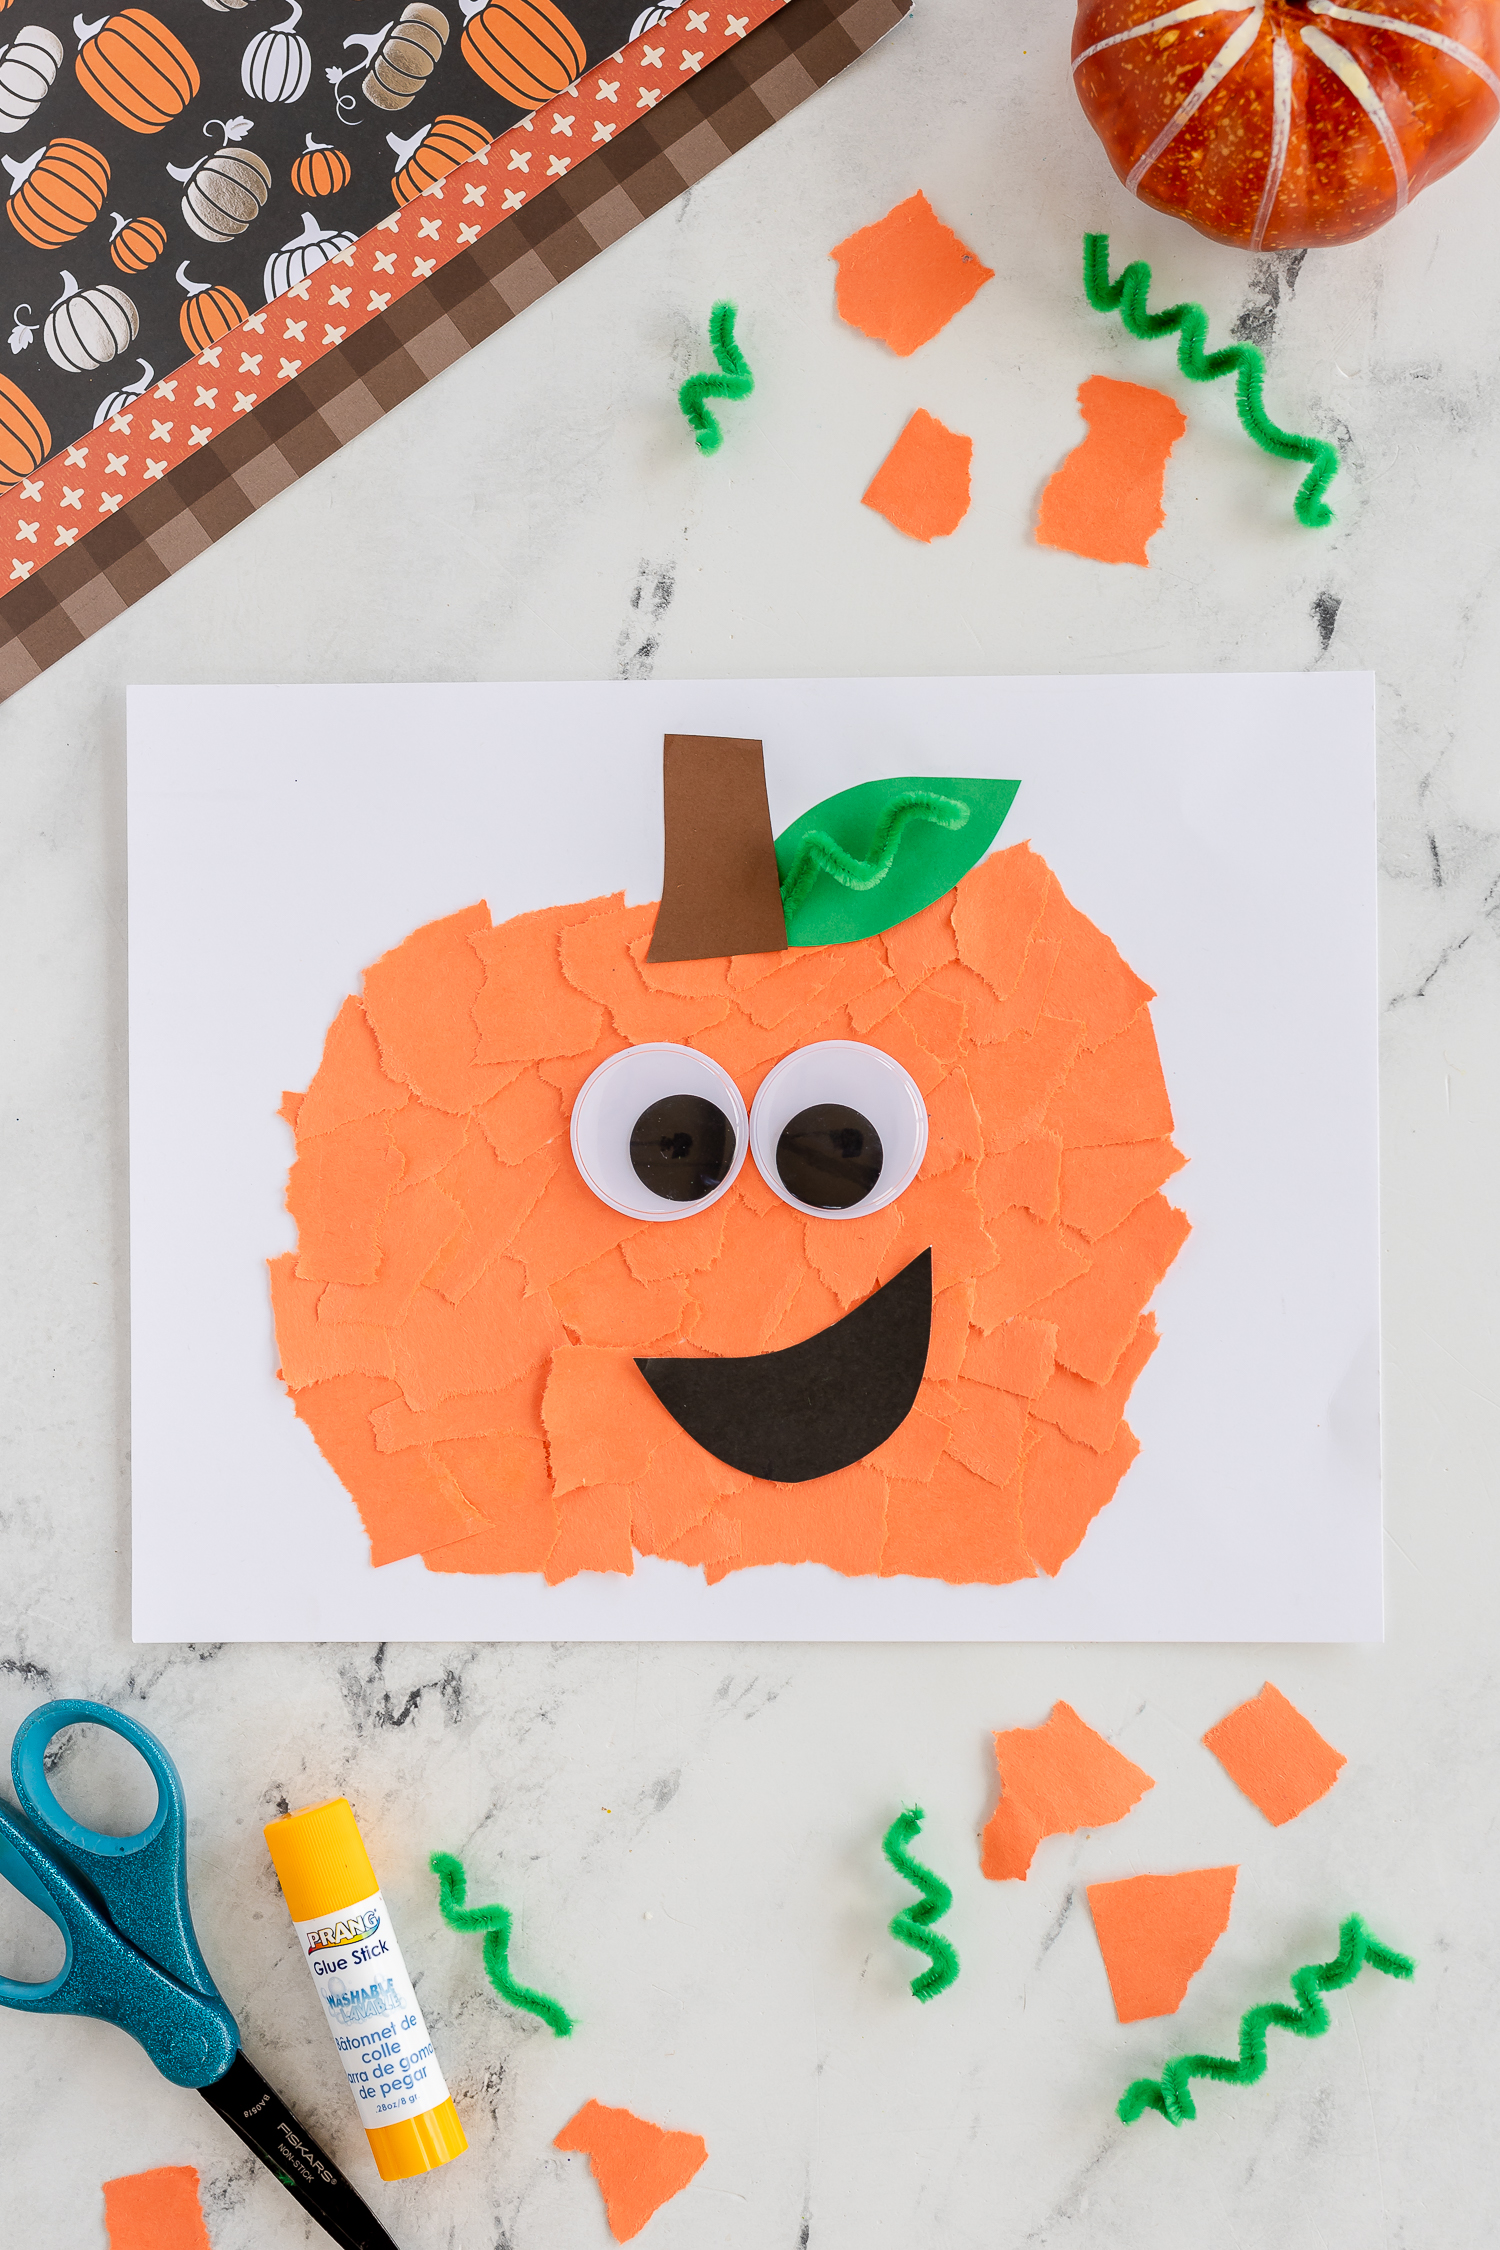
3. Paper Collage Pumpkins
Using various colors and patterns to create a collage on your pumpkins can result in a unique and fun look. Follow these steps:
- Cut out various shapes (triangles, circles, etc.) from different colored paper.
- Glue these pieces onto your base pumpkin shape, overlapping them for depth.
- Finish by adding embellishments like googly eyes or buttons for a whimsical touch.
Different Paper Pumpkin Styles to Try
1. Minimalist Black and White Pumpkins
For a modern twist, consider decorating pumpkins in monochrome. This style works beautifully with:
- Black and white patterned paper.
- Bold geometric shapes.
2. Vintage-Style Pumpkins
If you have a love for all things vintage, using aged or textured paper can create a rustic feel. Consider:
- Using tea-stained paper.
- Incorporating lace and burlap accents.
3. Glittery Glam Pumpkins
Add some sparkle to your fall decor with glitter! Here’s how to achieve this glam look:
- Cover your pumpkin shape with glue.
- Sprinkle glitter generously and allow to dry.
- Seal with a clear spray if desired for longevity.

Using LED Lights with Paper Pumpkins
Illuminate your paper pumpkins by incorporating LED lights. Here are a few ideas:
- Cut a small hole at the bottom of the pumpkin and insert an LED tea light.
- Use transparent paper for a lantern effect.
Comparison Table: Paper Pumpkin Techniques
| Technique | Pros | Cons |
|---|---|---|
| Painting | Customizable, vibrant colors | Messy, requires drying time |
| Stenciling | Precise designs, easy pattern repetition | Limited to available stencils |
| Collage | Unique, creative freedom | Time-consuming, may require practice |
Personal Tips for a Successful Crafting Day
Through my experience, here are some helpful tips for a pleasant crafting session:
- Set up a well-lit crafting space to help you see details clearly.
- Organize your supplies before starting to minimize distractions.
- Don’t rush the process—allow yourself to enjoy the creative journey!
FAQs About Decorating Paper Pumpkins
What types of paper are best for making pumpkins?
Cardstock is the most recommended for its sturdiness, but you can also use scrapbook paper for fun patterns.
Can I use decorations I already have at home?
Absolutely! Ribbons, buttons, and old fabric scraps can all be used to create unique designs on your paper pumpkins.
How can I preserve my decorated paper pumpkins?
Store them in a cool, dry place, and avoid exposure to direct sunlight to keep the colors vibrant.
Are paper pumpkins suitable for outdoor decorating?
While they are primarily designed for indoor use, if sealed properly, they can withstand short outdoor displays.
What’s the best age group for crafting paper pumpkins?
Paper pumpkins are suitable for all ages! Just ensure younger children are supervised while crafting.

Final Thoughts
Decorating paper pumpkins is a fun, easy, and versatile way to celebrate the autumn season. Whether you opt for painting, stenciling, or collaging, the only limit is your imagination. Gather your supplies, invite friends or family to join in, and create your own delightful collection of paper pumpkins to brighten up your home this fall. Remember, the most important part of crafting is to enjoy the process and the memories created along the way!