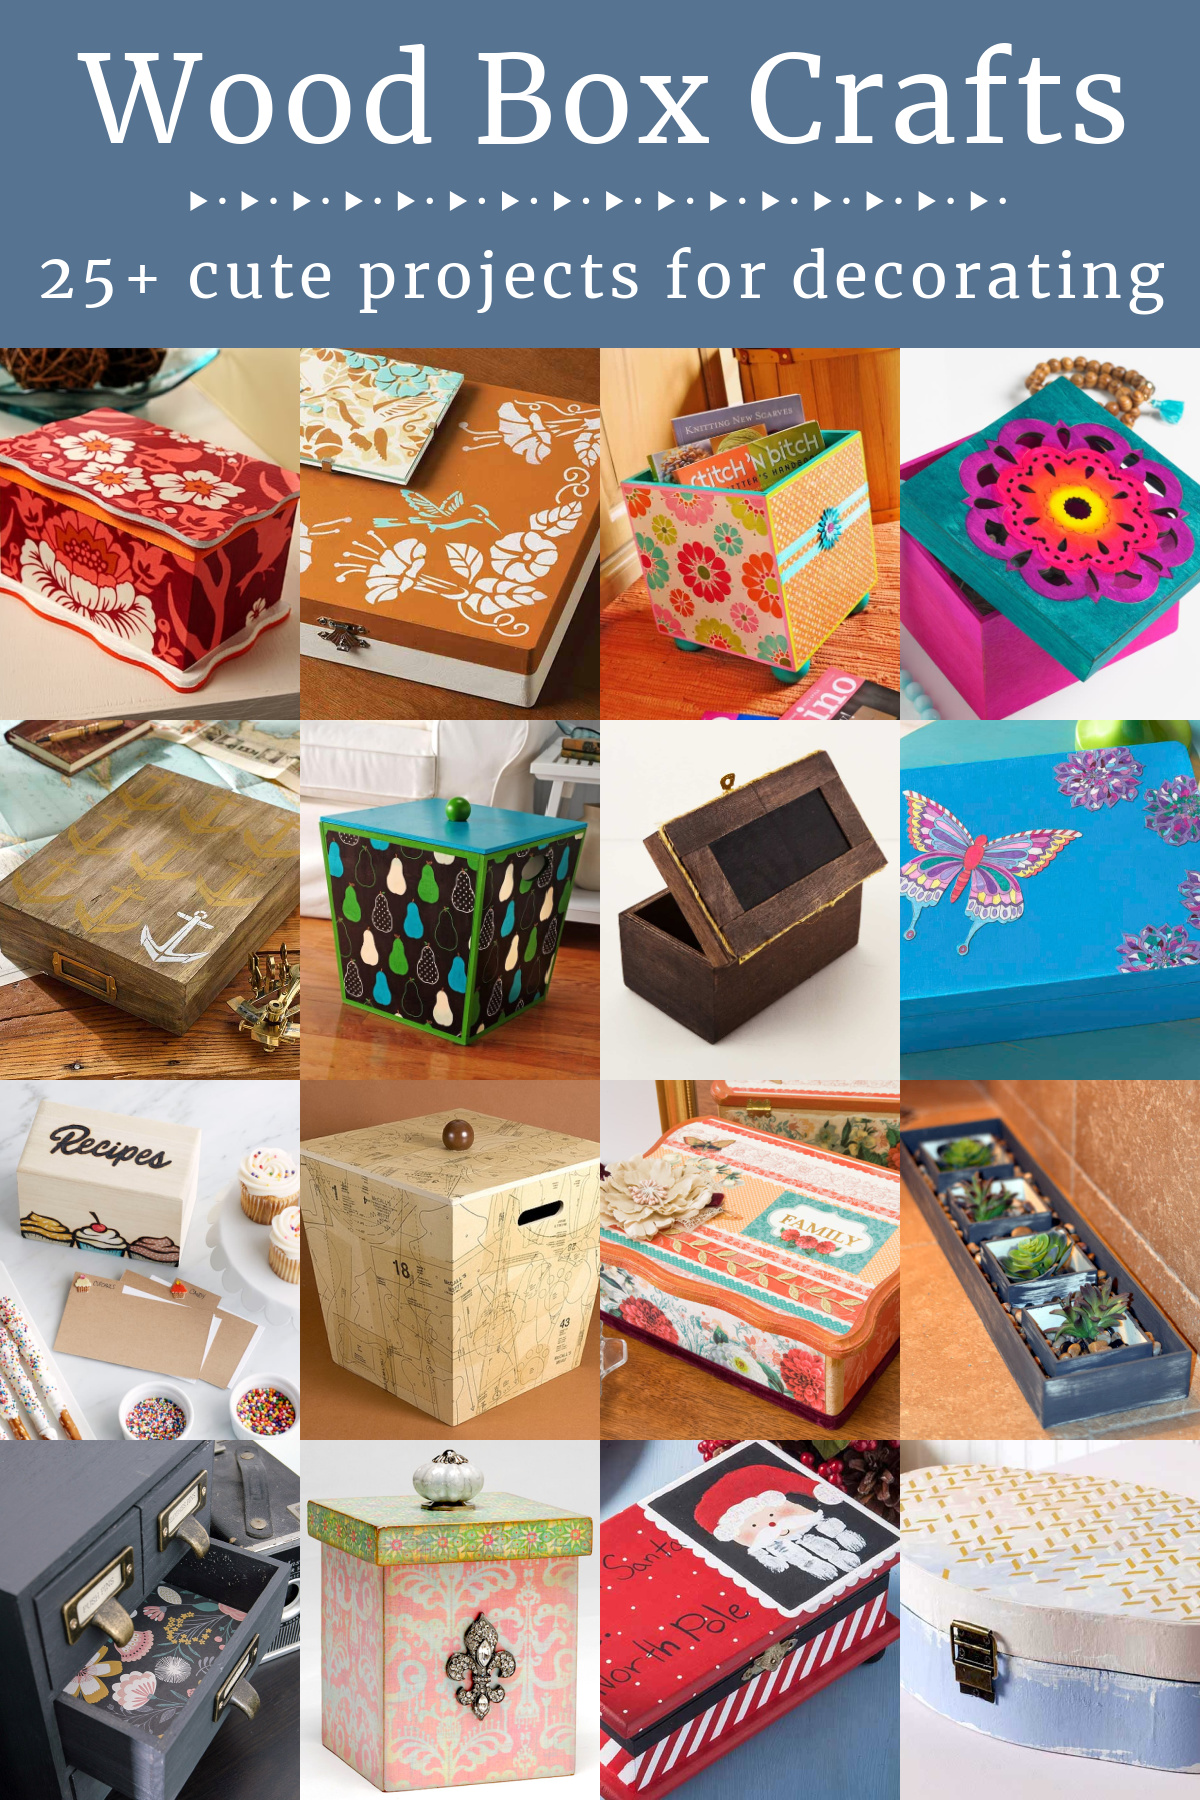
Wooden boxes are not just storage solutions; they are versatile canvases waiting for your creative touch! Whether you’re looking to organize your space, create a unique gift, or simply express your artistic side, decorating wooden boxes can be a fulfilling and enjoyable project. In this article, we’ll explore numerous ideas and techniques for enhancing your wooden boxes, making them beautiful and functional.
The Charm of Wooden Boxes
Wooden boxes have a rustic appeal that can elevate any room’s decor. From vintage to modern styles, their natural texture and warmth invite creativity. Let’s dive into some innovative ways you can decorate them!
Getting Started: Tools and Materials
Before we explore the creative ideas, let’s gather some essential tools and materials.
Essential Tools
- Paintbrushes (various sizes)
- Sandpaper (fine and coarse)
- Scissors
- Glue (wood glue and craft glue)
- Mod Podge or varnish
Materials You Might Need
- Acrylic paints
- Stickers and decals
- Fabric and lace
- Twine, ribbons, and other embellishments
- Natural elements (dried flowers, leaves, etc.)
Decorating Techniques for Wooden Boxes
1. Painting Your Wooden Box
Painting is one of the simplest and most impactful ways to transform a plain wooden box.
Choosing the Right Paint
Use acrylic paint for bright colors that stand out, or go for chalk paint for a more muted, vintage look. Here’s a quick comparison:
| Type of Paint | Finish | Durability | Best For |
|---|---|---|---|
| Acrylic Paint | Glossy | High | Bright, fun designs |
| Chalk Paint | Matte | Medium | Rustic, vintage finishes |
Steps to Paint Your Wooden Box
- Sand the surface of the box to remove any rough edges.
- Apply a coat of primer if you’re using dark colors.
- Paint your desired color, allowing it to dry between coats.
- Finish with a clear sealant for durability.
2. Decoupage Techniques
Decoupage allows you to bring images, papers, or fabrics to your wooden boxes.

Materials Needed
- Papers with patterns or pictures (magazines, wrapping paper)
- Mod Podge or decoupage glue
Decoupage Steps
- Select and cut out your chosen images or patterns.
- Apply a layer of Mod Podge to the box surface.
- Place your cutouts on the glue and smooth out any bubbles.
- Top with another layer of Mod Podge and let dry.
3. Adding Textures with Fabric
Fabric can add depth and coziness to your wooden box. Here are some ways to incorporate it:
Using Fabric Liners
Line the inside of your box with soft fabric to create a plush feel.

Wrapping Techniques
Wrap the exterior with patterned fabrics and secure with glue or twine for a charming look.
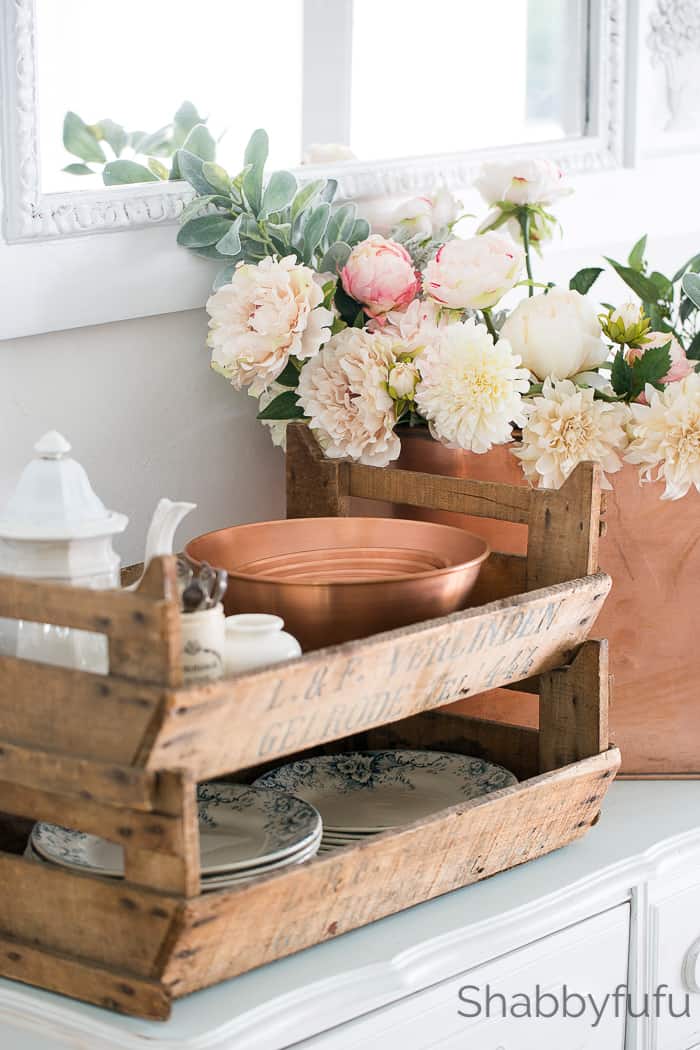
4. Natural Elements: Bringing the Outdoors In
Dried flowers, leaves, or twigs can add a beautiful organic touch to your wooden box. Here are some methods to try:

Flower Motifs
Glue down dried flowers or leaves directly onto the box or use them in a decoupage technique.
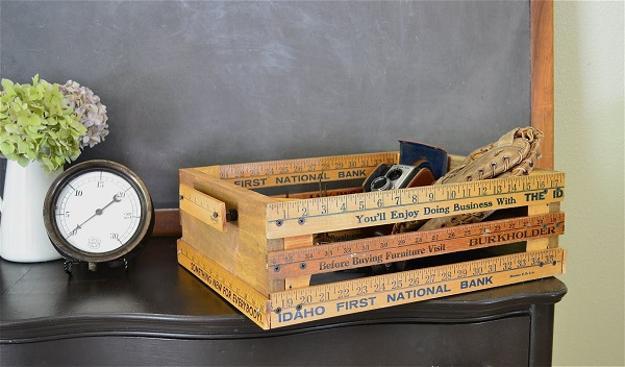
Wooden Accents
Add small wooden embellishments or twigs for a rustic touch.
Personalized Touches for Your Wooden Boxes
1. Custom Stencils
Stenciling allows you to add personalized designs or names. You can either buy pre-made stencils or create your own.
How to Stencil
- Secure the stencil onto the box using painter’s tape.
- Use a sponge or brush to apply paint over the stencil.
- Carefully lift the stencil to reveal your design.
2. Hand-Painted Designs
If you have a knack for painting, consider hand-painting designs directly onto the box. Personal touches such as quotes or favorite illustrations make your box unique.
3. Photo Transfer Techniques
Transfer your favorite photos onto wooden boxes for a personal keepsake. Here’s how:
Photo Transfer Steps
- Print your photo in reverse on regular paper.
- Apply a layer of gel medium on the wooden box.
- Place the image face down and smooth out air bubbles.
- Let it dry and then wet the paper to gently rub it off, leaving the photo.
Functional Decor: Using Your Wooden Boxes
Decorated wooden boxes can serve multiple purposes beyond aesthetics. Here are some functional ideas:
1. Storage Solutions
Use decorated boxes for organizing items like office supplies or craft materials. Label them for easy identification.
2. Gift Boxes
Create personalized gift boxes by decorating them based on the recipient’s tastes. This adds a thoughtful touch to any present!
3. Home Decor Accents
Incorporate your decorated boxes into your home decor. Stack them on shelves or use them as centerpieces on coffee tables.
Pros and Cons of Decorating Wooden Boxes
While decorating wooden boxes is a fun endeavor, it’s essential to consider its pros and cons.
| Pros | Cons |
|---|---|
| Endless creative possibilities | Time-consuming, depending on the technique |
| Customizable to fit any decor | Requires some crafting skills for complex techniques |
| Eco-friendly using reclaimed wood | Potential for materials costs if purchasing supplies |
Frequently Asked Questions (FAQs)
What types of paint are best for wooden boxes?
Acrylic and chalk paints are great options, depending on the finish you desire. Acrylic paint offers a glossy finish, while chalk paint provides a more muted, matte appearance.
Can I use scrapbook paper for decoupage on wooden boxes?
Absolutely! Scrapbook paper is a fantastic option for decoupage, allowing you to mix and match various designs and colors for a unique look.
What is the best way to seal a decorated wooden box?
Using a clear sealant like Mod Podge or polyurethane can help protect your designs and give your wooden box a finished look.
Are there any kid-friendly techniques for decorating wooden boxes?
Yes! Techniques like painting, using stickers, or wrapping them with fabric are great ways for children to get involved in decorating wooden boxes safely.
Conclusion
Decorating wooden boxes is a delightful and rewarding activity that allows for endless creativity. Whether you choose to paint, decoupage, or incorporate natural elements, the result will be a unique piece that reflects your style. So gather your supplies, unleash your creativity, and start transforming your wooden boxes today!