Welcome to the fascinating realm of paper mache decorations! Whether you’re a seasoned crafter or a curious beginner, this guide will provide all the information you need to create stunning paper mache projects. From traditional techniques to modern adaptations, we’ll cover it all. Plus, I’ll share some of my personal experiences to hopefully inspire your own creative journey.
What is Paper Mache?
Paper mache, or “papier mâché,” is a crafting technique that involves using paper pieces, usually soaked in a liquid adhesive, to create three-dimensional objects. The term is French for “chewed paper,” which describes the way the paper is transformed into a moldable material.
The History of Paper Mache
While paper mache has origins that trace back to ancient China for use in art, it gained popularity in Europe during the 18th century. It has since evolved into a versatile medium used for everything from decorations to sculptures.
Why Choose Paper Mache for Decorations?
From its affordability to its flexibility, there are numerous reasons to choose paper mache for your decorative projects:
- Inexpensive Materials: All you need is paper and glue!
- Endless Creativity: You can create anything from whimsical animals to seasonal decor.
- Eco-Friendly Options: Use recycled paper for a more sustainable project.
Getting Started with Paper Mache: Materials You Need
Essential Supplies
| Item | Description |
|---|---|
| Paper | Old newspapers, tissue paper, or craft paper. |
| Adhesive | Flour and water paste, white glue, or Mod Podge. |
| Base Form | Balloons, cardboard, or any moldable material. |
| Paint and Sealer | Acrylic paints and varnish for finishing touches. |
Tips for Choosing Your Materials
When selecting your materials, think about the project you want to create. For example, a balloon is perfect for making a hollow form, while cardboard is great for sturdy sculptures. Be creative with what you have at home!

Paper Mache Techniques: Step-by-Step Guide
Basic Paper Mache Technique
- Prepare Your Workspace: Cover your table with newspapers and gather all materials.
- Create Your Paste: Mix flour with water (1:2 ratio) for a simple paste.
- Prepare Your Paper: Tear your paper into strips. Avoid cutting as torn edges adhere better.
- Apply the Paper: Dip each strip into the paste and smooth onto your base form.
- Layering: Apply several layers (3-5) for strength, letting each layer dry before adding the next.
- Drying: Allow the form to dry completely, preferably overnight.
- Decorate: Once dry, paint and embellish as desired!
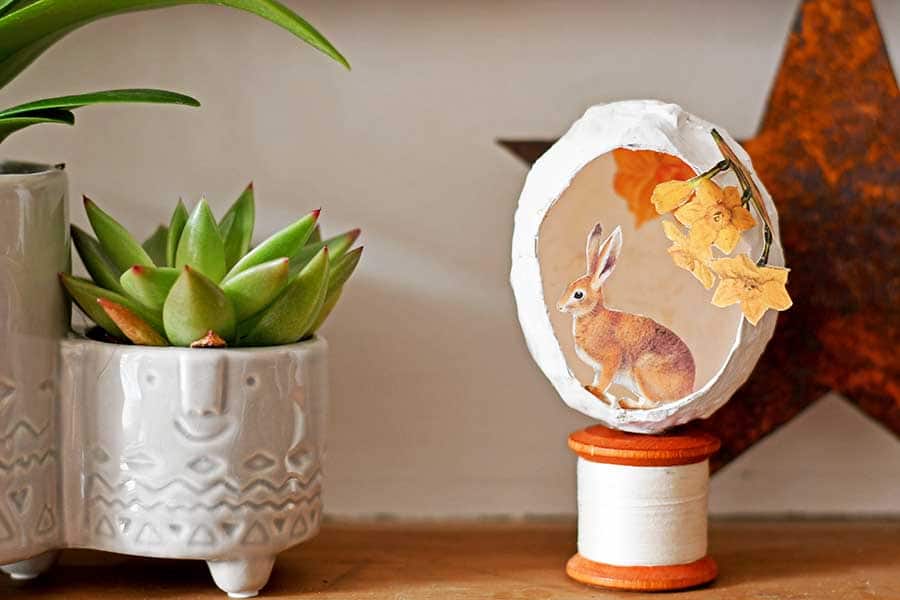
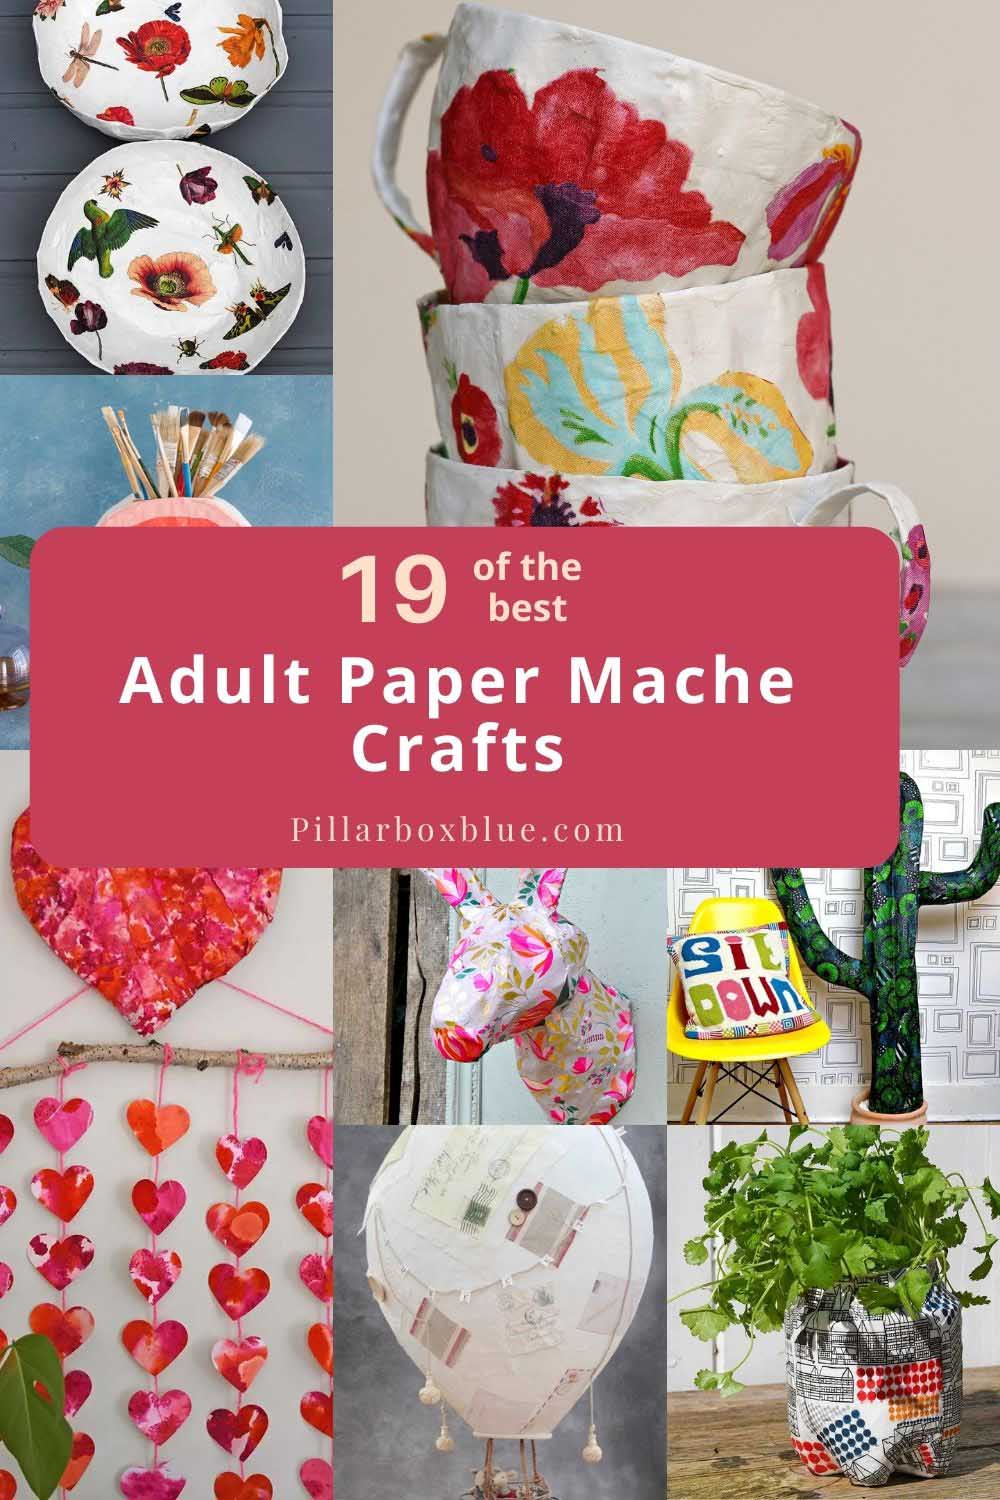
Creative Ideas for Paper Mache Decorations
Seasonal Decor
Paper mache can transform your home for any season. Here are some ideas:
- Spring: Create colorful flowers or Easter eggs.
- Summer: Design a beach ball or sun.
- Fall: Make pumpkins or spooky ghosts.
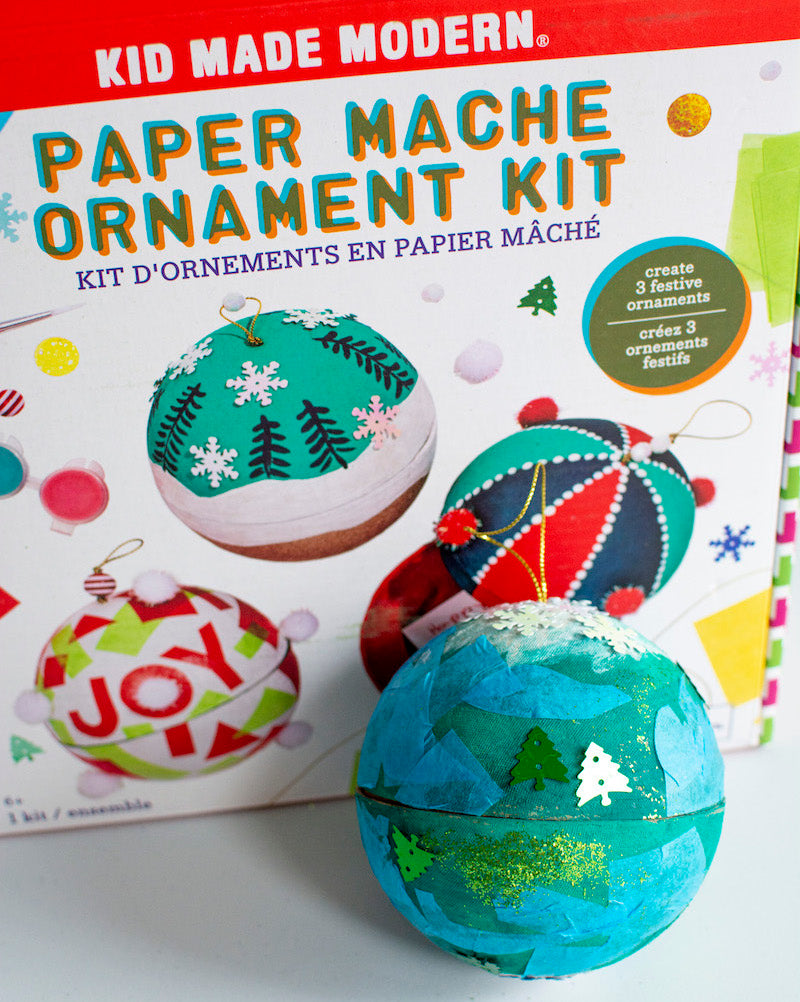
- Winter: Craft snowmen or holiday ornaments.

Themed Decorations for Parties
Whether it’s a birthday or a holiday, themed paper mache decorations can really enhance the atmosphere. Consider these themes:
- Under the Sea: Fish, coral, and sea creatures.
- Fairytale: Castles, dragons, and magical creatures.
- Superhero: Masks and symbols.
Personal Experience: My Favorite Paper Mache Projects
One of my favorite paper mache projects was making a giant paper mache dragon for a school play. It took several days to complete but seeing the kids’ faces light up when they saw it on stage was worth every moment. I learned a few valuable lessons about patience and creativity in the process!

Pros and Cons of Paper Mache Decorations
Pros
- Affordable and accessible materials.
- Great for all ages and skill levels.
- Eco-friendly options using recycled materials.
- Flexible in design; can be molded into any shape.
Cons
- Can be time-consuming to dry properly.
- Messy process; requires cleanup.
- Less durable than other materials like wood or plastic.
FAQs about Paper Mache Decorations
What type of paper is best for paper mache?
Newspapers work well due to their lightweight and absorbent nature. However, any paper can be used depending on the desired finish.
How long does it take for paper mache to dry?
Drying times can vary based on humidity and thickness. Typically, allow 24 hours for complete drying.
Can I use paint on paper mache?
Yes! Once your project is dry, you can use acrylic paints for vibrant colors and finishes.
How do I seal paper mache decorations?
Use a clear sealant or Mod Podge to protect your decorations from moisture and wear.
Conclusion: Unleash Your Creativity with Paper Mache
Paper mache decorations offer a unique blend of creativity, sustainability, and fun. Whether you embark on a solo project or gather friends for a crafting day, you’re sure to make cherished memories and stunning pieces of art. I encourage you to dive in and explore the limitless possibilities of paper mache!