As the fall season rolls in, there’s nothing quite as delightful as decorating your space with pumpkins. But instead of the usual carved pumpkins, this year, let’s get crafty with some paper pumpkin decorating ideas that are bound to impress! Here, I’ll share my favorite techniques, tips, and personal experience to inspire you to create your own stunning paper pumpkins.
Table of Contents
What Are Paper Pumpkins?
Paper pumpkins are decorative elements made from paper, designed to mimic the classic fall icon we all know and love. They can be crafted in a variety of sizes and colors, making them a versatile option for any autumn display. These pumpkins are perfect for home decor, classroom projects, or even as a fun activity for kids. Let’s dive deeper into the materials you’ll need to start creating your own unique paper pumpkins!
Materials Needed for Paper Pumpkin Decorating
Before getting started, ensure you have the following materials on hand:
- Colored paper or cardstock
- Scissors
- Glue or tape
- Paint (optional)
- Markers and embellishments (ribbons, stickers, etc.)
- Templates or patterns (optional)
With these materials, you’ll be ready to create a variety of stunning paper pumpkin designs!
Popular Paper Pumpkin Decorating Ideas
The beauty of paper pumpkins lies in their adaptability. Here are some of the most popular decorating ideas that you can easily replicate.
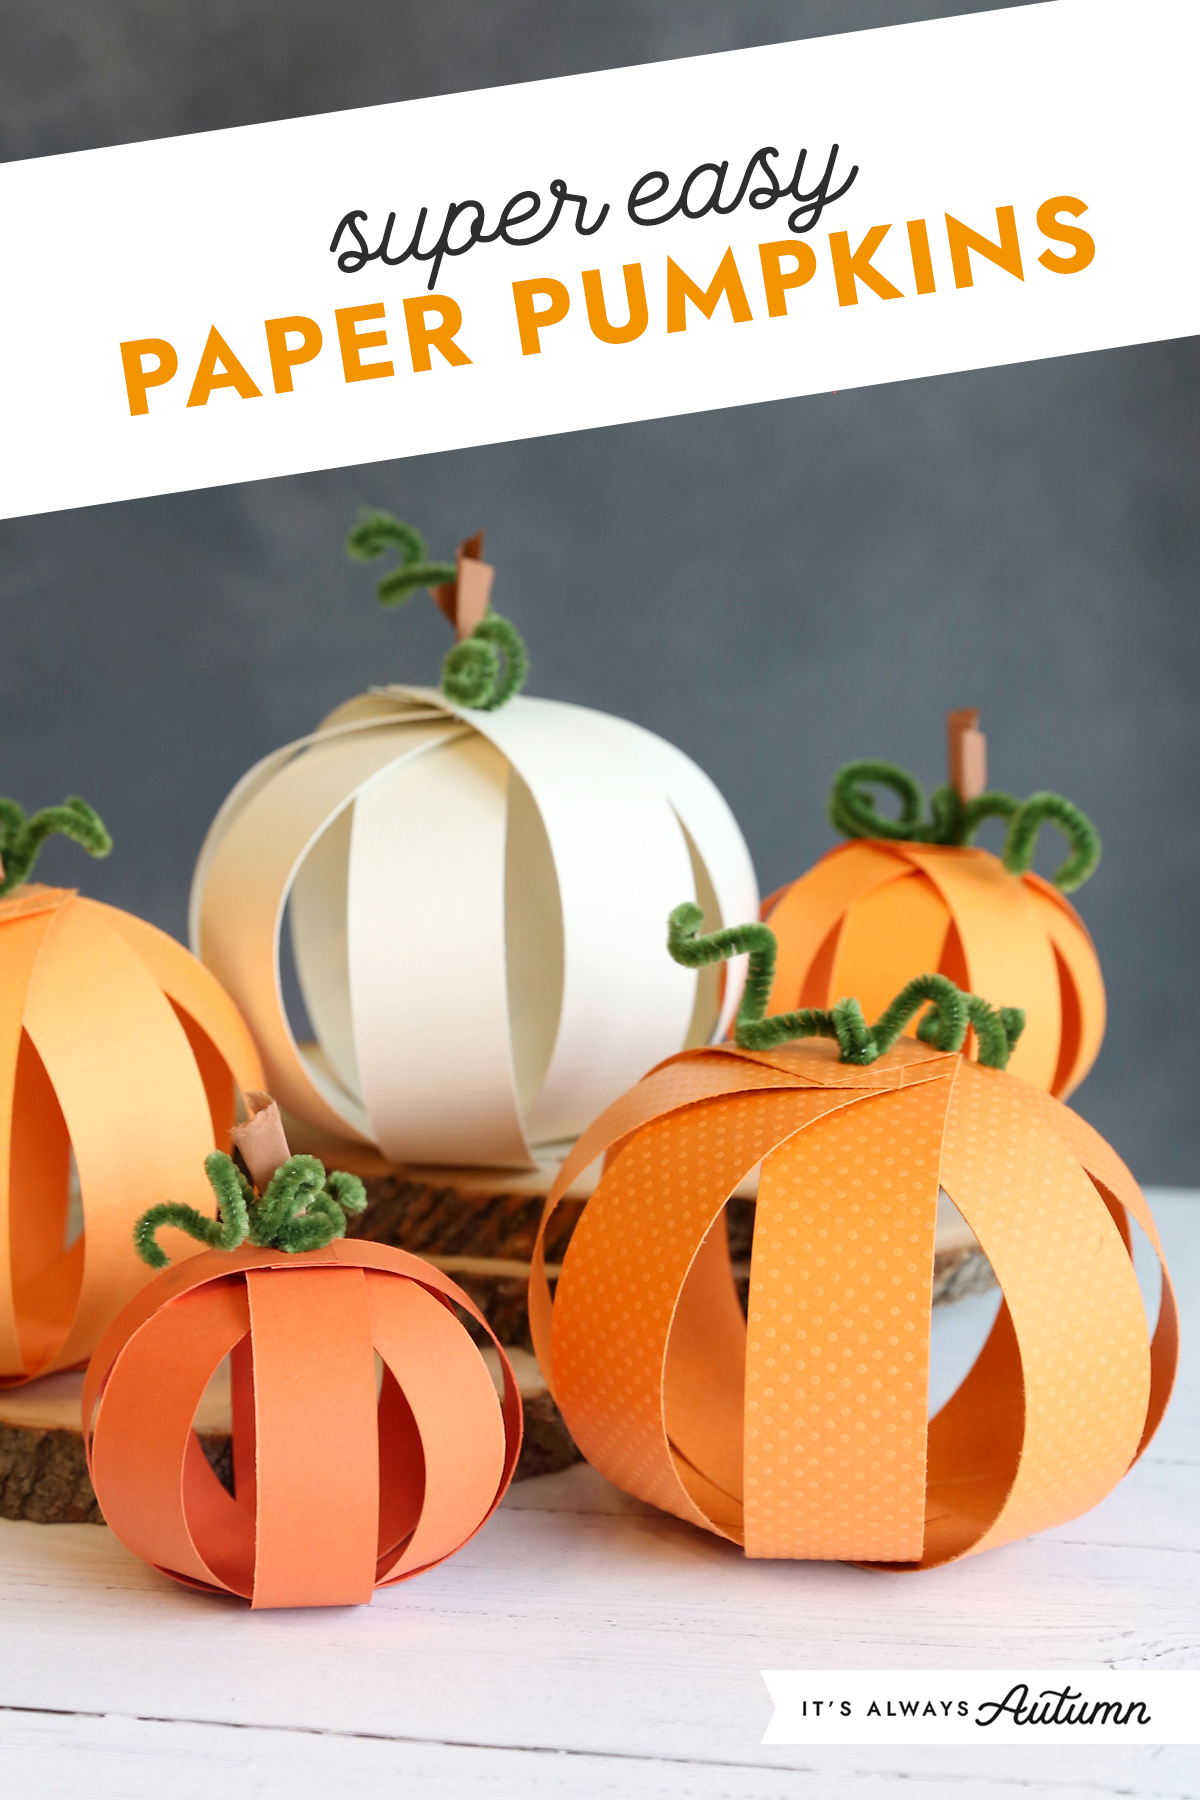
1. Painted Paper Pumpkins
One of the simplest yet most impactful ways to decorate paper pumpkins is by painting them. Choose vibrant colors that resonate with the autumn palette—think oranges, browns, and yellows. This approach allows for full creative expression!
How to Paint Your Paper Pumpkins
- Choose your paper pumpkin shape.
- Use acrylic paint and a brush to apply your colors.
- Add details like vines or leaves once dry.
2. Paper Pumpkin Flowers
Transforming your paper pumpkins into flower arrangements can create a unique centerpiece. This idea is perfect for those who want a blend of autumn and floral elegance.
Steps to Create Paper Pumpkin Flowers
- Cut out petal shapes from colored paper.
- Glue the petals around the top of your pumpkin.
- Add leaves and embellishments for a complete look.
3. Glittery Pumpkins
Who doesn’t love a touch of glam? Adding glitter to your paper pumpkins can turn a simple design into a show-stopper.
How to Make Glittery Paper Pumpkins
- Apply glue to the desired areas of your pumpkin.
- Sprinkle glitter over the glue and shake off excess.
- Let dry completely before displaying.

4. Thematic Paper Pumpkins
Choosing a theme for your paper pumpkins can add character to your decorations. Consider seasonal themes such as Halloween, Thanksgiving, or even a whimsical fairy tale theme.
Ideas for Thematic Paper Pumpkins
- Halloween: Use black and orange colors with spooky designs.
- Thanksgiving: Incorporate warm hues and thankful phrases.
- Whimsical: Use pastel colors and fun patterns.
Step-by-Step Guide to Making Paper Pumpkins
Now that you have some decorating ideas, let’s go through a detailed step-by-step guide to making your own paper pumpkins from start to finish. I’ll share my personal favorite method, which creates lovely, classic-looking pumpkins!
Step 1: Gather Your Materials
Make sure you have all your materials listed in the previous section ready. This ensures a smooth crafting process.
Step 2: Choose Your Pumpkin Shape
You can use templates you find online or sketch your own pumpkin shape on colored paper. The size is entirely up to you!
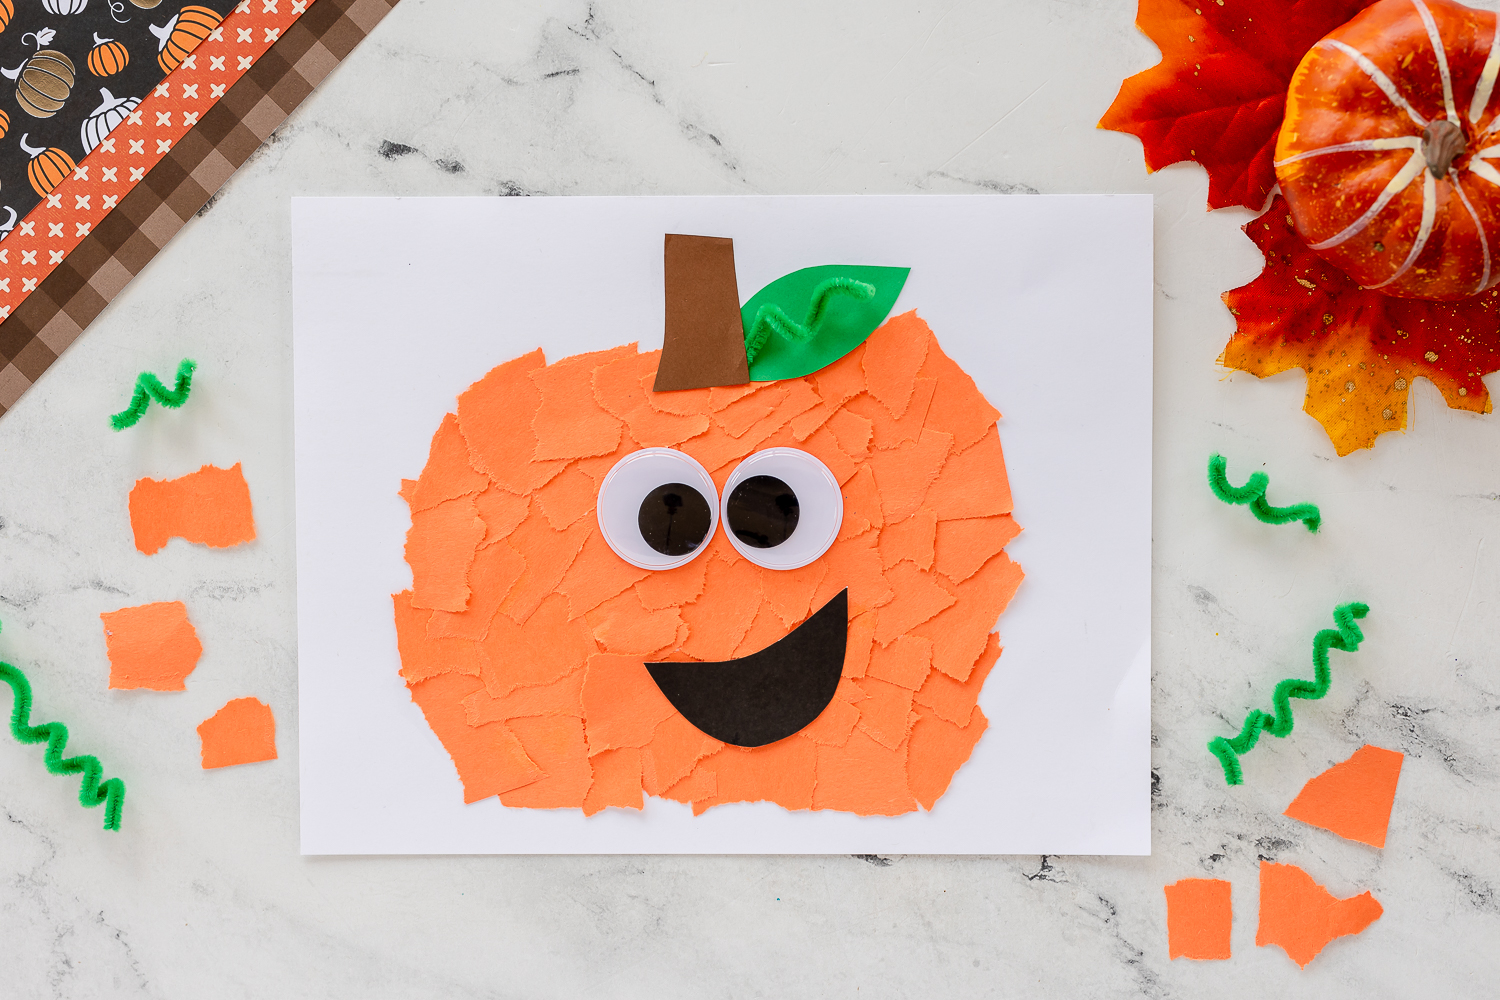
Step 3: Cut Out Your Pumpkin Shape
Carefully cut out your pumpkin shape. If you’re making multiple pumpkins, consider varying the sizes and colors for a beautiful display.
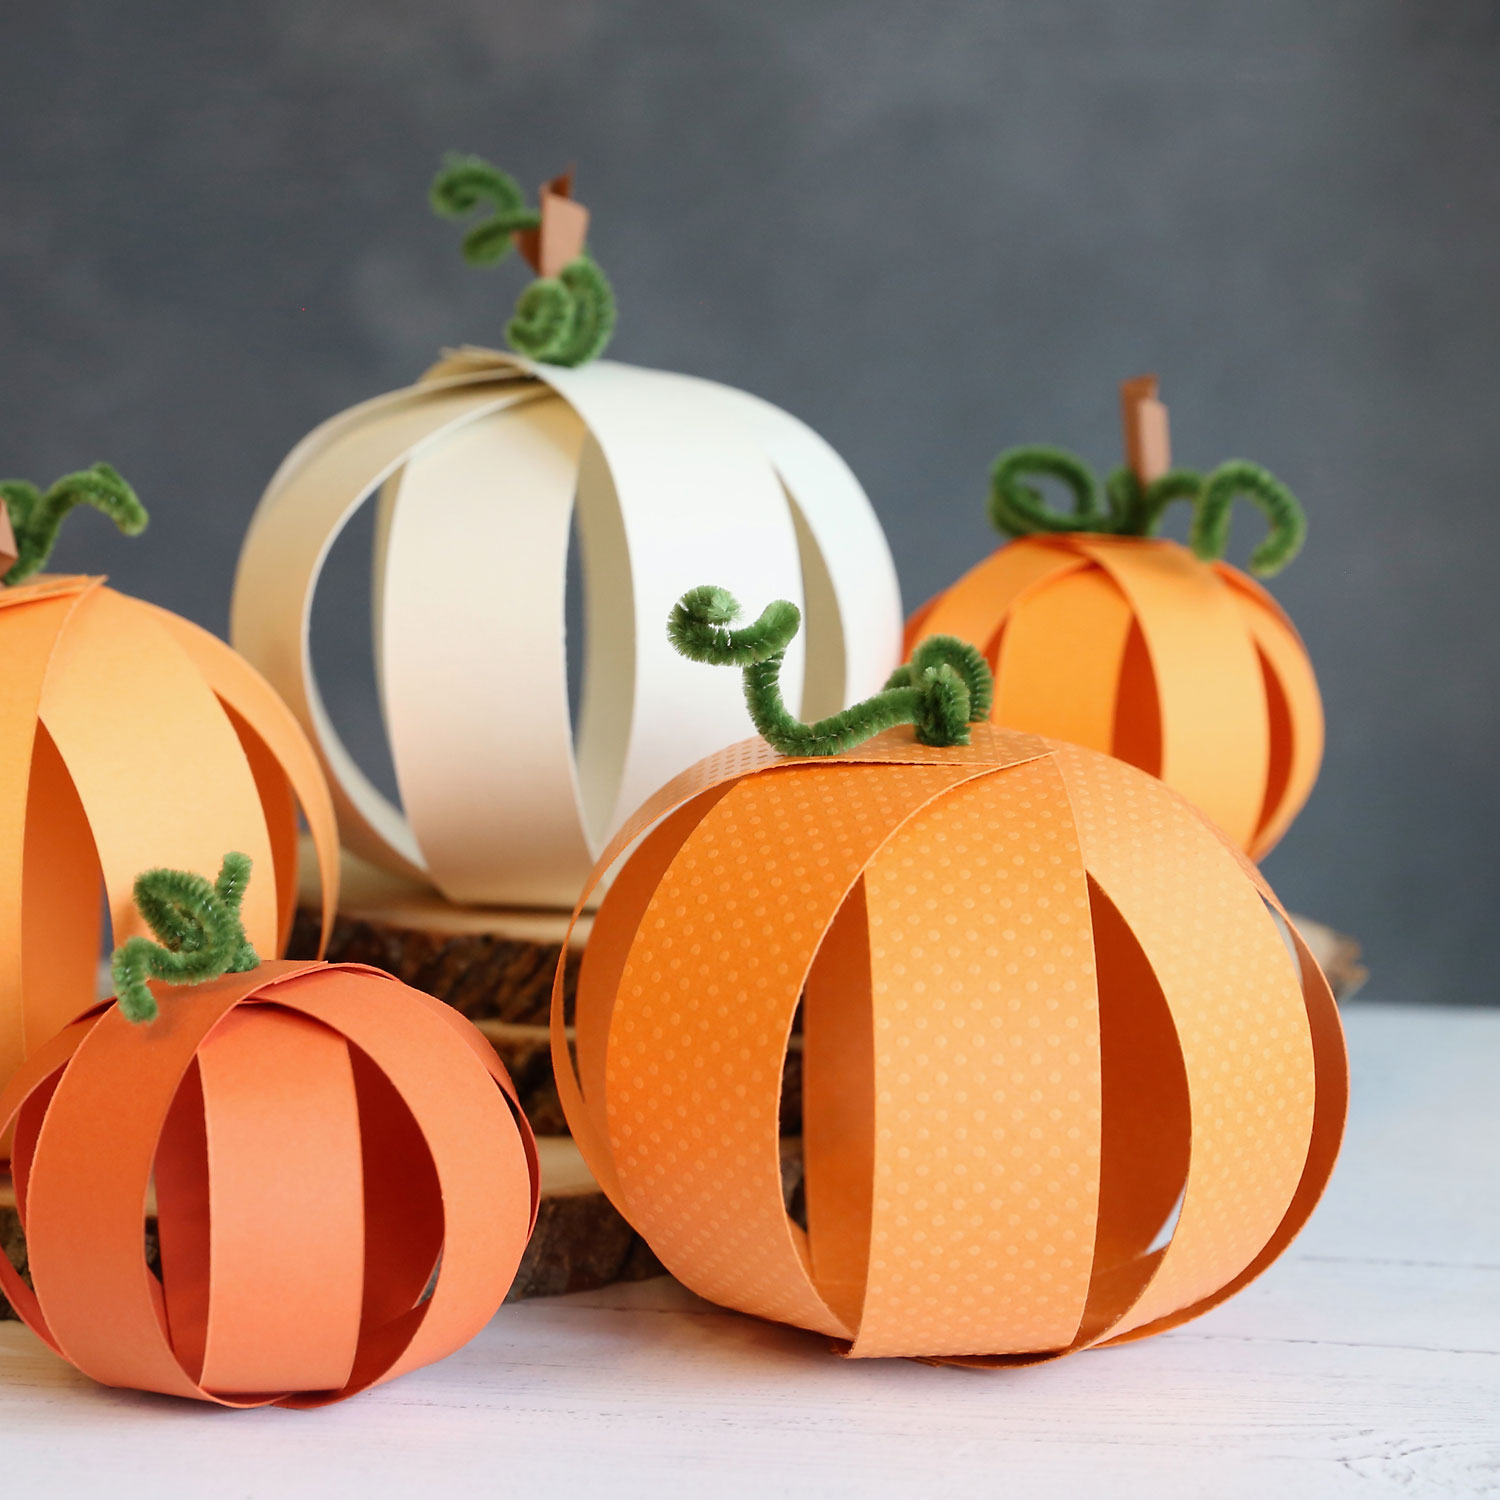
Step 4: Assemble Your Pumpkin
For 3D pumpkins, you’ll need to create a base. Fold and glue your pumpkin shape into a 3D form. You can also create smaller flat pumpkins for wall decor.
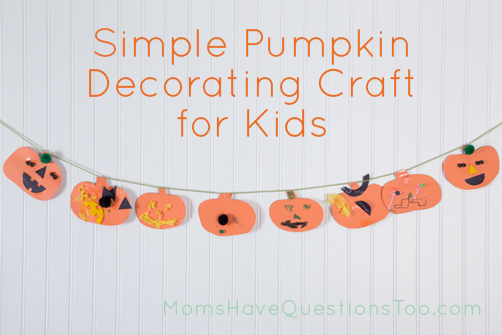
Step 5: Decorate!
This is the fun part! Use paints, glitter, and embellishments to bring your paper pumpkins to life. Remember to let everything dry between applications using glue or paint.
Step 6: Display Your Creations
Find a perfect spot in your home to display your gorgeous paper pumpkins. They can elevate your fall decor—placing them on tables, shelves, or even in centerpieces.

Pros and Cons of Paper Pumpkins
Like any crafting project, creating paper pumpkins comes with its own set of advantages and drawbacks. Here’s a quick comparison:
| Pros | Cons |
|---|---|
| Eco-friendly materials | Less durable than real pumpkins |
| Highly customizable designs | May require additional materials |
| Safe for children | Can take time to create |
| Inexpensive supplies | Risk of tearing paper if not careful |
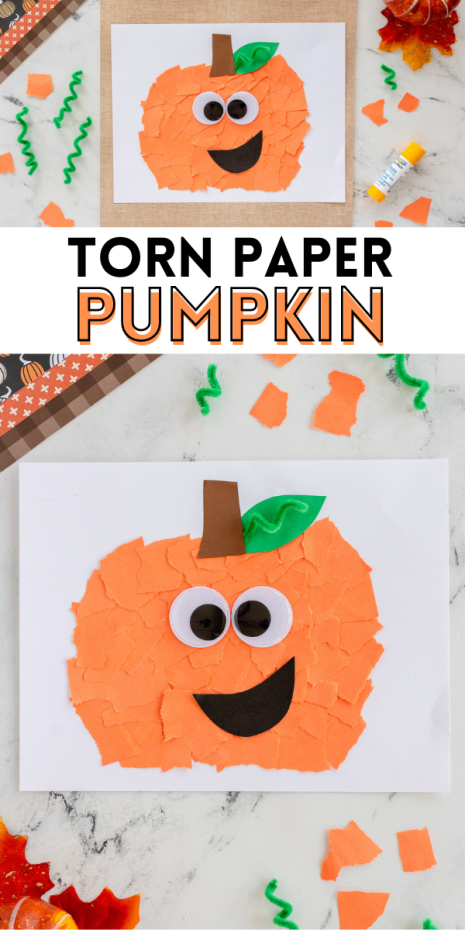
Story Time: My Personal Experience with Paper Pumpkins
Let me share a memory that always brings a smile to my face. A couple of years ago, I decided to host a pumpkin decorating party with my friends. We gathered around my dining table, surrounded by warm drinks and the sweet aroma of pumpkin spice candles. Everyone brought different materials, and we spent hours creating our versions of paper pumpkins.
One friend made a stunning ombre pumpkin that blended from yellow to orange, while another crafted glittery pumpkins that sparkled like they were dipped in fairy dust. By the end of the evening, our creations filled my living room, creating a whimsical atmosphere that felt inviting and festive. It was a simple yet beautiful way to embrace the spirit of fall, and I recommend hosting your own crafting party to share the joy of creating paper pumpkins with loved ones!
FAQs
What materials are best for making paper pumpkins?
Cardstock and construction paper work wonderfully due to their durability and color variety. You can also use patterned paper for added flair!
Can I use recycled paper for decorating pumpkins?
Absolutely! Recycled paper can be a great way to go green, and it adds a unique texture to your pumpkins.
How long do paper pumpkins last?
With proper care, paper pumpkins can last throughout the fall season. Keep them away from moisture to maintain their integrity.
Are paper pumpkins safe for children?
Yes! Paper pumpkins are safe and easy for kids to work with, making them a great crafting activity.
Can these ideas be used for other holidays?
Definitely! You can adapt themes and colors to fit various holidays, such as Christmas or Easter, allowing year-round creativity.