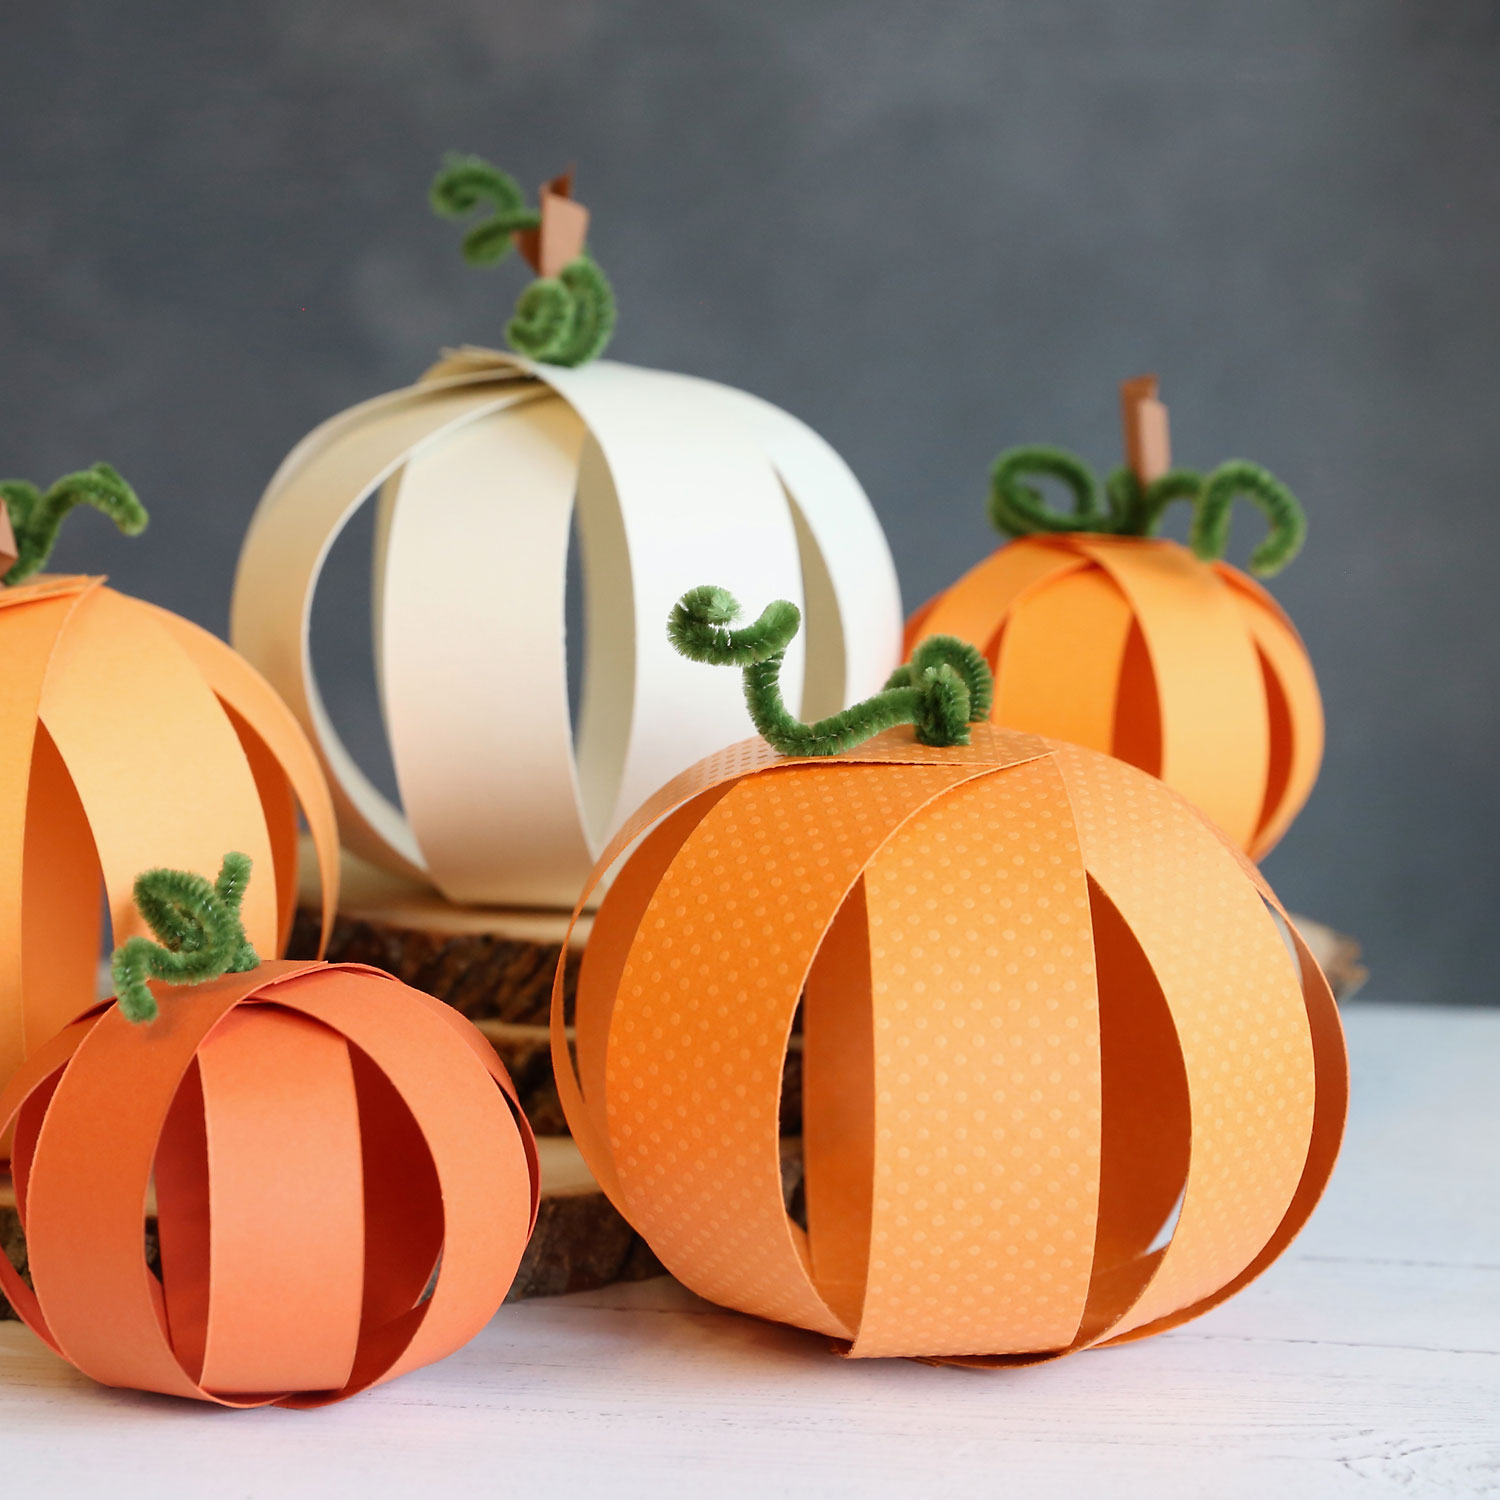
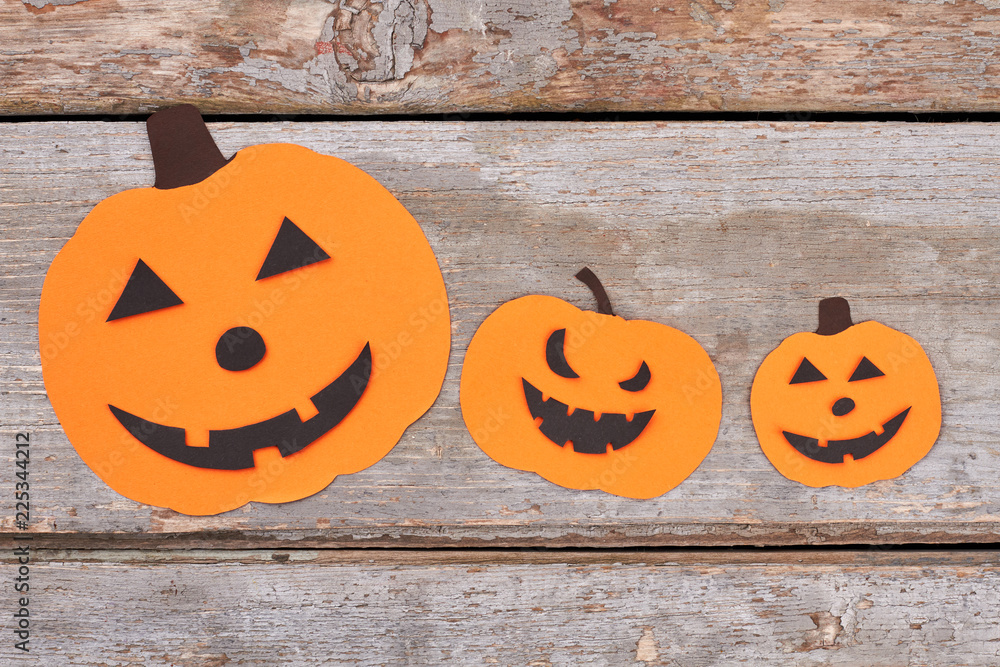
Embrace the spirit of autumn with charming paper pumpkin decorations! Whether you’re sprucing up your home for Halloween or Thanksgiving, these delightful crafts are an easy way to add a touch of seasonal flair.
Why Choose Paper Pumpkin Decorations?
Paper pumpkin decorations offer a versatile and eco-friendly option for celebrating the fall season. They are perfect for families with children, crafters of all skill levels, and anyone looking to enhance their home decor without breaking the bank.
Benefits of Crafting with Paper
- Affordable and accessible materials
- Safe for children
- Endless design possibilities
- Environmentally friendly
Materials Needed for Paper Pumpkin Decorations
To get started, gather a few basic materials:
- Colored construction paper or cardstock
- Scissors
- Glue or tape
- Pens or markers for decoration
- Ribbons or strings for hanging
Choosing the Right Paper
Consider the following types of paper:
- Cardstock: Heavier and more durable, perfect for 3D pumpkins.
- Construction Paper: Ideal for younger children due to its flexibility.
- Recycled Paper: An eco-friendly choice that adds texture.
Step-by-Step Guide to Making Paper Pumpkins
Simple Pumpkin Craft for Beginners
- Cut out a circle from your chosen paper—this will be the base.
- Cut strips of paper for the pumpkin’s ridges.
- Glue the strips around the circle to create a full pumpkin shape.
- Add a green stem by cutting a small rectangle and rolling it up.
- Decorate with markers or stickers as desired.
Advanced 3D Pumpkin Decoration
- Start by cutting several circles from cardstock—varying sizes works best.
- Score lines from the edge to the center to create a fan effect.
- Attach the fans together in layers using glue.
- Create leaves and a stem from green paper to complete your look.
- Consider painting or using glitter for extra sparkle!
Ideas for Displaying Your Paper Pumpkins
Once your paper pumpkins are complete, it’s time to showcase them! Here are some creative ideas:
Table Centerpieces
Arrange a cluster of varying sizes on your dining table for a festive vibe.

Hanging Decorations
Use strings to hang smaller pumpkins from the ceiling or in windows.
Outdoor Decor
Seal your pumpkins with a clear spray (if weather-resistant) and place them on your porch or in your garden.

Personal Experience: My First Attempt at Paper Pumpkins
I remember my first attempt at crafting paper pumpkins last fall. I gathered my family around the dining table, armed with an array of colorful papers. We laughed as our pumpkins took on quirky shapes—some were beautifully crafted, while others looked hilariously lopsided! The process was more about bonding than perfection, and that’s what made it memorable.
By the end, we had a delightful mix of pumpkins that proudly adorned our home, bringing smiles to everyone’s faces. Not only did we enjoy the crafting, but we also had a little competition to see who could create the most unique pumpkin!
Pros and Cons of Paper Pumpkin Decorations
| Pros | Cons |
|---|---|
| Inexpensive materials | Less durable than plastic or ceramic options |
| Easy to customize | May require more time to craft |
| Safe for kids | Can be less weather-resistant if outdoors |

Frequently Asked Questions
What type of paper is best for crafting pumpkins?
Cardstock is ideal for sturdiness, while construction paper is great for simpler crafts with kids.
Can I use recycled materials for my pumpkin decorations?
Absolutely! Old magazines, grocery bags, or scrap paper can add unique textures and colors!
How do I store my paper pumpkins after the season?
Keep them in a dry area in a container to avoid damage. If they are fragile, consider wrapping them in tissue paper.