Welcome to the colorful and vibrant world of sugar skulls! These intricately decorated items, known as “calaveras de azúcar,” hold deep cultural significance in Mexico, particularly during the Día de los Muertos (Day of the Dead) celebrations. In this article, we will explore various sugar skull decorating ideas, share some personal experiences, and provide tips to make your sugar skulls stand out beautifully.
The Significance of Sugar Skulls
Sugar skulls are not just beautiful decorations; they serve as a way to remember and honor loved ones who have passed away. Each skull is often adorned with the name of the deceased and decorated in a way that reflects their personality. Understanding this cultural context can add even more meaning to your decorating process.
What Are Sugar Skulls Made Of?
Traditionally, sugar skulls are made from a mixture of sugar, meringue powder, and water. This combination is pressed into skull-shaped molds and allowed to dry. The result is a solid, decorative sugar skull that can be painted and embellished to your heart’s content!
Essential Supplies for Decorating Sugar Skulls
Before we dive into decorating ideas, you will need to gather some essential supplies:
- Pre-made sugar skulls or ingredients to make your own
- Edible colors and food-safe markers
- Royal icing (for detailing)
- Decorative embellishments (such as edible glitter, flowers, and beads)
- Brushes and piping bags
Step-by-Step Guide to Decorating Sugar Skulls
Step 1: Preparation
Make sure your sugar skulls are completely dry before you start decorating. If you are using a pre-made sugar skull, ensure it is clean and ready for your artistic touch.
Step 2: Choose a Color Palette
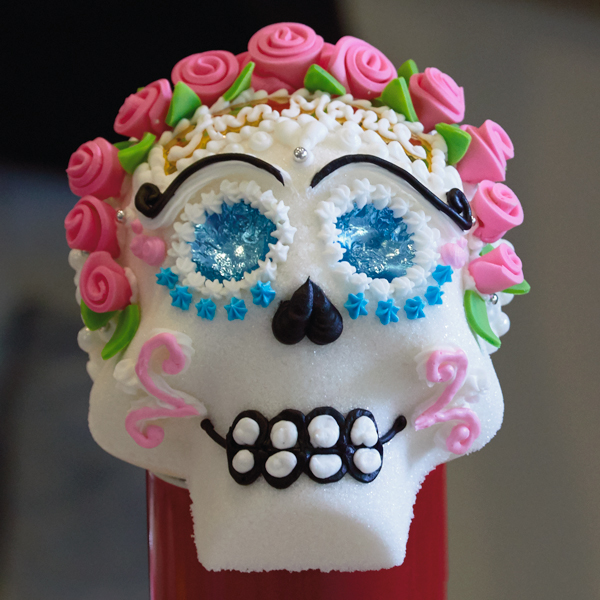
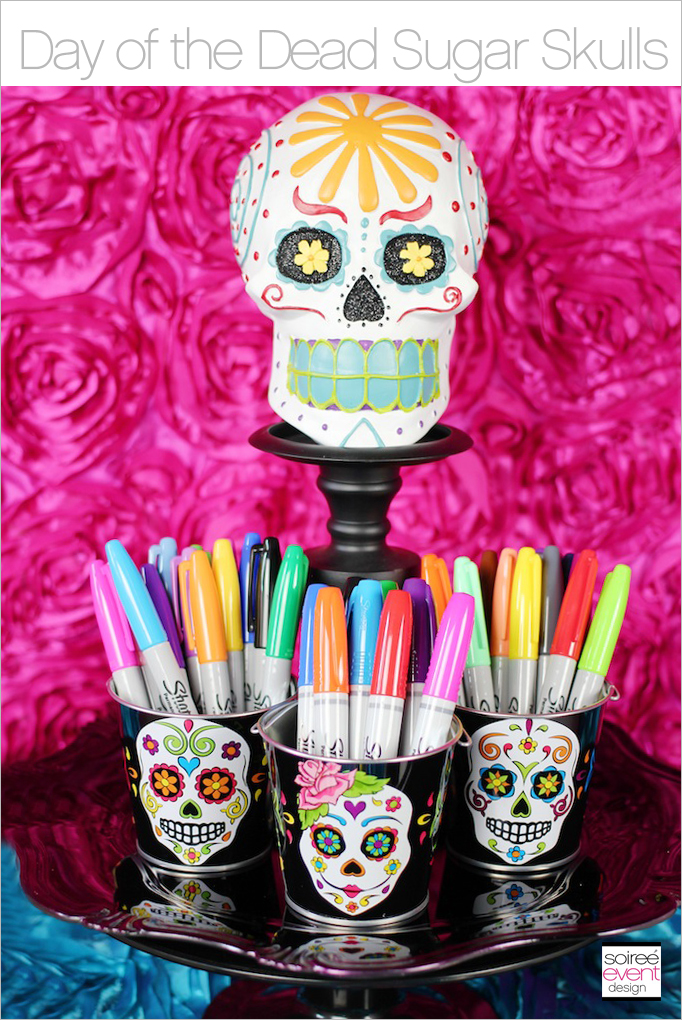
Select a vibrant color palette that speaks to you. Traditional sugar skulls often feature bright colors such as pink, yellow, blue, and green. You can stick to tradition or choose colors that reflect your personal style.
Step 3: Base Coat Application
Using a food-safe brush, apply a base coat of edible color to your sugar skull. Let it dry completely before moving on to the next step.
Step 4: Adding Details
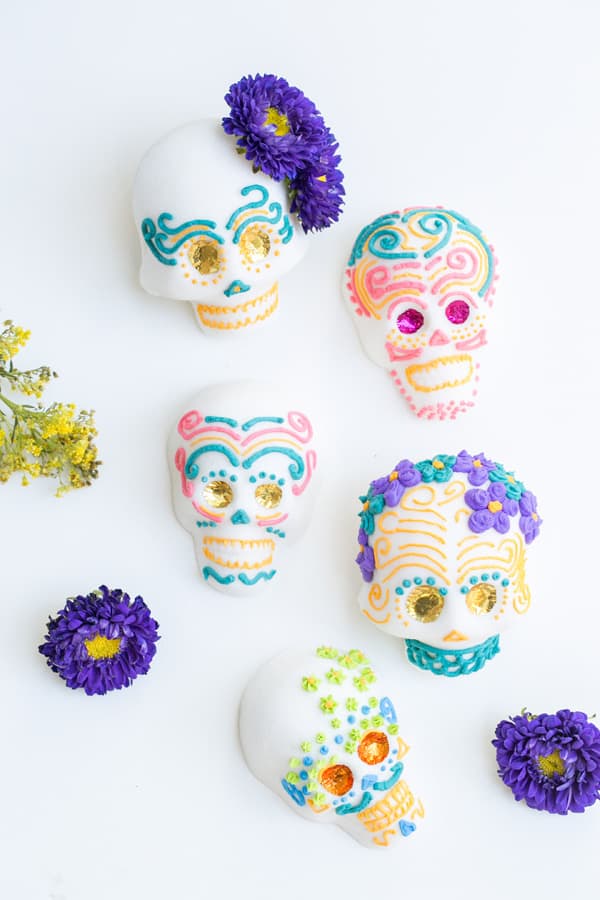
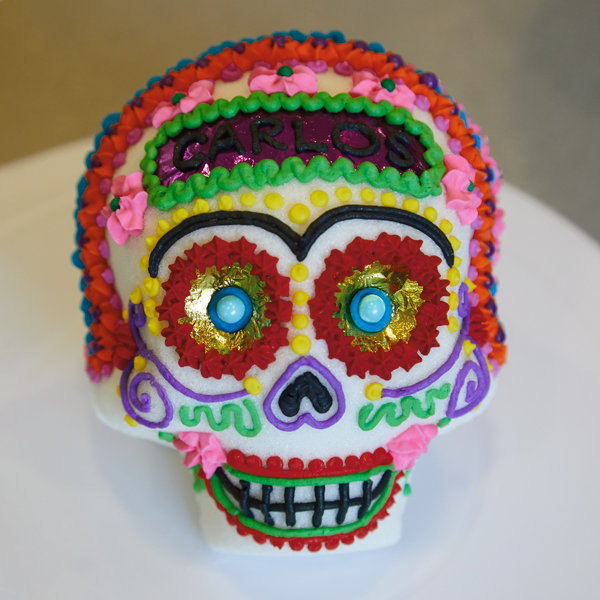
Now comes the fun part! Use royal icing to pipe intricate designs like filigree, flowers, and patterns. Don’t forget to include the name of your loved one on the forehead of the skull.
Step 5: Embellishing
Enhance your design with edible decorations such as glitter, beads, and flowers. Use edible glue to adhere these elements to the surface of the skull.

Unique Sugar Skull Decorating Ideas
1. Floral Designs
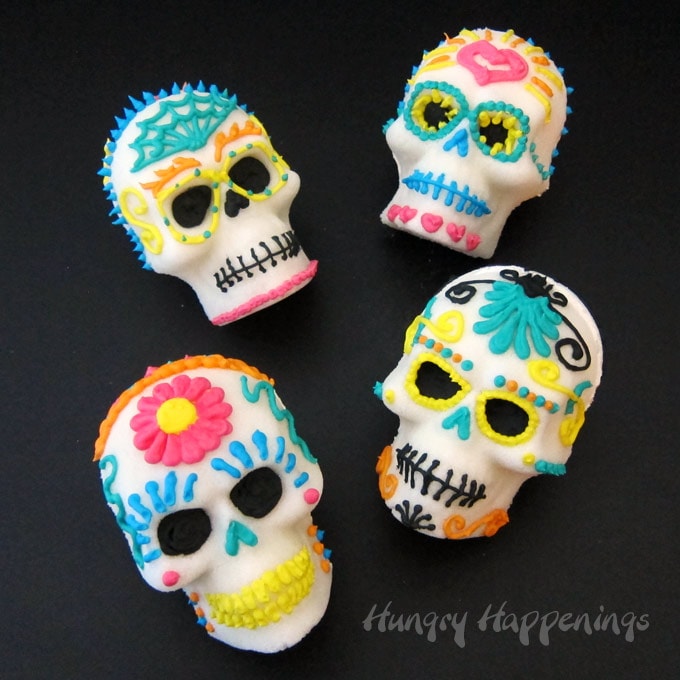
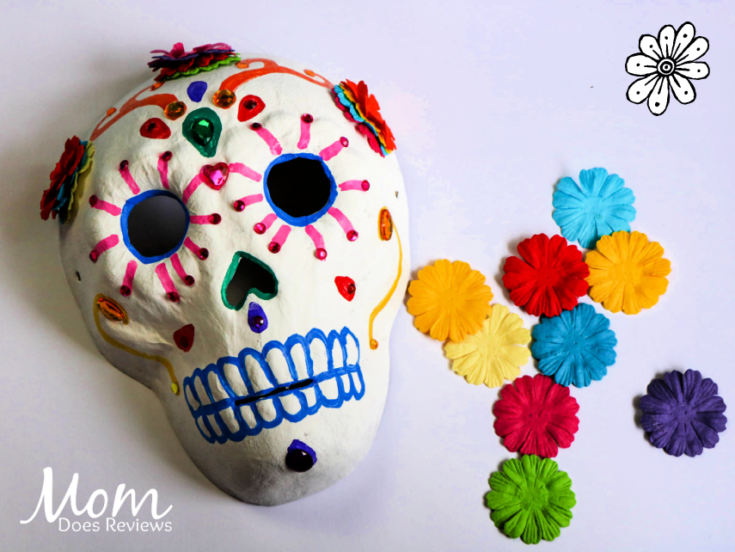
One of the most popular designs for sugar skulls includes vibrant floral patterns. You can use edible flowers to create a stunning garden look, or simply paint flowers using bright colors.
Pros and Cons of Floral Designs
| Pros | Cons |
|---|---|
| Vibrant and colorful | Can be time-consuming |
| Symbolizes life and beauty | Requires precise detailing |
2. Glitter and Glam
Add some sparkle to your sugar skulls with edible glitter. This idea is particularly popular among younger audiences who love the shiny look.
Pros and Cons of Glitter Designs
| Pros | Cons |
|---|---|
| Easy to apply | Can be overwhelming if overdone |
| Kids love it! | May not suit traditional aesthetics |
3. Themed Skulls
Consider creating themed sugar skulls based on popular culture, such as movies or books. Personalizing them to reflect hobbies or interests can make them even more special.
Pros and Cons of Themed Designs
| Pros | Cons |
|---|---|
| Personal and unique | May require special materials |
| Appeals to various demographics | Less traditional |
4. Minimalist Approach
If you prefer a more understated look, try a minimalist design. A simple color wash and a few strategic details can create an elegant sugar skull.
Pros and Cons of Minimalist Designs
| Pros | Cons |
|---|---|
| Simplicity can be striking | May lack vibrancy |
| Quick to create | Not as visually intricate |
Tips for Perfecting Your Sugar Skull Skills
Practice Makes Perfect
Don’t be discouraged if your first attempts don’t come out as expected. Like any craft, practice will improve your skills over time.
Use Quality Materials
Investing in high-quality edible colors and tools can dramatically improve the outcome of your sugar skulls.
Let Your Creativity Flow
There are no hard and fast rules when it comes to designing sugar skulls. Allow your imagination and personal aesthetic to guide your decorations!
Where to Display Your Sugar Skulls
Once your sugar skulls are decorated, you might wonder where to display them. Here are a few ideas:
- On your altar during Día de los Muertos
- As centerpieces for a themed party
- In your home as unique decorative pieces
Frequently Asked Questions (FAQs)
What materials do I need to make sugar skulls?
To make sugar skulls, you’ll need sugar, meringue powder, water, food coloring, and molds. For decorating, you will need edible colors, royal icing, and embellishments.
Are sugar skulls edible?
Yes, sugar skulls are edible, but many people choose to keep them as decorations instead of consuming them due to their hard texture and intricate designs.
How long do sugar skulls last?
Well-decorated sugar skulls can last for several months or longer if stored in a cool, dry place.
Can I make sugar skulls with my kids?
Absolutely! Decorating sugar skulls can be a fun and educational activity for children, helping them learn about cultural traditions.
Conclusion
Decorating sugar skulls is not only a creative outlet but also a beautiful way to honor loved ones. With these ideas, tips, and personal insights, I hope you feel inspired to embark on your own sugar skull crafting journey. Remember, whether you choose vibrant floral patterns or a minimalist approach, the most important part is to enjoy the process and express your individuality. Happy decorating!