Valentine’s Day is a time for love, affection, and creating meaningful memories. One of the best ways to set the mood and celebrate this special occasion is through beautiful decorations. Paper decorations are not only affordable and easy to make, but they also add a personal touch to your celebrations. In this article, I’ll share my favorite ideas for Valentine’s Day paper decorations, along with tips, tricks, and my own experiences to inspire you.
Why Choose Paper Decorations for Valentine’s Day?
Decorating with paper has several advantages:
- Cost-Effective: Paper decorations are budget-friendly, allowing you to create a beautiful space without breaking the bank.
- Easy to Craft: Most paper decorations can be made with simple tools and materials, making them accessible for everyone.
- Customizable: You can choose colors, patterns, and designs that match your theme, adding a personal touch.
- Eco-Friendly Options: Many paper materials are recyclable, so you can feel good about your environmental impact.
Getting Started: Essential Supplies for Paper Decorations
Before diving into your decoration project, gather the essential supplies. Here’s a list of items you might need:
- Various colors of paper (construction paper, scrapbook paper, tissue paper)
- Scissors
- Glue stick or hot glue gun
- String or ribbon for hanging
- Markers or decorative pens
- Templates or printouts (for shapes and designs)
Top 5 Valentine’s Day Paper Decoration Ideas
1. Heart Garland
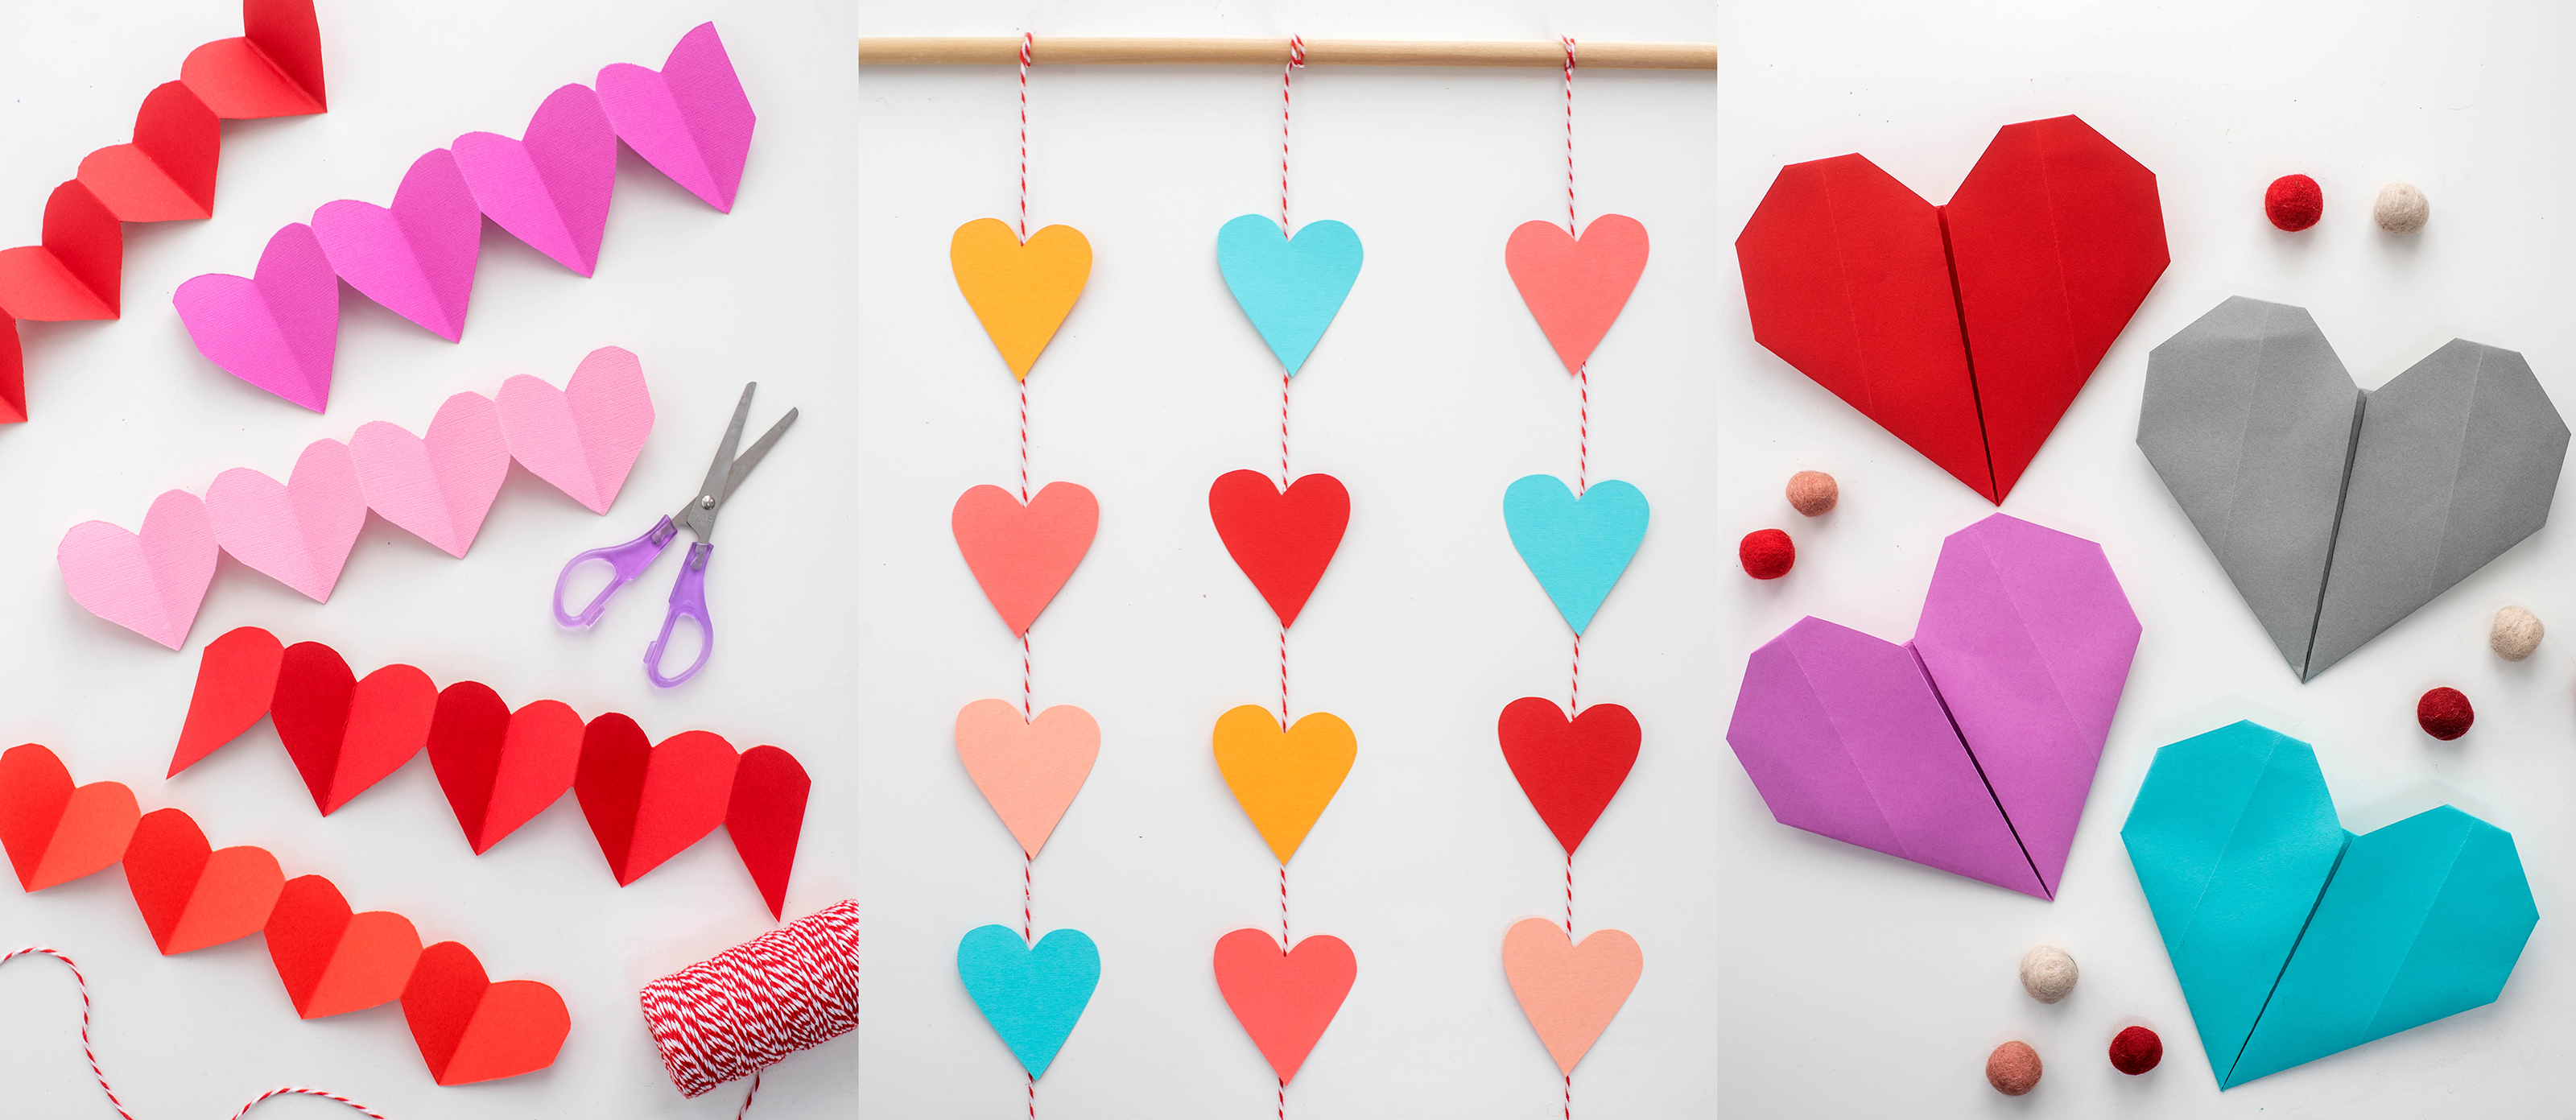
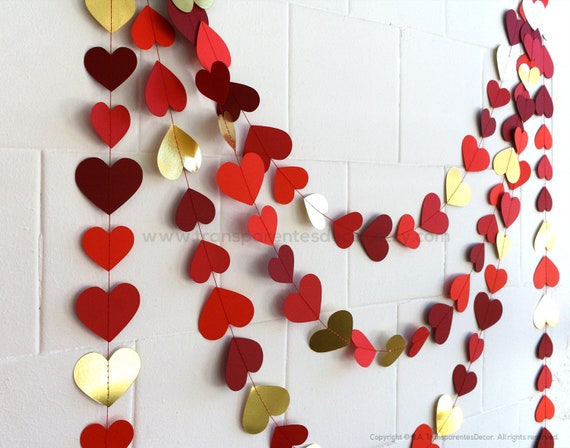
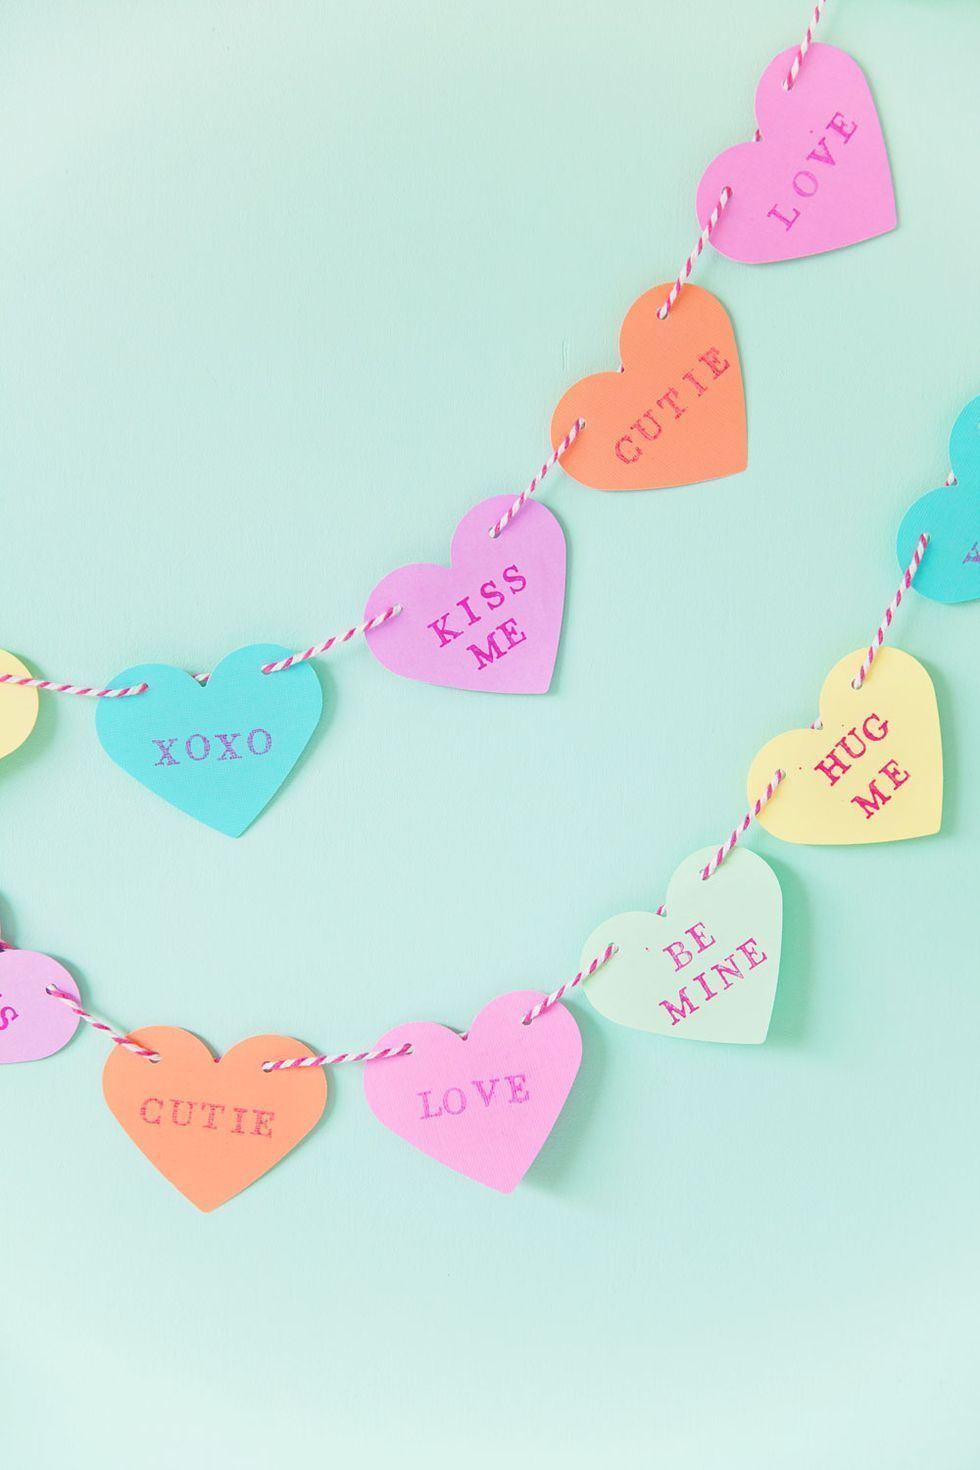
A heart garland is a classic decoration that sets the tone for any Valentine’s celebration. Here’s how to make one:
Materials Needed:
- Colored paper (red, pink, white)
- Scissors
- String or twine
- Glue or tape
Instructions:
- Cut out heart shapes from the colored paper.
- Glue or tape the hearts onto the string, leaving a small space between each heart.
- Hang your garland across a doorframe, wall, or table for an eye-catching display.
2. Paper Flowers
Nothing says romance like blooming flowers. With paper flowers, you can create everlasting bouquets:
Materials Required:
- Tissue paper
- Green paper for leaves
- Floral wire
- Scissors
Instructions:
- Stack several sheets of tissue paper and cut them into rectangles.
- Accordion fold the rectangles and tie them in the center with floral wire.
- Gently pull apart layers to fluff your flower, and add green leaves.
3. DIY Paper Lanterns
Light up your space with charming paper lanterns:
Materials:
- Colored construction paper
- LED tea lights
- Scissors
- Glue or tape
Instructions:
- Cut strips along one long edge of the paper, leaving the top intact.
- Roll the paper into a cylinder and secure with glue.
- Place an LED tea light inside for a romantic glow.
4. Paper Love Notes Display
Add a personal touch by creating a display of love notes:
Supplies Needed:
- Colored paper or cardstock
- Twine or string
- Clothespins or clips
- Markers
Instructions:
- Write sweet messages or love notes on cut pieces of paper.
- Clip the notes to the twine and hang it on a wall or across a window.
5. Paper Hearts Table Centerpieces
Create an inviting table display with paper hearts:
Materials:
- Craft paper in various colors
- Scissors
- Vases or jars
Instructions:
- Cut various sized hearts from the craft paper.
- Place them in vases or jars, mixing shapes and colors for a playful look.

Tips for Creating Stunning Paper Decorations
1. Choose Your Color Palette
Select colors that resonate with the romantic theme of Valentine’s Day—think reds, pinks, whites, and even purples. This will help create a cohesive look throughout your decorations.
2. Mix and Match Textures
Using different types of paper, like glossy, matte, or textured, can add depth and interest to your decorations.

3. Personal Touches Matter
Incorporate personal elements, such as photographs or handwritten notes, to make your decorations unique and heartfelt.
4. Plan Your Layout
Before sticking anything down, lay it out to see what arrangement works best. This will help you envision the final look and make adjustments as needed.

Comparison of Decoration Ideas
| Decoration Type | Difficulty Level | Cost Estimate | Time Required |
|---|---|---|---|
| Heart Garland | Easy | Low | 30 minutes |
| Paper Flowers | Medium | Low | 1 hour |
| DIY Paper Lanterns | Medium | Medium | 45 minutes |
| Love Notes Display | Easy | Low | 30 minutes |
| Paper Hearts Centerpieces | Easy | Low | 20 minutes |
Pros and Cons of Using Paper Decorations
Pros
- Inexpensive and budget-friendly.
- Easy to create and customize.
- Quick setup and takedown.
- Great for DIY lovers.

Cons
- May not be as durable as other materials.
- Prone to damage from moisture.
- May require regular replacement for long-term use.
Frequently Asked Questions (FAQs)
What type of paper is best for Valentine’s Day decorations?
Construction paper, craft paper, and tissue paper are all excellent choices. Choose based on the type of decoration you want to create.

Can I reuse paper decorations for future events?
It depends on the type of decoration. Some, like paper garlands, can be carefully stored and reused, while more intricate designs may not hold up as well over time.
How can I make my paper decorations more durable?
Consider laminating your decorations or using heavier cardstock. Additionally, avoid placing them in high-moisture areas.

Are there any eco-friendly options for paper decorations?
Yes! Look for recycled paper or biodegradable materials. You can also use old newspapers or scrap paper for your projects.
Can I involve my kids in making paper decorations?
Absolutely! Involving kids in crafting decorations is a fun activity that promotes creativity and enhances their fine motor skills.
