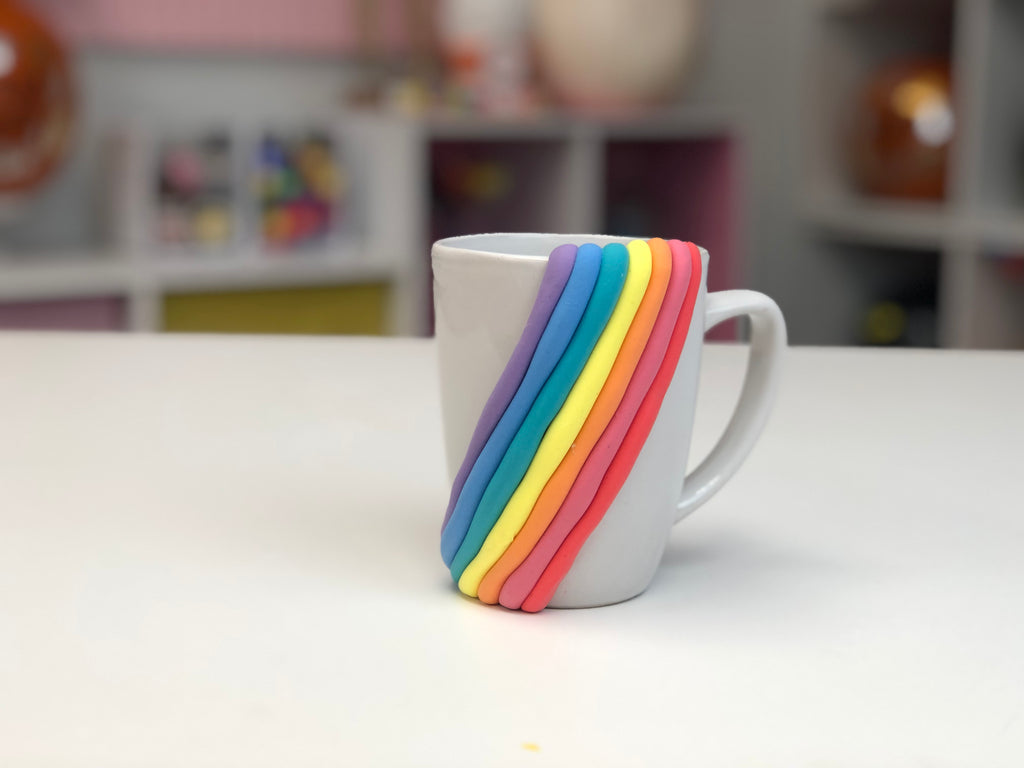
Have you ever looked at a plain cup and thought it could use a little more personality? Decorating cups is an enjoyable and fulfilling craft that allows your creativity to shine. Whether it’s for personal use or a heartfelt gift, customizing cups can bring a unique touch to your daily life. In this comprehensive guide, we’ll explore various methods, materials, and tips for decorating cups in ways that are sure to impress!
Why Decorate a Cup?
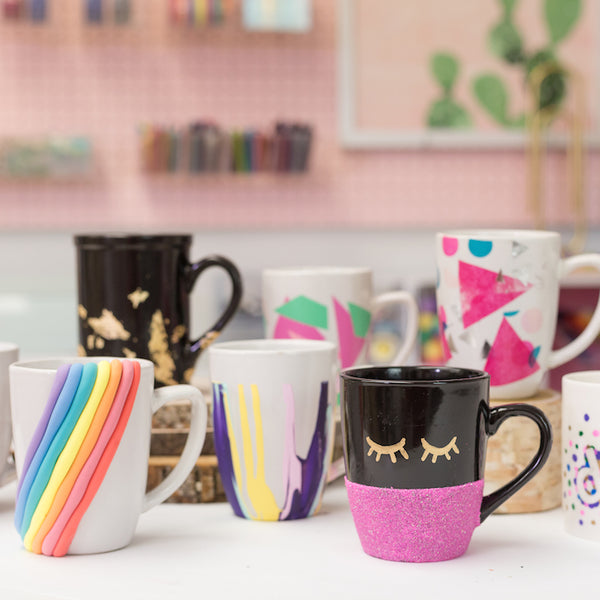
Decorating a cup is not just about aesthetics; it’s about expression. A personalized cup can evoke memories, showcase interests, or simply brighten up your day. Here are a few reasons why you might want to embark on this creative journey:
- Personalization: Customize cups to reflect your style or those you love.
- Gifts: Hand-decorated cups make thoughtful presents for any occasion.
- Fun Activity: Crafting can be a great way to relieve stress and enjoy some quality time.
- Skill Development: Improve your artistic talents and learn new techniques.
Types of Cups You Can Decorate
Before diving into decorating methods, it’s essential to know the types of cups you can work with:
- Ceramic Mugs
- Glass Cups
- Plastic Tumblers
- Stainless Steel Cups
Materials Needed for Decorating Cups
Each decoration method requires different materials. Here’s a breakdown of materials commonly used for various techniques:
| Decoration Method | Materials Needed |
|---|---|
| Painting | Porcelain paint, paintbrushes, stencil (optional) |
| Decoupage | Decoupage glue, scissors, decorative paper or napkins |
| Vinyl | Vinyl sheets, cutting machine, transfer tape |
| Sharpie Art | Oil-based Sharpies, oven for setting |
| Embroidery | Embroidery thread, needle, fabric cups |
Decoration Techniques: Step-by-Step Guides
1. Painting Your Cup
One of the most popular methods for decorating cups is painting. Here’s how to do it:
Materials Needed:
- Porcelain paint or acrylic paint
- Paintbrushes in various sizes
- Oven (for setting the paint)
Steps to Follow:
- Clean your cup with soap and water, then dry thoroughly.
- Sketch your design lightly with a pencil or use stencils.
- Using your brush, apply the paint in layers, allowing each layer to dry.
- Once your design is finished, bake your cup in the oven at 350°F (175°C) for 30 minutes to set the paint.
2. Decoupage Technique
Decoupage is a fun and simple way to add designs to your cup using layers of paper.
Materials Needed:
- Decoupage glue
- Decorative paper or napkins
- Scissors
Steps to Follow:
- Cut your decorative paper into desired shapes.
- Apply a thin layer of decoupage glue to the cup.
- Stick the paper onto the glue and smooth out any bubbles.
- Seal with another layer of glue on top, and let it dry.
3. Using Vinyl
Vinyl decals are a great way to add precise and clean designs to your cups.
Materials Needed:
- Vinyl sheets
- Cricut or Silhouette cutting machine
- Transfer tape
Steps to Follow:
- Design your graphic on the cutting machine software.
- Cut the design from vinyl.
- Weed out the excess vinyl, leaving only your design.
- Use transfer tape to apply the vinyl to your cup carefully.
4. Sharpie Art
Using Sharpies allows for a creative flair and is one of the easiest methods. Here’s how:
Materials Needed:
- Oil-based Sharpies
- Oven to set the design
Steps to Follow:
- Draw your design directly onto the cup with Sharpies.
- Once done, bake the cup in the oven at 350°F (175°C) for 30 minutes.
5. Embroidery on Fabric Cups
If you have fabric cups, embroidery adds a unique touch.
Materials Needed:
- Embroidery thread
- Needle
- Fabric cups
Steps to Follow:
- Thread your needle with your chosen thread.
- Start stitching your design onto the fabric, ensuring to knot your thread securely.
- Finish your design and tie off the thread.

Tips for Successful Cup Decoration
Here are some additional tips to ensure your cup decorating project is a success:
- Always read instructions for the materials you are using.
- Test your designs on paper first if you’re unsure.
- Be patient; allow adequate drying time between steps.
- Don’t rush; enjoy the creative process!
Pros and Cons of Different Decorating Techniques
Comparison Table
| Technique | Pros | Cons |
|---|---|---|
| Painting | Customizable, artistic freedom | Takes time to set, requires baking |
| Decoupage | Easy to apply, versatile designs | May peel over time, less durable |
| Vinyl | Professional finish, easy to remove | Requires a cutting machine, may not be dishwasher safe |
| Sharpie Art | Quick and easy, lots of color options | Can wear off if not sealed properly |
| Embroidery | Unique, tactile design | Time-consuming, needs sewing skills |
Frequently Asked Questions (FAQs)
Can I use any paint on ceramic cups?
No, it’s important to use paint specifically designed for ceramics to ensure durability and safety.
How can I make my decorated cup dishwasher-safe?
While many decorations may require hand washing, using dishwasher-safe products and sealing the paint can help. Always check the product instructions.
How long do decorated cups last?
The lifespan of a decorated cup depends on the method used and how it’s cared for. Generally, painted and vinyl-decorated cups can last for years with proper care.
Can I decorate my cups with food-safe materials?
Yes, there are food-safe paints and sealants available, which are ideal for drinking vessels.

Is decorating a cup a good DIY project for kids?
Absolutely! Decorating cups can be a fun and educational activity for children, allowing them to express their creativity while developing fine motor skills.
Conclusion
Decorating a cup is a delightful way to express your creativity and personalize everyday items. With various methods to choose from, you can create unique designs that reflect your personality or make thoughtful gifts for loved ones. Remember to gather your materials, follow the steps closely, and most importantly, enjoy the process! Happy decorating!