Decorating plastic eggs can be a delightful and fulfilling activity, whether you’re preparing for Easter, a themed party, or simply looking for a creative outlet. Over the years, I’ve found that decorating plastic eggs not only brings a festive spirit to my home but also fosters a sense of creativity that is enjoyable for both kids and adults. In this comprehensive guide, I’ll walk you through the various methods, materials, and ideas for decorating plastic eggs, share my personal experiences, and provide tips to make the process fun and engaging.
Getting Started: Why Decorate Plastic Eggs?
Plastic eggs are versatile and durable, making them perfect for decorating. Here are a few reasons to decorate them:
- Durability: Unlike real eggs, plastic eggs won’t spoil or break, allowing for sustainable decorative pieces that can be reused year after year.
- Kid-Friendly: Decorating plastic eggs can be a safe and fun activity for kids, as they won’t worry about eggs cracking or making a mess.
- Endless Creativity: The materials you can use to decorate plastic eggs are countless, from paint and markers to glitter and fabric.
Essential Materials for Decorating Plastic Eggs
Before diving into the decorating process, you’ll need a few essential materials. Here’s a list of items you might consider:
- Plastic eggs (various sizes)
- Paint (acrylic, spray, or fabric paint)
- Markers (permanent and washable)
- Glue (hot glue gun or craft glue)
- Decorative materials (glitter, sequins, stickers, washi tape)
- Fabric or ribbon
- Brushes and sponges for painting
- Sealant (to protect your design)
Popular Methods for Decorating Plastic Eggs

1. Painting Plastic Eggs
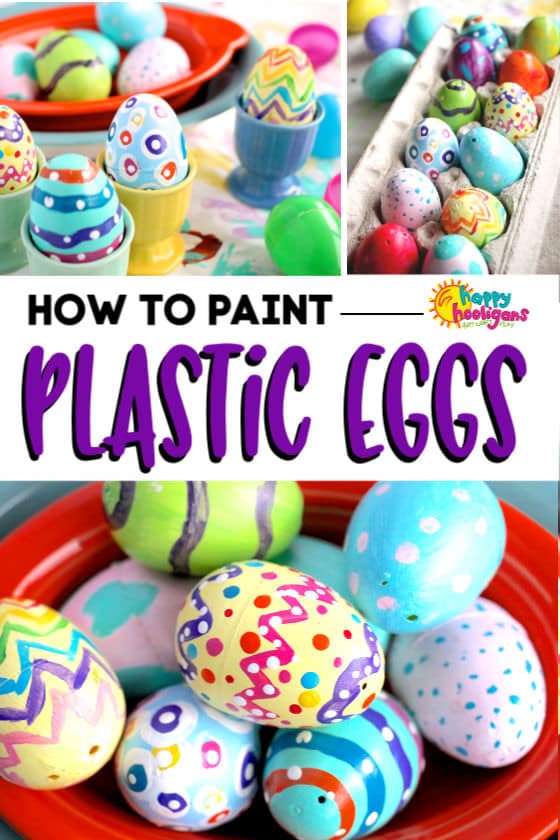
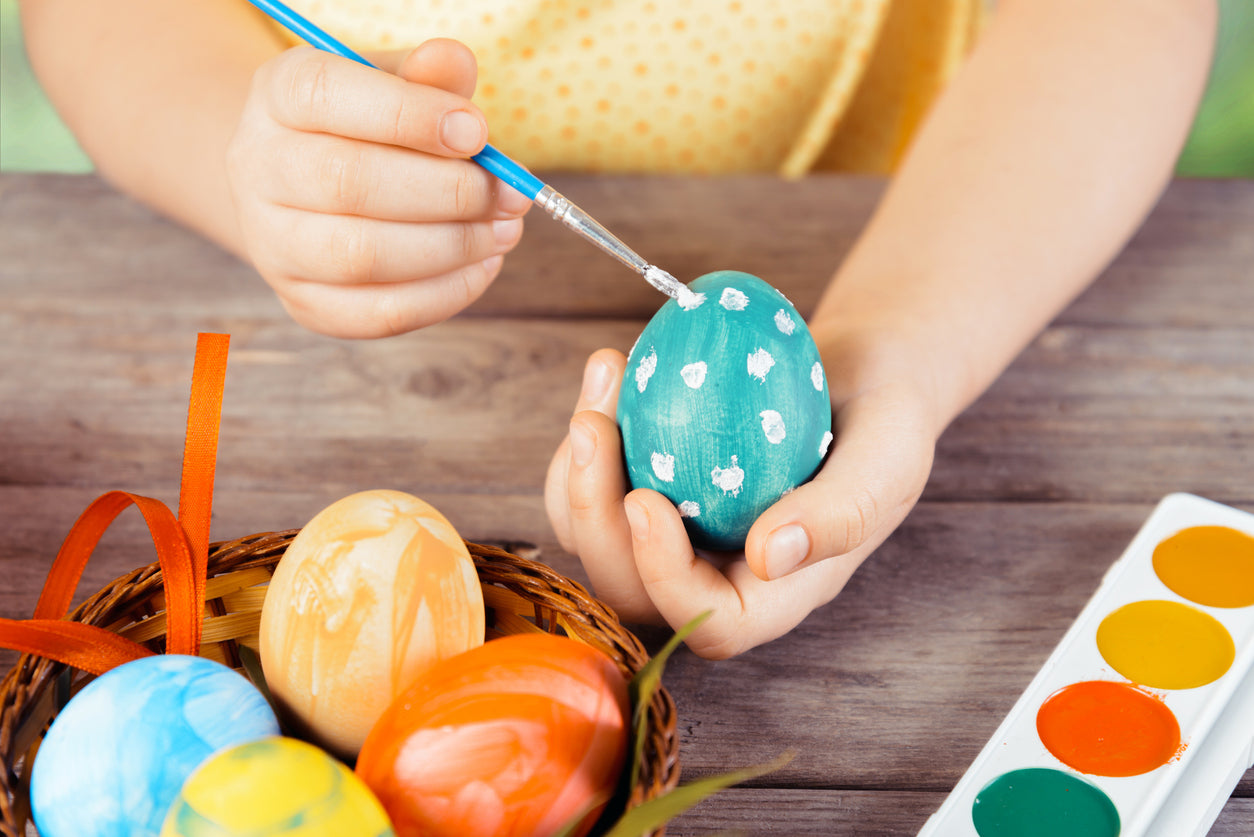
Painting is one of the most popular and traditional methods of decorating plastic eggs. Here’s how to do it:
Step-by-Step Painting Guide
- Prepare Your Workspace: Cover your work area with newspaper or a disposable tablecloth to prevent mess.
- Select Your Paint: Choose the type of paint that suits you best, whether it’s acrylics, spray paint, or fabric paint.
- Base Coat: Apply a base coat if necessary; white or pastel colors often work well.
- Design: Let the base coat dry and then paint your designs, patterns, or characters.
- Seal Your Work: Once everything is dry, apply a clear sealant to keep your design intact.
Tips for Painting
- Use a sponge for a textured effect.
- Mix colors to create unique shades.
- Consider using stencils for more intricate designs.

2. Decoupage on Plastic Eggs
Decoupage is a fun and creative way to add patterns and textures. Here’s how to do it:
Materials Needed for Decoupage
- Decoupage glue or Mod Podge
- Paper cutouts (from magazines, wrapping paper, or printed designs)
- Scissors
- Brush or sponge for applying glue
Decoupage Process
- Cut Out Your Designs: Choose designs that resonate with you, cut them out, and arrange them on your egg.
- Apply Glue: Brush a layer of decoupage glue on the egg and place the cutout on top, then coat the top of the cutout with more glue.
- Drying Time: Let the egg dry completely before adding additional layers or decorations.

3. Using Stickers and Washi Tape
This method is perfect for those who want an easy and mess-free decorating option. Here’s how to do it:
Steps to Decorate with Stickers
- Choose Your Stickers: Pick seasonal themes, characters, or simple designs.
- Application: Stick them onto the surface of the egg, overlapping as desired for a fun effect.
- Layer with Washi Tape: Add washi tape around the egg for borders or additional flair.
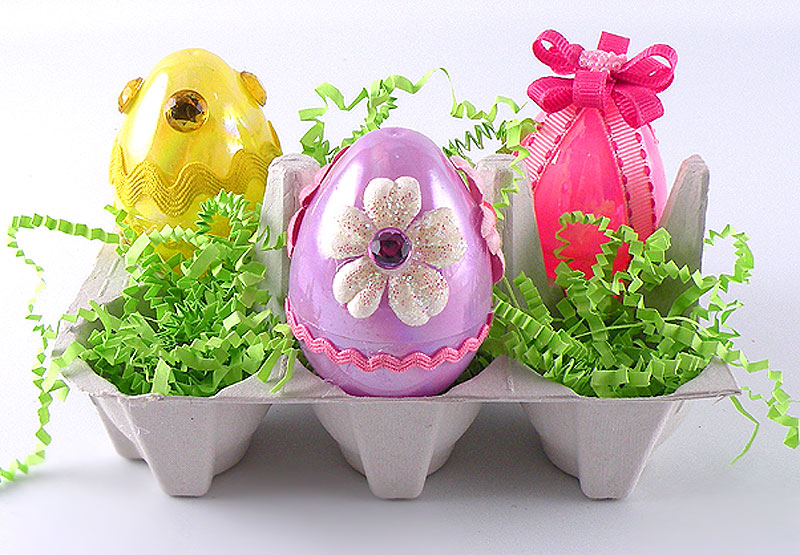
4. Fabric and Ribbon Wrapping
Using fabric and ribbon gives your eggs a soft and cozy look. Here’s how to achieve this:
Materials Needed
- Fabric scraps or old clothing
- Hot glue gun
- Ribbon or string for embellishment

How to Wrap Your Egg
- Cut Fabric: Cut your fabric into strips or squares that are large enough to cover the egg.
- Glue the Edges: Use hot glue to attach the fabric to the egg, wrapping it around for a layered effect.
- Finish with Ribbon: Tie a ribbon around the egg for a finishing touch.
Creative Decorating Ideas for Every Occasion

Seasonal Themes
Consider decorating your plastic eggs based on various holidays or seasons:
- Spring: Pastel colors, floral patterns, or butterfly designs.
- Halloween: Spooky faces, black and orange motifs, or ghosts.
- Christmas: Snowflakes, Santa Claus faces, or Christmas tree decorations.
Personalized Egg Designs
Creating personalized eggs can add a special touch for family gatherings or parties. Here are some ideas:
- Family Portraits: Paint or use stickers to create mini versions of family members.
- Name Tags: Write names on eggs for place settings at a party.
- Handwritten Messages: Use markers to write inspirational quotes or messages.

Comparison of Decorating Methods
Choosing the Right Method for You
| Method | Ease of Use | Material Cost | Durability | Time Required |
|---|---|---|---|---|
| Painting | Moderate | Low | High | 1-2 hours |
| Decoupage | Moderate | Low | Medium | 1-2 hours |
| Stickers/Washi Tape | Easy | Low | Medium | 30 minutes |
| Fabric/Ribbon Wrapping | Easy | Medium | High | 30 minutes |

Pros and Cons of Decorating Plastic Eggs
Pros
- Reusable and environmentally friendly
- Safe for children to use
- Encourages creativity and artistic expression
- Can be decorated for any occasion
Cons
- May require extra storage space
- Plastic may not have the same tactile appeal as real eggs
- Some decorations may not be as durable
Personal Experiences and Tips
Having decorated countless plastic eggs over the years, I’ve learned a few things that can make the process more enjoyable:
- Set a theme for your decorating session, like “Under the Sea” or “Vintage Easter,” to guide your designs.
- Have a decorating party – invite friends or family to join in the fun, bringing snacks and music to set the mood.
- Don’t stress about perfection. Embrace the process and enjoy the creativity that comes with it!
FAQs About Decorating Plastic Eggs
Can you use regular paint on plastic eggs?
Yes, you can use regular craft paints like acrylic, but it’s best to choose paints specifically designed for plastic to ensure good adhesion and durability.
How do I store decorated plastic eggs?
Store decorated eggs in a cool, dry place, preferably in a padded container to prevent damage. Avoid stacking them unless they are cushioned.
What are some non-traditional materials I can use to decorate plastic eggs?
Consider using natural elements like twine, dried flowers, or even feathers for a unique, textured look.
Can I decorate plastic eggs for holidays other than Easter?
Absolutely! Plastic eggs can be decorated for any holiday or occasion, including Halloween, Christmas, birthdays, or even as gifts.
What is the best way to remove paint from plastic eggs?
To remove paint, soak the egg in warm, soapy water for a few minutes, then gently scrub with a soft cloth or sponge. A gentle paint stripper can also be used if necessary.
Conclusion
Decorating plastic eggs is a fantastic way to unleash your creativity, engage in family activities, and enhance the festive atmosphere in your home. With countless methods and ideas to choose from, there’s no limit to how you can personalize your plastic eggs. Whether you opt for painting, decoupage, or any other method, remember that the joy comes from the process and the memories created along the way. Happy decorating!