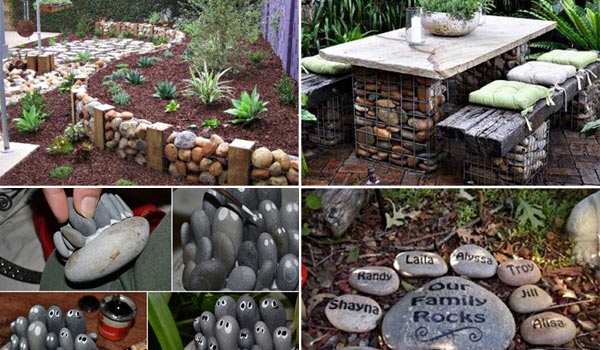
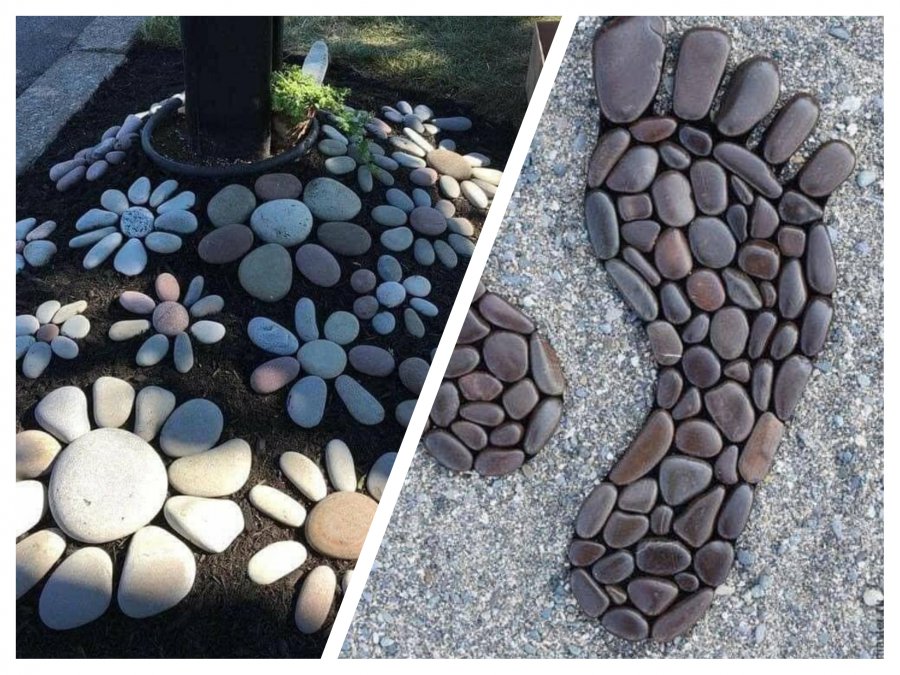
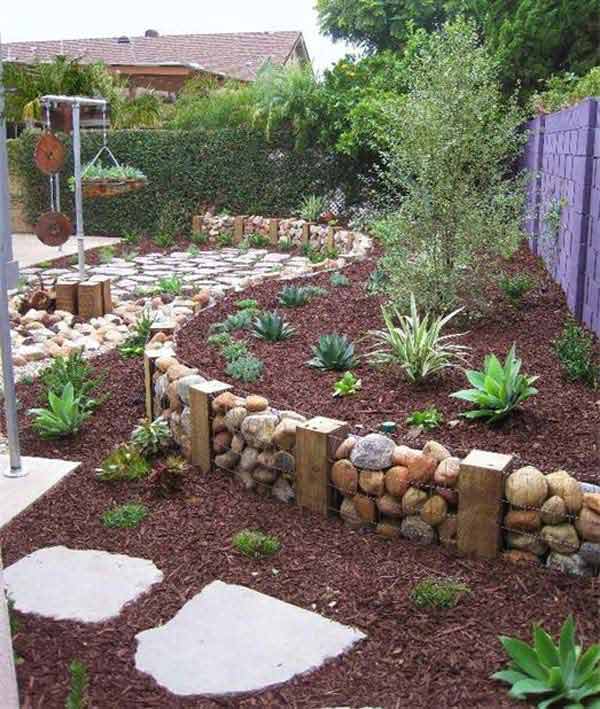
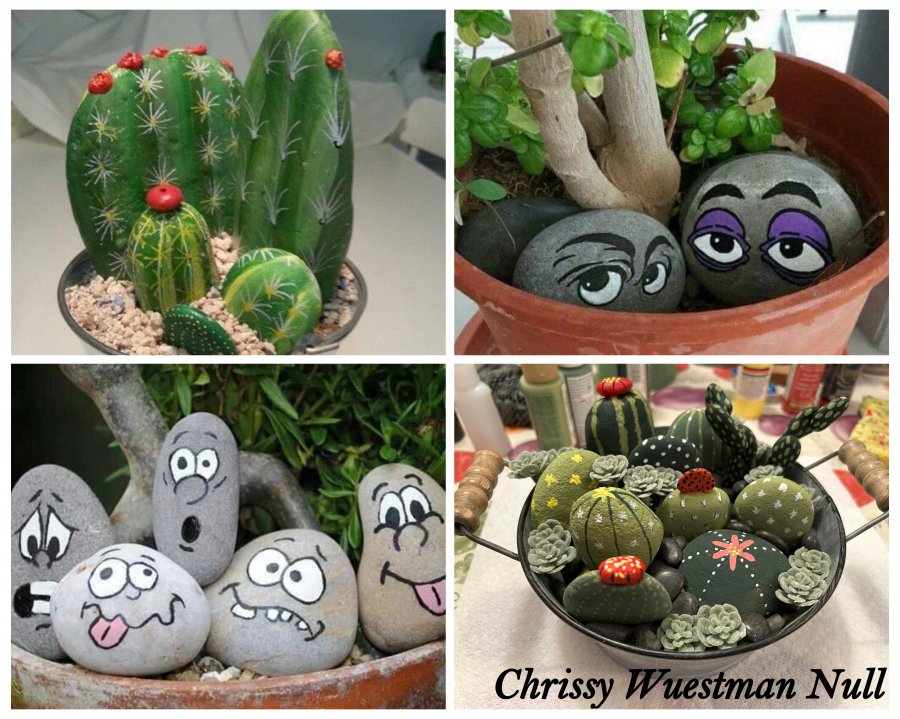
Transforming your garden into a personal oasis can be a delightful project, and what better way to add character and charm than by decorating rocks? In this comprehensive guide, I’ll share my personal experiences, creative ideas, and practical tips on decorating rocks for gardens. Whether you’re a seasoned gardener or just starting, this article is tailored for you, so let’s get our hands dirty!
Why Decorate Rocks?
Decorating rocks for your garden serves several purposes:
- Enhances Aesthetic Appeal: Beautiful rocks can serve as focal points in your garden landscape.
- Personal Expression: It’s a unique way to showcase your personality and artistic flair.
- Low Maintenance: Rock decorations require little upkeep compared to plants.
- Environmentally Friendly: Using natural materials aligns with sustainable gardening practices.
Getting Started: Materials You’ll Need
Before we dive into the decorating process, let’s gather some essential materials:
Essential Supplies
| Item | Description | Where to Buy |
|---|---|---|
| Rocks | Various sizes and shapes. Look for smooth, flat stones for painting. | Garden centers, parks, or collect from riverbanks (ensure it’s legal). |
| Paints | Outdoor acrylic paints or special rock paints that withstand weather. | Art supply stores, online retailers. |
| Sealer | Protective clear coat spray to preserve your designs. | Home improvement stores. |
| Brushes | Various sizes for detailed work. | Art supply stores. |
| Sponges or Stencils | For creating patterns and textures. | Art supply stores, online. |
Choosing the Right Rocks for Your Garden
When selecting rocks, consider the following:
- Size: Choose sizes that are manageable and suitable for your design.
- Shape: Flat stones are easier to paint, while round stones can be great for stacking.
- Texture: Rough textures can create a more rustic feel, while smooth rocks are modern and sleek.
Techniques for Decorating Rocks
1. Painting Rocks
Painting is one of the most popular ways to decorate rocks. Here’s how to do it:
- Clean the rocks thoroughly to remove any dirt or debris.
- Sketch your design lightly with a pencil.
- Use outdoor acrylic paints to fill in your design.
- Once dry, apply a sealer to protect your art from the elements.

2. Creating Patterns with Stencils
If painting isn’t your strong suit, stenciling is a fantastic alternative:
- Purchase or create stencils based on your design.
- Secure the stencil on the rock with tape and use a sponge brush to dab paint.
- Remove the stencil carefully to reveal your gorgeous pattern.
3. Utilizing Natural Materials
Sometimes, the best decoration comes from nature:
- Adorn your rocks with moss or lichen for a natural look.
- Glue small shells or pebbles for a beachy vibe.
- Use twigs and leaves to create a natural collage.

4. Incorporating Mosaic Techniques
Mosaic rock art is a splendid way to show creativity:
- Break tiles or glasses into smaller pieces.
- Assemble them on the rock’s surface using strong adhesive.
- Grout between the tiles once the adhesive dries for a polished finish.
Placement Ideas for Decorated Rocks
Now that you have your rocks decorated, it’s time to showcase them!
1. Garden Pathways
Line your garden paths with painted rocks to guide visitors and add color to your landscape.

2. Flower Beds
Place your decorated rocks among flowers to create whimsical focal points within the blooms.
3. Water Features
Enhance ponds or fountains by surrounding them with uniquely painted rocks that harmonize with the water’s vibe.

4. Decorative Borders
Use rocks to create borders around garden beds, providing a clean look while adding artistic touches.
Comparing Decoration Styles: A Quick Guide
| Decoration Style | Pros | Cons |
|---|---|---|
| Painting | Highly customizable; wide range of colors. | May fade over time without proper sealing. |
| Mosaic | Unique designs; excellent for adding texture. | Requires more time and materials. |
| Natural Materials | Environmentally friendly; blends well with nature. | Less durable than painted options. |
| Stenciling | Easy and quick; great for beginners. | Fewer opportunities for creativity. |

Maintaining Your Decorated Rocks
To keep your decorated rocks looking their best, consider the following maintenance tips:
- Regularly check for dirt buildup and rinse gently.
- Reapply sealant every few years, especially if you notice fading.
- Store in a shaded area during extreme weather to prevent damage.
Inspiration From My Garden Journey
As I embarked on my rock decorating journey, I discovered that each rock tells a story. For instance, my favorite rock is a large flat stone painted with a vibrant sunflower. It sits at the entrance to my garden, welcoming visitors and reminding me of beautiful summer days. Not only does it brighten up my space, but it also serves as a conversation starter!

Common FAQs About Decorating Rocks for Gardens
1. What type of paint is best for outdoor rock decorating?
Outdoor acrylic paints or paints specifically labeled for rocks are ideal, as they are durable and weather-resistant.
2. Can I use regular spray paint on rocks?
While spray paint can be used, it’s crucial to follow up with a clear sealant to protect the design from rain and sun exposure.
3. How do I clean my decorated rocks?
Use a soft brush and water to gently clean the rocks. Avoid harsh chemicals that could damage the paint.
4. Are there designs suitable for beginners?
Absolutely! Simple designs like dots, stripes, and basic shapes are perfect for beginners and can be very effective.
5. Can I decorate rocks indoors as well?
Yes! While the focus is on outdoor decor, beautifully decorated rocks can also enhance indoor plant arrangements or decorative bowls.
Conclusion: Rock Your Garden Decor!
Decorating rocks for your garden is not just a creative outlet; it’s a way to connect with nature and express your personality. Whether you choose to paint, stencil, or create mosaics, every decorated rock adds a personal touch to your outdoor space. I hope this guide inspires you to start your rock decorating adventure and make your garden truly yours!