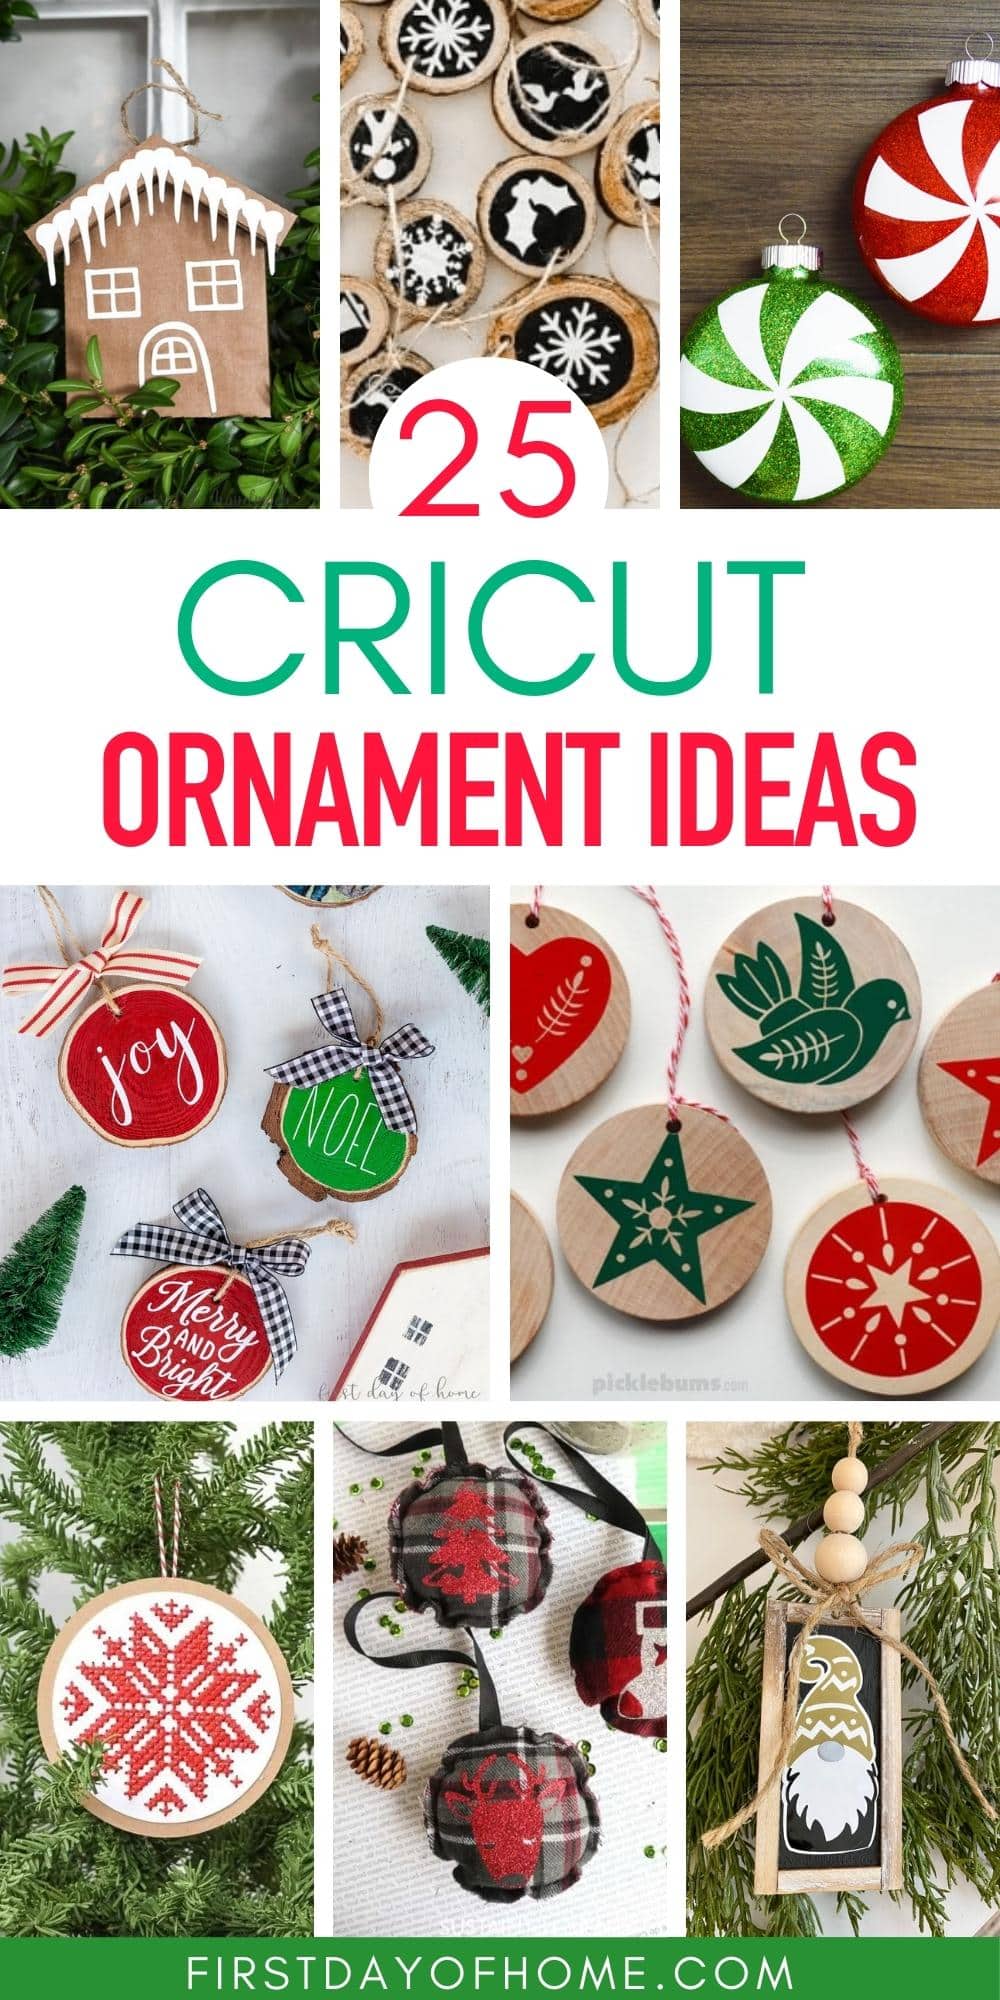
As the holiday season approaches, the quest for unique and personalized decorations begins. If you’re like me, you love to get crafty and add a personal touch to your home decor. One of the best ways to do this is by using a Cricut machine! In this article, I’ll walk you through a variety of Cricut Christmas decoration ideas, tips, and personal experiences that will inspire you to create your own festive masterpieces. Let’s dive into the wonderful world of Cricut, where creativity meets holiday spirit!
Why Choose Cricut for Christmas Decorations?
A Cricut machine is a fantastic tool for anyone looking to create customized decorations for the holiday season. Here are a few reasons why:
- Versatility: Cricut machines can cut various materials including paper, vinyl, fabric, and more. This allows you to create a wide range of decorations.
- Precision: The precise cuts ensure that your decorations look professional and polished.
- Ease of Use: With user-friendly software, even beginners can quickly learn how to create stunning designs.
- Cost-Effective: Instead of purchasing expensive decorations, you can make your own at a fraction of the cost.
Getting Started with Cricut Christmas Decorations

Choosing the Right Cricut Machine
Before diving into projects, it’s crucial to select the right Cricut machine. The most popular models are:

| Model | Key Features | Best For |
|---|---|---|
| Cricut Explore Air 2 | Bluetooth, 100+ tools, cuts 100+ materials | Beginner to advanced users |
| Cricut Maker | Smart cutting technology, adaptive tools | Advanced projects, fabric cutting |
| Cricut Joy | Compact size, perfect for small projects | Quick and easy small projects |
Supplies You’ll Need

Once you have your Cricut machine, gather some essential supplies:
- Adhesive vinyl or iron-on vinyl
- Cardstock and specialty papers
- Transfer tape
- Adhesives (glue gun, double-sided tape)
- Cutting mats
- Weeding tools

Creative Cricut Christmas Decoration Ideas
1. Personalized Ornaments

One of the best ways to give a personalized touch to your Christmas tree is with custom ornaments. Here’s how I made mine:
Instructions
- Choose a shape and design your ornament in Cricut Design Space.
- Cut the design with your Cricut machine using adhesive vinyl.
- Weed out the excess vinyl and apply transfer tape.
- Adhere to an ornament of your choice!

Pros and Cons
Pros: Unique, customizable, great for gifts.
Cons: Requires some skill with the machine.
2. Festive Wall Art

Wall art can transform any space into a winter wonderland. I created a beautiful “Merry Christmas” sign for my living room!
Materials Needed
- Wooden board or canvas
- Vinyl for cutting
- Paint (optional for background)
Instructions
- Design your wall art in Cricut Design Space.
- Cut and weed your vinyl.
- Adhere the vinyl to the wooden board/canvas.
- Display it prominently in your home!
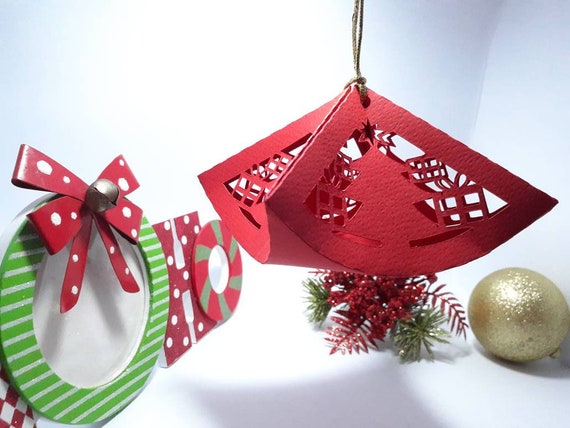
3D Christmas Decorations with Cricut
Creating 3D Snowflakes
3D decorations add depth and interest to your holiday decor. I love making snowflakes that hang from the ceiling!
Instructions
- Download or create a snowflake design in Cricut Design Space.
- Cut multiple snowflakes from cardstock.
- Score along designated lines to fold into a 3D shape.
- Hang with fishing line or string.
Pros and Cons
Pros: Stunning visual appeal, easy to coordinate with other decor.
Cons: May require some practice to perfect the folding technique.
Utilizing Cricut for Gift Wrapping
Custom Gift Tags
Make your presents stand out this year with personalized gift tags!
Instructions
- Create a design for your gift tags in Cricut Design Space.
- Cut them out using cardstock or lighter materials.
- Use markers to write the recipient’s name.
- Attach to your gifts with twine or ribbon.
Creating Christmas Garland
How to Make a Festive Garland
Garlands are a great way to add a festive touch to your home. Here’s how I created one:
Instructions
- Choose your shapes (stars, trees, etc.) in Cricut Design Space.
- Cut the shapes from colorful cardstock.
- Attach them to a long string using glue or tape, spacing them out evenly.
- Hang it above your fireplace or on walls.
Tips for Cricut Christmas Crafting
Maintaining Your Cricut Machine
Taking care of your Cricut machine is crucial for seamless crafting. Here are my top maintenance tips:
- Regularly clean the cutting mat with soap and water.
- Keep the blade clean and replace it when dull.
- Store materials in a cool, dry place to prevent damage.
Time Management for Crafting Sessions
To maximize your crafting time, plan your projects in advance. Allocate specific days for cutting, assembly, and decorating to avoid last-minute stress!
FAQs About Cricut Christmas Decorations
What type of vinyl is best for Christmas decorations?
Adhesive vinyl works great for ornaments and wall art, while iron-on vinyl is ideal for textiles like stockings and pillow covers.
Can I use my Cricut for gift wrapping?
Absolutely! Use your Cricut to create custom gift tags, wrap designs, and even decorative elements for the wrapping paper.
What materials can I use with my Cricut?
You can cut vinyl, cardstock, fabric, and even heavier materials like wood and leather, depending on your Cricut model.
How do I clean my Cricut cutting mat?
Use mild soap and warm water for cleaning. Allow it to air dry before using it again.
Final Thoughts: Bring Holiday Joy with Cricut Decorations
Cricut machines offer endless possibilities for creating beautiful and personalized Christmas decorations. From custom ornaments to festive garlands, each project is an opportunity to express your creativity. I hope my experiences and tips inspire you to embark on your own Cricut crafting journey this holiday season!
Happy crafting and Merry Christmas!