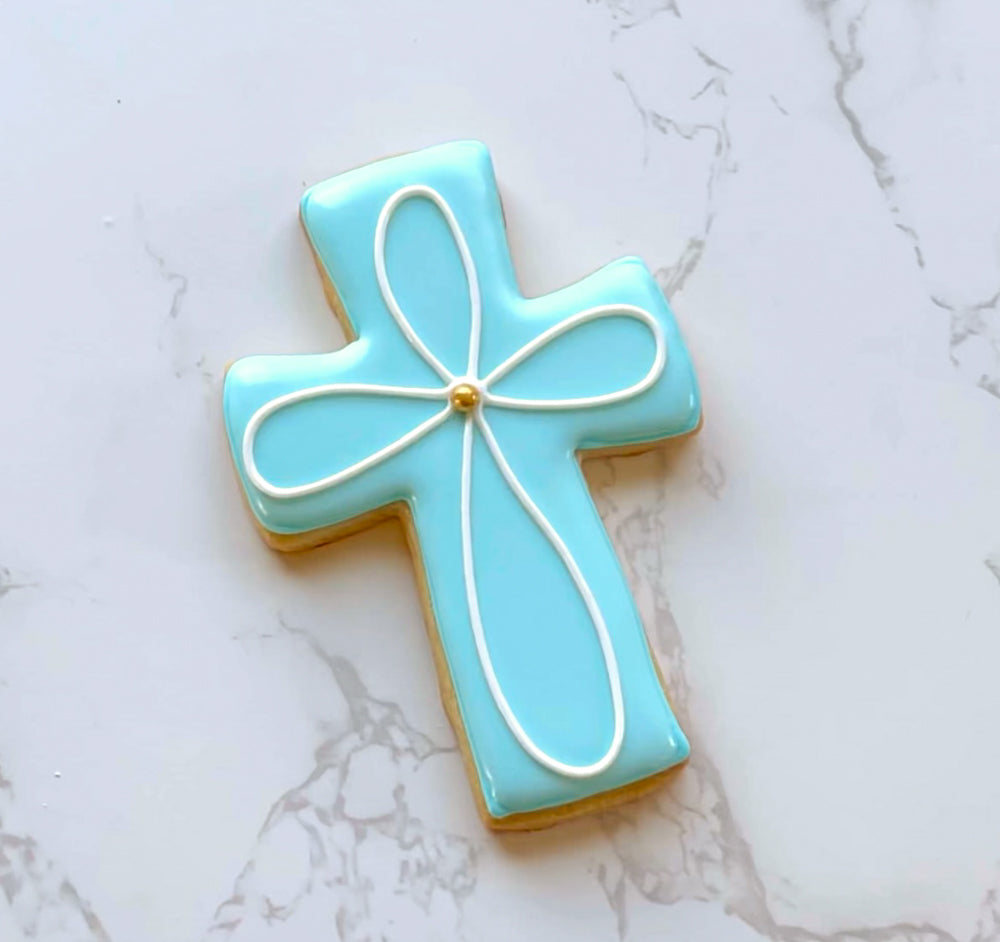
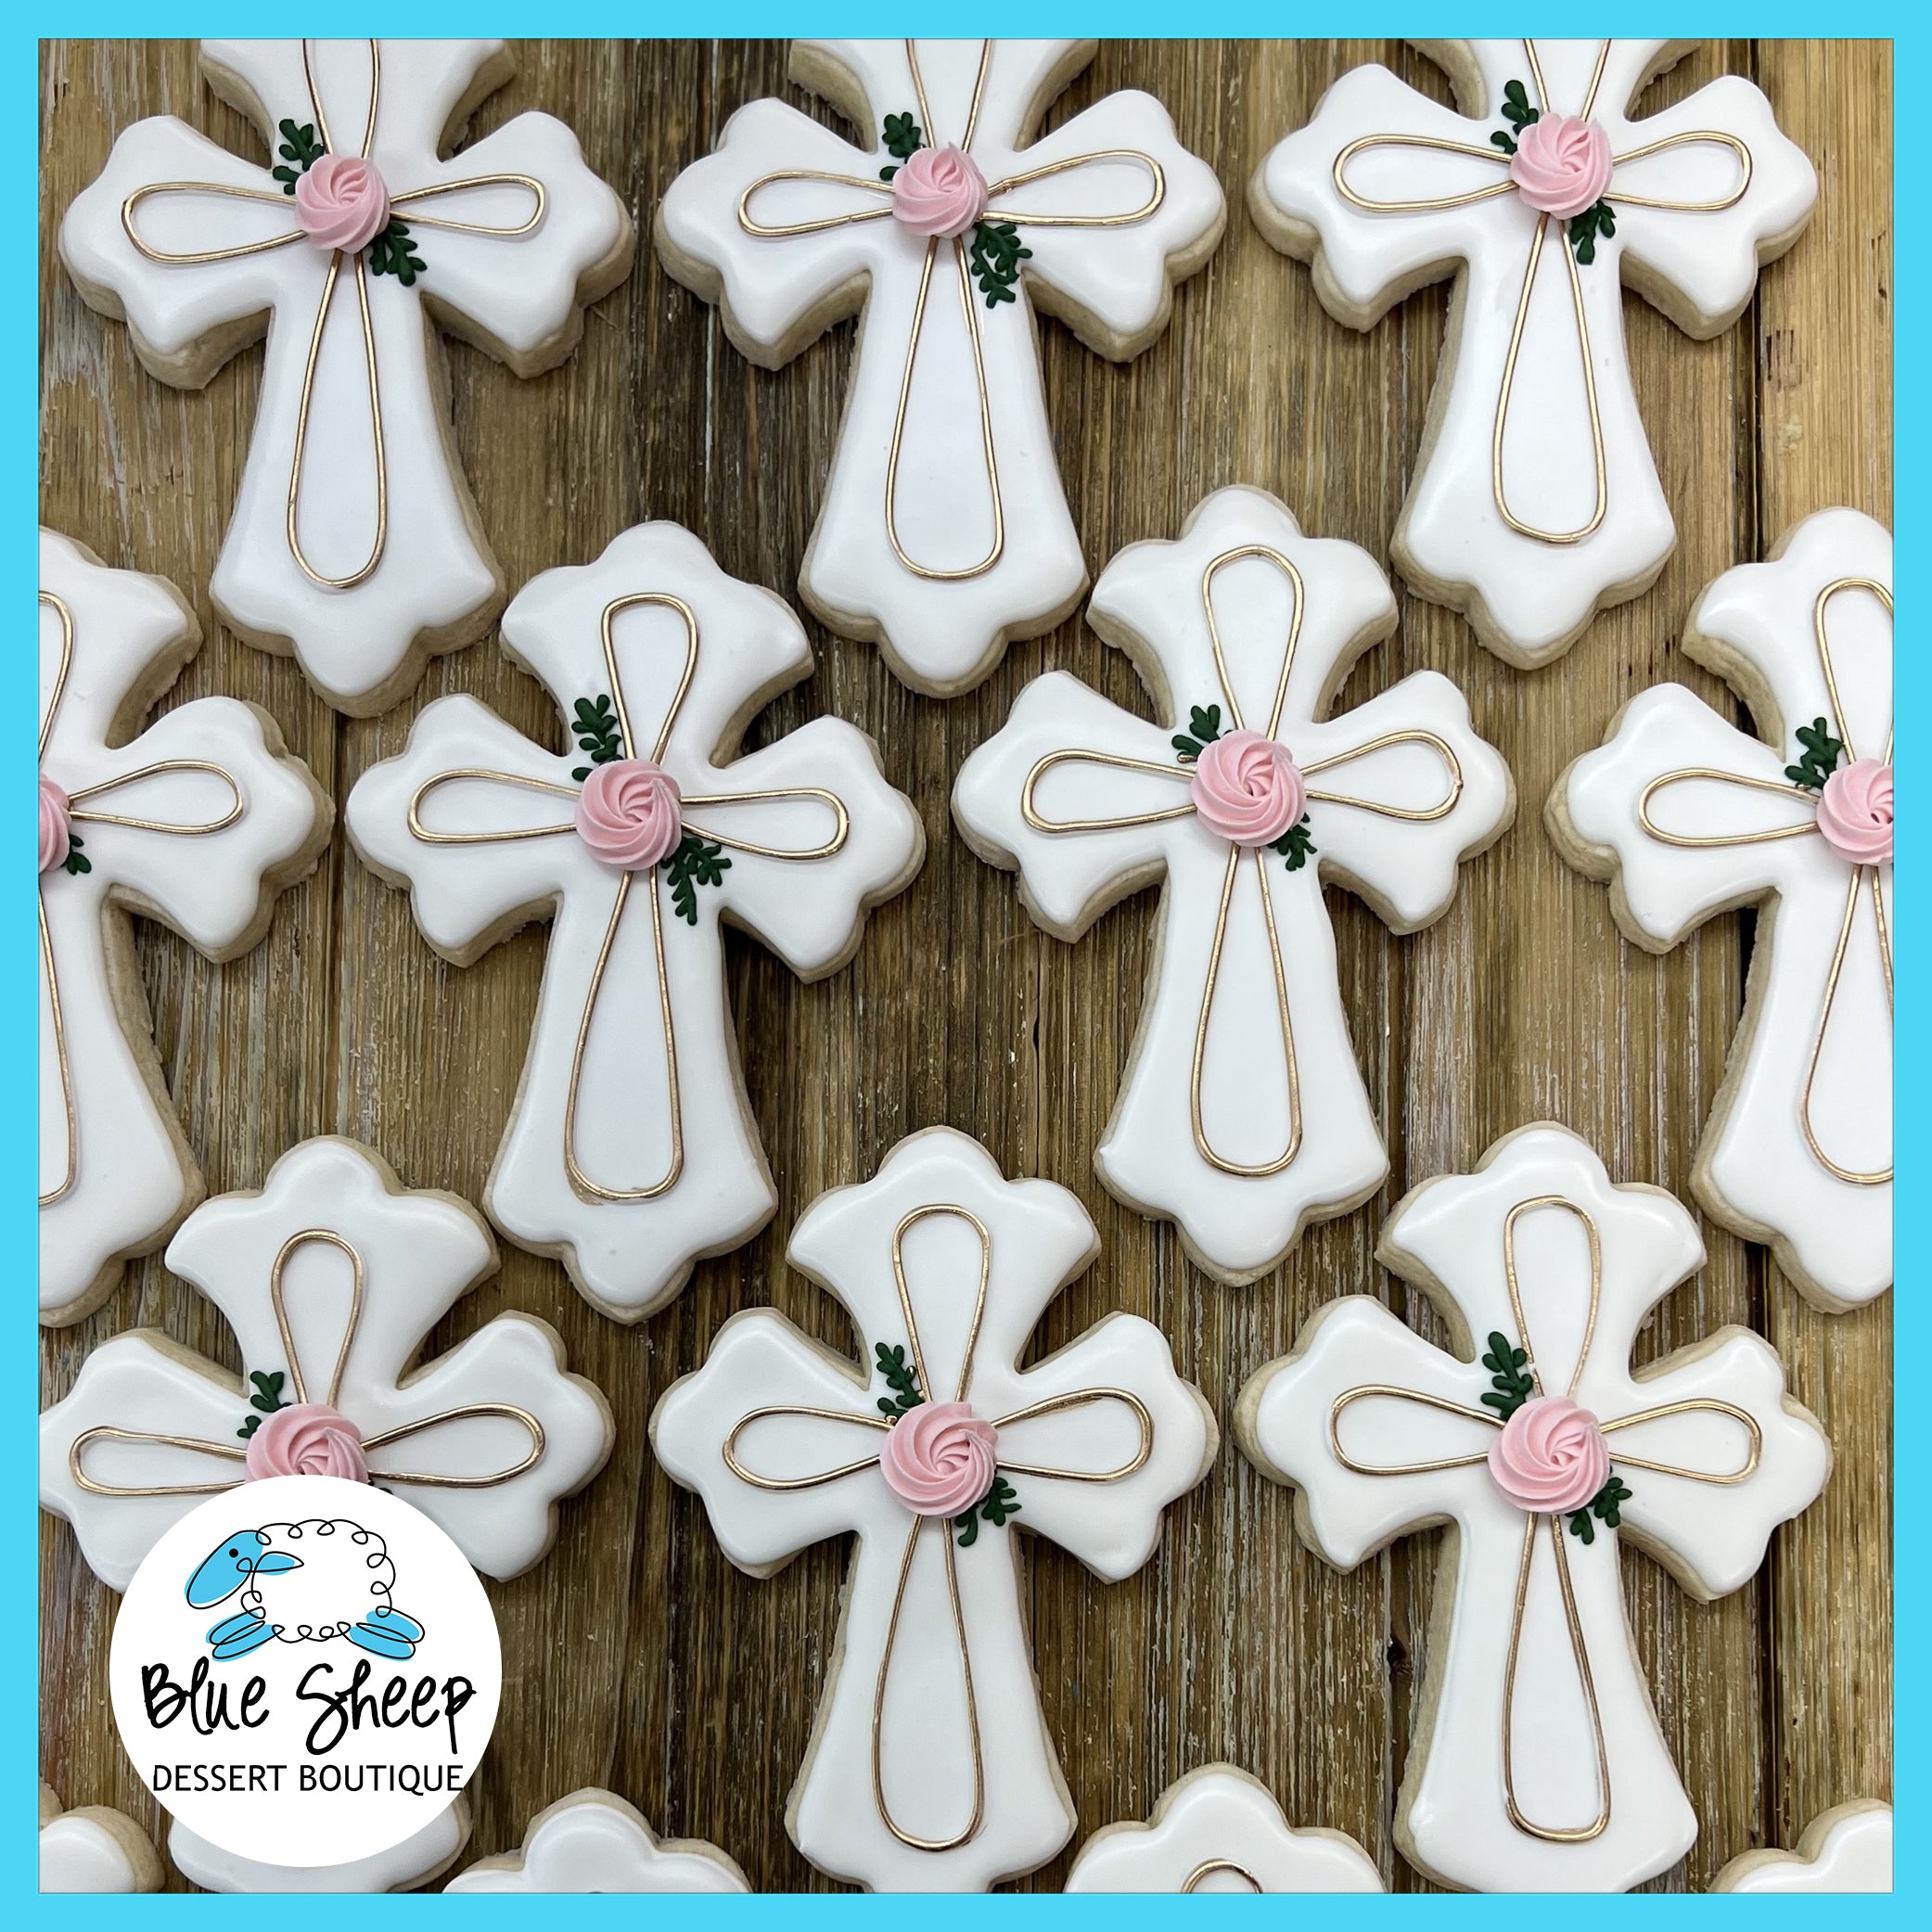
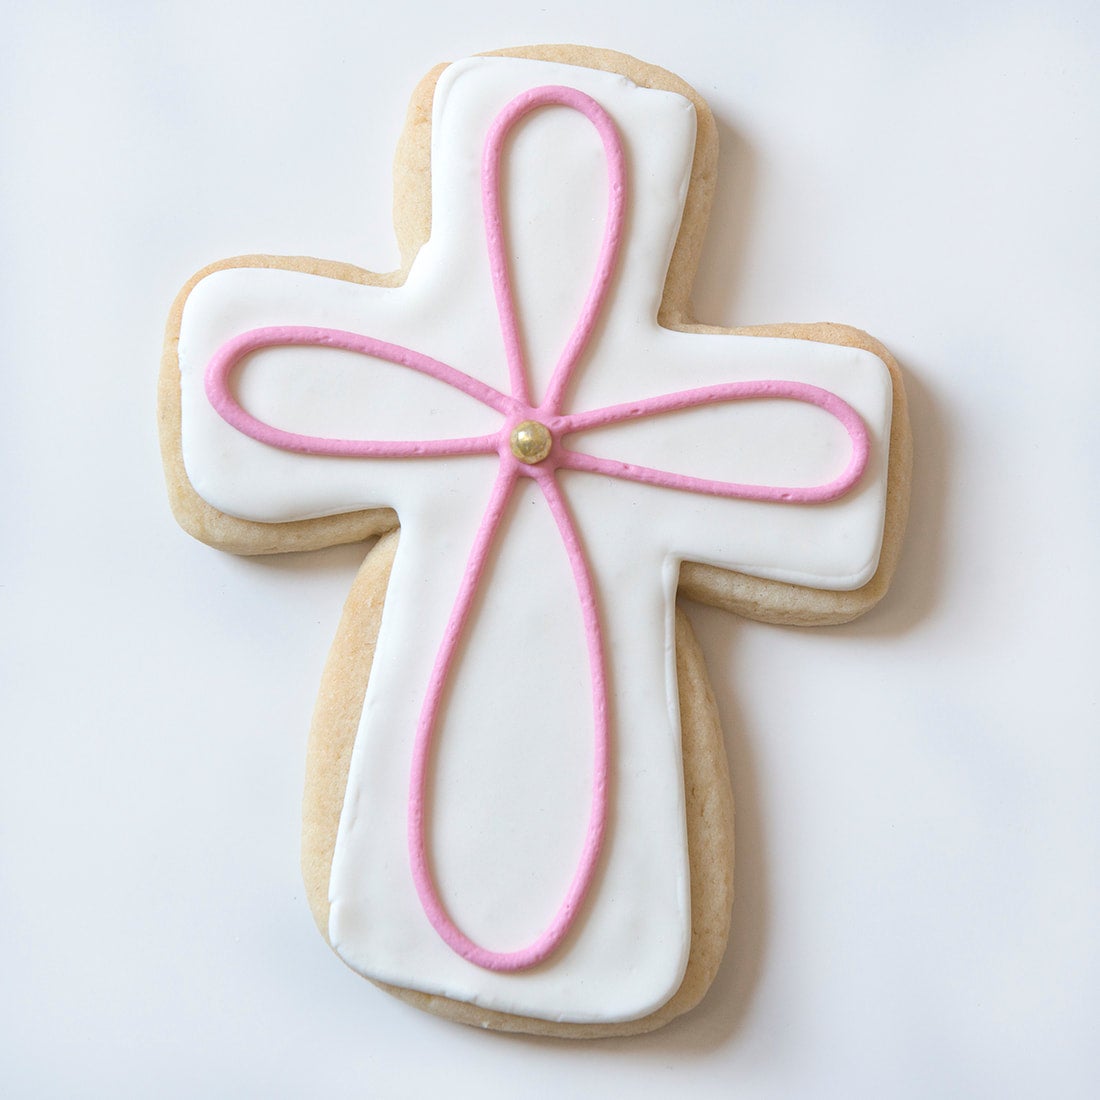
Welcome to the sweet world of cross decorated cookies! If you’re reading this, chances are you’re either a cookie enthusiast, a budding baker, or someone looking to impress at the next bake sale or family gathering. In my journey of baking, I’ve found great joy in creating these exquisite cookies, and today, I’m excited to share everything I’ve learned about cross decorating techniques.
What Are Cross Decorated Cookies?
Cross decorated cookies are a delightful fusion of baking and artistic expression, often adorned with intricate designs that can represent various themes, from holidays to personal celebrations. The method of decorating is versatile, allowing for creativity and personalized touches.
History of Cross Decorated Cookies
The tradition of cookie decoration dates back centuries. In many cultures, cookies were often decorated during festivals or special occasions. The ‘cross’ aspect draws from its religious connotations, especially during Christian holidays. Over time, the techniques evolved, enhancing the art of cookie decorating into a beloved hobby for many.
Essential Ingredients for Cross Decorated Cookies
Before diving into the decoration process, it’s crucial to understand the basic ingredients required for making the perfect cookie base.
Main Ingredients
| Ingredient | Purpose |
|---|---|
| Flour | Forms the structure of the cookie |
| Butter | Adds richness and flavor |
| Sugar | Sweetens and helps with browning |
| Eggs | Binding agent |
| Vanilla Extract | Adds flavor depth |
| Baking Powder | Leavening agent |

Additional Decorative Supplies
- Royal Icing
- Food Coloring
- Piping Bags and Tips
- Edible Glitter
- Food-safe Paintbrushes
The Process of Making Cross Decorated Cookies
Step 1: Preparing the Cookie Dough
Combining your wet and dry ingredients carefully is the first step toward achieving the perfect cookie consistency. Here’s my tried-and-true recipe.

Basic Sugar Cookie Recipe
Ingredients:
- 2 ¾ cups all-purpose flour
- 1 teaspoon baking powder
- 1 cup unsalted butter, softened
- 1 ½ cups white sugar
- 1 egg
- 1 teaspoon vanilla extract
- ½ teaspoon salt

Instructions:
1. Preheat your oven to 350°F (175°C).
2. In a bowl, mix flour, baking powder, and salt.
3. In another bowl, cream together butter and sugar until smooth. Beat in egg and vanilla. Gradually blend in the dry mixture.
4. Roll rounded teaspoonfuls of dough into balls, and place them onto ungreased cookie sheets.
5. Bake for 8 to 10 minutes in the preheated oven. Let cool on wire racks before decorating.

Step 2: Baking the Cookies
Consistency is key. Make sure your oven is properly calibrated to prevent cookies from burning or becoming too soft.
Step 3: Preparing Royal Icing
Royal icing is your friend when it comes to decorating cookies. Here’s how to whip it up:

Ingredients:
- 3 egg whites
- 4 cups powdered sugar
- 1 teaspoon lemon juice

Instructions:
1. In a large bowl, beat the egg whites until foamy.
2. Gradually add the powdered sugar, mixing until the icing holds its shape.
3. Add lemon juice for consistency and flavor.

Techniques for Cross Decorating Cookies
The beauty of cross decorated cookies lies in the techniques used for design. Let’s explore some of the most popular techniques.
Flooding Method
This method involves outlining the cookie with thicker icing and then flooding the interior with a thinner consistency. It’s great for creating a smooth, glossy finish.

Piping and Stenciling
Piping allows for intricate designs and messages, while stenciling can help achieve uniform patterns. Use different piping tips for varied designs.
Popular Piping Techniques
- Outline piping: Create borders and shapes
- Flood piping: Fill in larger areas
- Lace piping: For finer, delicate designs
Decorating Themes for Cross Decorated Cookies
Themed cookies can make your creations stand out. Here are some popular themes to consider:
Religious Themes
Cross decorated cookies are often associated with religious events. Think Easter, Christmas, and baptisms where these cookies can serve both as festive treats and meaningful symbols.
Seasonal Themes
Spring flowers, summer fruits, autumn leaves, and winter snowflakes can each serve as decoration ideas, allowing for vibrant colors and designs.
Pros and Cons of Cross Decorated Cookies
| Pros | Cons |
|---|---|
| Versatile decoration styles | Can be time-consuming to decorate |
| Fun for all skill levels | Requires practice to master techniques |
| Great for gifting and celebrations | Materials can add up in cost |
Tips for Successful Cross Decorated Cookies
As a passionate baker, I’ve crafted some essential tips that will elevate your cookie decorating game:
- Practice Regularly: The more you pipe, the better you’ll get!
- Be Patient: Allow each layer of icing to dry completely before adding new elements.
- Keep It Simple: Start with basic designs before tackling more complex patterns.
- Use Quality Ingredients: Quality flour and sugar can make a noticeable difference in texture and taste.
Frequently Asked Questions
What is the best type of icing for cross decorated cookies?
Royal icing is highly recommended for its ability to harden and create a smooth surface for decorating. It allows for detailed designs and stands up well over time.
How can I make my cookies look more professional?
Practice makes perfect! Additionally, using a consistent piping method and high-quality ingredients will elevate your cookie’s appearance.
Can I use fondant instead of icing?
Yes! Fondant can be shaped and colored to create stunning designs, although it may alter the cookie’s texture and flavor.
How long do cross decorated cookies last?
When stored properly in an airtight container, they can last for up to two weeks. However, the design may fade over time.
Final Thoughts
Cross decorated cookies bring joy, creativity, and a personal touch to any occasion. Whether you’re baking for a special event or just for fun, the journey of crafting these cookies can be incredibly rewarding. I hope this comprehensive guide has inspired you to pick up your rolling pin, mix your dough, and unleash your creativity with royal icing. Happy baking!