There’s something undeniably delightful about ice cream cones, especially when they are decorated to perfection. Whether you’re celebrating a birthday, hosting a summer barbecue, or simply treating yourself, decorated ice cream cones can elevate your dessert experience. In this article, we will explore various decorating techniques, recipes, and tips that will not only inspire your creativity but also ensure your cones stand out in taste and presentation.
Table of Contents
- What Are Decorated Ice Cream Cones?
- A Brief History of Ice Cream Cones
- Types of Ice Cream Cones
- Decorating Techniques for Ice Cream Cones
- Fun Recipes for Decorated Ice Cream Cones
- Pros and Cons of Decorated Ice Cream Cones
- Frequently Asked Questions
What Are Decorated Ice Cream Cones?
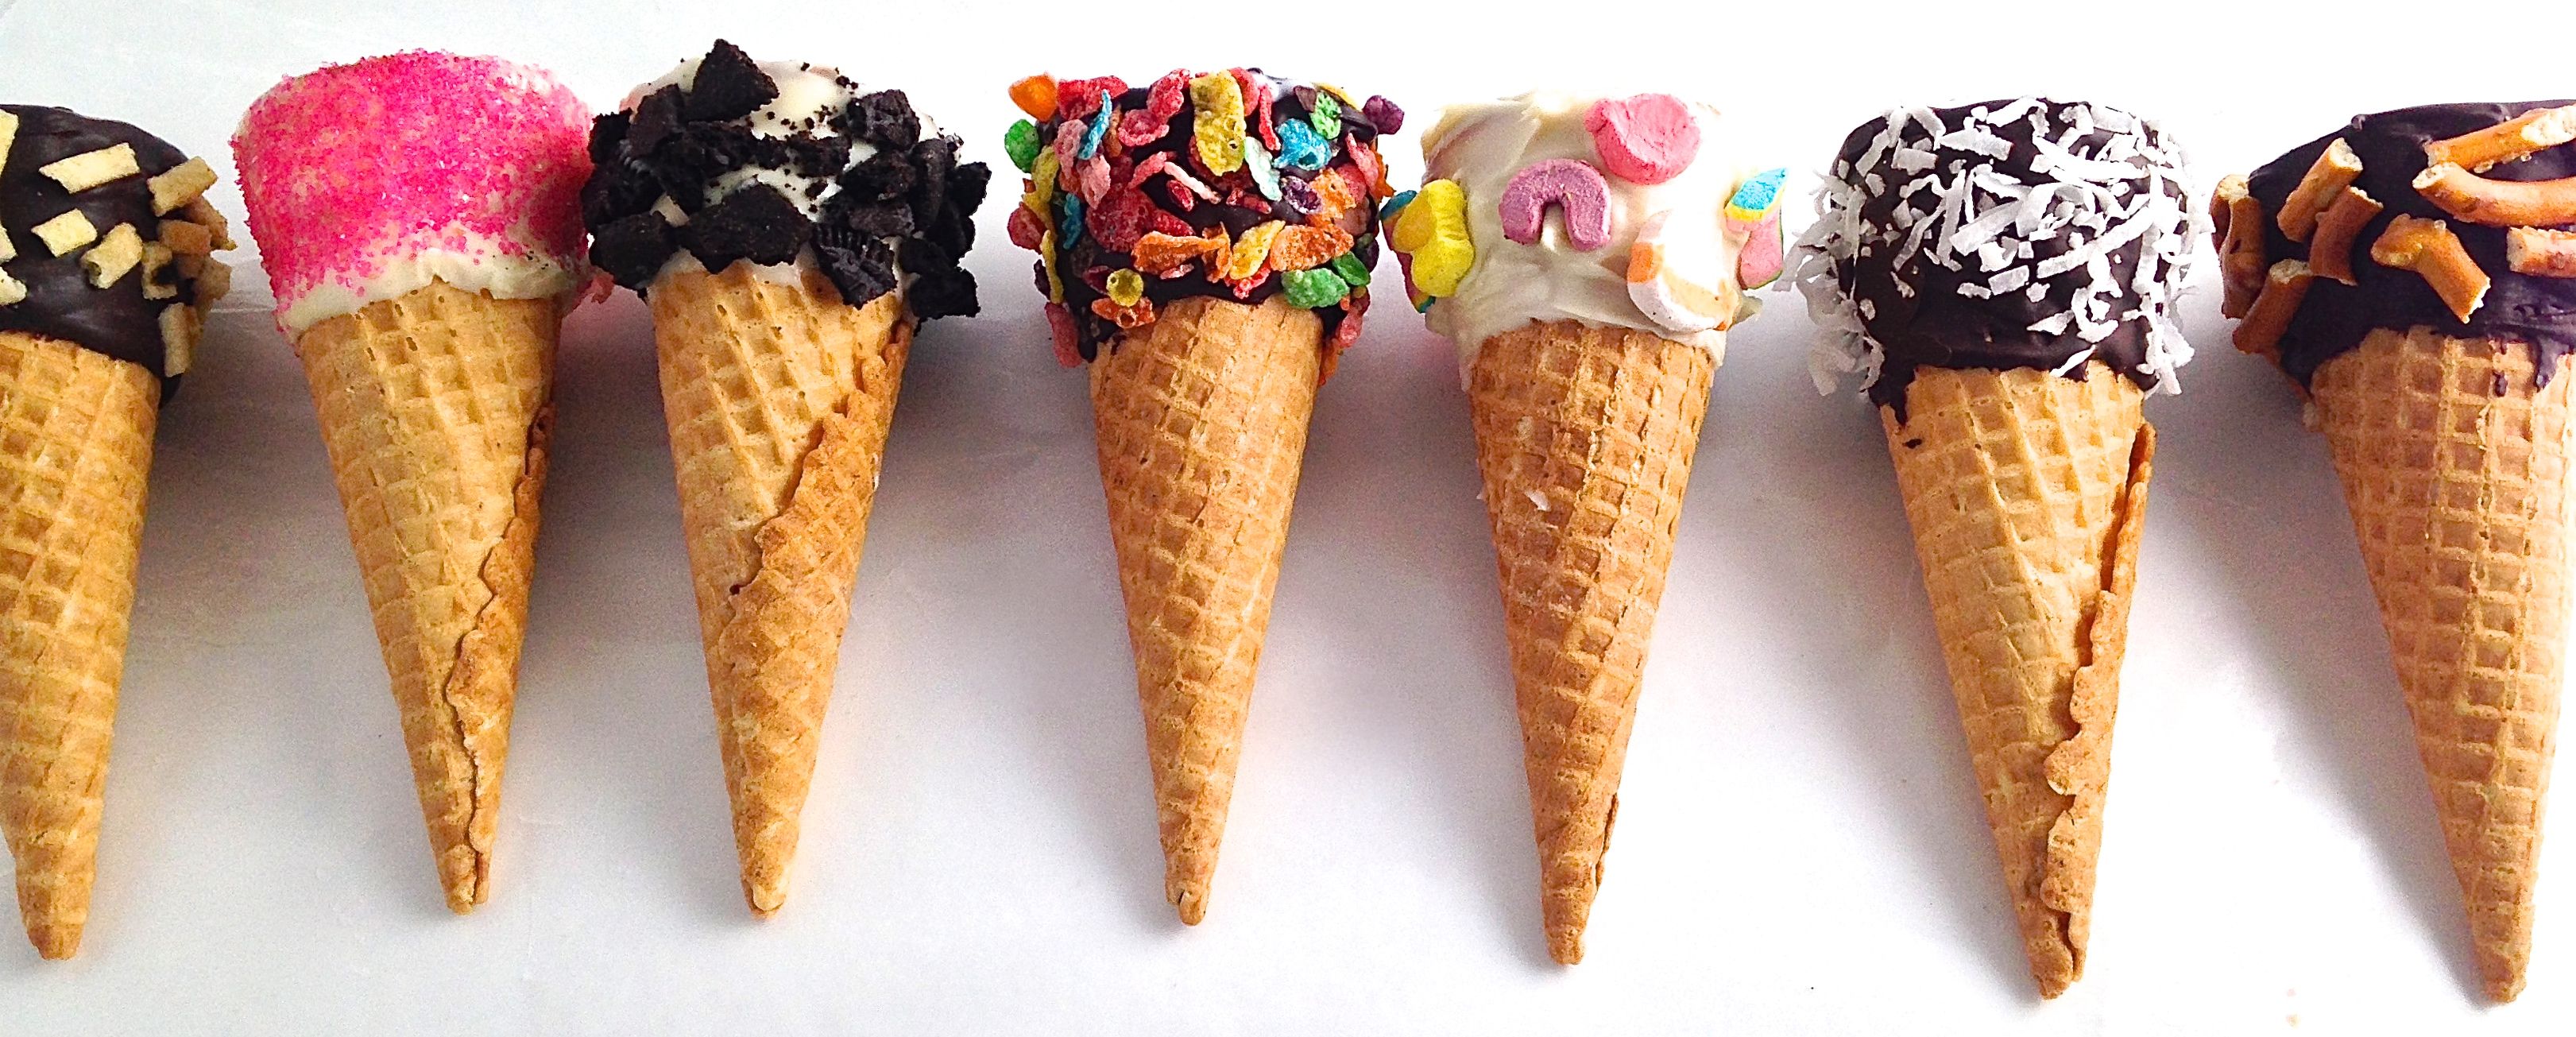
Decorated ice cream cones are traditional ice cream cones adorned with various toppings, including sprinkles, chocolate, whipped cream, fruits, and other creative elements. The goal is to enhance both the appearance and flavor of the cone, making it more attractive and enjoyable.
A Brief History of Ice Cream Cones
The origin of ice cream cones dates back to the early 20th century. While there are several stories about how they came about, one popular tale is that they were invented in 1904 during the St. Louis World’s Fair when a vendor ran out of cups and used waffle-like pastries to hold ice cream instead. Since then, ice cream cones have become a beloved dessert tradition worldwide.
Types of Ice Cream Cones
Understanding the different types of ice cream cones can elevate your decorating game. Here are some popular options:
1. Waffle Cones
Waffle cones are thick and sturdy, with a slightly chewy texture. They are perfect for holding generous scoops of ice cream. Their grid pattern also offers a lovely texture for decoration.
2. Sugar Cones
Sugar cones are sweeter and have a tighter, more conical design compared to waffle cones. Their added sweetness makes them a favorite for decorating with chocolate and candies.
3. Cake Cones
Cake cones have a lighter, more cake-like texture. They are often found at ice cream shops and are great for younger kids due to their softer crunch.
Comparison of Cone Types
| Type of Cone | Texture | Flavor | Best For |
|---|---|---|---|
| Waffle Cone | Thick and chewy | Rich and buttery | Large scoops and heavy toppings |
| Sugar Cone | Sweet and crunchy | Sweet | Chocolate and candy toppings |
| Cake Cone | Light and crispy | Sweet but less intense | Kid-friendly, lighter toppings |
Decorating Techniques for Ice Cream Cones
Decorating ice cream cones can be as simple or as intricate as you’d like. Here are some popular techniques to help you create a stunning masterpiece.
1. Drizzle Technique
Drizzling chocolate syrup, caramel, or fruit puree over your ice cream creates a beautiful visual effect and adds extra flavor. Use a squeeze bottle for better control.
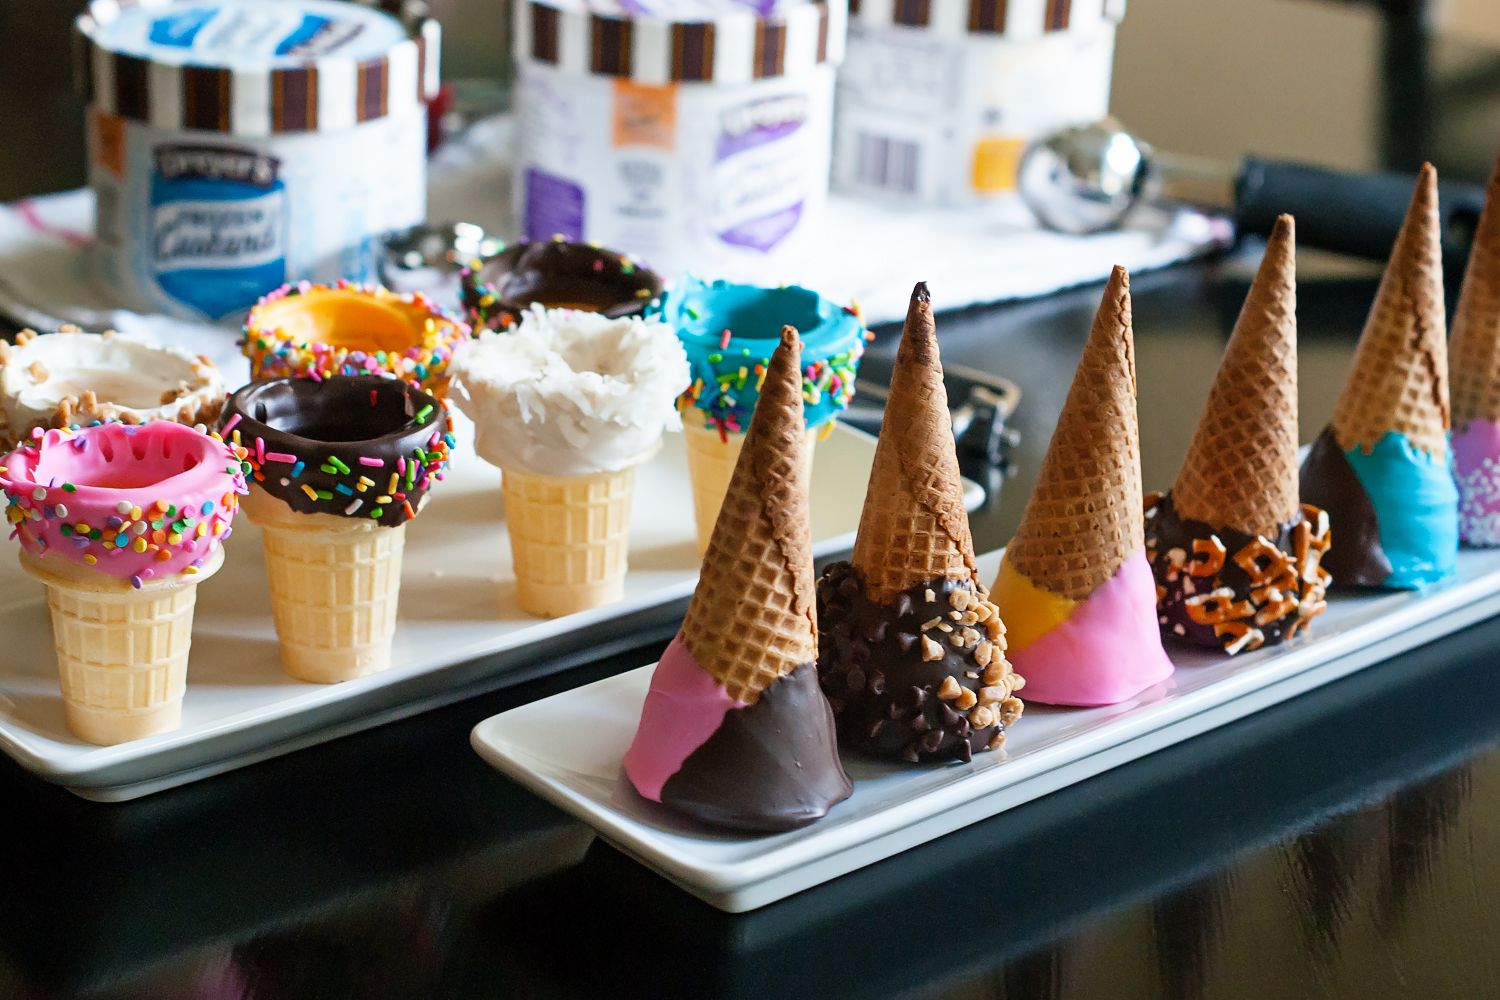
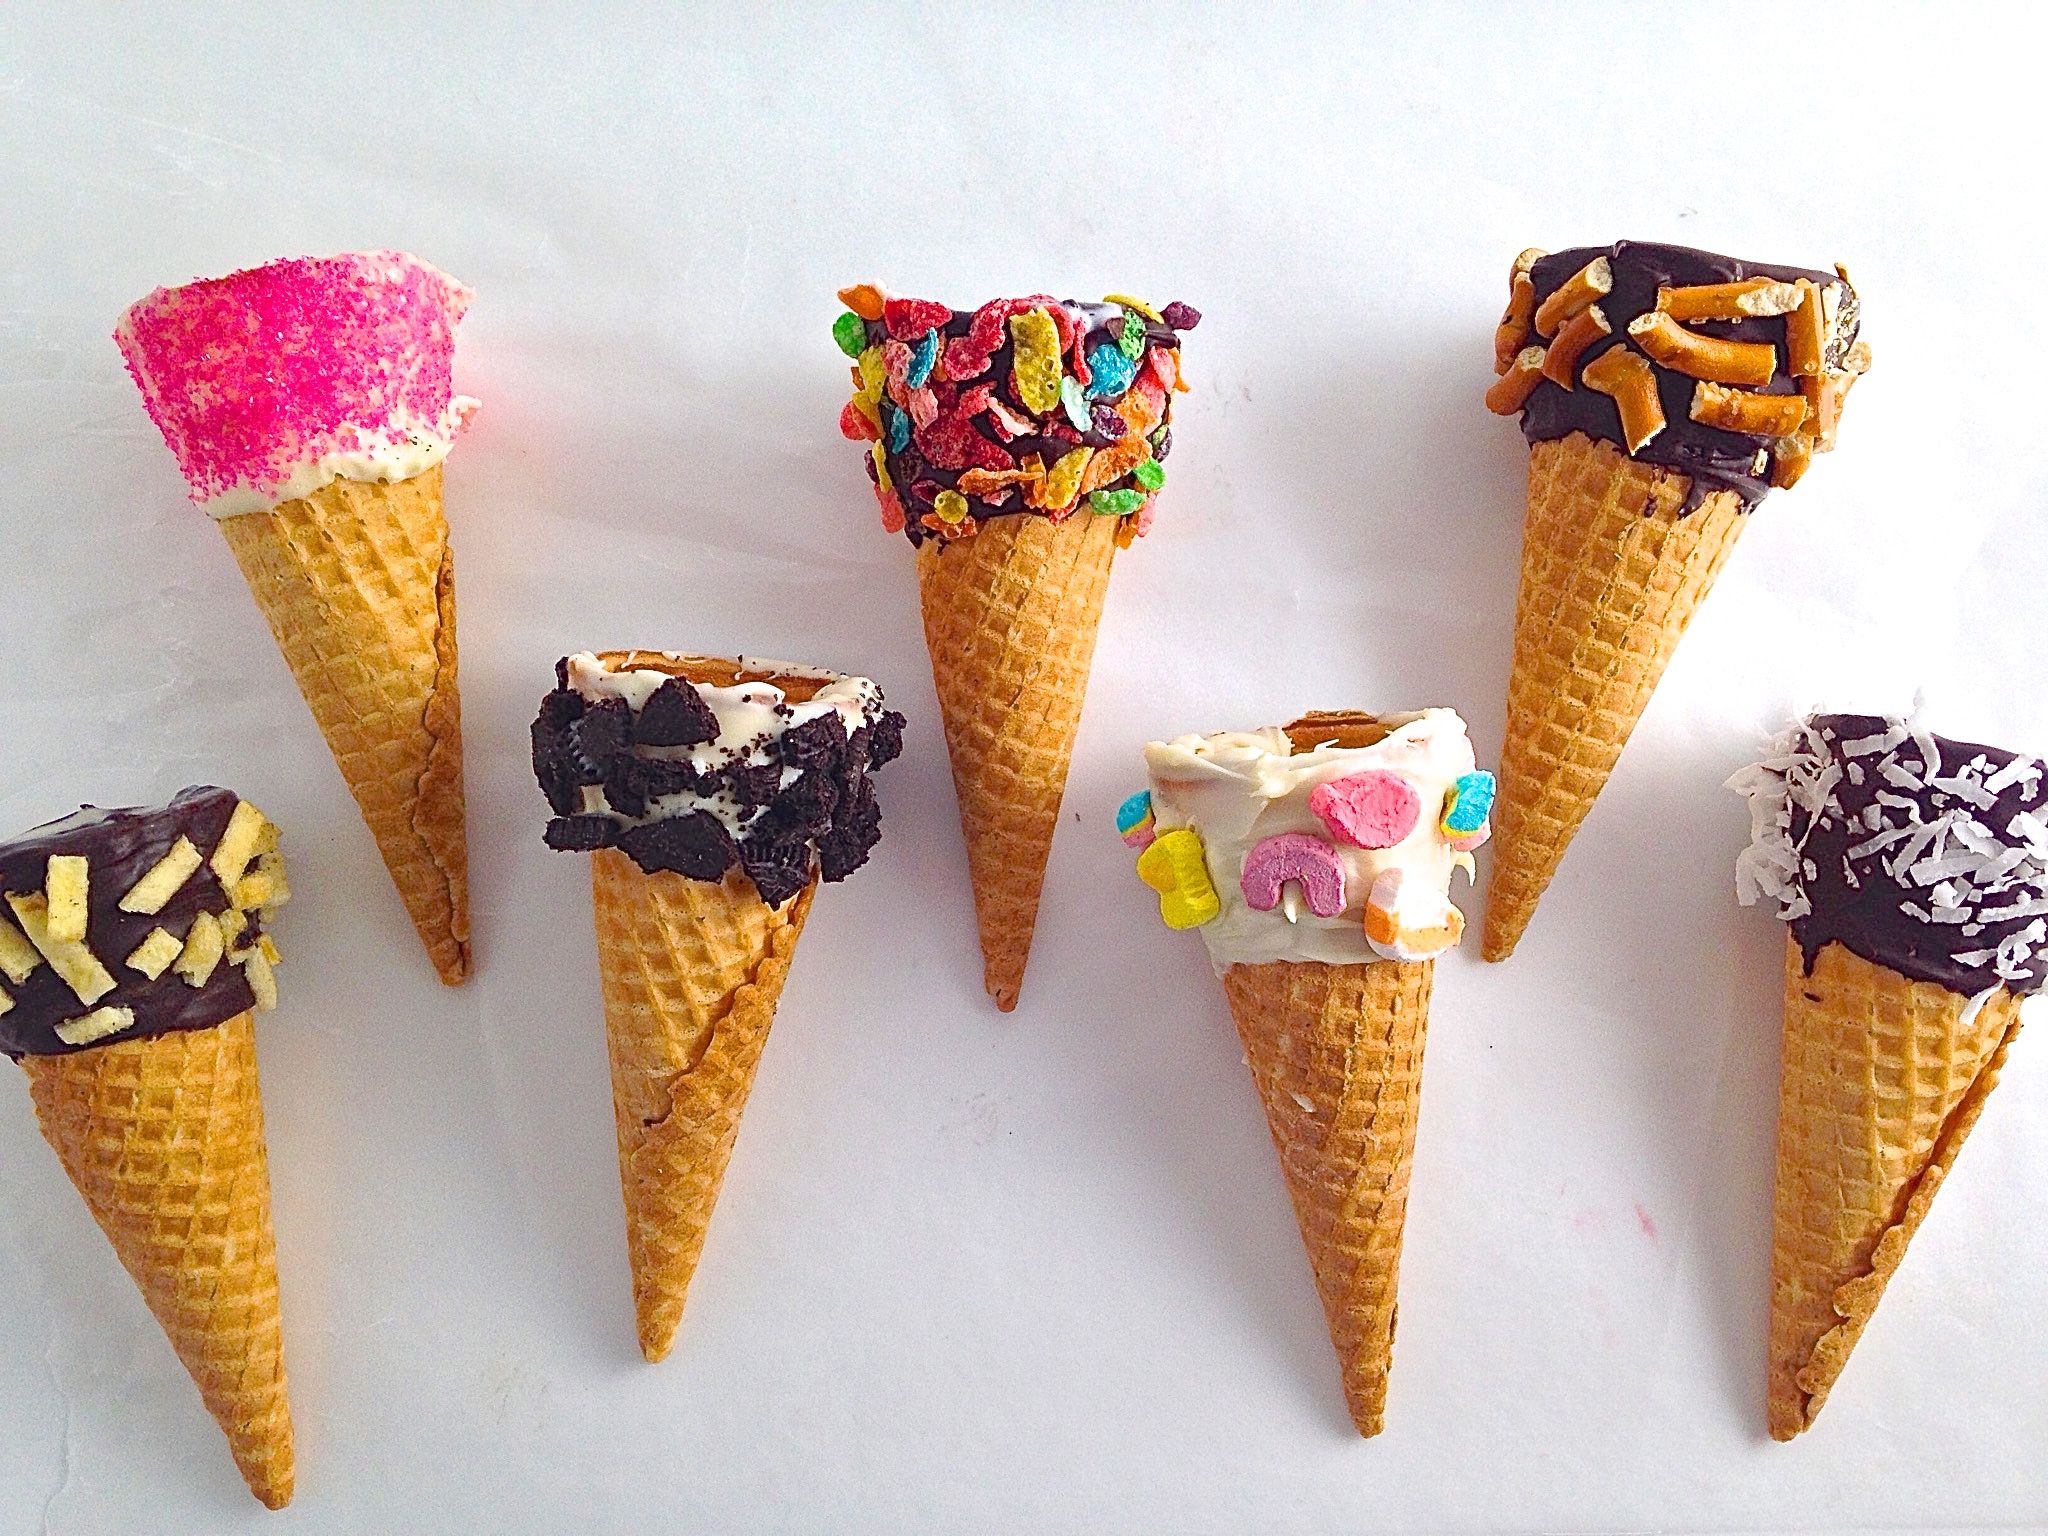
2. Sprinkles and Nuts
After adding your favorite syrup, roll the edge of the cone in sprinkles, crushed nuts, or edible glitter. This adds an exciting crunch and visual appeal.
3. Whipped Cream Topping
A dollop of whipped cream on top of your ice cream can make for an enticing finish. Use a piping bag to create swirls for a more decorative touch.
4. Fresh Fruit Garnish
Add fresh fruit on top or alongside your ice cream for a refreshing contrast to the sweetness. Strawberries, raspberries, or mint leaves can brighten the presentation.
Fun Recipes for Decorated Ice Cream Cones
Now that you have a grasp of decorating techniques, let’s explore some fun recipes!

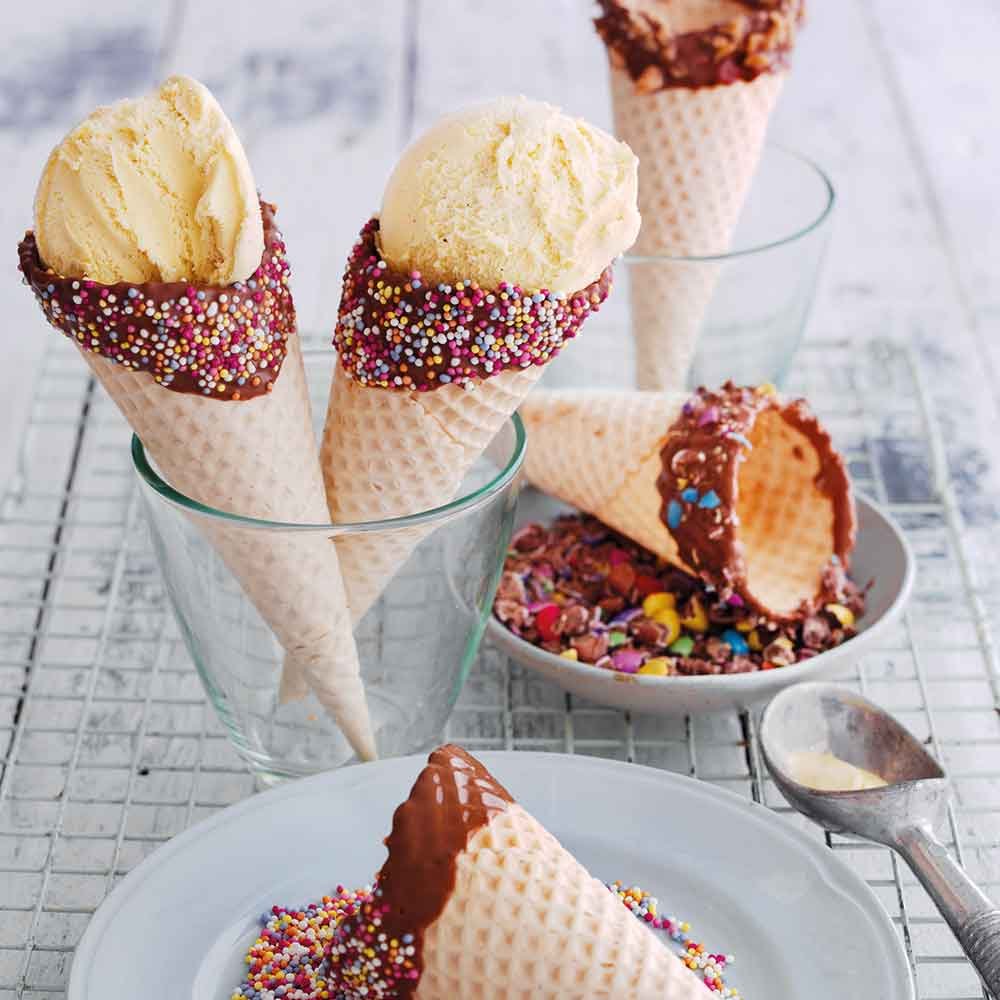
1. Chocolate Dipped Waffle Cone
Ingredients
- Waffle cones
- 1 cup chocolate chips
- 1/2 cup sprinkles
Instructions
- Melt the chocolate chips in a microwave-safe bowl.
- Dip the top of each cone in melted chocolate.
- Immediately roll the chocolate-coated edge in sprinkles before it sets.
- Fill with your favorite ice cream and serve.
2. Rainbow Ice Cream Cone
Ingredients
- Multiple flavors of ice cream (e.g., strawberry, vanilla, blue raspberry)
- Whipped cream
- Rainbow sprinkles
- Cherries for garnish
Instructions
- In a cake cone, layer different flavors of ice cream to create a rainbow effect.
- Top with whipped cream, sprinkles, and a cherry.
Pros and Cons of Decorated Ice Cream Cones
Like any dessert, decorated ice cream cones come with their own set of advantages and disadvantages. Let’s break them down:
Pros
- Highly customizable to suit various tastes.
- Visually appealing, perfect for events and gatherings.
- Fun activity for kids and families.
Cons
- Can be messy if not handled carefully.
- May require extra ingredients and preparation time.
- Some people may have allergies to certain toppings or ingredients.
Frequently Asked Questions
1. Can I use other types of cones for decorating?
Absolutely! While waffle and sugar cones are popular, you can experiment with cake cones or even mini cones for unique presentations.
2. How do I keep my decorated cones from getting soggy?
To prevent sogginess, try sealing the inside of the cone with a thin layer of chocolate, allowing it to harden before adding ice cream.
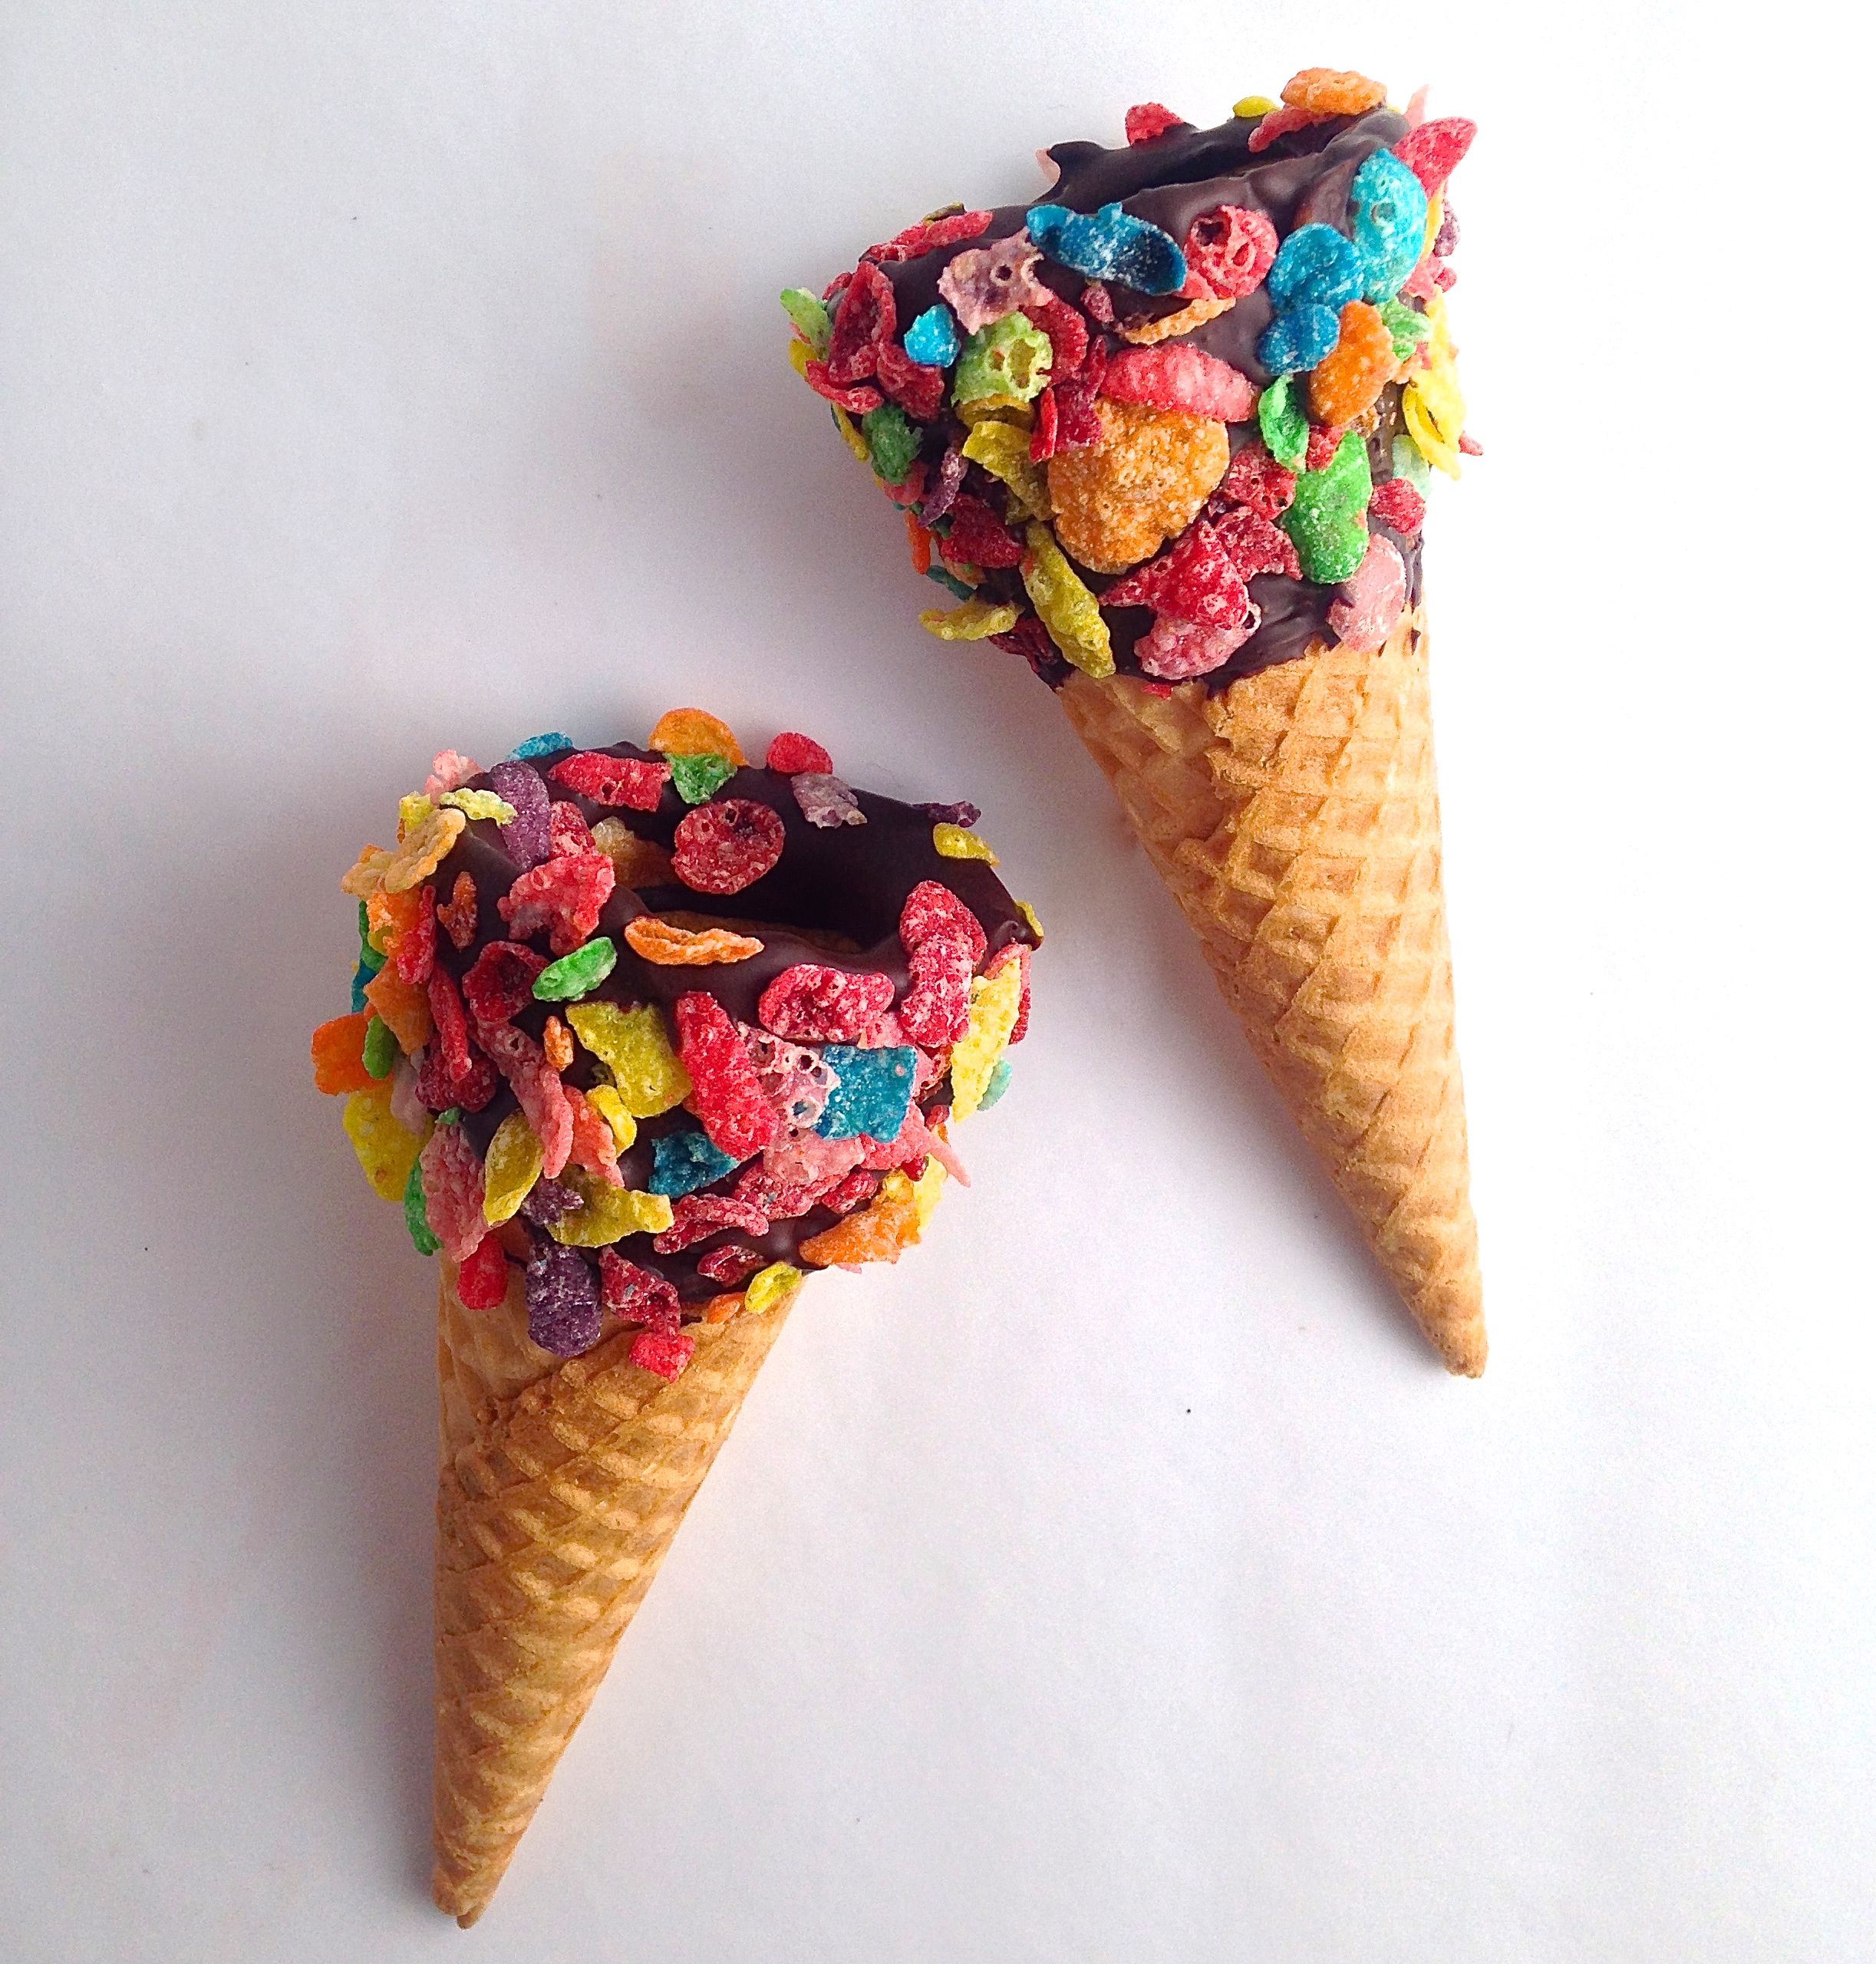
3. What are some creative topping ideas for ice cream cones?
Some creative topping ideas include crushed cookies, candied fruits, flavored syrups, and even gourmet popcorn for a savory twist!
4. Can I make decorated ice cream cones ahead of time?
Yes, you can prepare the cones and the toppings ahead of time, but it’s best to assemble them just before serving to maintain freshness.
5. What’s the best way to transport decorated ice cream cones?
To safely transport your decorated cones, use a muffin tin or an ice cream cone holder to keep them upright and prevent them from tipping over.
Conclusion
Decorated ice cream cones are more than just a dessert; they’re a canvas for creativity and a way to bring joy to any occasion. With a variety of cones, decorating techniques, and fun recipes, you can create delightful ice cream cones that will impress friends and family alike. So gather your ingredients and start decorating your own delicious masterpieces!