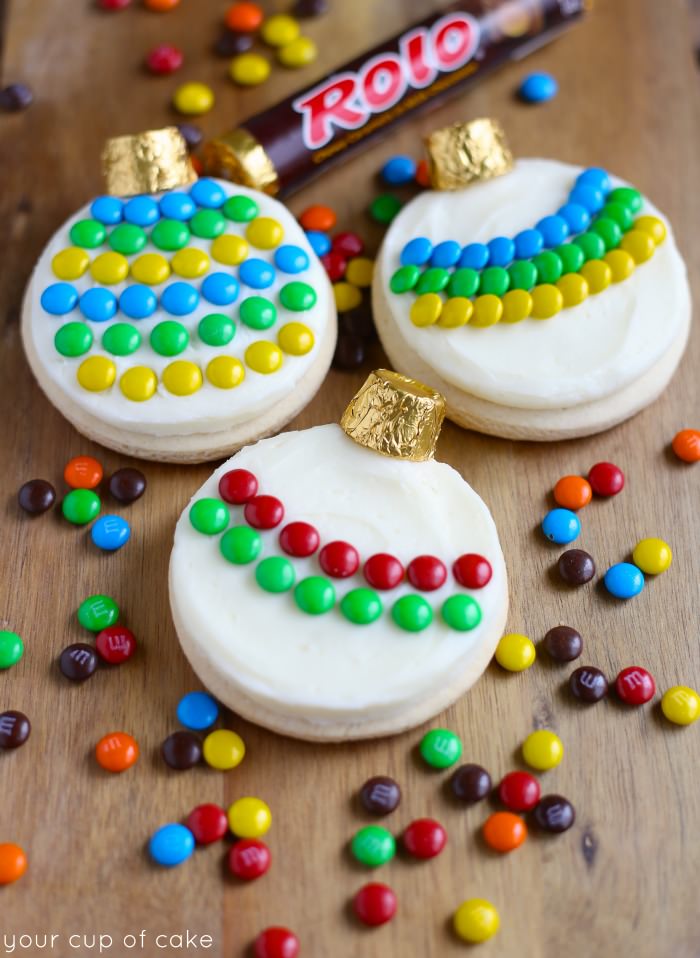
Introduction to Decorated Ornament Cookies
Nothing says “celebration” quite like a beautifully decorated ornament cookie. Whether you’re planning a holiday gathering, a birthday party, or simply want to indulge in a bit of creativity, these cookies are the perfect canvas for your artistic flair. As an avid baker, I’ve spent countless hours perfecting my recipes and techniques, and today I want to share my passion for these delightful treats with you.
The History of Ornament Cookies
The tradition of baking ornament-shaped cookies can be traced back to various cultures around the world. From Germany’s Christmas cookie traditions to the modern American custom of cookie decorating parties, these cookies have evolved into a festive staple. Each cookie is more than just a sweet treat; it’s a form of expression and creativity that brings people together.
Why Decorate Ornament Cookies?
Decorating cookies isn’t just about aesthetics; it’s about making memories. From the moment you roll out the dough to the final touch of icing, the process is enjoyable for bakers of all ages. Here are a few reasons why you might consider decorating ornament cookies:
- Creative Outlet: Express your artistic side.
- Perfect for All Occasions: Customize for holidays, birthdays, or any event.
- Great for Parties: A fun activity for groups.
- Gift Ideas: Homemade cookies make thoughtful presents.
Essential Ingredients for Ornament Cookies
Main Ingredients
The key to great ornament cookies lies in the ingredients. Here’s what you’ll need:
| Ingredient | Purpose |
|---|---|
| All-Purpose Flour | Base of the cookie dough |
| Granulated Sugar | Sweetness and structure |
| Butter | Flavor and richness |
| Eggs | Binding agent |
| Baking Powder | Leavening agent |
| Vanilla Extract | Flavor enhancement |
Decorating Supplies
Beyond the basic dough, you’ll need a few essential tools:
- Piping bags and tips
- Food coloring
- Edible glitter and sprinkles
- Rolling pin and cookie cutters
- Cooling racks
Step-by-Step Guide to Making Decorated Ornament Cookies
Preparing the Cookie Dough
Start by following these easy steps to create your cookie dough:
- In a large mixing bowl, cream together 1 cup of softened butter and 1 cup of granulated sugar until light and fluffy.
- Add in two eggs, one at a time, then stir in 1 teaspoon of vanilla extract.
- In a separate bowl, whisk together 3 cups of all-purpose flour, 1 teaspoon of baking powder, and a pinch of salt.
- Gradually incorporate the dry ingredients into the wet mixture until combined.
- Wrap the dough in plastic wrap and refrigerate for at least one hour.
Rolling and Cutting Your Cookies
After chilling, roll out your dough on a floured surface to about ¼-inch thickness. Use ornament-shaped cookie cutters to create your desired shapes. Transfer your cookies onto a baking sheet lined with parchment paper.
Baking the Cookies
Preheat your oven to 350°F (175°C). Bake the cookies for 8-10 minutes or until the edges are lightly golden. Remove from the oven and allow to cool on a wire rack.
Decorating Your Cookies
Once cooled, it’s time to get creative! Here’s how I typically approach decorating:
- Prepare royal icing. Combine 2 egg whites with 2 cups of powdered sugar until the mixture holds peaks.
- Divide the icing into bowls and add food coloring of your choice.
- Use piping bags to outline and fill in the cookies with colored icing.
- Add edible decorations and let the icing dry completely before stacking or packaging.
Tips for Perfectly Decorated Ornament Cookies
Common Mistakes to Avoid
Throughout my years of cookie decorating, I’ve made my share of mistakes. Here are a few common pitfalls to avoid:
- Using cold dough can cause your cookies to spread too much.
- Not allowing the icing to dry completely can lead to smudges.
- Overmixing the dough can result in tough cookies.
Pro Tips for Advanced Techniques
If you’re looking to take your cookie decorating skills to the next level, consider experimenting with:
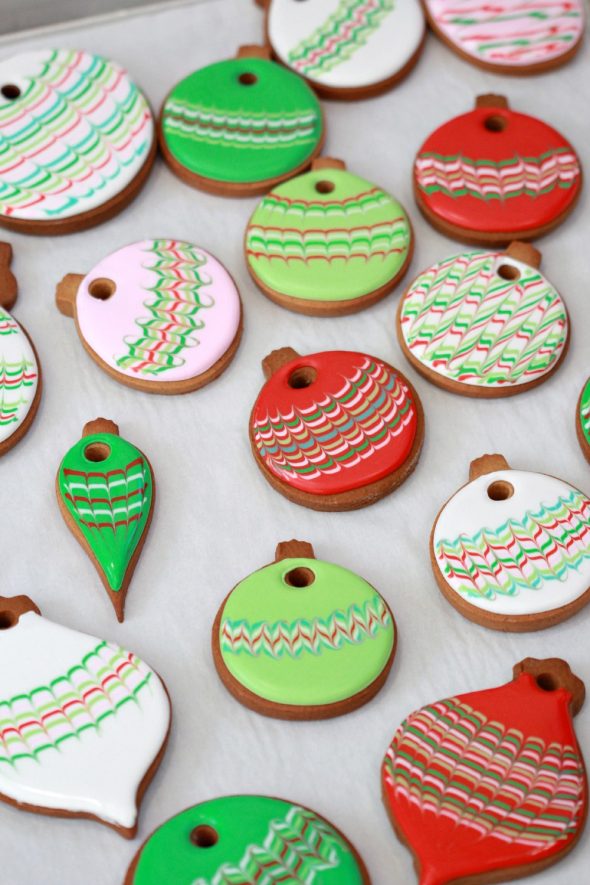
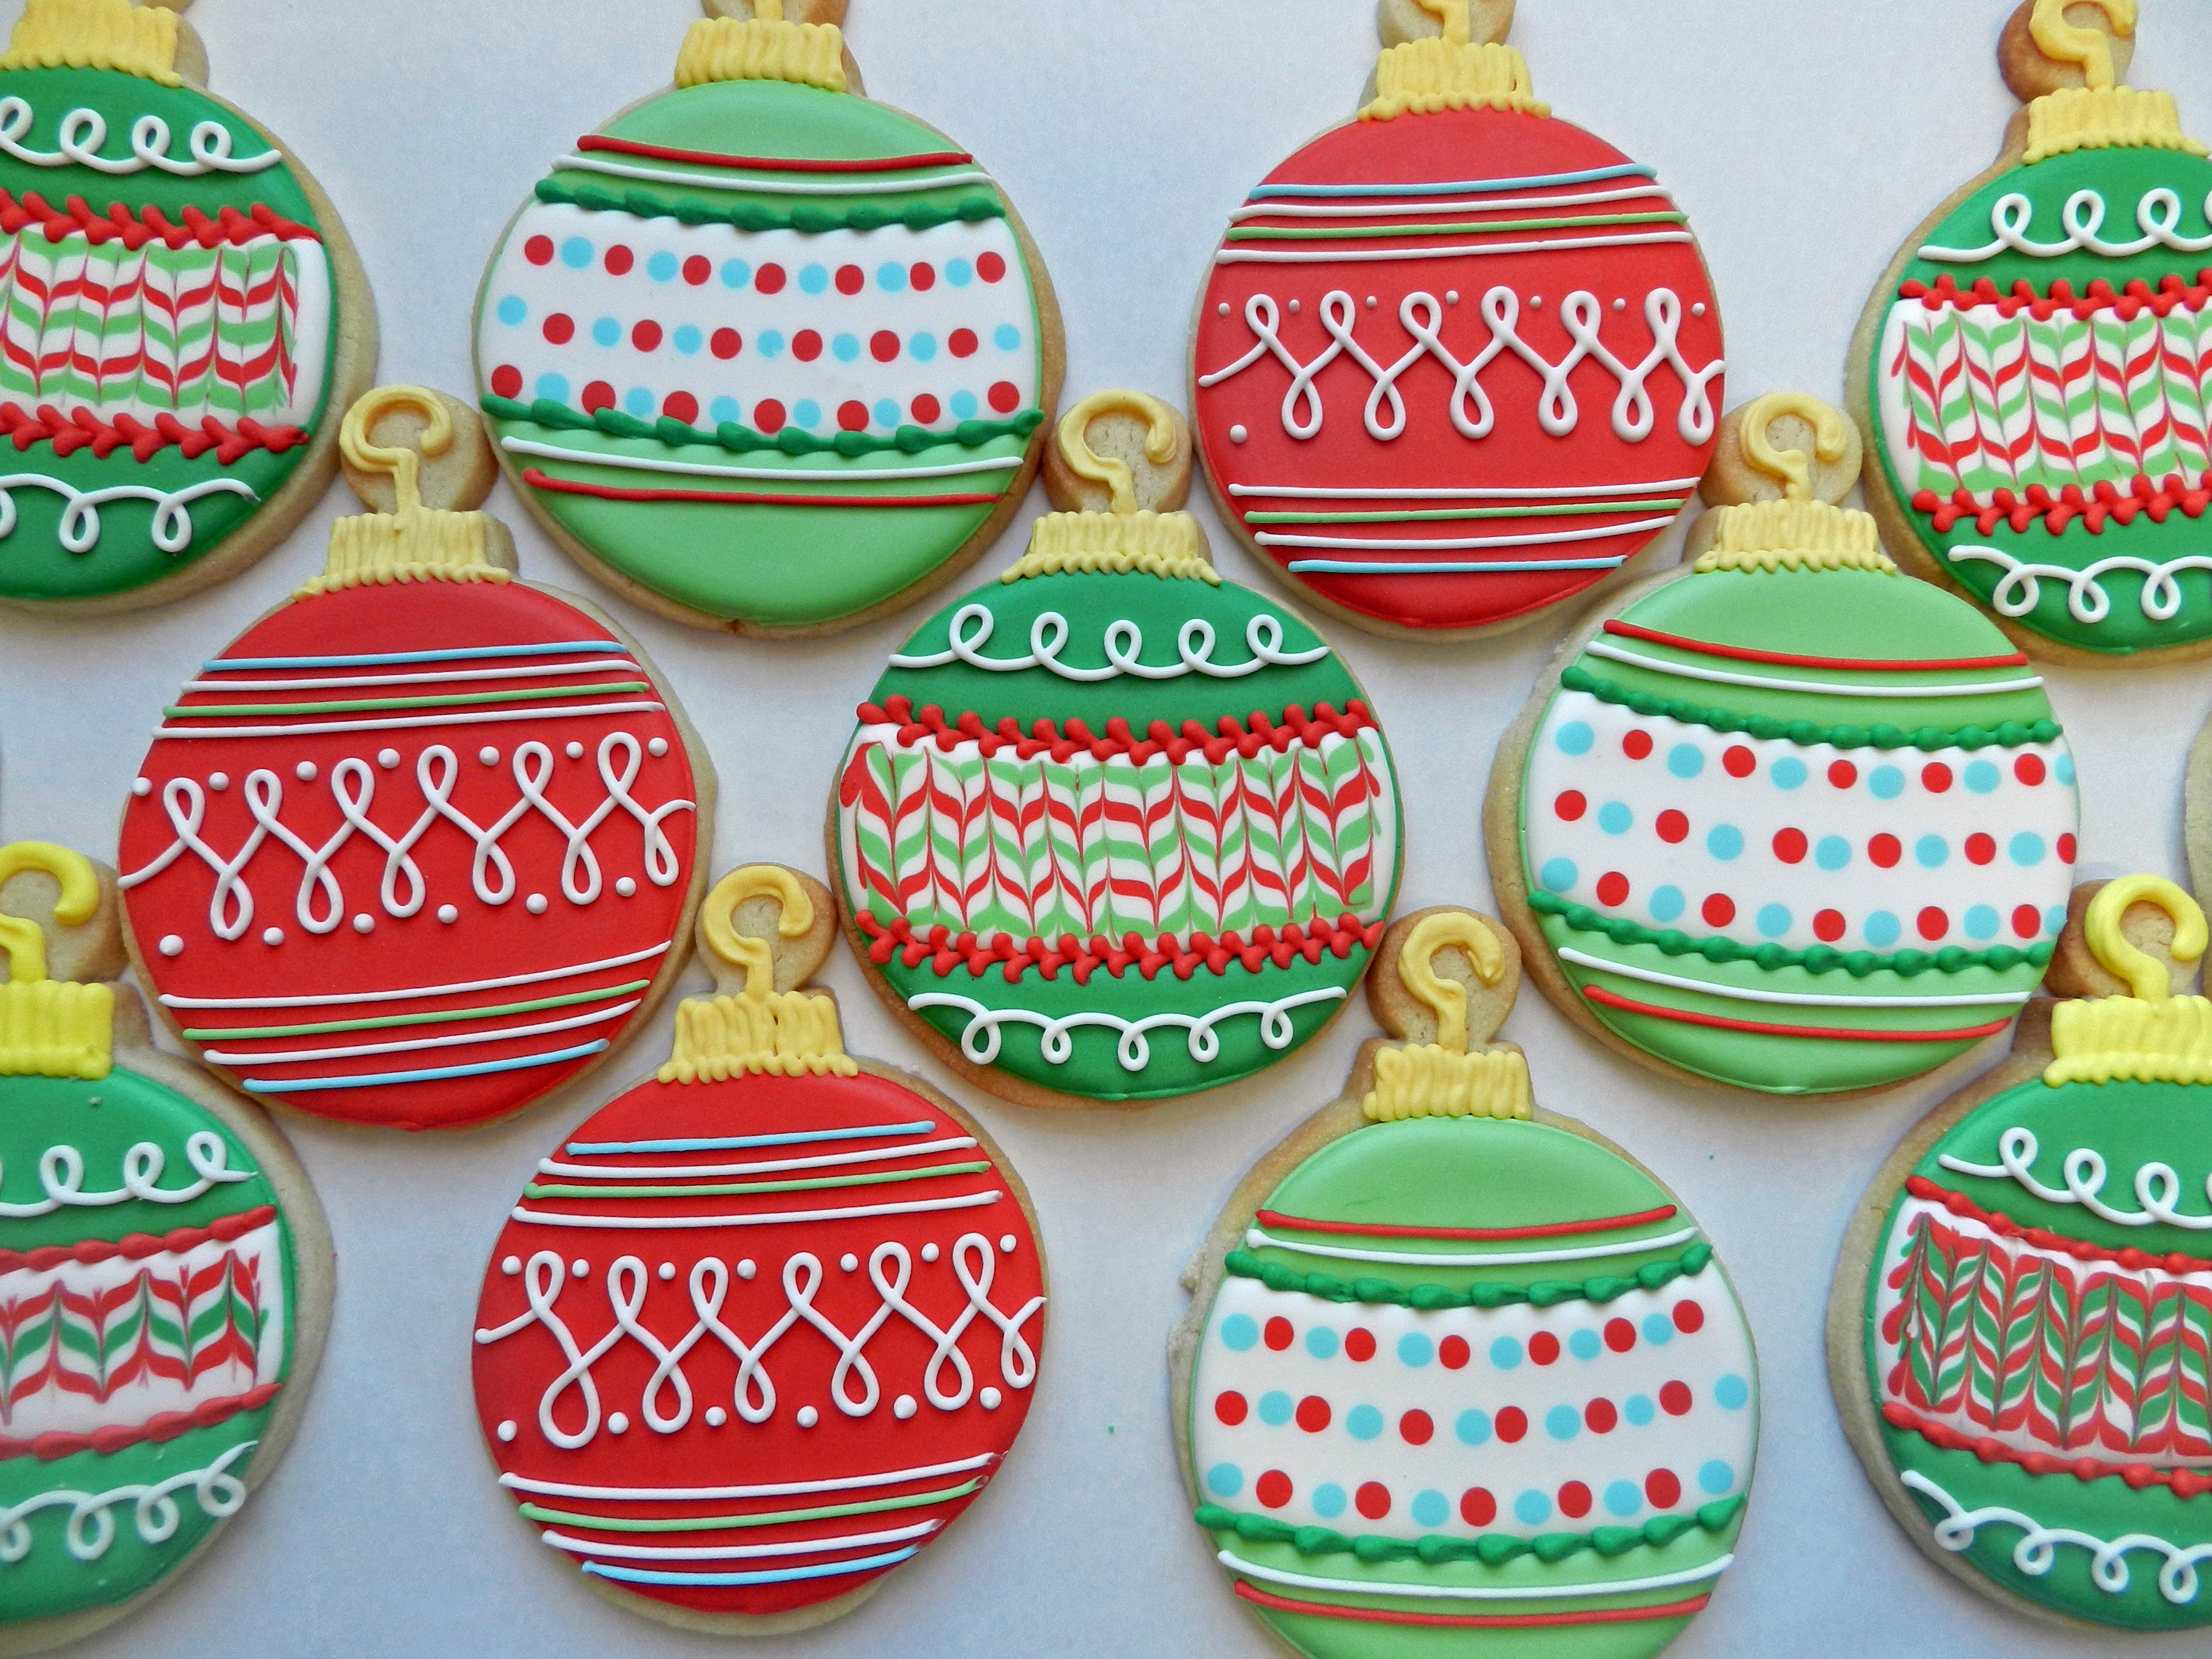
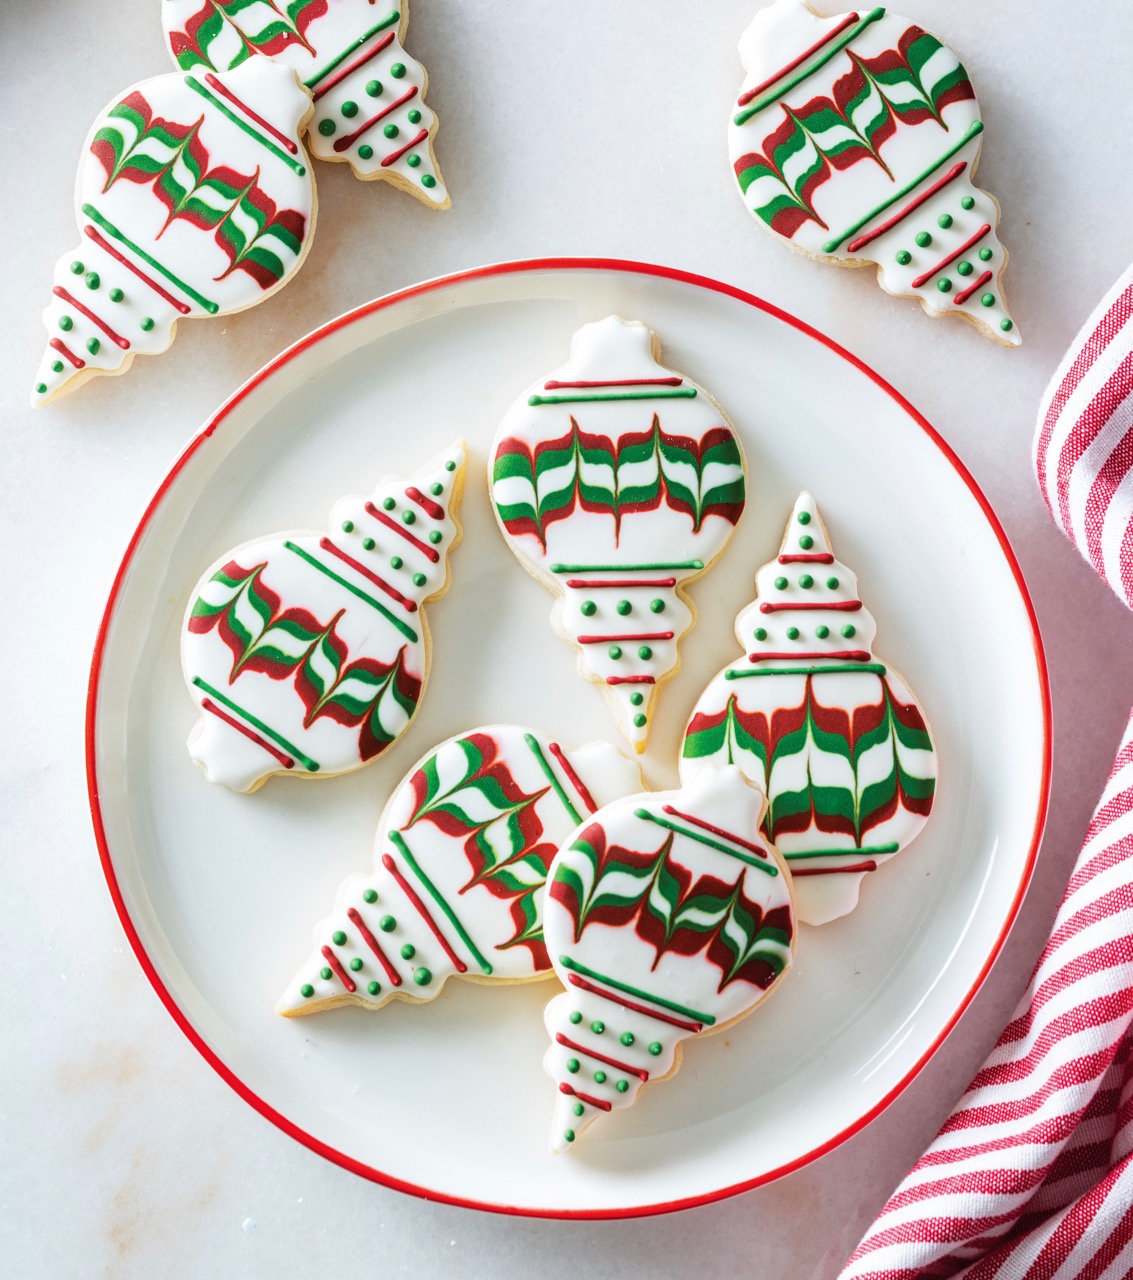
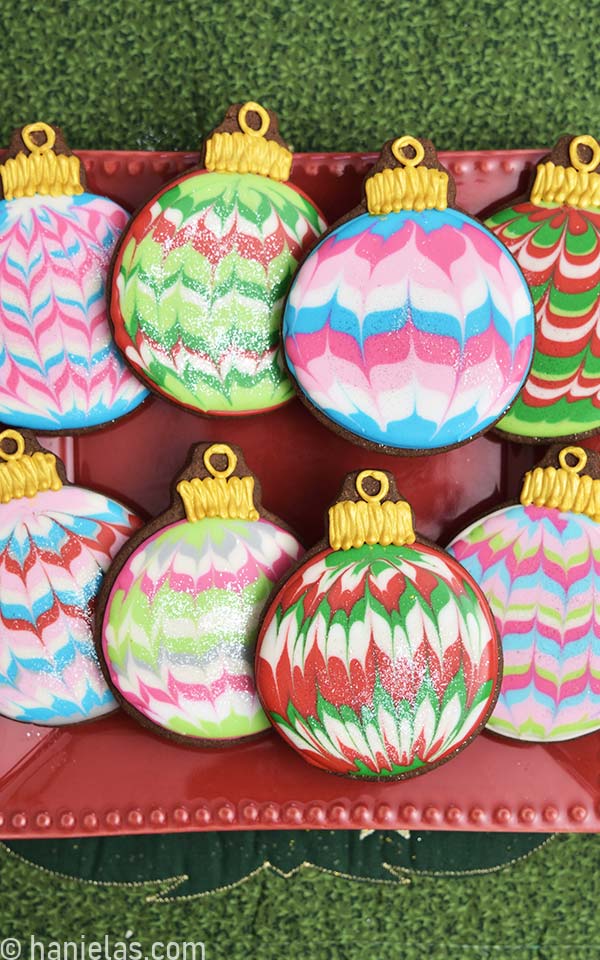
- Marbling techniques: Blend different icing colors for a unique look.
- Adding texture: Use different piping tips to create patterns.
- Layering: Decorate in multiple stages for depth and detail.

Storing Your Decorated Ornament Cookies
Proper storage is key to maintaining the freshness of your cookies. Here are some recommendations:
Short-term Storage
For cookies that will be consumed within a week, keep them in an airtight container at room temperature.
Long-term Storage
If you want to store cookies for longer, consider freezing them. Wrap each cookie individually and place them in a freezer-safe container. They can last up to three months in the freezer.
FAQs About Decorated Ornament Cookies
What type of icing is best for decorating cookies?
Royal icing is a popular choice because it dries hard and can be piped easily. It’s perfect for intricate designs.
Can I use store-bought cookie dough?
Yes! While homemade dough offers a fresh taste, store-bought dough can save time—just ensure you follow the decorating steps for best results.
How long does it take to decorate cookies?
The time varies based on design complexity. Simple designs take about 10 minutes per cookie, while intricate designs can take much longer.
Conclusion
Decorated ornament cookies are not just a treat; they are a canvas for creativity and a way to bring joy to any occasion. I hope this guide has inspired you to try making your own decorated cookies. Whether you keep it simple or go all out with designs, remember that the most important part is to enjoy the process and create beautiful memories with family and friends. Happy baking!