Easter is a time of joy, renewal, and creativity. One of my favorite traditions during this season is decorating plastic Easter eggs. It’s a fun activity that brings families and friends together, allowing everyone to unleash their creativity. In this article, I’ll share various decorating techniques, tips, and tricks to help you create beautiful plastic Easter eggs.
Why Choose Plastic Easter Eggs?
Plastic eggs have become a popular choice for Easter egg decorating and hunts. Here are a few reasons why:
- Durability: Unlike real eggs, plastic eggs won’t break easily, making them reusable for years to come.
- Safety: No risk of spoilage, and they can be safely hidden for the little ones to find.
- Variety: They come in various shapes, sizes, and colors, providing endless decorating possibilities.
Gathering Your Supplies
Before diving into decorating, it’s essential to gather your supplies. Here’s a handy list:
- Plastic Easter eggs (various sizes)
- Acrylic paints
- Paintbrushes (various sizes)
- Markers and permanent pens
- Glue (craft glue or hot glue gun)
- Decorative items (glitter, ribbons, stickers, etc.)
- Clear sealant (to protect your designs)
Creative Decorating Techniques
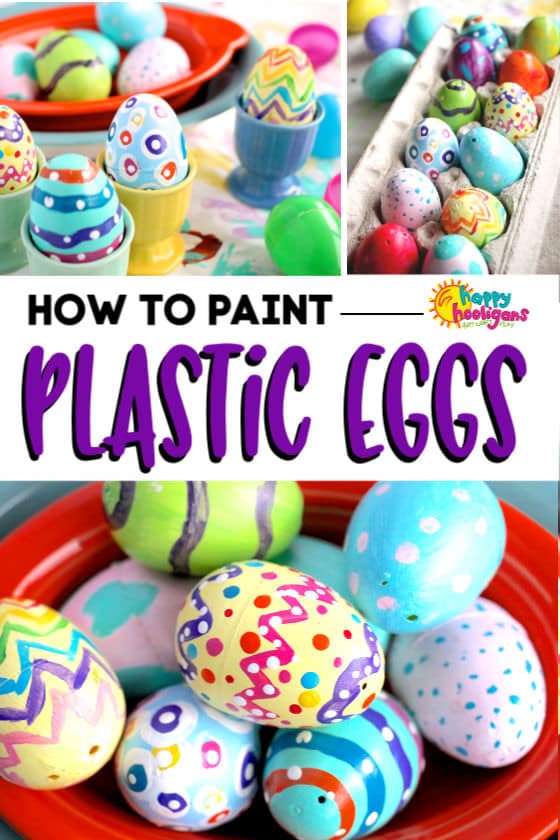
1. Painting Your Easter Eggs
One of the most popular ways to decorate plastic Easter eggs is by painting them. Here’s how:
Materials Needed:
- Acrylic paints
- Paintbrushes
- Water cup (for rinsing brushes)
- Paper towels
Steps:
- Choose a base color for your egg and apply a coat of paint.
- Allow the base coat to dry completely.
- Add designs using different colors and brush sizes. You can create patterns, flowers, or even characters.
Pros and Cons of Painting
| Pros | Cons |
|---|---|
| Endless design possibilities | Can be time-consuming |
| Personalized designs | Requires some artistic skill |
| Great for all ages | Messy if not done carefully |
2. Decoupage for Unique Effects
Decoupage is an excellent technique for adding intricate designs using paper cutouts.
Materials Needed:
- Mod Podge or any decoupage glue
- Scissors
- Printed designs or decorative papers
Steps:
- Cut out designs from your chosen paper.
- Apply a layer of Mod Podge to the area you want to decorate.
- Place the cutout on the egg and add another layer of Mod Podge on top to seal it.
Pros and Cons of Decoupage
| Pros | Cons |
|---|---|
| Very unique designs | Requires drying time |
| Easy to do for all ages | May need practice to cut accurately |
3. Using Stickers and Washi Tape
For a quick and easy decorating option, stickers and washi tape can add a fun flair.
Materials Needed:
- Stickers (Easter-themed are best)
- Washi tape (variety of colors and patterns)

Steps:
- Simply place stickers on the plastic eggs.
- Wrap washi tape around the egg in patterns or layers.
Pros and Cons of Stickers and Washi Tape
| Pros | Cons |
|---|---|
| Quick and easy | Lacks uniqueness compared to painting |
| No mess involved | Limited design surface area |

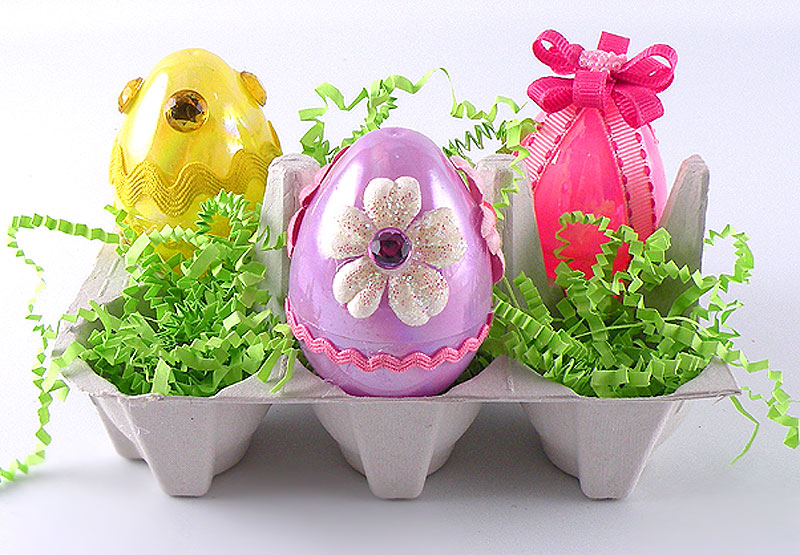
4. Creating Texture with Embellishments
Add dimension to your Easter eggs by incorporating embellishments like beads, yarn, or fabric.
Materials Needed:
- Embroidery thread or yarn
- Small beads
- Fabric scraps
- Hot glue gun
Steps:
- Wrap yarn around the egg to create texture.
- Hot glue small beads or fabric pieces onto the egg to form designs.
Pros and Cons of Embellishments
| Pros | Cons |
|---|---|
| Adds dimension | Time-consuming |
| Unique textures | Can be messy |
Displaying Your Decorated Eggs
Once your eggs are perfectly decorated, it’s time to showcase them! Here are a few creative displaying ideas:
- Easter Basket: Place them in a decorative basket with grass for a traditional look.
- Egg Tree: Hang them on a small tree or branch for a whimsical display.
- Candle Holders: Use decorated eggs as unique candle holders for your Easter dinner table.

Fun Activities with Decorated Easter Eggs
Decorating eggs is just one part of the fun! Here are some activities you can do with your eggs:
- Egg Hunt: Hide decorated eggs around your home or garden and organize a family egg hunt.
- Crafting Challenges: Have a decorating contest where family members create their versions.
- Story Time: Create stories around the designs of each egg to foster creativity.
FAQs About Decorating Plastic Easter Eggs
What kind of paint can I use on plastic Easter eggs?
Acrylic paint is highly recommended as it adheres well to plastic and comes in a variety of colors.
Can I use permanent markers for decorating?
Yes, permanent markers work great for adding details and designs on plastic eggs!
How do I seal my decorated eggs?
Once your eggs are dry, you can use a clear sealant spray or Mod Podge to protect the design.

Are there any eco-friendly decorating options?
Yes! Using natural dyes from fruits and vegetables can be a sustainable way to color your eggs.
Conclusion
Decorating plastic Easter eggs is a delightful tradition that everyone can enjoy. Whether you prefer painting, decoupage, or using stickers, the key is to have fun and let your creativity shine. Remember, the memories created during these activities with family and friends are just as important as the final product. So gather your supplies and start decorating!