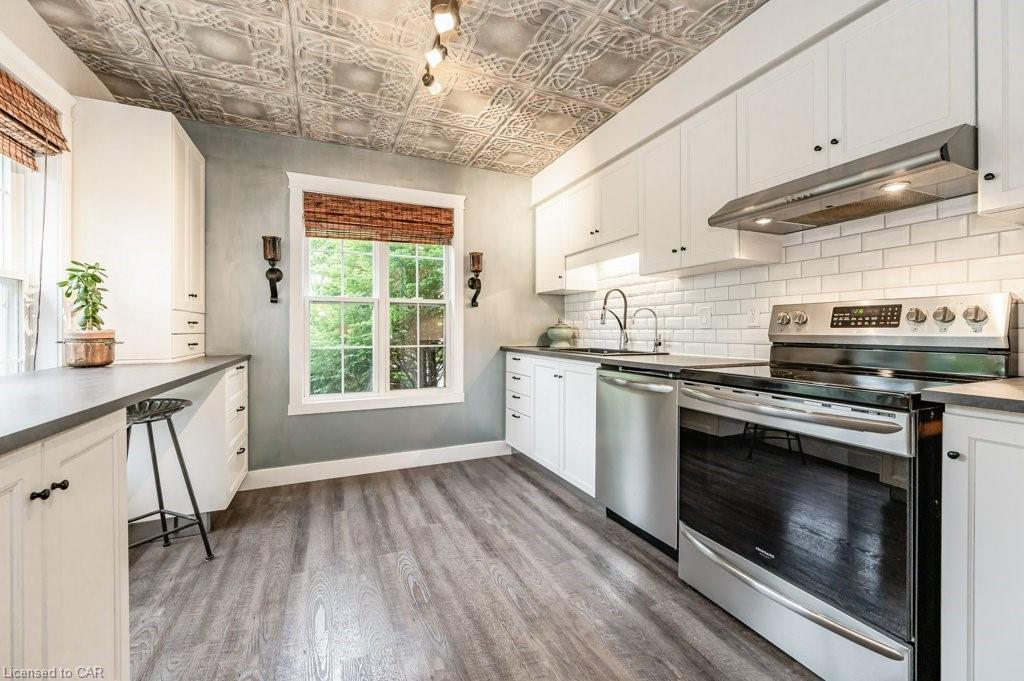
Introduction to Tin Ceiling Tiles
Tin ceiling tiles have made a grand comeback in recent years, taking modern interiors by storm while paying homage to their vintage roots. My fascination with these beautiful decorative elements began when I stumbled upon an old, dilapidated café that still had its original tin ceilings intact. The intricate designs and glossy finishes captivated me! In this article, I will take you through everything you need to know about decorating with tin ceiling tiles—from styles and installation to maintenance and personal experiences.
What Are Tin Ceiling Tiles?
Tin ceiling tiles, often associated with the Victorian era, are lightweight metal tiles made primarily from tin, aluminum, or a combination of metals. They were popular in the late 19th and early 20th centuries, often used in restaurants, theaters, and other public spaces. Nowadays, they are favored for their aesthetics and durability, making them an attractive choice for homeowners looking to add character to their spaces.
The Various Styles of Tin Ceiling Tiles
When it comes to decorating with tin ceiling tiles, the options are endless! Here’s a rundown of some popular styles:
- Victorian Patterns: Intricate designs that often feature floral or geometric motifs.
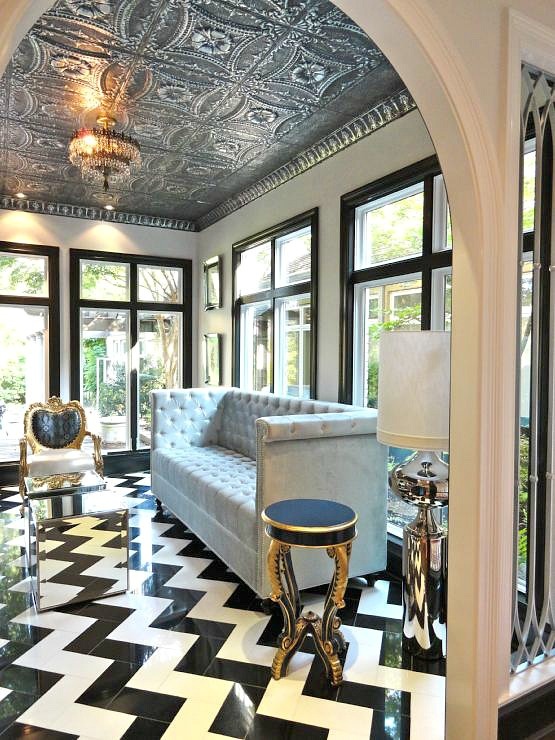
- Art Deco Styles: Bold, sleek lines and patterns that embody the glamour of the 1920s.
- Modern Minimalistic: Simple, clean designs that fit well in contemporary homes.
- Rustic and Vintage Finishes: Aged or patinated looks that add warmth and character.
Why Choose Tin Ceiling Tiles?
Decorating with tin ceiling tiles offers numerous benefits. Let’s explore some of the reasons why they are a fantastic choice:
Durability
Tin ceiling tiles are built to last. Unlike traditional drywall or plaster, they can withstand wear and tear and are resistant to moisture.
Low Maintenance
These tiles only require periodic cleaning and occasional waxing to maintain their luster.
Versatile Aesthetics
Tin tiles can seamlessly fit into various design styles, from traditional to modern, making them a versatile choice.
Easy Installation
Many tin ceiling tiles come with interlocking designs, allowing for easy DIY installation.
Installation Process for Tin Ceiling Tiles
Tools and Materials Needed
Before you begin your project, gather the following tools and materials:
- Tin ceiling tiles
- Adhesive or nails (depending on the type of tiles)
- Measuring tape
- Level
- Utility knife
- Caulk and caulking gun
- Safety goggles
Step-by-Step Installation Guide
- Measure Your Ceiling: Calculate the square footage of the ceiling to determine how many tiles you’ll need.
- Prepare the Surface: Ensure the ceiling is clean, dry, and free of any previous coverings.
- Plan the Layout: Create a layout plan to visualize how the tiles will fit together.
- Cut Tiles as Necessary: Use a utility knife to trim any tiles to fit around edges or fixtures.
- Apply Adhesive or Secure with Nails: Depending on your chosen method, either apply adhesive to the back of the tiles or use nails to secure them in place.
- Inspect and Finish: Once all tiles are installed, check for any gaps and fill with caulk if necessary.
Comparison of Tin Ceiling Tiles: Types and Costs
| Type of Tile | Material | Average Cost per Square Foot | Durability | Maintenance |
|---|---|---|---|---|
| Classic Tin | Tin | $2.50 – $5.00 | Moderate | Low |
| Aluminum Tiles | Aluminum | $3.00 – $8.00 | High | Very Low |
| Painted Tiles | Metal with Paint | $4.00 – $10.00 | Moderate | Moderate |
Maintenance Tips for Tin Ceiling Tiles
Regular Cleaning
Keep your tin tiles looking fresh by dusting them with a soft cloth and occasionally washing them with a mild soap solution.
Handling Dents and Scratches
If your tiles get scratched or dented, a simple touch-up with metallic paint can often conceal the blemish.
Preventing Rust
For those living in humid climates, a coat of clear sealer may help prevent rust on uncoated tin tiles.
Personal Experiences & Transformative Projects
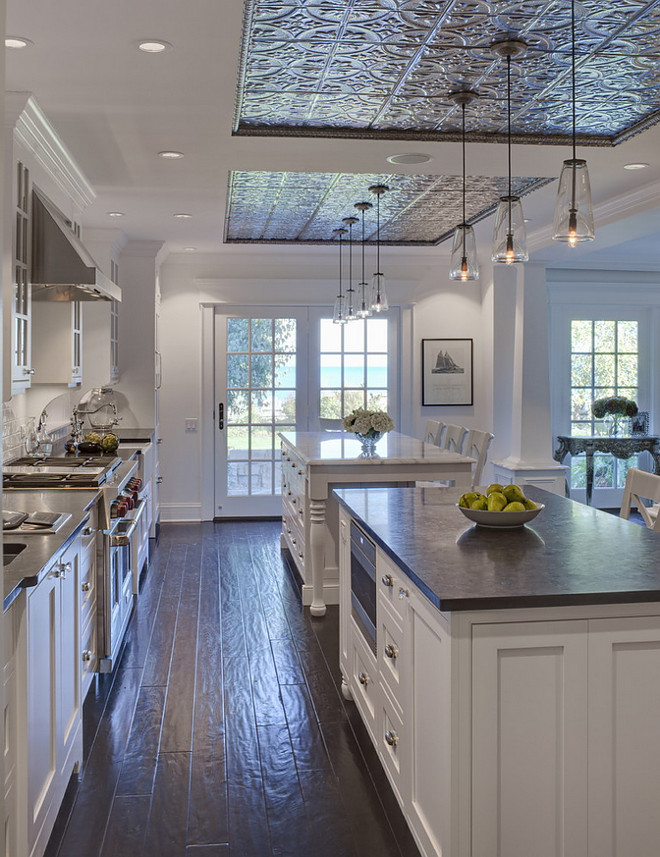
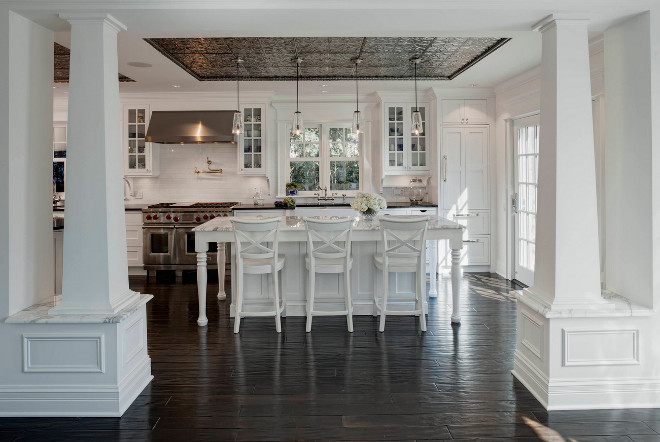
One of my favorite projects involved a small kitchen makeover using tin ceiling tiles. The dull, flat ceiling was transformed into a stunning focal point with a beautiful patterned tile. The reflective surface not only added depth but also made the kitchen feel larger and brighter. Friends and family noticed the change immediately, and it has become a conversation starter whenever I host gatherings.
In another instance, I used painted tin tiles in a bathroom renovation. The subtle shine and artistic patterns brought a touch of luxury to the space. Plus, the tiles were easy to wipe clean after steamy showers!
Pros and Cons of Tin Ceiling Tiles
Pros
- Easy to install and maintain
- Wide variety of styles and finishes
- Durable and long-lasting
- Enhances property value
Cons
- Can be more expensive than traditional ceiling materials
- May require professional installation for intricate designs
- Potential for rust in humid conditions (unless treated)

Frequently Asked Questions (FAQs)
1. Can tin ceiling tiles be painted?
Yes! You can paint tin ceiling tiles with a suitable metal paint for a custom look. Just ensure the tiles are well-cleaned before applying any paint.
2. Are tin ceiling tiles good for insulation?
While tin ceiling tiles do not provide significant insulation, they can improve the thermal mass of a room, which can help maintain temperature.
3. How do I fix a damaged tin ceiling tile?
A damaged tile can often be repaired by using a touch-up paint or replacing the tile altogether if the damage is extensive. Always keep a few extra tiles on hand just in case!
4. Are there any safety concerns with tin ceiling tiles?
As long as you follow safety precautions during installation (like wearing safety goggles), tin ceiling tiles are safe to use. Just ensure there are no sharp edges after cutting.
