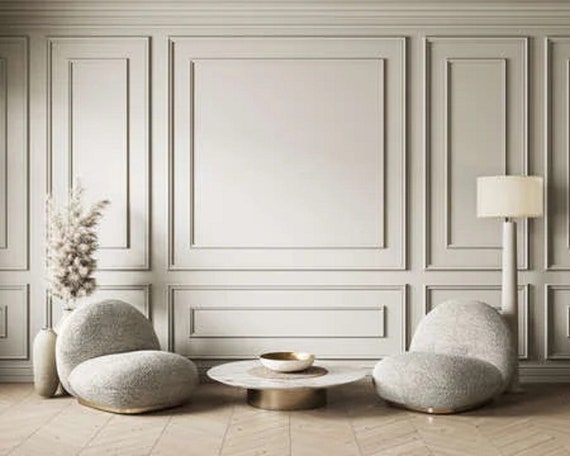
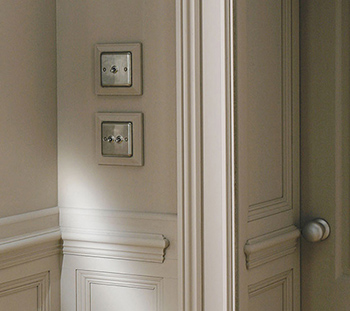
Decorative beading for walls is more than just a trend; it’s a timeless design element that introduces texture and visual interest to any room. As someone who has experimented with various forms of interior design, I can say that the impact of beading is both profound and delightful. From creating elegant finishes to adding character to plain walls, decorative beading has a place in every home. In this comprehensive guide, we’ll delve into everything you need to know about decorative beading, from materials and techniques to tips and tricks that will inspire your next project.
What is Decorative Beading?
Decorative beading refers to the application of a narrow strip of material, typically wood, plastic, or metal, to walls or ceilings. This technique adds depth, dimension, and visual appeal to a space. The beading can be used in several formats, including vertical, horizontal, or even in intricate patterns, enhancing aesthetic value and providing a sophisticated finish to interiors.
Types of Decorative Beading
- Wood Beading: Traditional and warm, wood beading adds a classic touch to any room.
- Plastic Beading: Lightweight and versatile, plastic options are ideal for DIY projects.
- Metal Beading: Industrial and modern, metal beading offers a chic look that is also durable.

Common Uses for Decorative Beading
Here are some common applications for decorative beading:

- As a framing element for artwork or mirrors
- To add texture to plain walls
- In wainscoting designs
- As borders for windows and doors
- To create a focal point in a room
Benefits of Using Decorative Beading

When I first considered using decorative beading in my home, I was intrigued by its potential benefits. Here are some of the advantages that I discovered:
1. Aesthetic Appeal
Beading enhances the visual appeal of walls, transforming dull surfaces into stunning focal points.

2. Versatile Design Options
With various materials, colors, and patterns available, decorative beading can complement any design style, from rustic to modern.
3. Easy Installation
Many types of decorative beading can be easily installed by homeowners, allowing for DIY enthusiasts to experiment without professional help.

4. Increased Home Value
A well-done decorative beading project can add value to your home, making it more appealing to potential buyers.
Comparison of Beading Materials
| Material | Appearance | Durability | Cost | Maintenance |
|---|---|---|---|---|
| Wood | Classic and warm | High | Medium | Regular polishing |
| Plastic | Versatile and colorful | Medium | Low | Wipe clean |
| Metal | Modern and sleek | Very high | Medium to high | Occasional polishing |

How to Choose the Right Decorative Beading for Your Walls
Choosing the right decorative beading for your space can feel daunting, but it doesn’t have to be! Based on my personal experience, here are some tips:

1. Consider Your Room’s Style
Is your room more traditional or modern? The style of your room will dictate the type of beading that works best. For example, ornate wooden beading fits well in a classic home, while sleek metal strips are perfect for a contemporary vibe.
2. Think About Color and Finish
Beading should complement the existing color scheme of your room. Opt for a finish that either blends in for a subtle look or contrasts for a statement piece.
3. Assess Your Budget and Time
Beading can vary greatly in price. Set a budget and consider whether you’ll tackle the installation yourself or hire a professional.
Installation Process for Decorative Beading
Whether you’re a seasoned DIYer or a first-timer, installing decorative beading can be a fulfilling project. Here’s a simple step-by-step guide:
Step 1: Gather Your Materials
- Beading strips
- Measuring tape
- Pencil
- Adhesive or nails
- Level
- Paint or stain (optional)
Step 2: Measure and Mark
Measure your wall space and mark where the beading will go. Use a level to ensure your lines are straight.
Step 3: Cut the Beading
Using a saw, cut your beading strips to the desired lengths. Take your time to ensure clean, straight edges.
Step 4: Attach the Beading
Apply adhesive or use finishing nails to attach your beading strips to the wall. Make sure they are aligned properly before fixing them in place.
Step 5: Finish the Look
If you’ve opted for painting or staining, now’s the time to apply your finish. This will help blend the beading with your wall decor.
Creative Ideas for Using Decorative Beading
Now that you know about beading and how to install it, let’s get creative! Here are some ideas to inspire your next project:
1. Create a Feature Wall
Use decorative beading to create a stunning feature wall. Frame a large piece of artwork or mirror with beading to draw attention.
2. Add Dimension to Wainscoting
Wainscoting is an excellent application for beading. It can elevate the design of a dining room or hallway.
3. Frame Your Windows and Doors
Add a finishing touch to windows and doors with decorative beading, enhancing their visual appeal.
4. Incorporate Beading in Shelving
Add decorative beading around shelving units to create a custom built-in look, making your bookshelf a statement piece.
5. Use Beading in Ceilings
Don’t forget about the ceiling! Adding beading can draw the eye upward and make ceilings appear higher.
Pros and Cons of Decorative Beading
Like any design element, decorative beading comes with its own set of pros and cons. Here’s what you need to consider:
Pros
- Enhances aesthetic appeal
- Provides a touch of elegance
- Variety in designs and materials
- Increases home value
Cons
- Can be time-consuming to install
- Cost varies by material choice
- May require maintenance depending on material
FAQs About Decorative Beading for Walls
1. What are the best materials for decorative beading?
The best materials depend on your project’s needs. Wood is classic and warm, plastic is budget-friendly and lightweight, while metal is sleek and modern.
2. Can I install decorative beading myself?
Yes! Many homeowners choose to install decorative beading as a DIY project. With the right tools and guidance, it can be a fun and rewarding process.
3. How do I maintain decorative beading?
Maintenance depends on the material. Wood may need polishing, while plastic can simply be wiped clean. Metal might require occasional polishing.
4. Can decorative beading be painted?
Absolutely! Painting or staining your beading can help it blend with your existing decor. Just ensure you use the appropriate paint for the material.
5. Is decorative beading suitable for outdoor use?
Some plastic and metal beading may be suitable for outdoor use, but always check the product specifications for durability against the elements.
Conclusion
Decorative beading is a versatile and stylish option that can dramatically transform the look and feel of your spaces—something I can personally vouch for. Whether you choose wood, plastic, or metal, the right beading can elevate your home’s design. I hope this guide has provided you with all the information you need to successfully incorporate decorative beading into your interiors. Now, it’s time for you to unleash your creativity and make your walls come alive!