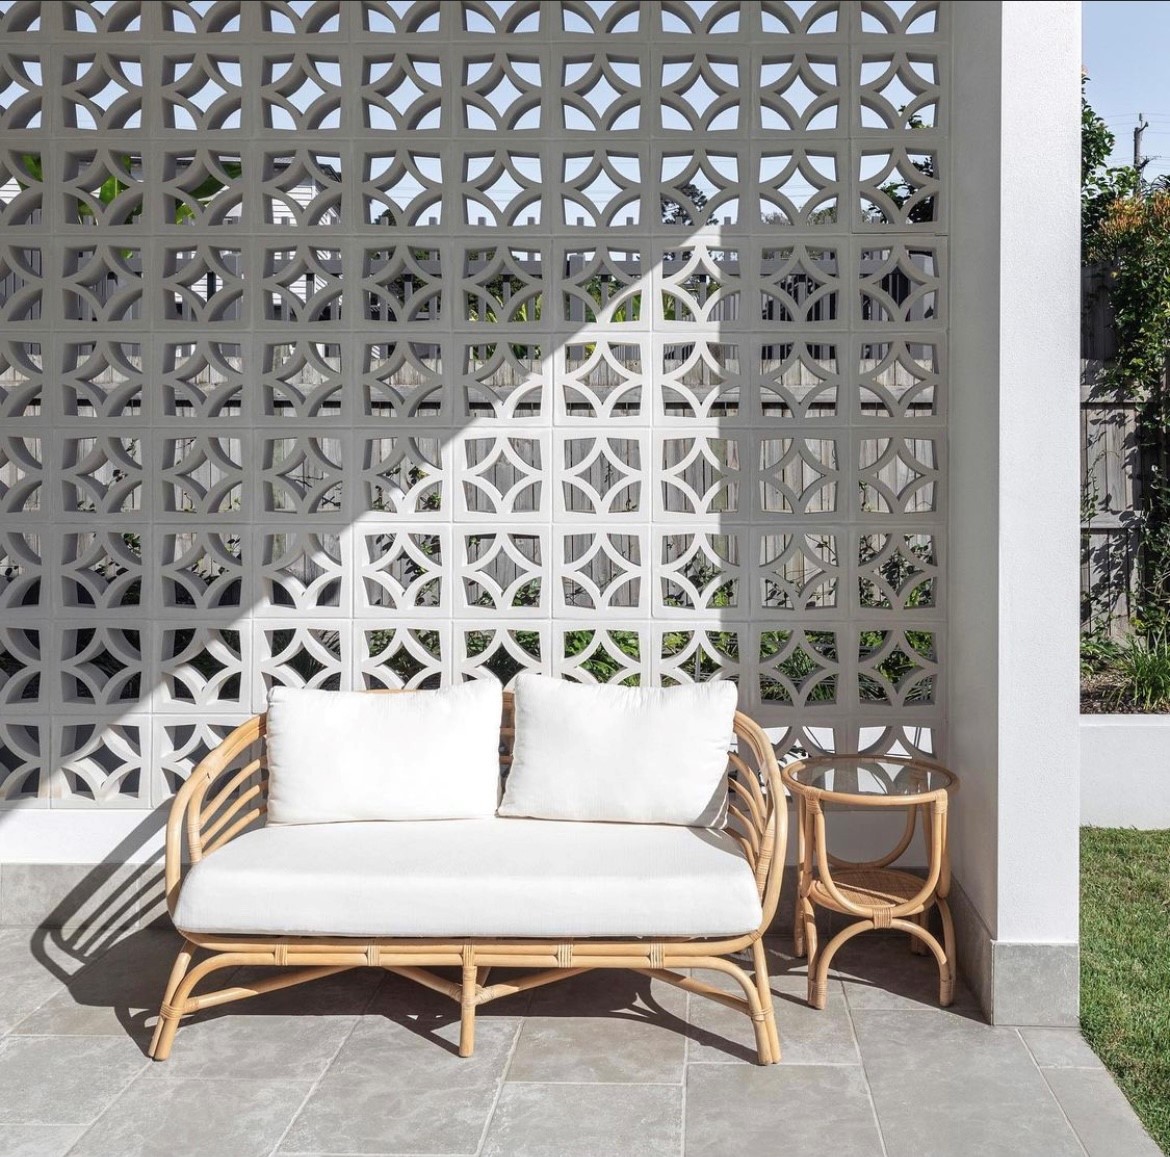
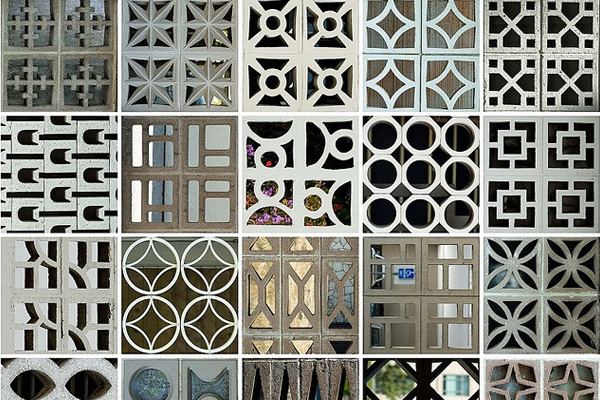
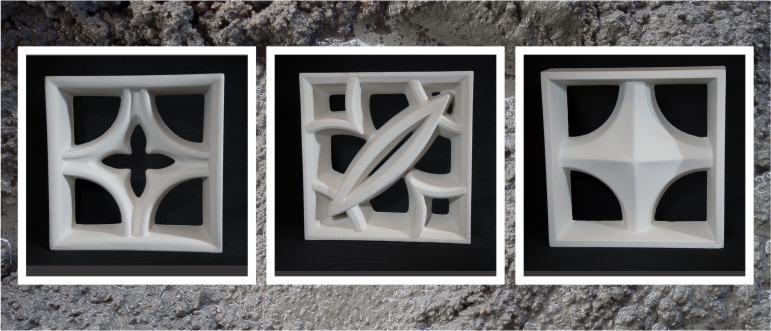
Welcome! If you’ve ever explored the world of home design, you may have come across decorative breeze blocks. These versatile architectural elements not only add a unique aesthetic to your space but also bring functionality and character. In this article, I will delve into everything you need to know about decorative breeze blocks, drawing from personal experience and extensive research to provide you with a comprehensive and enjoyable reading experience.
What Are Decorative Breeze Blocks?
Decorative breeze blocks, also known as “breeze bricks” or “ventilated blocks,” are hollow concrete blocks that are often used in architecture to improve air circulation while also enhancing visual appeal. They come in various patterns and textures, allowing you to incorporate them into both indoor and outdoor designs.
History of Decorative Breeze Blocks
Emerging in the mid-20th century, decorative breeze blocks gained popularity in the United States, particularly in the post-World War II era. The mid-century modern architecture movement embraced these blocks, showcasing their aesthetic and functional benefits. As a kid wandering through neighborhoods, I remember being captivated by the intricate designs of breeze blocks that added a unique character to homes.
Why Choose Decorative Breeze Blocks?
There are several reasons to consider using decorative breeze blocks in your home or outdoor space:
- Versatility: They can be used in numerous applications, from garden walls to room dividers.
- Enhanced Aesthetic: With various designs and colors, they can complement any style.
- Airflow: The hollow structure allows for increased ventilation.
- Privacy: They provide a barrier while still allowing light and air to flow through.
Different Types of Decorative Breeze Blocks
Decorative breeze blocks come in various styles, materials, and patterns. Let’s take a closer look at some popular types:
1. Concrete Breeze Blocks
These are the most common type, known for their durability and strength. They often come in neutral colors and can be painted to match your design scheme.
2. Cinder Blocks
Cinder blocks are lightweight and more porous than concrete blocks. They are often used for temporary applications or in areas where weight is a concern.
3. Glass Breeze Blocks
Glass blocks offer a modern, sleek look and can enhance natural light in a space while still providing privacy.
4. Decorative Patterns
Many companies offer breeze blocks with unique patterns, such as geometric or floral designs, adding a trendy flair to your project.
Applications of Decorative Breeze Blocks
Decorative breeze blocks are incredibly versatile. Here are some common applications:
1. Exterior Walls
Use decorative breeze blocks to create stunning exterior walls that enhance your home’s curb appeal.
2. Interior Dividers
These blocks can serve as stylish room dividers that allow light to pass while maintaining privacy.
3. Garden Features
Incorporate them into your landscaping to create privacy walls, planters, or decorative fencing.
4. Fire Pits
Design a unique fire pit area with decorative breeze blocks for gatherings or relaxation.

How to Select the Right Breeze Block for Your Project
1. Consider Your Design Aesthetic
Choose a style that complements your home’s architecture and interior design. For example, I recently renovated my patio and opted for a mid-century pattern to match my overall theme. It made a significant difference!
2. Assess Your Space Requirements
Consider the size and purpose of the area where you plan to install the breeze blocks. Larger spaces may benefit from bigger blocks or more intricate designs.
3. Evaluate Your Budget
Prices can vary significantly based on material and design. Set a budget before shopping to narrow down your options.
4. Check Local Building Codes
Before finalizing any plans, ensure that decorative breeze blocks comply with local building codes and regulations.
Installation of Decorative Breeze Blocks
Installing decorative breeze blocks can be a fun DIY project, but it’s essential to approach it correctly:
1. Gather Your Materials
You’ll need breeze blocks, mortar, a trowel, and safety gear, including gloves and eye protection.
2. Choose Your Layout
Plan your design ahead of time. A simple sketch can help visualize the final product.
3. Prepare the Foundation
Ensure that the ground is level and stable, especially for outdoor installations.
4. Lay the Blocks
Start at the corners and work your way inwards, applying mortar between each block for stability.
5. Finishing Touches
Once the installation is complete, allow the mortar to cure according to the manufacturer’s guidelines. Then, consider painting or sealing the blocks if desired.

Pros and Cons of Decorative Breeze Blocks
| Pros | Cons |
|---|---|
| Highly durable and weather-resistant | Can be heavy and require proper support |
| Available in many designs and colors | Installation can be time-consuming |
| Allows natural light while providing privacy | Some designs may chip or crack over time |
| Low maintenance | Limited insulation properties |
Decorative Breeze Blocks: A Personal Touch
In my experience, integrating decorative breeze blocks into my home renovation was a rewarding decision. They transformed our outdoor area from bland to beautiful, serving as both a stylish divider and an essential design feature. Ironically, the breeze blocks not only enhanced our space aesthetically but also improved airflow during summer months, showcasing their functional benefits.

FAQs about Decorative Breeze Blocks
1. Are decorative breeze blocks easy to install?
While they can be installed as a DIY project, it does take some time and effort. Following proper procedures will ensure a successful installation.
2. Can decorative breeze blocks be used indoors?
Absolutely! They are perfect for creating room dividers or decorative features within your home.

3. Do breeze blocks provide insulation?
Decorative breeze blocks offer limited insulation properties. They are primarily designed for airflow and aesthetic purposes.
4. How do I maintain decorative breeze blocks?
Regular cleaning with soap and water is usually sufficient. Check for any cracks or chips and repair as necessary to maintain their appearance.
