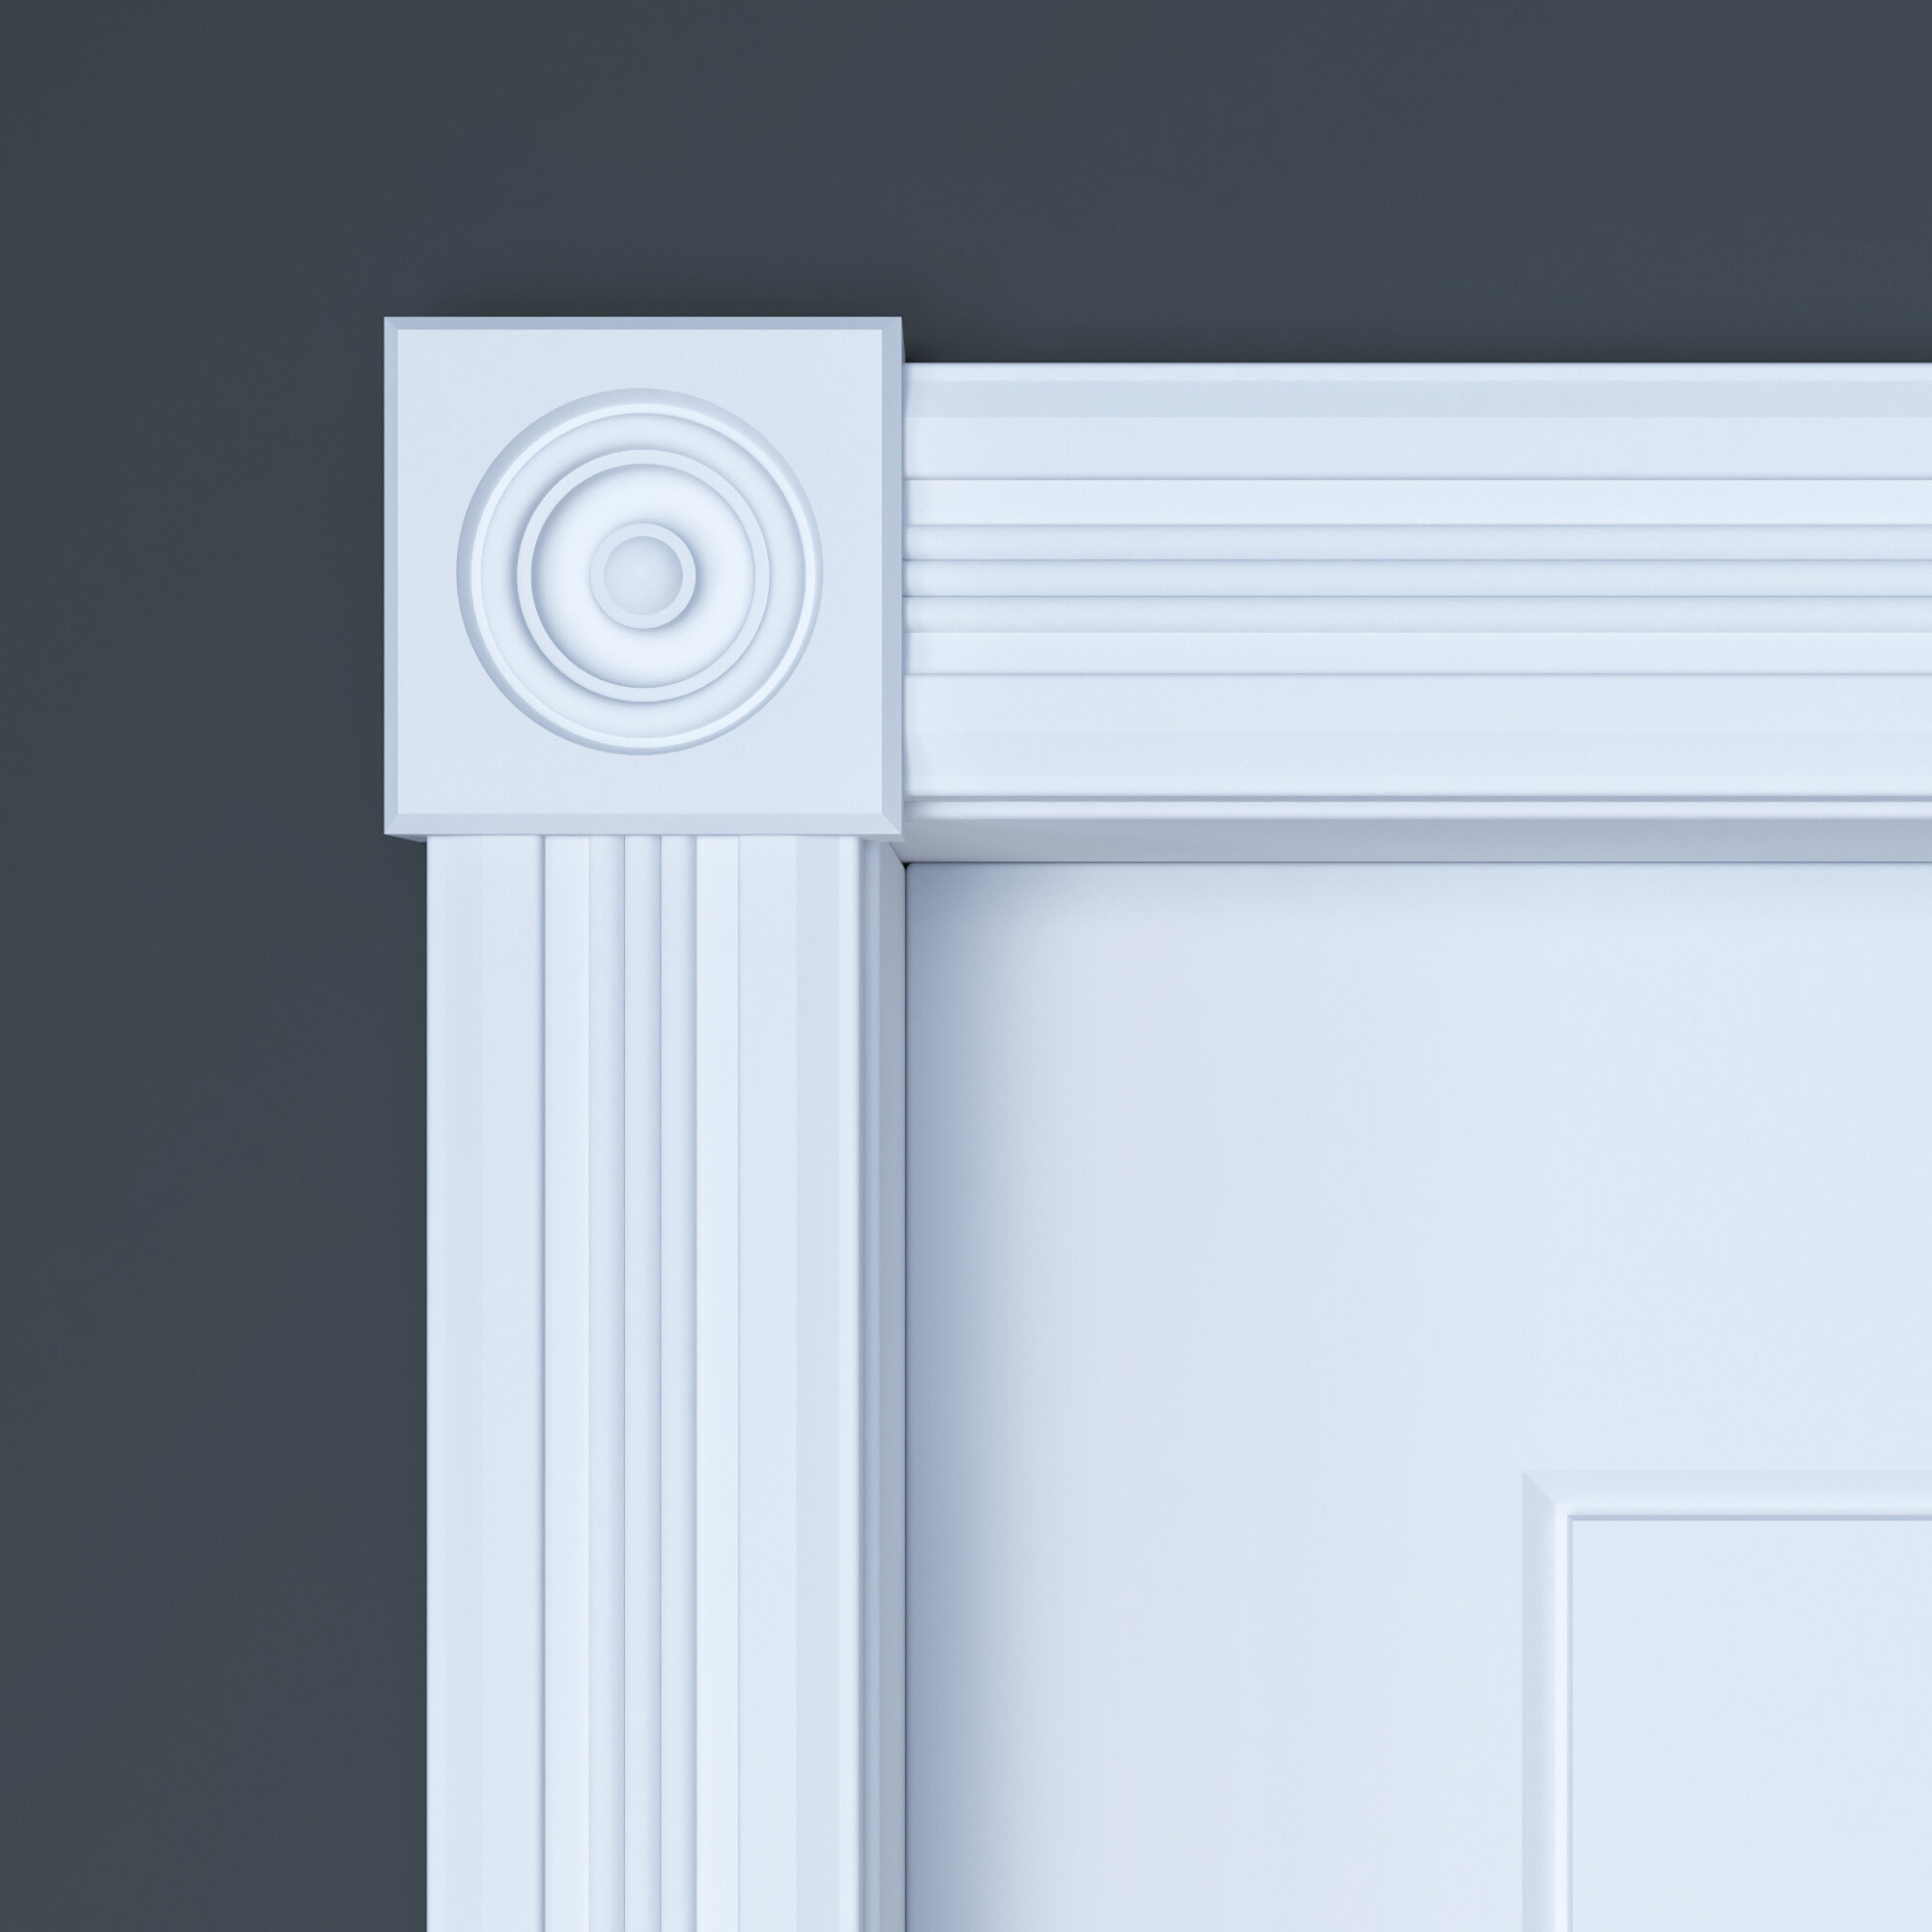
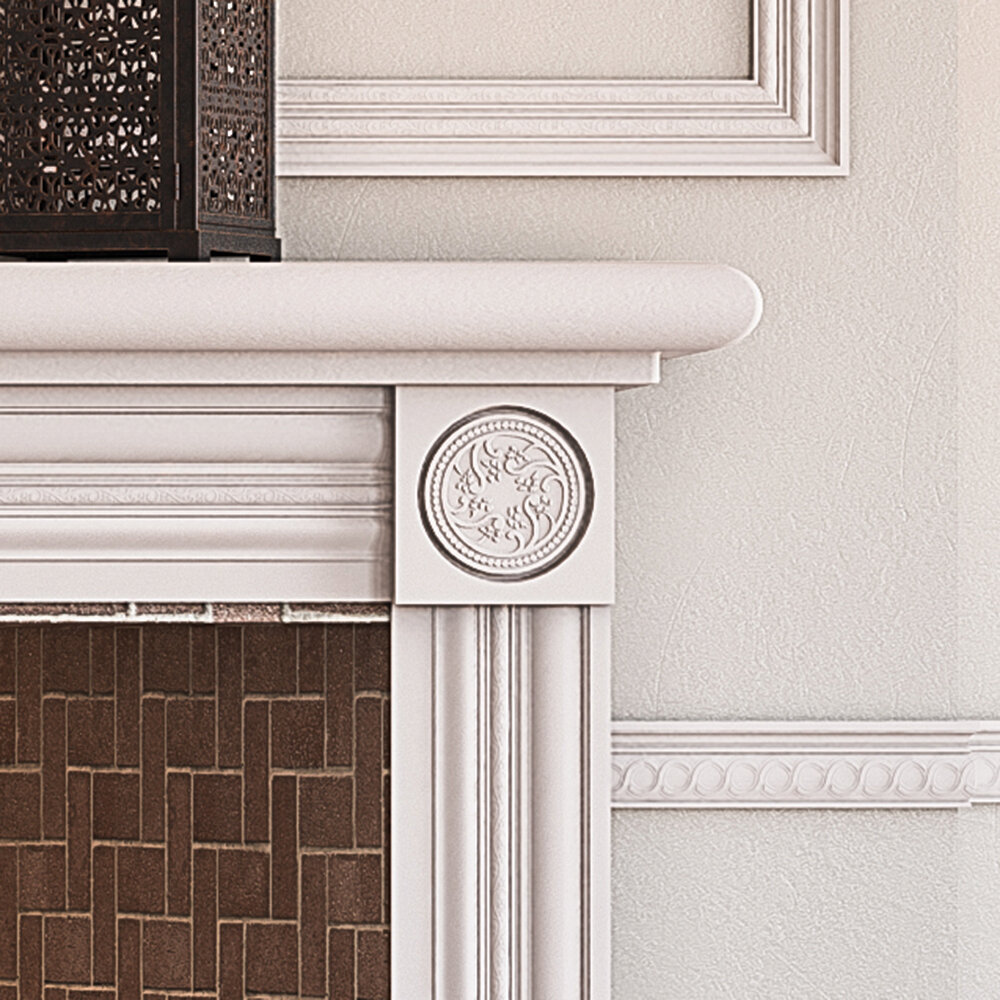
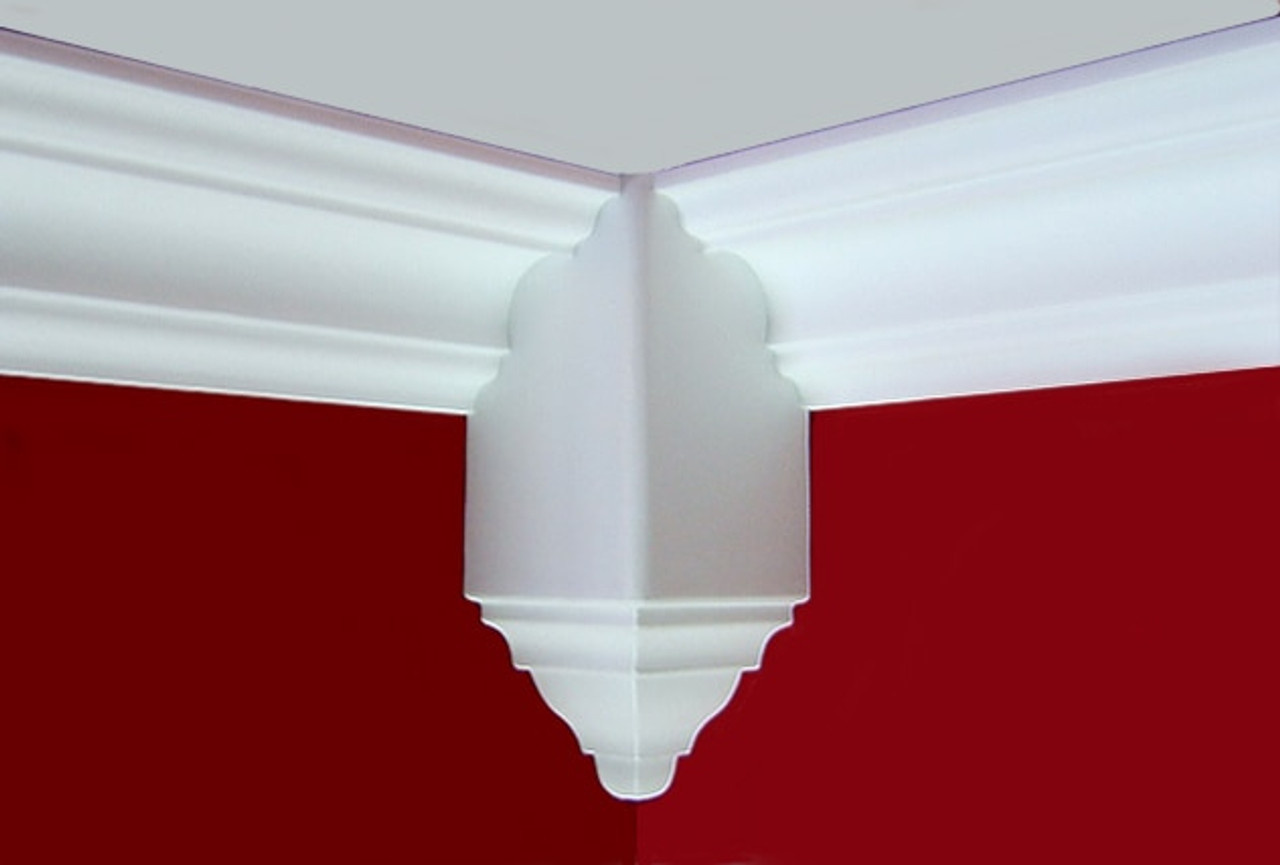
When it comes to home decor, the finishing touches can make all the difference. One such element that can elevate the style and elegance of any room is decorative corner molding trim. In my personal experience as a DIY enthusiast, I’ve found that adding corner molding not only enhances the beauty of a space but also adds value to your home. In this article, we will explore everything you need to know about decorative corner molding trim—from types and installation to tips and tricks.
What is Decorative Corner Molding Trim?
Decorative corner molding trim is a type of architectural element used to adorn the corners of rooms, furniture, and cabinetry. It serves both functional and aesthetic purposes, providing a seamless transition between walls and ceilings or between different wall surfaces.
Types of Decorative Corner Molding Trim
There are several styles of decorative corner molding trim, each offering unique looks and functionalities. Here’s a breakdown of the most popular types:
Crown Molding
Crown molding is a classic choice that adds elegance to any room. It’s typically installed where the walls meet the ceiling, featuring intricate designs.
Base Molding
Base molding, or baseboards, are installed at the junction of the wall and floor. They help protect walls from scuffs and provide a polished finish.
Chair Rail
Chair rails are horizontal strips of molding installed around the room at a height that protects walls from being damaged by chairs. They can also be used decoratively to divide paint colors or wallpaper designs.

Casing
Casing is the trim used around door and window frames. It can be decorative and is often paired with other molding types for a complete look.
Installing Decorative Corner Molding Trim
Installing decorative corner molding trim can seem daunting, but with the right tools and a little guidance, you can achieve professional results. Here’s a step-by-step guide to help you get started:

Tools Required
- Measuring tape
- Miter saw
- Nail gun or hammer
- Wood glue
- Caulk and caulking gun
- Sandpaper
- Paint or stain (optional)
Step-by-Step Guide
- Measure Your Space: Carefully measure the length where you plan to install the molding.
- Cut Molding to Size: Use a miter saw to make precise cuts at 45-degree angles for corners.
- Attach the Molding: Position the molding and secure it to the wall with a nail gun or hammer.
- Fill in Gaps: Use caulk to fill in any gaps between the molding and the wall.
- Finish: Sand any rough edges and paint or stain your molding to your desired finish.

Comparison of Molding Materials
Choosing the right material for your decorative corner molding trim is crucial. Below is a comparison of common materials used:
| Material | Pros | Cons |
|---|---|---|
| Wood | Natural beauty, strong, easy to paint or stain | Can warp, expensive, requires maintenance |
| MDF (Medium Density Fiberboard) | Cost-effective, smooth surface, easy to install | Less durable, may not hold paint as well as wood |
| Polyurethane | Lightweight, waterproof, resistant to warping | Less traditional look, may be more expensive |
| Polyvinyl Chloride (PVC) | Durable, easy to clean, moisture-resistant | Limited design options, can be less aesthetically pleasing |

Pros and Cons of Decorative Corner Molding Trim
Like any home improvement project, adding decorative corner molding trim comes with its own set of advantages and disadvantages. Here’s what you should consider:
Pros
- Enhances the overall aesthetics of a room
- Increases property value
- Provides a polished, finished look
- Can hide imperfections in wall joints
- Available in various styles and materials

Cons
- Can be expensive, depending on the material
- Installation can be time-consuming
- Requires maintenance and painting/staining
- May not suit every design style
Design Ideas for Decorative Corner Molding Trim
Once you’ve decided to add decorative corner molding trim, the next step is to choose a design that complements your space. Here are some creative ideas:

Modern Elegance
Choose sleek, minimalistic molding with simple lines for a contemporary look. Paint it the same color as your walls for a seamless effect.
Classic Charm
Opt for ornate crown molding and detailed chair rails in a traditional space. These features can be painted white or stained for a rich look.

Rustic Vibes
Use reclaimed wood for a rustic touch. Pair with exposed beams and earthy colors for a cozy atmosphere.
FAQs about Decorative Corner Molding Trim
1. What is the best material for decorative corner molding trim?
The best material depends on your budget, style preference, and location. Wood offers a classic look, while MDF is more affordable and easier to install.
2. How do I choose the right style of molding?
Consider the overall design of your home. Traditional homes may benefit from detailed moldings, while modern spaces might look better with minimalist designs.
3. Can I install corner molding trim myself?
Yes! With the right tools and guidance, many homeowners can successfully install corner molding trim. It’s a rewarding DIY project!
4. How do I maintain decorative corner molding trim?
Regular dusting, occasional painting, and checking for signs of wear or damage will help maintain your molding’s appearance and longevity.
5. Is decorative corner molding trim suitable for all rooms?
Yes, decorative corner molding trim can enhance the aesthetic of virtually any room, from living spaces to kitchens and even bathrooms when appropriately chosen.
Conclusion
Decorative corner molding trim is a fantastic way to enhance the beauty and character of your home. Whether you opt for classic crown molding or modern baseboards, the right trim can add depth and elegance to any space. As someone who loves the art of home improvement, I highly encourage you to explore the possibilities with decorative corner molding. Its charm and functionality are sure to impress not only you but anyone who enters your home. Happy decorating!