When it comes to home improvement and interior design, the details often make the biggest impact. One such detail that can truly transform the look of your spaces is decorative tile trim. From kitchens to bathrooms, decorative trim adds an elegant finish to your tiled surfaces, and in this comprehensive guide, we will explore everything you need to know about decorative tile trim.
What is Decorative Tile Trim?
Decorative tile trim refers to the materials used to edge and finish tile installations. They help in creating a seamless look while also providing protection against damage and moisture. Beyond their functional purposes, they serve as a decorative element, enhancing the overall aesthetic of a room.
Types of Decorative Tile Trim
There are several types of decorative tile trim available in the market. Each type serves different purposes and offers various aesthetic appeals.
1. Bullnose Trim
Bullnose trim features a rounded edge that gives a soft, finished look to tile edges. It is commonly used on countertops, backsplashes, and where walls meet tiled surfaces.
2. Pencil Trim
Pencil trim is a slim, rounded strip that provides a clean, sleek edge to tiles. It’s perfect for accentuating vertical lines, especially in shower walls.
3. Cove Trim
Cove trim is used where tiles meet the floor or another surface. Its curved profile offers a smooth transition and helps prevent dirt build-up.
4. Chair Rail Trim
This type of trim is often used in wainscoting applications, giving a classic look to the walls while providing protection from damages.

Benefits of Using Decorative Tile Trim
Integrating decorative tile trim into your design can provide several benefits:
- Enhanced Aesthetics: Decorative trims enhance the visual appeal, making your space look polished.
- Protection: They protect the edges of tiles from chipping and moisture.
- Easy Maintenance: Trims create a sealed edge, making cleaning easier.
- Versatility: Available in various styles, shapes, and materials to suit different design themes.
Choosing the Right Decorative Tile Trim
Choosing the right trim can be daunting due to the plethora of options available. Here are a few considerations:

1. Material
Decorative trims come in materials like ceramic, metal, and glass. Each material has distinct features that can enhance your overall design.
Comparison Table of Decorative Tile Trim Materials
| Material | Pros | Cons |
|---|---|---|
| Ceramic | Affordable, versatile | Can chip easily |
| Metal | Durable, modern look | Can be expensive, prone to rust in wet areas |
| Glass | Beautiful, reflective | Fragile, more costly |

2. Color and Texture
Choose colors and textures that complement your tiles and enhance your design theme. Personal preference plays a big role here. For instance, I once chose a glossy white pencil trim to contrast against matte black subway tiles, and the result was stunning!
3. Size and Shape
The size and shape of the trim can change the entire appearance of your tile installation. Experimenting with different profiles can yield unexpected beauty.

Installation Tips for Decorative Tile Trim
Installing decorative tile trim might seem intimidating, but with the right tools and techniques, anyone can do it. Here’s a step-by-step guide:
Tools and Materials Needed
- Tile trim pieces
- Tile adhesive or mortar
- Tile cutter or saw
- Grout
- Spacers
- Level
- Caulking gun

Step-by-Step Installation Process
- Prepare the Surface: Ensure the surface is clean and free of debris.
- Cut the Trim: Using a tile cutter, cut the decorative trim to the desired lengths.
- Apply Adhesive: Spread tile adhesive on the surface where the trim will be installed.
- Place the Trim: Position the trim against the tile edge, ensuring it’s level.
- Add Grout: Fill the gaps with grout for a finished look.
- Seal the Edges: Use caulk to seal the edges for added protection.
Common Mistakes to Avoid
Even seasoned DIYers can make mistakes. Here are some common pitfalls to avoid:
- Skipping Measurements: Always measure first—precision is key!
- Ignoring Expansion Joints: These are essential for tile longevity.
- Overusing Trims: Less can be more; choose wisely to avoid a cluttered look.
Decorative Tile Trim Ideas for Different Spaces
Now that you know about decorative tile trim, let’s explore how it can elevate your space in various settings.
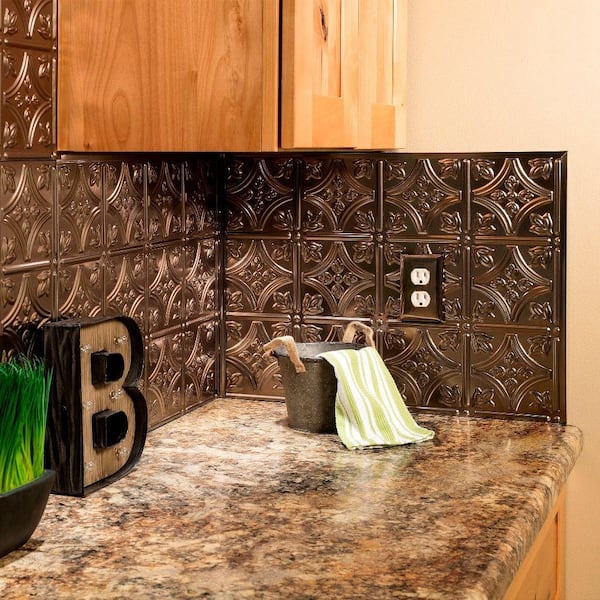
1. Kitchens
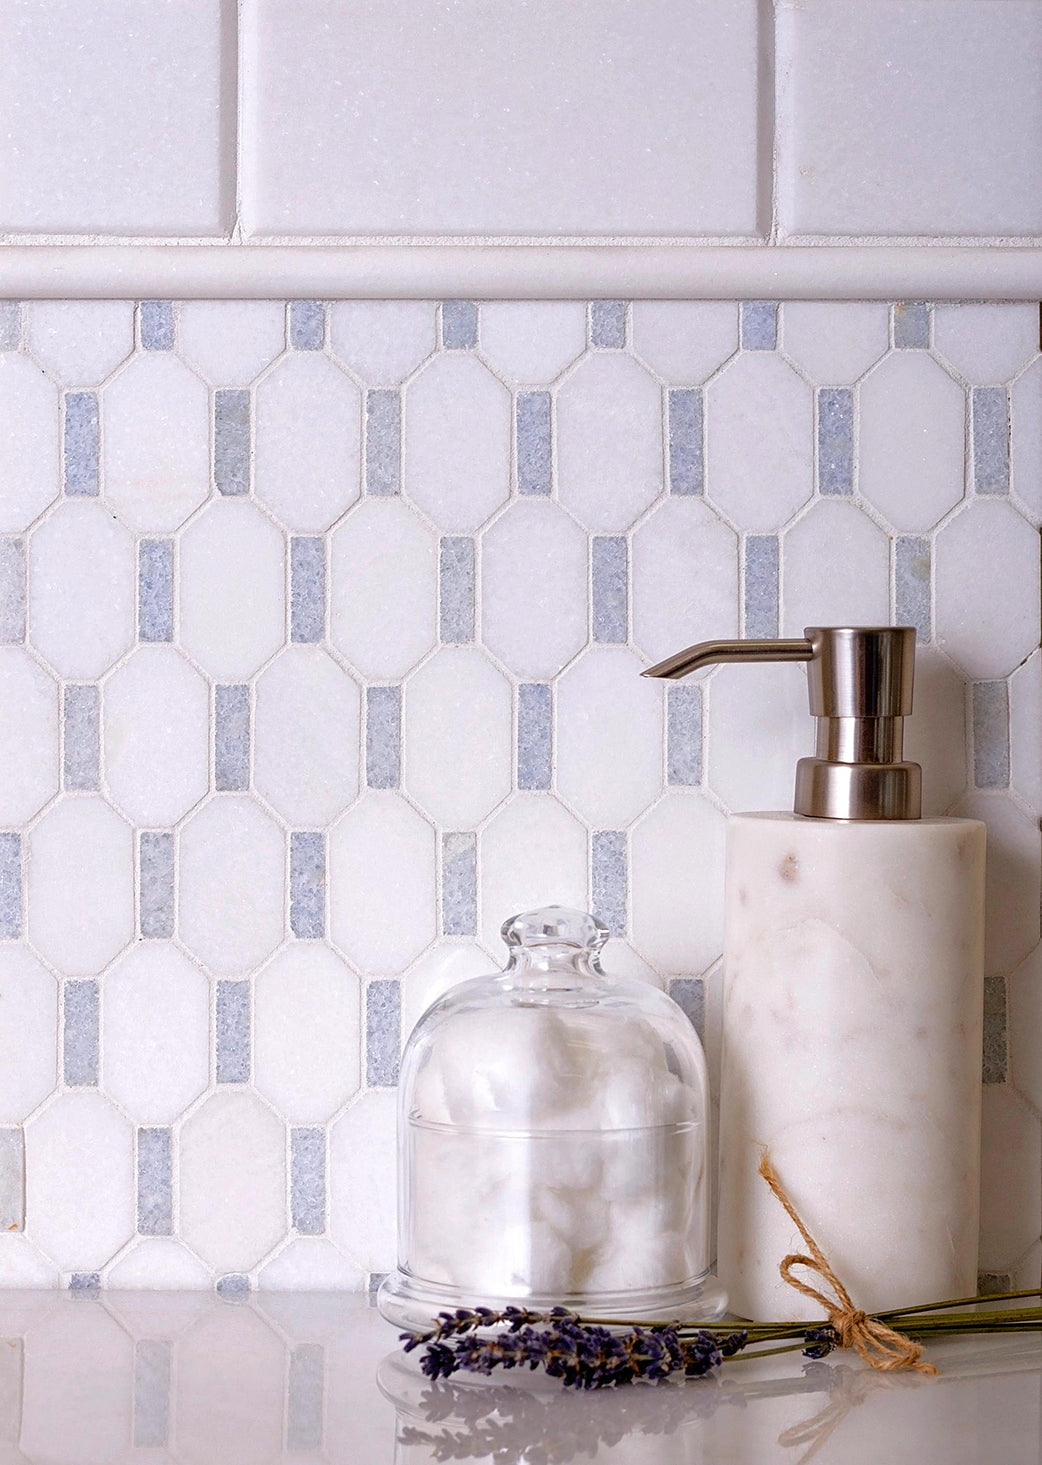
Consider using bullnose trim around countertops and backsplashes to create a cohesive look. Adding a mosaic tile trim can also serve as a beautiful accent.
2. Bathrooms
Pencil trims can be perfect where tiles meet in a shower, while cove trims can facilitate cleaning and maintenance near the floor.
3. Living Rooms
Pencil trims can be used in creative wall applications, while chair rail trims can add sophistication to dining areas.
Frequently Asked Questions (FAQs)
What is the purpose of decorative tile trim?
Decorative tile trim serves both functional and aesthetic purposes. It protects tile edges and adds visual appeal to your space.
Can I install tile trim myself?
Yes, with the right tools and instructions, many homeowners successfully install tile trim on their own.
What types of trim are best for wet areas?
In wet areas, metal or ceramic trims tend to perform well due to their durability and moisture resistance.
How do I clean decorative tile trim?
Cleaning trim is much like cleaning the tiles. Use a mild detergent and a soft cloth or sponge for best results.
Is decorative tile trim expensive?
The cost can vary, but there are options available for most budgets. Investing in quality trim often pays off in durability and aesthetics.
Conclusion
Decorative tile trim is a fantastic way to elevate the design of your spaces. With various materials, styles, and installation techniques, there’s something for everyone. Remember to take your time choosing the right trim, as this small detail can make a significant impact. Happy decorating!