Introduction to Decoupage
Decoupage is an art form that involves decorating objects by gluing colored paper cutouts onto them. It’s a fun, creative hobby that allows you to express your personality through unique designs. One of the best materials for this craft is decorative tissue paper. In this guide, we’ll explore everything you need to know about using decorative tissue paper for decoupage projects.
What is Decorative Tissue Paper?
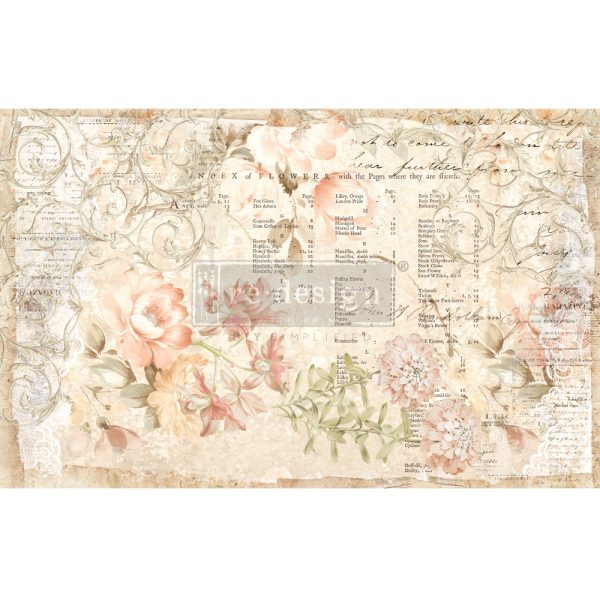
Decorative tissue paper is a lightweight, colorful paper that is often used for wrapping gifts, crafting, and decoupage. Unlike regular tissue paper, the decorative variety comes in an array of prints, colors, and patterns, making it perfect for adding aesthetic appeal to your projects.
Types of Decorative Tissue Paper
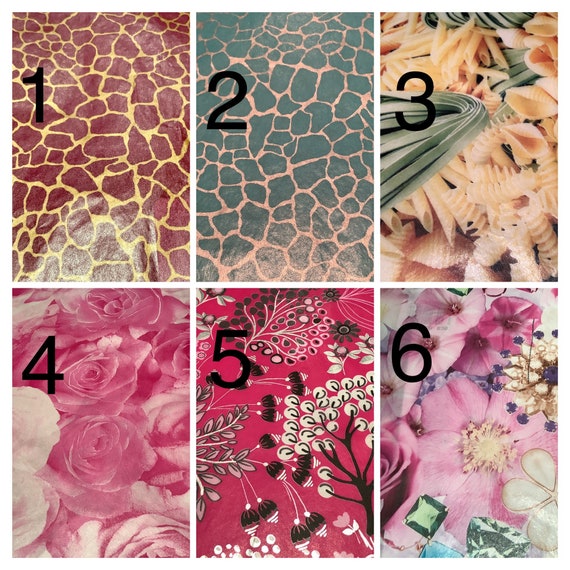
Understanding the types of decorative tissue paper can enhance your decoupage experience. Here are some popular varieties:
- Printed Tissue Paper: Features designs and images printed directly onto the paper.
- Solid Color Tissue Paper: Available in a variety of colors, great for layering.
- Metallic Tissue Paper: Shiny finish that adds an elegant touch to any piece.
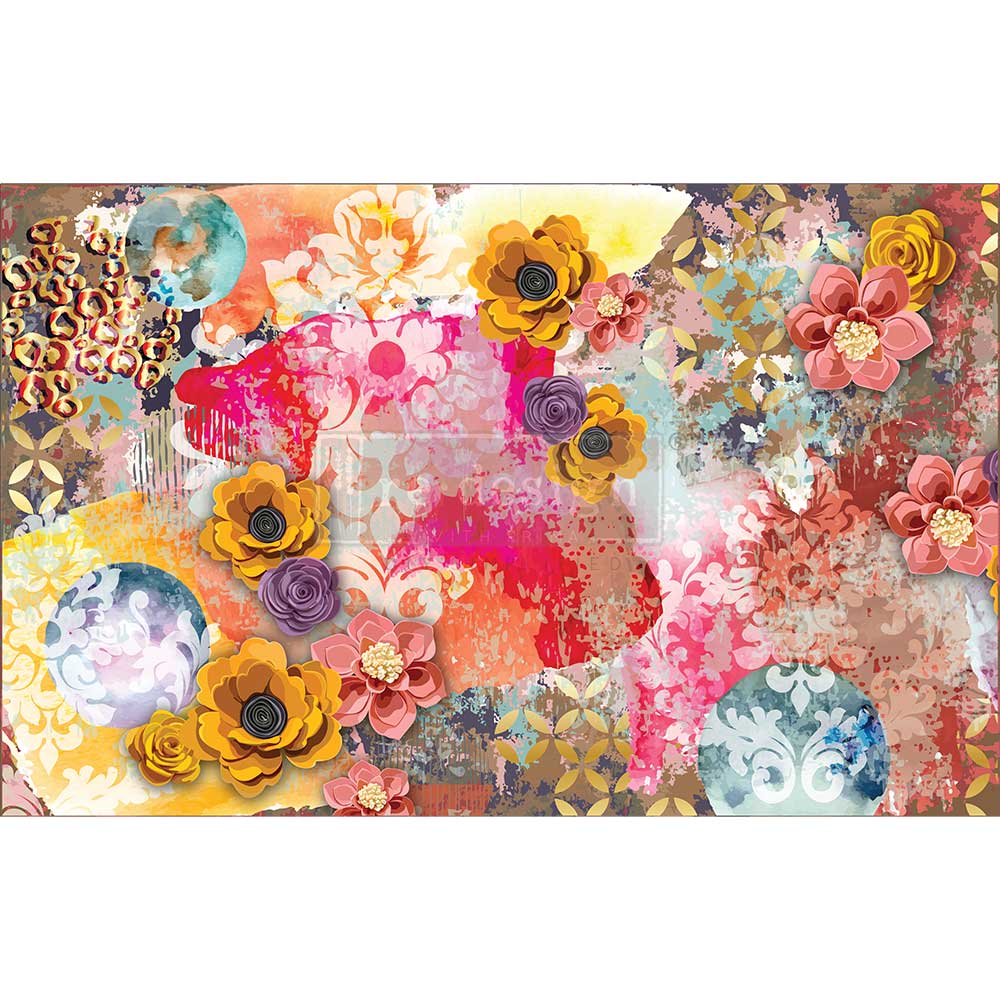
- Patterned Tissue Paper: Comes in various patterns, ideal for themed projects.
The Benefits of Using Decorative Tissue Paper in Decoupage
Decorative tissue paper has several advantages that make it a favorite among crafters:
Lightweight and Versatile
Being lightweight means that it molds easily to different surfaces, making it ideal for various shapes and objects. Plus, the versatility of designs means you can choose a style that matches your vision.
Easy to Work With
This material is easy to cut, tear, and apply, making it great for beginners and experienced crafters alike. You don’t need advanced skills to create beautiful projects.
Cost-Effective
Decorative tissue paper is generally inexpensive, allowing you to create stunning projects without breaking the bank. You can often find rolls or packs at local craft stores or online.

How to Choose the Right Decorative Tissue Paper for Your Projects
Choosing the right decorative tissue paper can greatly impact your decoupage outcomes. Here are some tips:
Consider Your Project’s Theme
- Bold and vibrant colors for a contemporary look.
- Pastels or muted tones for a vintage feel.
- Patterns that reflect the occasion or season.
Think About Texture
The texture of decorative tissue paper can affect the final result. Some papers are smooth, while others have a textured finish that can add depth to your project.
Check Quality and Durability
Ensure you select high-quality tissue paper that won’t tear easily when applied. Test a small piece first to gauge its durability.
Basic Tools and Materials for Decoupage with Decorative Tissue Paper
Before diving into your decoupage project, gather the following tools and materials:
- Decorative tissue paper
- Mod Podge or decoupage medium
- Brushes or sponges
- Scissors
- Sealant (if needed)
- Base object (like wood, glass, or metal)
Step-by-Step Guide to Using Decorative Tissue Paper for Decoupage
Step 1: Prepare Your Surface
Ensure that the object you’re decorating is clean and dry. If necessary, sand it down to create a smooth surface.
Step 2: Select Your Tissue Paper
Choose the colors and patterns that match your theme. Cut or tear the tissue paper into desired shapes and sizes.

Step 3: Apply the Decoupage Medium
Using a brush, apply a layer of Mod Podge or decoupage medium to the surface of your object. This will act as the adhesive for your tissue paper.
Step 4: Place the Tissue Paper
Carefully place the tissue paper on the wet glue, smoothing it out to avoid wrinkles and bubbles. Use a brush to apply more decoupage medium over the top of the tissue paper.
Step 5: Allow to Dry
Let your project dry completely. This may take several hours, depending on the amount of glue used and the humidity in your environment.
Step 6: Seal Your Project (Optional)
If you want added durability, apply a final coat of sealant over the dried paper.

Step 7: Enjoy Your Creation!
Your beautifully decoupaged piece is now ready to be displayed or gifted!
Tips for Successful Decoupage with Decorative Tissue Paper
- Don’t rush: Take your time with each step for the best results.
- Experiment: Try different techniques, such as layering or crumpling tissue paper for unique effects.
- Practice: Your first project may not be perfect. Practice on scrap material first.
Common Challenges and How to Overcome Them
Wrinkles and Bubbles
These can happen if the tissue paper is not smoothed out properly. Use a sponge or brush to gently press out air bubbles.
Tearing
To avoid tearing, work slowly and handle the tissue paper with care, especially when wet.
Fading Colors
Keep your finished object out of direct sunlight to prevent the colors from fading over time.
Conclusion
Decorative tissue paper can truly elevate your decoupage projects. With the right techniques and materials, you can craft stunning pieces that reflect your personal style. Whether you’re a beginner or an experienced crafter, using decorative tissue paper will undoubtedly enhance your creative endeavors.
FAQs about Decorative Tissue Paper for Decoupage
What type of tissue paper is best for decoupage?
Printed or patterned decorative tissue paper is often preferred, but solid colors can also be used for layering
Can I use regular tissue paper for decoupage?
While you can use regular tissue paper, decorative tissue paper offers more vibrant colors and patterns that are better for this craft.
Do I need to seal my decoupage project?
Sealing your project is optional but recommended, especially for items that will be used or displayed frequently.
How long does decoupage take to dry?
Drying time can vary, but most projects take at least a few hours to dry completely.