There’s something undeniably magical about chocolate covered Oreos. With their rich, creamy filling and crunchy cookie exterior, these sweet treats can bring joy to any occasion, from birthday parties to cozy nights in. In this guide, we’ll dive into the delightful world of chocolate-covered Oreos decorated in various styles, share tips and tricks from my own kitchen, and provide you with the ultimate recipes to try at home.
What Are Chocolate Covered Oreos?
Chocolate covered Oreos are simply Oreos dipped in melted chocolate. They can be decorated in various ways to enhance their visual appeal and flavor. From sprinkles to drizzle, the possibilities are endless! But what makes these treats so special? Let’s take a closer look.
The Appeal of Chocolate Covered Oreos
- Flavor Combination: The pairing of chocolate and creamy filling is a match made in heaven.
- Customizable: You can personalize them for any celebration or event.
- Simple to Make: With just a few ingredients, they’re easy to whip up.

Ingredients Needed for Chocolate Covered Oreos
To create your own chocolate covered Oreos, you will need the following ingredients:

- 1 package of Oreo cookies
- 2 cups of chocolate chips (milk, dark, or white chocolate)
- Sprinkles or other decorations (optional)
- A dash of festive spirit!
Choosing Your Chocolate
The type of chocolate you choose will significantly affect the taste and presentation of your chocolate-covered Oreos. Here are some options:

| Type of Chocolate | Flavor Profile | Best For |
|---|---|---|
| Milk Chocolate | Sweet and creamy | Classic flavors |
| Dark Chocolate | Rich and slightly bitter | Elegant presentations |
| White Chocolate | Sweet and creamy | Bright decorations |
How to Make Chocolate Covered Oreos: Step-by-Step Guide

Step 1: Preparation
Start by gathering all your ingredients and materials. You’ll need a microwave-safe bowl or a double boiler, parchment paper, and a baking sheet.
Step 2: Melting the Chocolate
Methods for melting chocolate:
- Microwave: Heat in 30-second intervals, stirring between each until smooth.
- Double Boiler: Place chocolate in a heat-safe bowl over simmering water, stirring continuously.

Step 3: Dipping the Oreos
Once the chocolate is melted, dip each Oreo into the chocolate, ensuring it’s fully coated. Use a fork to lift it out, letting excess chocolate drip off.
Pro Tip:
If you want a thicker coating, dip each Oreo twice, allowing the chocolate to harden between dips.

Step 4: Decorating
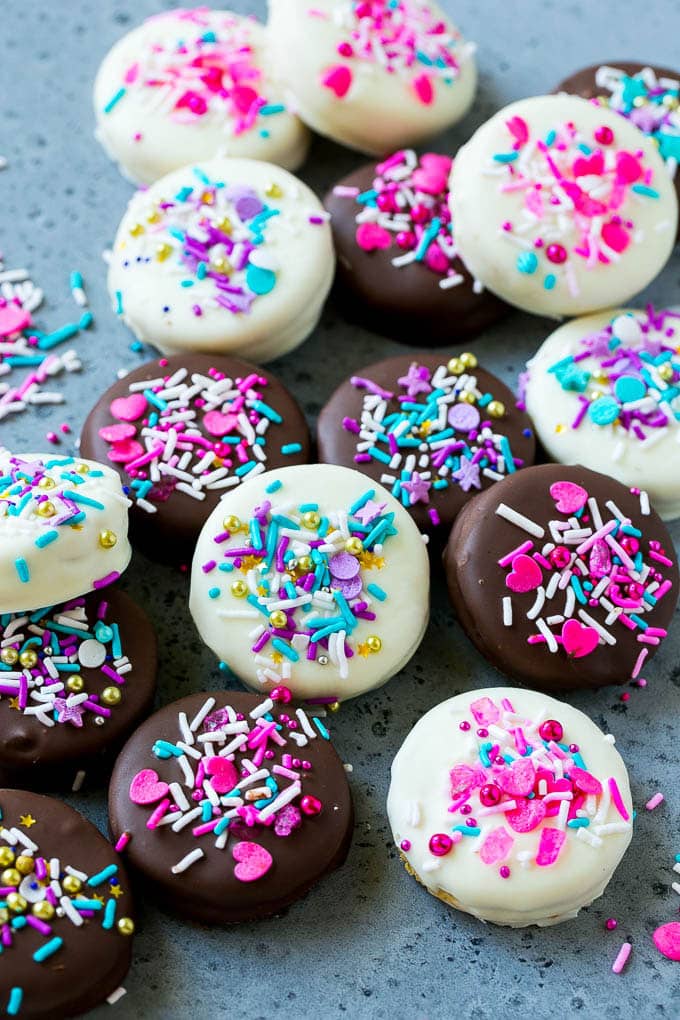
After dipping, place the Oreos on parchment paper. While the chocolate is still wet, sprinkle with your chosen decorations. This could be colorful sprinkles, crushed nuts, or a drizzle of contrasting chocolate.
Step 5: Cooling
Allow the Oreos to cool and harden. You can speed up this process by placing them in the refrigerator for about 15-20 minutes.

Creative Decoration Ideas for Chocolate Covered Oreos
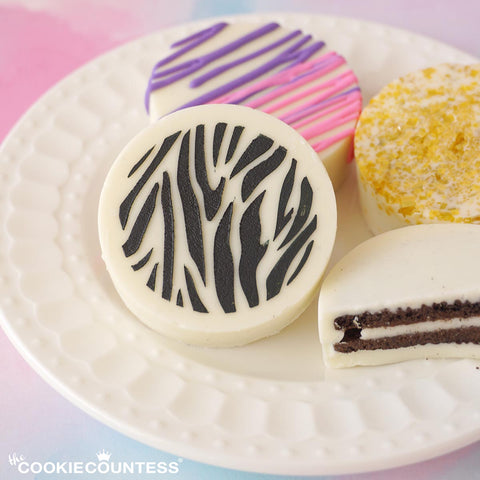
Now that you have the basics down, it’s time to unleash your creativity! Here are some decoration ideas to make your chocolate-covered Oreos stand out.
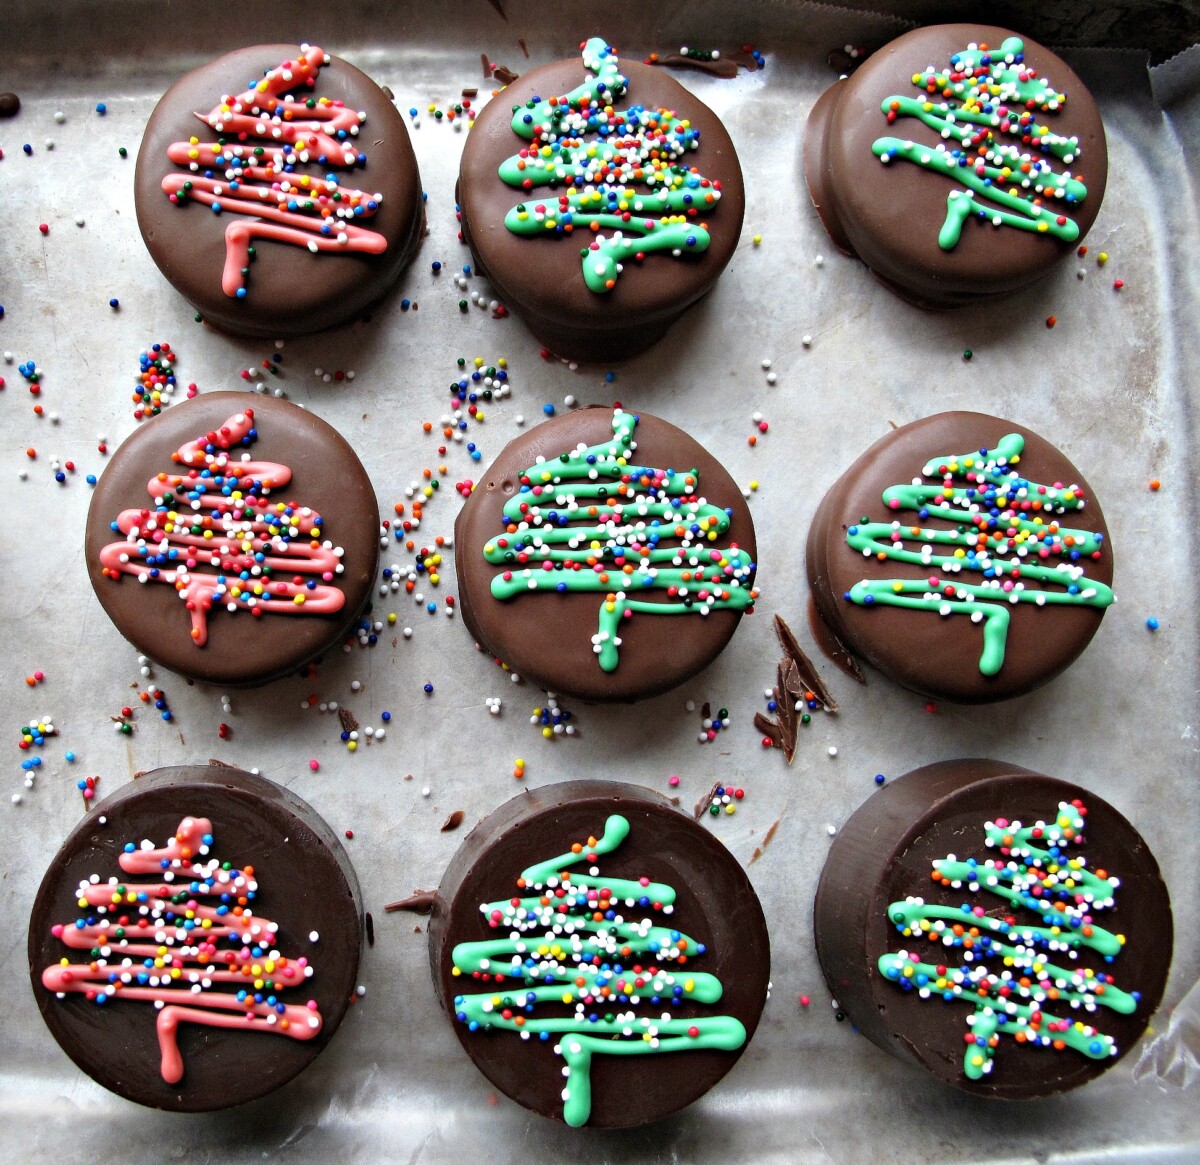
1. Festive Sprinkles
Use seasonal sprinkles for holidays like Christmas or Halloween. Themed sprinkles can add a fun touch and make your Oreos more festive.
2. Chocolate Drizzle
Use a contrasting chocolate color to create beautiful drizzles over your dipped Oreos. This adds an extra layer of flavor and visual appeal.
3. Nuts and Coconut
Crushed almonds, peanuts, or shredded coconut can be delightful additions. They provide a crunchy texture that complements the soft interior.
4. Edible Glitter
If you’re looking for a glamorous touch, sprinkle edible glitter on your wet chocolate. This will make your treats shimmer and shine!
Pros and Cons of Making Chocolate Covered Oreos
Pros
- Easy to make with minimal ingredients.
- Highly customizable to fit any theme or occasion.
- Great for gifts and party favors.
Cons
- Can be messy if not handled carefully.
- Requires cooling time, which can delay serving.
- Chocolate can harden quickly, making it difficult to work with.
Storing Chocolate Covered Oreos
To keep your chocolate-covered Oreos fresh and delicious, store them properly:
- Room Temperature: Store in an airtight container in a cool, dry place for up to a week.
- Refrigerator: If made with perishable decorations, they can last up to two weeks. Just ensure they’re in an airtight container to prevent moisture.
- Freezer: You can freeze them for up to three months. To thaw, leave them at room temperature for a few hours.
Frequently Asked Questions (FAQs)
1. Can I use different types of cookies instead of Oreos?
Yes! You can experiment with other cookies like chocolate chip, vanilla wafers, or even homemade cookies for unique flavors.
2. How can I make them vegan?
You can use vegan chocolate and make sure your Oreos are labeled as dairy-free. There are also vegan alternatives to Oreos available.
3. What decorations work best for chocolate covered Oreos?
Sprinkles, nuts, edible glitter, and chocolate drizzles are all excellent choices to decorate your Oreos!
4. How long can I store chocolate covered Oreos?
Depending on the storage method, they can last anywhere from one week at room temperature to three months in the freezer.
Conclusion
Chocolate covered Oreos decorated with your creative flair can be an enjoyable project that yields delicious and visually appealing treats. Whether you’re making them for yourself, family, friends, or as invitations, these delightful cookies are sure to be a hit! I encourage you to experiment with different flavors and decorations to make them truly your own. Happy dipping!