Introduction
As someone who has always had a sweet tooth, I can’t resist the charm of chocolate-covered Oreos. These delightful treats have captured the hearts (and taste buds) of many. Today, I want to share my passion for decorated chocolate-covered Oreos, exploring their varieties, decoration techniques, and how you can make them a show-stopping treat for any occasion.
What Are Decorated Chocolate Covered Oreos?
Decorated chocolate-covered Oreos are just what they sound like: classic Oreo cookies dipped in chocolate and adorned with various toppings and decorations. These treats are not only delicious but also visually appealing, making them perfect for parties, weddings, and special events.
Why Decorate Oreos?
Decorating Oreos adds a personal touch and creativity to what could otherwise be a simple snack. Here are a few reasons to consider decorating Oreos:
- Personalization: Customize them for different occasions or themes.
- Visual Appeal: Enhance their look to make them more enticing.
- Gift Giving: Create a unique, handmade gift for friends and family.
- Fun Activity: Decorating Oreos can be a fun and engaging activity for both kids and adults.
Basic Ingredients for Decorated Chocolate Covered Oreos
The beauty of decorated chocolate-covered Oreos is their simplicity. Here’s what you’ll need:
- Oreo cookies
- Chocolate (white, dark, or milk)
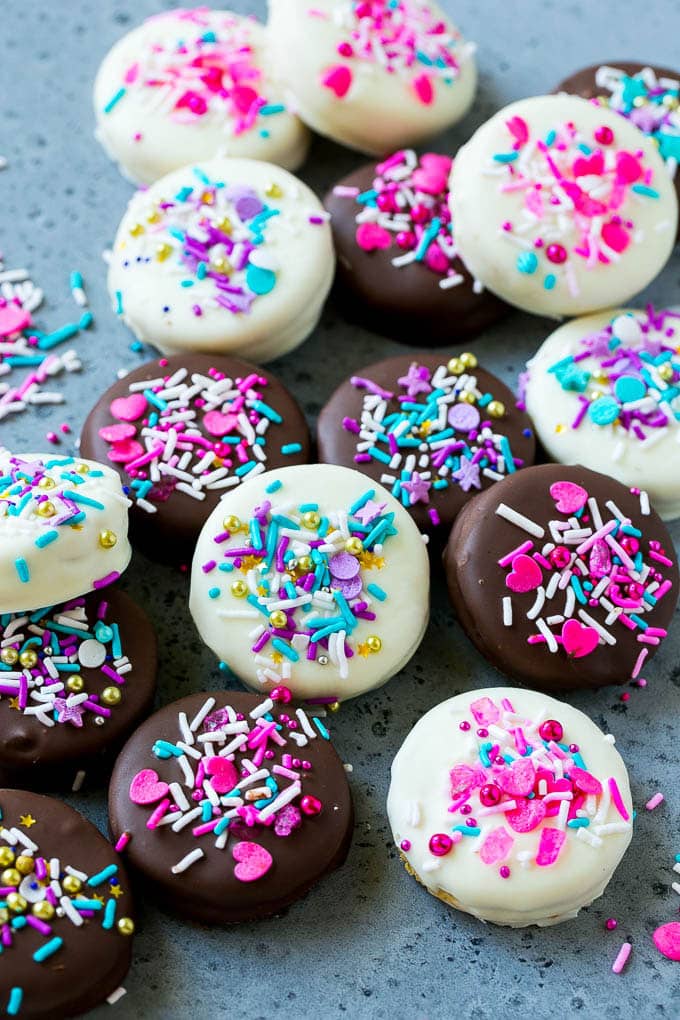
- Sprinkles, nuts, or decorative toppings
- Candy melts (optional, for colorful decorations)
- Parchment paper
- Styrofoam block (for drying, optional)
Step-by-Step Guide to Decorating Chocolate Covered Oreos
Step 1: Prepare Your Workspace
Before you start, make sure your workspace is clean and organized. Lay out your ingredients and have all your tools ready to go.
Step 2: Melt the Chocolate
You can melt your chocolate using a microwave or a double boiler. If using the microwave, heat in 30-second intervals, stirring in between until smooth.

Step 3: Dip the Oreos
Using a fork or a dipping tool, dip each Oreo into the melted chocolate, ensuring it is fully coated. Allow any excess chocolate to drip off before placing it on parchment paper.
Step 4: Add Toppings
While the chocolate is still wet, sprinkle your toppings (sprinkles, crushed nuts, etc.) over the Oreos. If you’re using candy melts, you can drizzle them on for added flair!

Step 5: Let Them Set
Place the dipped Oreos on parchment paper or a Styrofoam block to cool and allow the chocolate to harden. This usually takes about 30 minutes.
Step 6: Package or Serve
Once set, you can serve them immediately or package them in cellophane bags for gifts. They make great party favors!

Creative Decoration Ideas
Now that you know the basics, let’s explore some creative decoration ideas to inspire you!
1. Seasonal Themes
Valentine’s Day
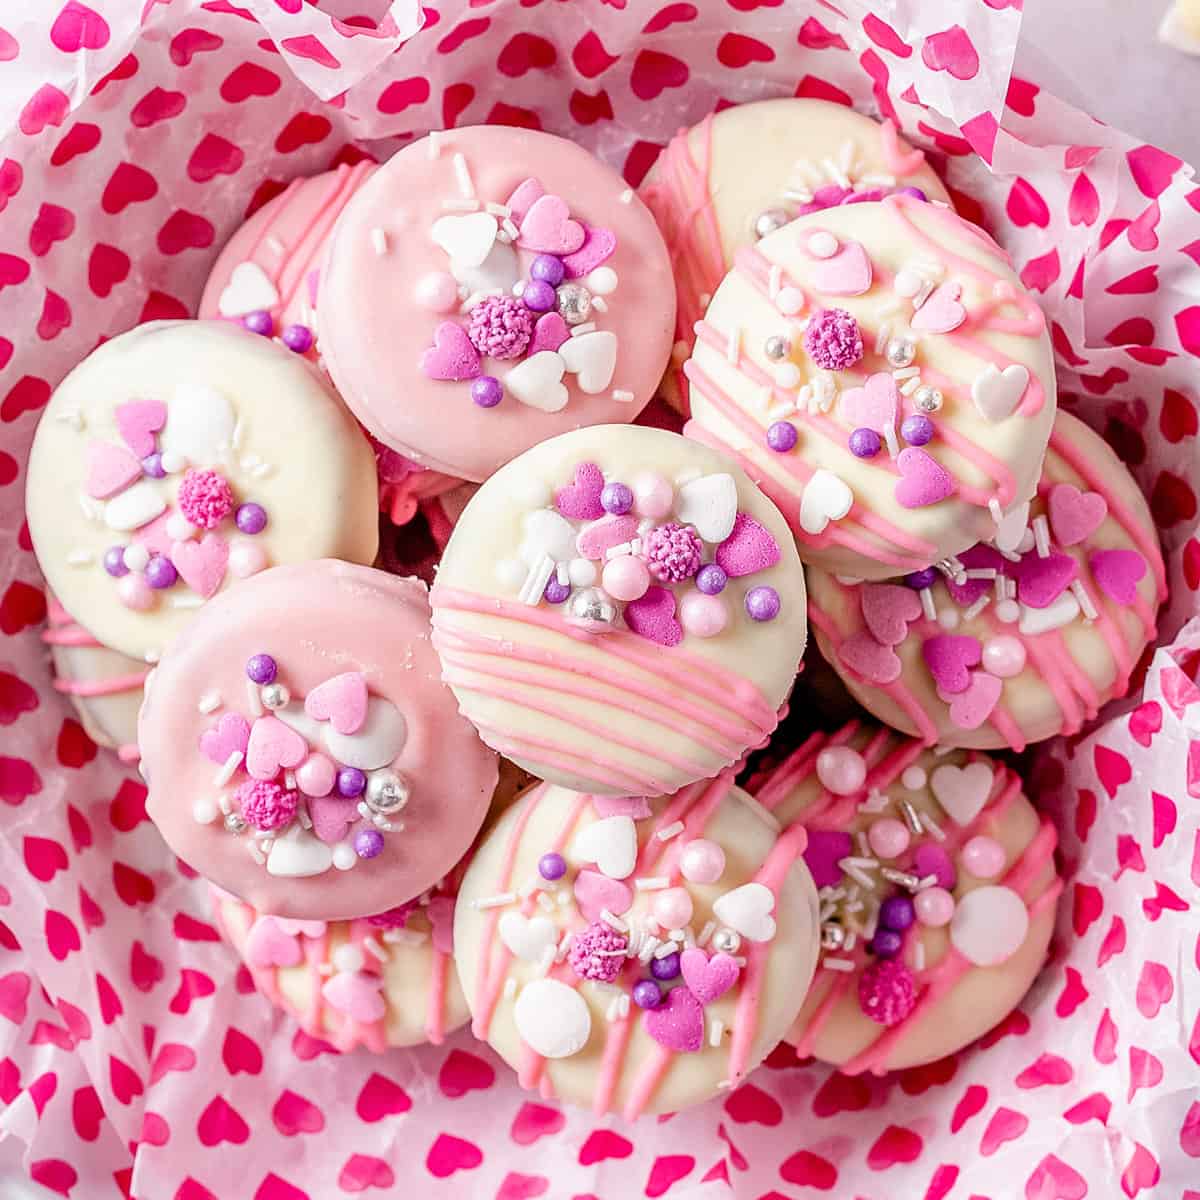
Use pink and red chocolate, and top them with heart-shaped sprinkles or edible glitter.
Halloween
Dip in orange chocolate and add spooky toppings like googly eyes or candy corn.
Christmas
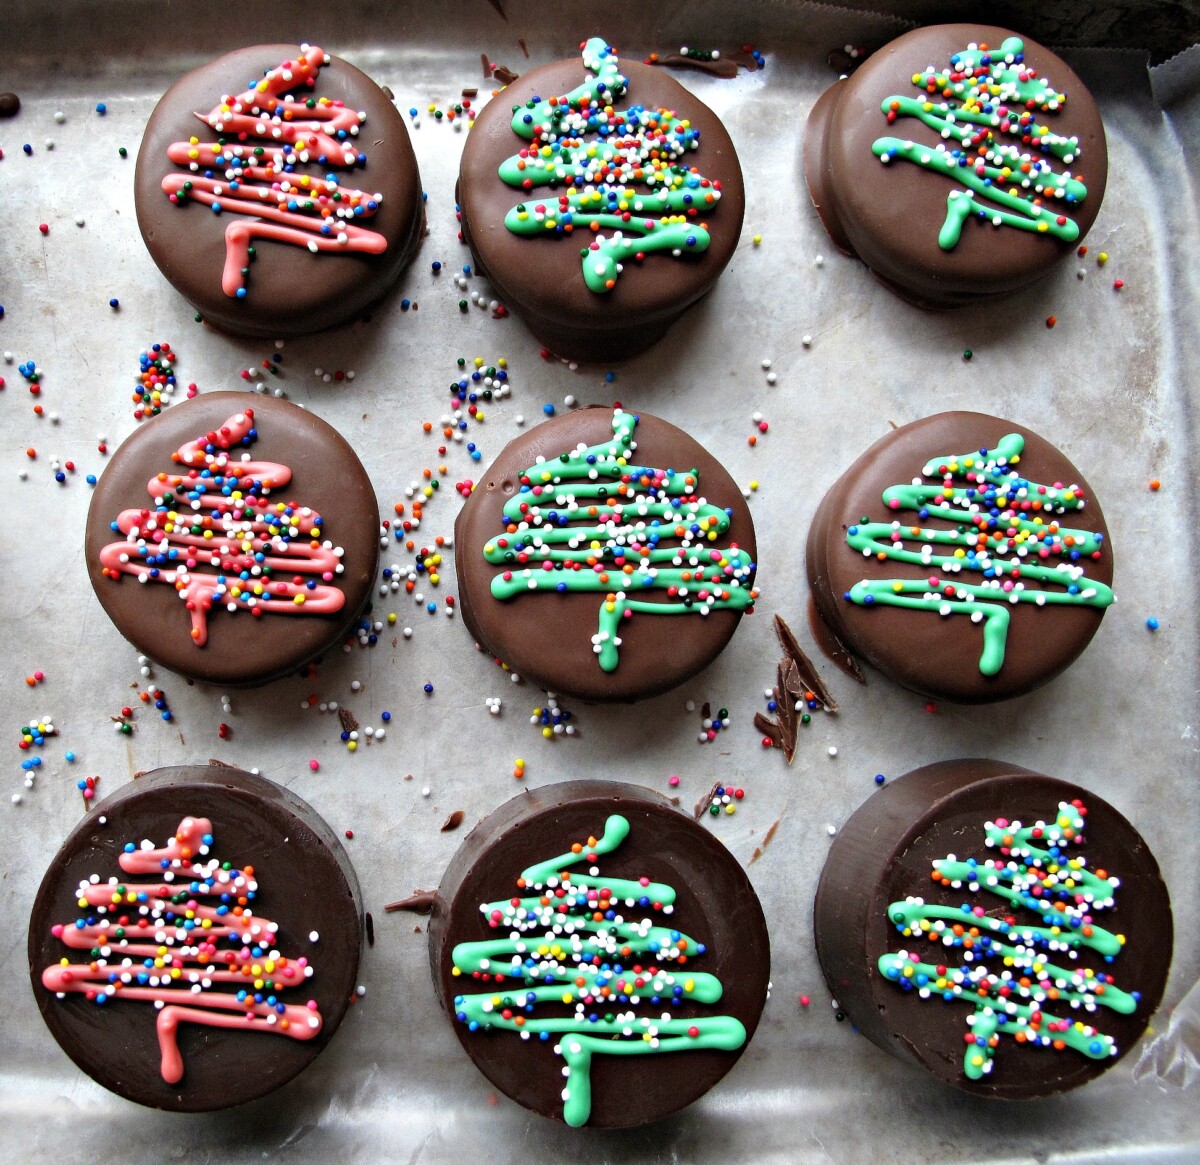
Use green and red chocolate, and top with crushed candy canes or festive sprinkles.

2. Flavor Combinations
Mix and match chocolate flavors with different Oreos for unique combinations, such as:
- Peanut Butter Oreos with milk chocolate
- Mint Oreos with dark chocolate
- Red Velvet Oreos with white chocolate
3. Design Patterns
Experiment with drizzling different colored chocolates over the covered Oreos for a stunning visual effect. Use a piping bag for more controlled designs.

Comparison of Decoration Techniques
| Technique | Pros | Cons |
|---|---|---|
| Simple Dipping | Quick and easy; minimal clean-up | Less decorative; fewer customization options |
| Drizzling with Chocolate | Visually appealing; allows for creativity | May require practice to perfect |
| Using Fondant or Icing | Highly customizable; can create intricate designs | More time-consuming; requires additional supplies |
Pros and Cons of Making Decorated Chocolate Covered Oreos
Pros
- Easy to make with minimal ingredients.
- Customizable for any event or occasion.
- Fun to make with family or friends.
- Perfect for gifts and party favors.

Cons
- Can be messy if not prepared properly.
- May take some time to master decoration techniques.
- Chocolate can harden quickly, requiring efficient work.
FAQs About Decorated Chocolate Covered Oreos
1. How long do decorated Oreos last?
Decorated chocolate-covered Oreos can last up to 2 weeks when stored in an airtight container at room temperature.
2. Can I use different types of chocolate?
Absolutely! You can use white, milk, or dark chocolate based on your preference. You can also mix them for a unique flavor.
3. Are there any vegan options?
Yes, you can find vegan Oreos and dairy-free chocolate options to make a delicious vegan version!
4. Can I use flavored chocolate melts?
Yes, flavored melts add a delightful twist to your Oreos. They come in various flavors like strawberry, caramel, and more!
Conclusion
Decorated chocolate-covered Oreos are a fun and delicious way to express your creativity in the kitchen. Whether you’re making them for a special occasion or just for a sweet treat at home, these delectable delights are sure to impress. So gather your ingredients, unleash your inner artist, and enjoy the process of creating these beautiful confections!