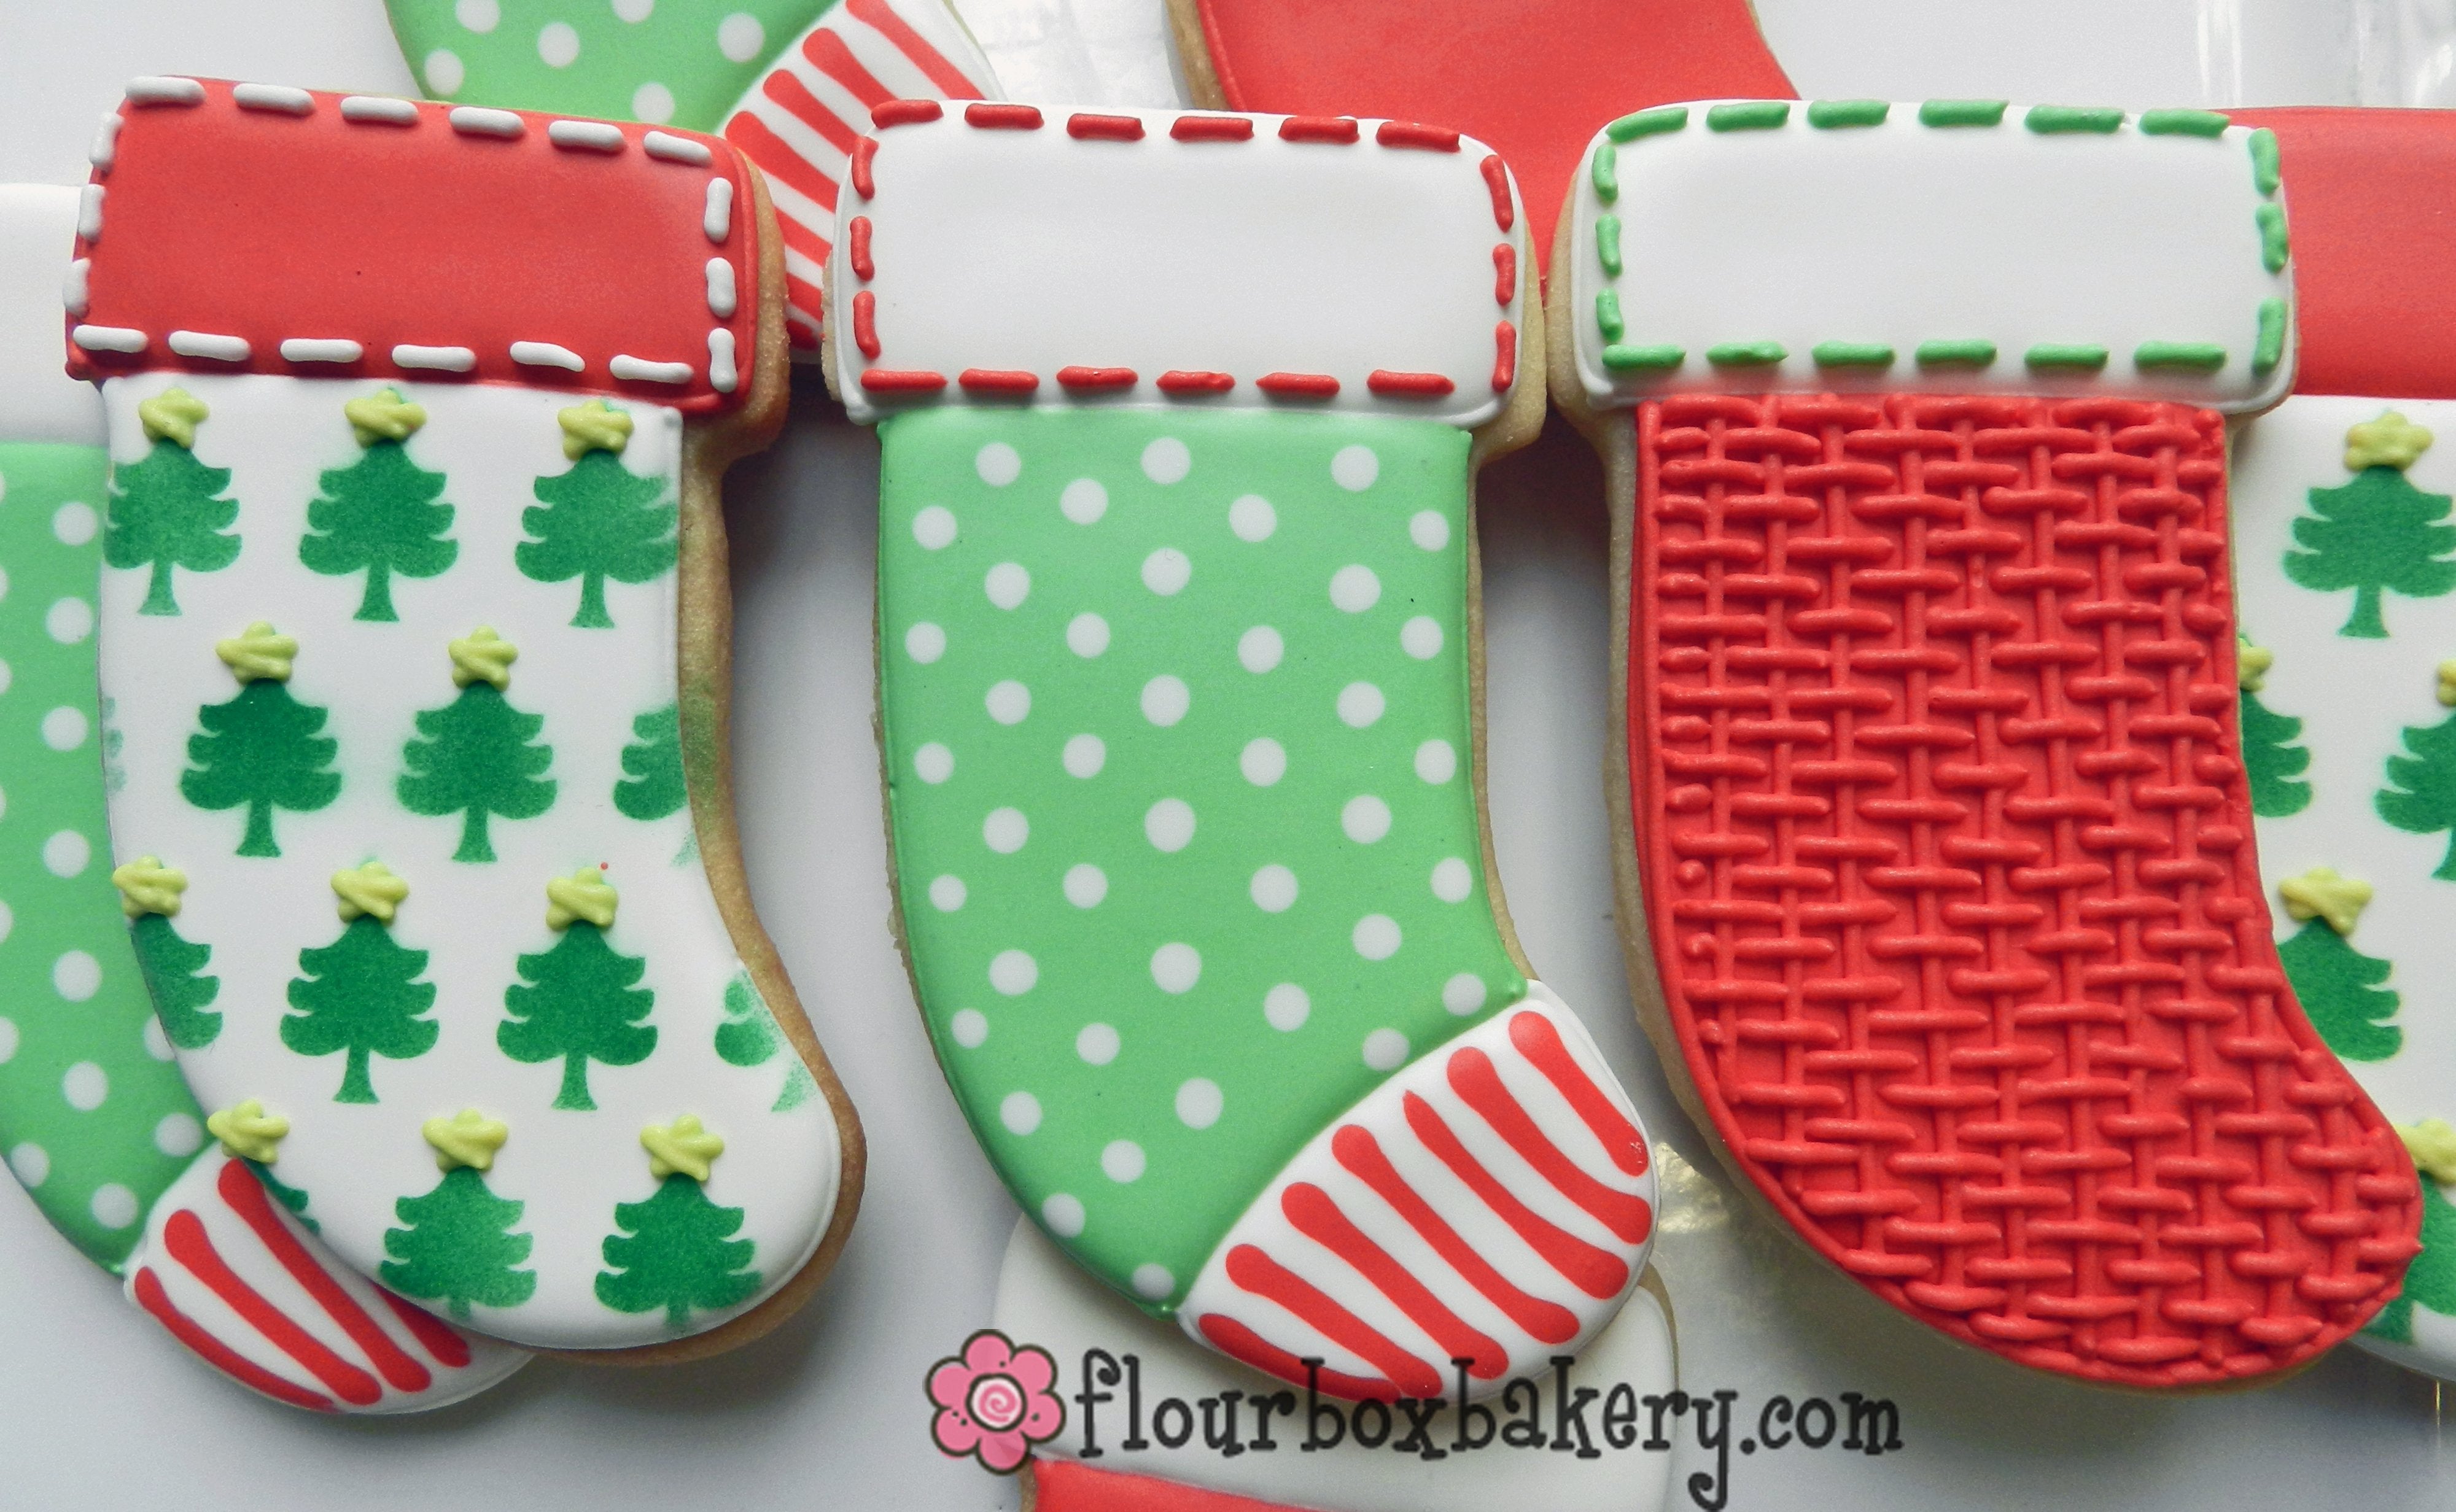
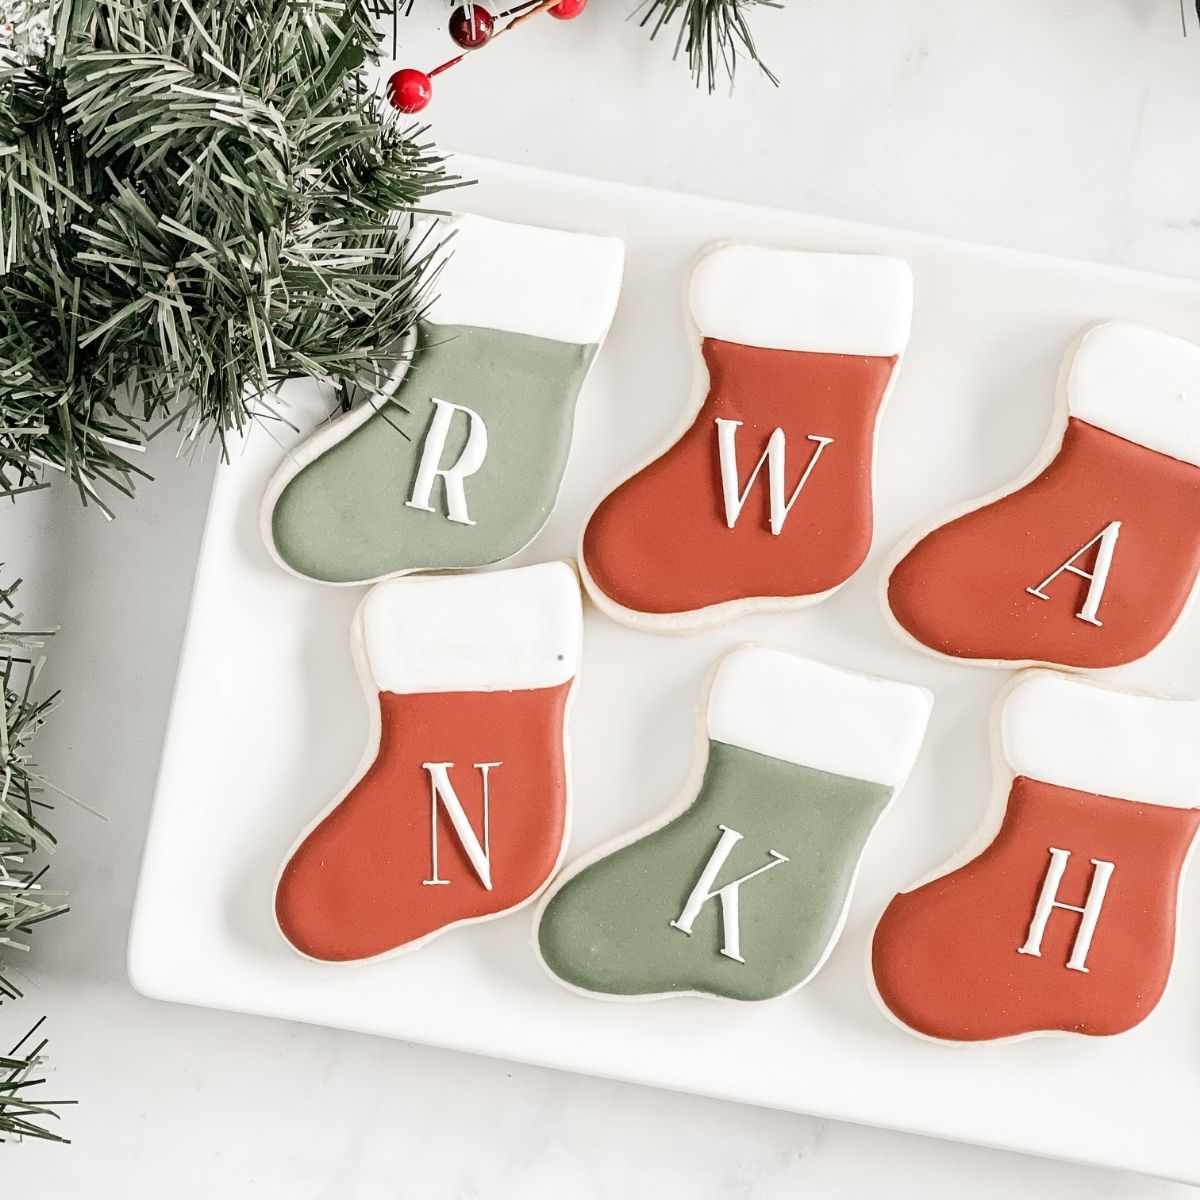
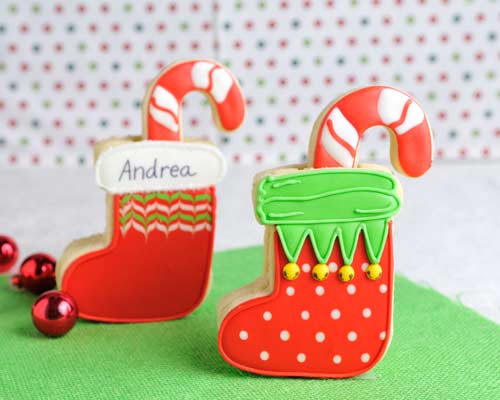
The holiday season is a time for laughter, joy, and of course, delicious treats! One of my favorite festive traditions is baking and decorating cookies, especially decorated stocking cookies. These delightful treats are not only fun to make, but they also serve as beautiful decorations and gifts during the holidays. In this article, we will dive deep into the world of decorated stocking cookies, from recipes and decorating techniques to tips for making them the star of your holiday gatherings!
The History of Stocking Cookies
Stocking cookies have become a beloved fixture in holiday baking, representing the joy and magic of the season. Traditionally made to resemble Christmas stockings, these cookies have an interesting history that dates back to early Christmas celebrations.
Origin of Christmas Cookies
The practice of making Christmas cookies started in Europe, especially in Germany, during the 16th century. The idea of baking cookies in specific shapes, such as stockings, was a way to celebrate the festive spirit. Today, stocking cookies come in various designs, making them a perfect canvas for creativity.
Why Decorated Stocking Cookies Are Perfect for the Holidays
Decorated stocking cookies are not just treats; they are an experience! Here are a few reasons why they hold a special place in our holiday celebrations:
1. Creativity and Expression
These cookies allow bakers to get creative with icing colors, decorations, and designs, making each cookie a unique piece of art.
2. Bonding Activity
Baking and decorating cookies can be a fun, bonding experience for families and friends, creating cherished memories during the holiday season.
3. Perfect Gifts
Decorated stocking cookies make for wonderful gifts and party favors, spreading holiday cheer to those you love.

Essential Ingredients for Decorating Stocking Cookies
To create beautiful decorated stocking cookies, you’ll need the right ingredients. Here’s a list of essentials:
Basic Cookie Ingredients
- 2 ¾ cups all-purpose flour
- 1 teaspoon baking soda
- ½ teaspoon baking powder
- 1 cup unsalted butter, softened
- 1 ½ cups white sugar
- 1 egg
- 1 teaspoon vanilla extract
- 3 to 4 cups of powdered sugar (for icing)
- Food coloring (various colors)
- Decorations (sprinkles, candies, etc.)

Choosing the Right Flour
Using high-quality all-purpose flour is crucial for achieving the perfect cookie texture. Consider alternatives like almond flour or gluten-free flour for specific dietary needs.
Step-by-Step Recipe for Decorated Stocking Cookies

Ingredients List
| Ingredient | Quantity |
|---|---|
| All-purpose flour | 2 ¾ cups |
| Baking soda | 1 tsp |
| Baking powder | ½ tsp |
| Unsalted butter | 1 cup |
| White sugar | 1 ½ cups |
| Egg | 1 |
| Vanilla extract | 1 tsp |
| Powdered sugar (for icing) | 3 to 4 cups |
| Food coloring | Various |
| Decorations | As needed |
Instructions
- Preheat your oven to 375°F (190°C).
- In a medium bowl, stir together flour, baking soda, and baking powder. Set aside.
- In a large bowl, cream together the butter and sugar until smooth. Beat in the egg and vanilla.
- Gradually blend the dry ingredients into the creamed mixture.
- Roll rounded teaspoonfuls of dough into balls, and place them onto ungreased cookie sheets.
- Flatten each ball slightly with the bottom of a glass.
- Bake 8 to 10 minutes in the preheated oven, or until golden. Let cool on wire racks.
- While cooling, prepare the icing by mixing powdered sugar with a little water and food coloring until you achieve your desired consistency.
- Once the cookies are completely cooled, decorate them using piping bags filled with icing for fine details.
- Add sprinkles or other decorations to give your cookies a festive touch.

Decorating Tips for Perfect Stocking Cookies
1. Use Royal Icing for Stunning Designs
Royal icing is a popular choice for decorating cookies as it dries hard and provides a smooth finish. You can achieve intricate designs and vibrant colors that are sure to impress.

2. Experiment with Different Techniques
Try different decorating methods such as flooding or wet-on-wet techniques to create stunning effects. Don’t be afraid to let your creativity shine!
3. Invest in Quality Decorating Tools
Tools like piping bags, round tip nozzles, and cookie stencils can elevate your decorating game. These tools can help you achieve precision and professionalism in your designs.

Pros and Cons of Decorated Stocking Cookies
| Pros | Cons |
|---|---|
| Highly customizable and creative. | Time-consuming to decorate. |
| Perfect for holiday gatherings and gifts. | Requires practice for intricate designs. |
| A fun activity that bonds family and friends. | Ingredients can be costly depending on decorations. |
Frequently Asked Questions (FAQs)

What is the best way to store decorated stocking cookies?
Store your cookies in an airtight container at room temperature for up to a week. For longer storage, consider freezing them without decorations and adding icing later.
Can I use gluten-free flour for this recipe?
Yes! Substitute all-purpose flour with a gluten-free blend designed for baking to accommodate gluten sensitivities.
How can I make my royal icing shinier?
To achieve a glossy finish, add a small amount of light corn syrup to your royal icing recipe. This will also help with the consistency.
Can I freeze decorated stocking cookies?
While it’s recommended to freeze undecorated cookies to maintain texture, you can freeze decorated cookies. Just ensure they are fully set and stored in layers separated by parchment paper.
Final Thoughts: Create Lasting Memories with Decorated Stocking Cookies
Baking and decorating stocking cookies is more than just a culinary endeavor; it’s an opportunity to create memories with friends and family during the holidays. Whether you’re a seasoned baker or a novice, the joy of creating something beautiful and delicious can bring a smile to anyone’s face. I hope this comprehensive guide inspires you to make your own decorated stocking cookies and share the joy with your loved ones!