As a proud dog owner and baking enthusiast, I’ve merged my two passions into a delightful hobby: decorating dog cookies. Not only do these treats keep my furry friend happy, but they also provide a fun outlet for my creativity. In this comprehensive guide, we’ll delve into the world of dog cookie decorating, sharing personal experiences, tips, recipes, and more!
The Joy of Dog Cookie Decorating
Dog cookie decorating is more than just a fun activity; it’s a way to show your furry friend just how much you care. Making dog-friendly treats that are not only delicious but also visually appealing can be a rewarding experience for you and your pet. Let’s explore why this hobby is gaining popularity among dog lovers everywhere.
Benefits of Decorating Dog Cookies
- Enhances Bonding: Spending time in the kitchen baking and decorating cookies can deepen the bond you share with your dog.
- Creativity: Unleash your artistic side by playing with colors, shapes, and designs.
- Healthier Ingredients: Control what goes into your dog’s treats, ensuring they’re healthy and free of harmful additives.
- Special Occasions: Make your pup feel extra special during birthdays, holidays, or just because!
Getting Started with Dog Cookie Decorating
If you’re new to dog cookie decorating, don’t worry! Below, I’ll outline everything you need to know to kick-start your journey.
Essential Ingredients
When creating dog cookies, it’s crucial to choose ingredients that are safe and healthy for your pet. Here are some common ingredients used:
| Ingredient | Benefits |
|---|---|
| Whole Wheat Flour | Good source of fiber and nutrients. |
| Oats | Rich in antioxidants, great for digestion. |
| Peanut Butter (unsweetened) | High in protein, dogs love the taste! |
| Pumpkin Puree | Excellent source of vitamins and beneficial for digestion. |
| Carrots | Low-calorie treat that supports eye health. |
Tips for Sourcing Ingredients
When sourcing your ingredients, consider the following:
- Opt for organic and natural ingredients whenever possible.
- Check for any allergies your dog may have before selecting ingredients.
- Purchase high-quality peanut butter without xylitol or added sugars.
Tools and Equipment
Before you dive into baking, gather the following tools:
- Baking sheets
- Parchment paper
- Cookie cutters (bone shapes are popular!)
- Mixing bowls
- Rolling pin
- Decorating tools (piping bags, food-safe markers)
Step-by-Step Dog Cookie Recipe
Basic Peanut Butter Dog Cookies
Ingredients:
- 2 ½ cups whole wheat flour
- 1 cup unsweetened peanut butter
- ½ cup pumpkin puree
- 1 egg
- Water (as needed)
Instructions:
- Preheat your oven to 350°F (175°C).
- In a bowl, mix the peanut butter, pumpkin, and egg until smooth.
- Add the whole wheat flour and mix until a dough forms. If the dough is too dry, add water a tablespoon at a time.
- Roll out the dough to ½ inch thick on a floured surface.
- Cut out shapes using cookie cutters and place them on a parchment-lined baking sheet.
- Bake for 20-25 minutes until golden brown.
- Let cool completely before decorating.
Decorating Your Dog Cookies
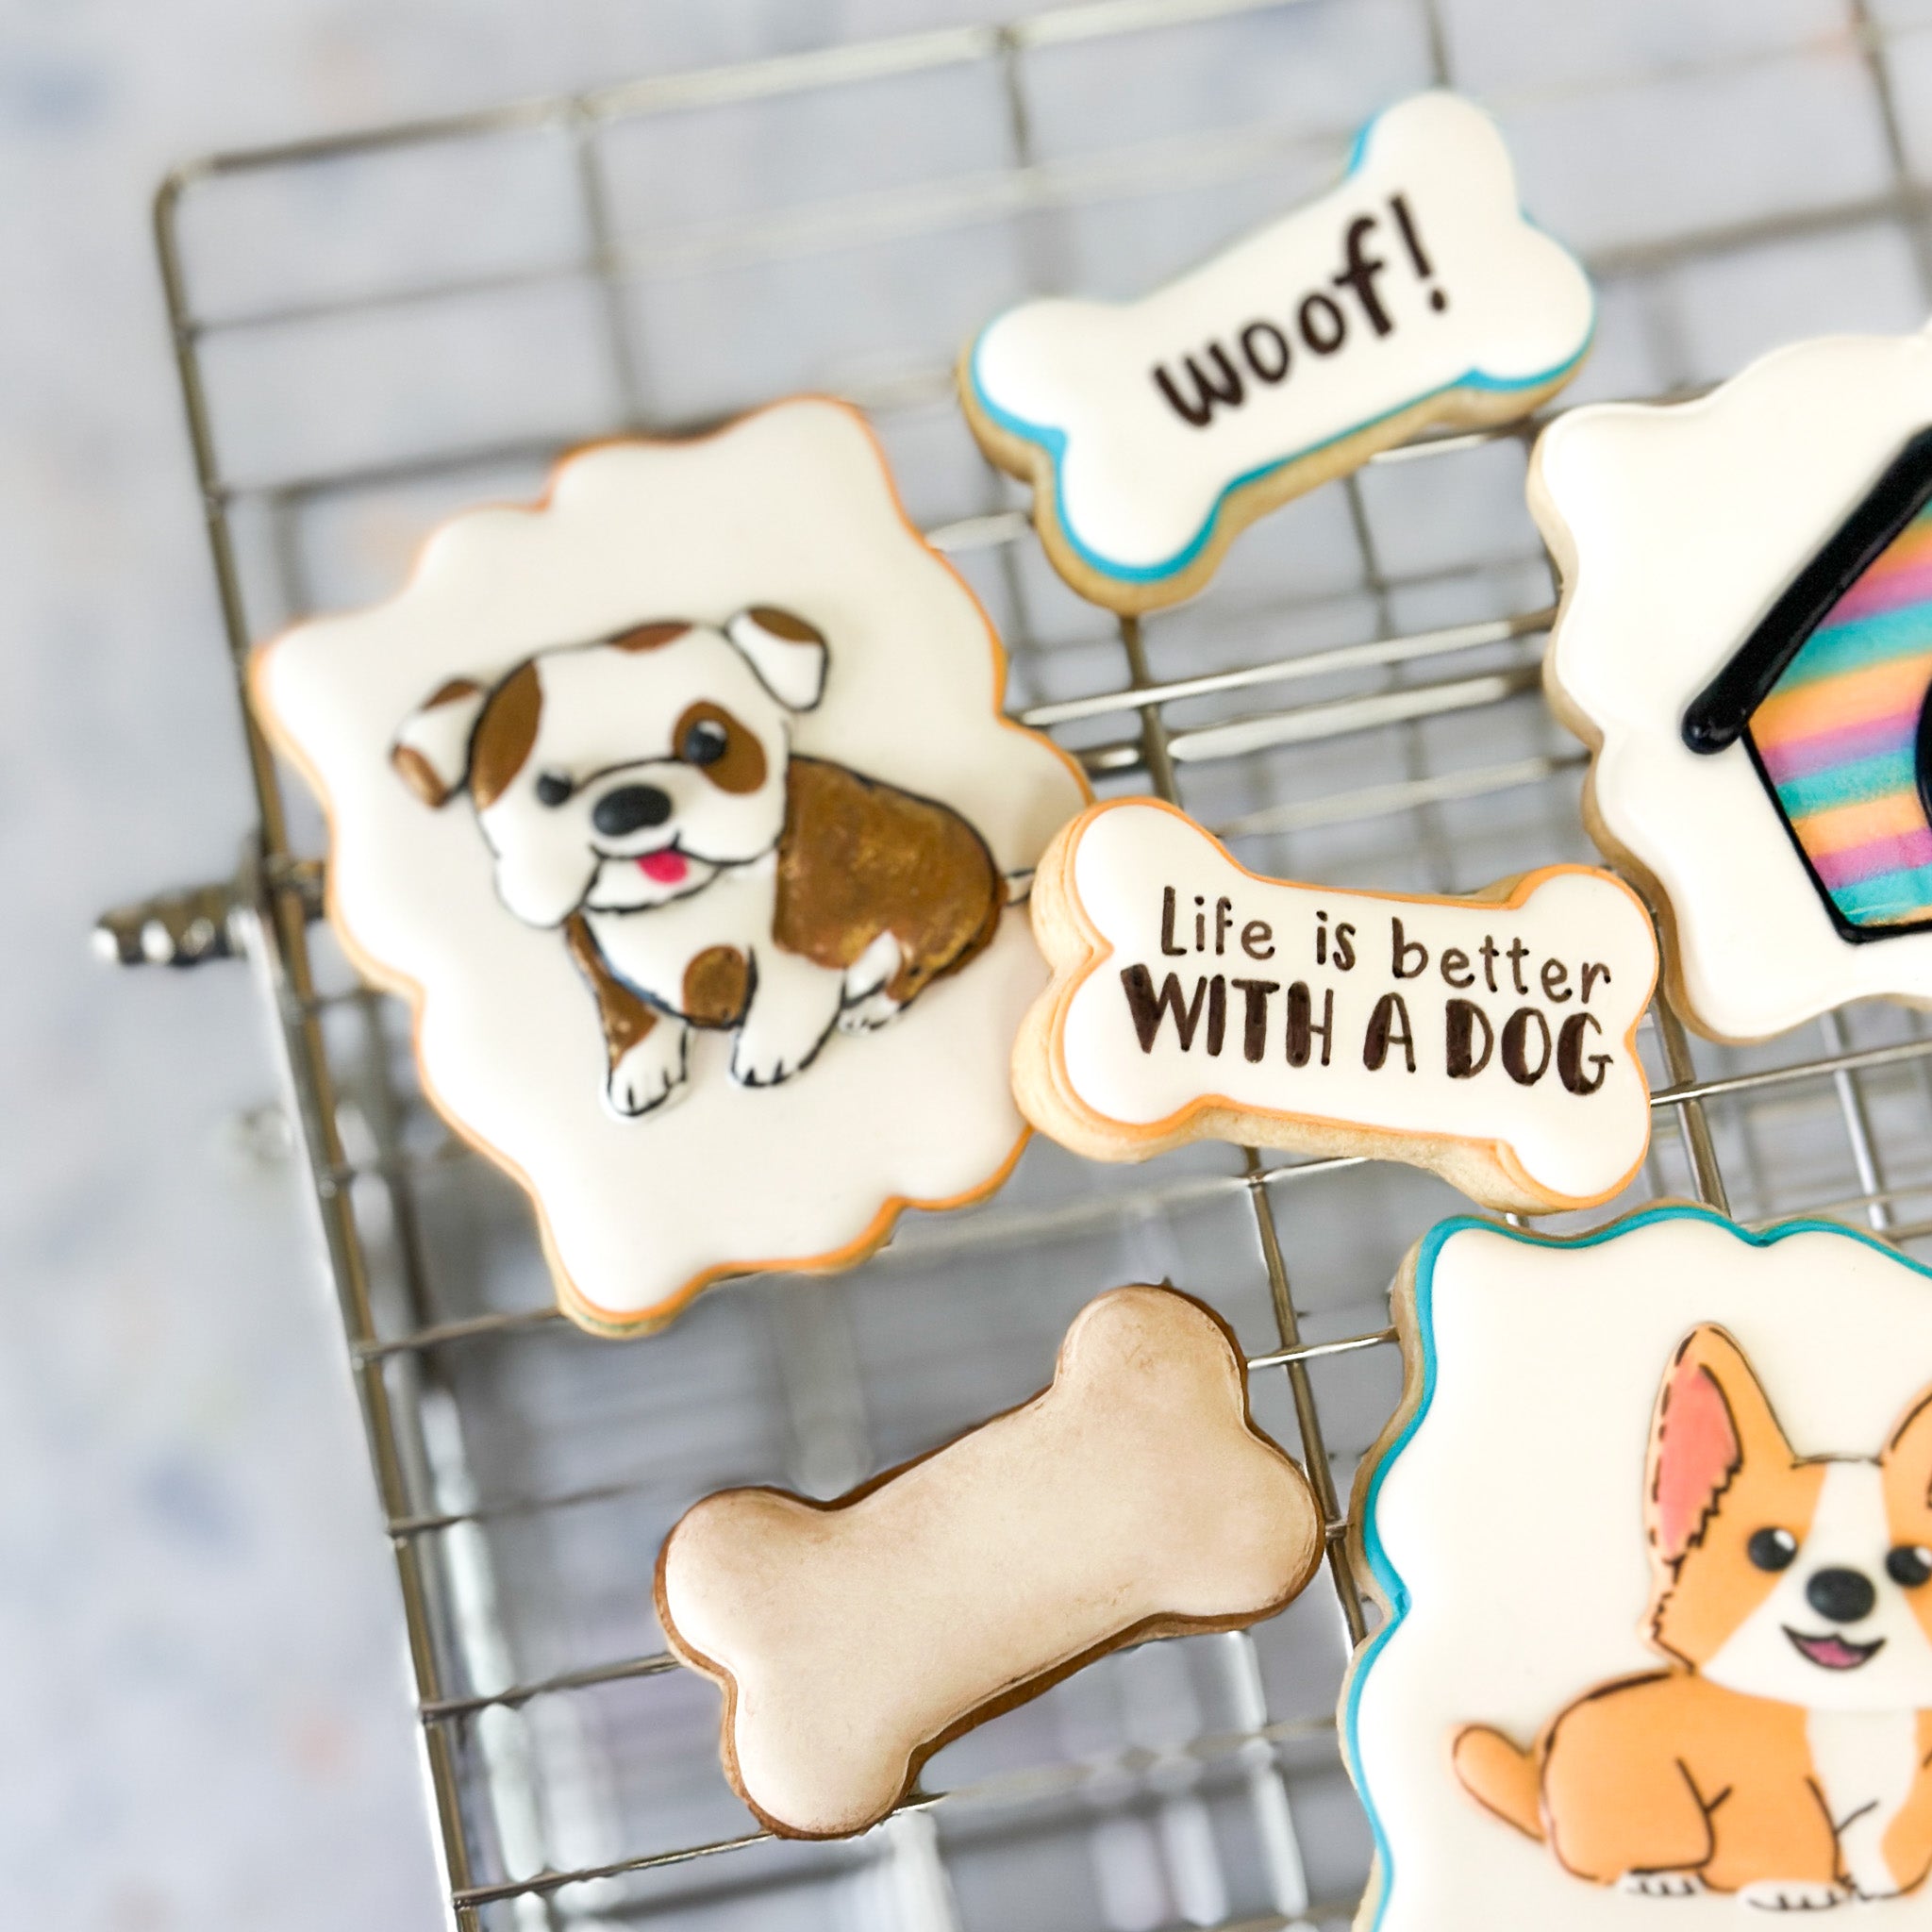
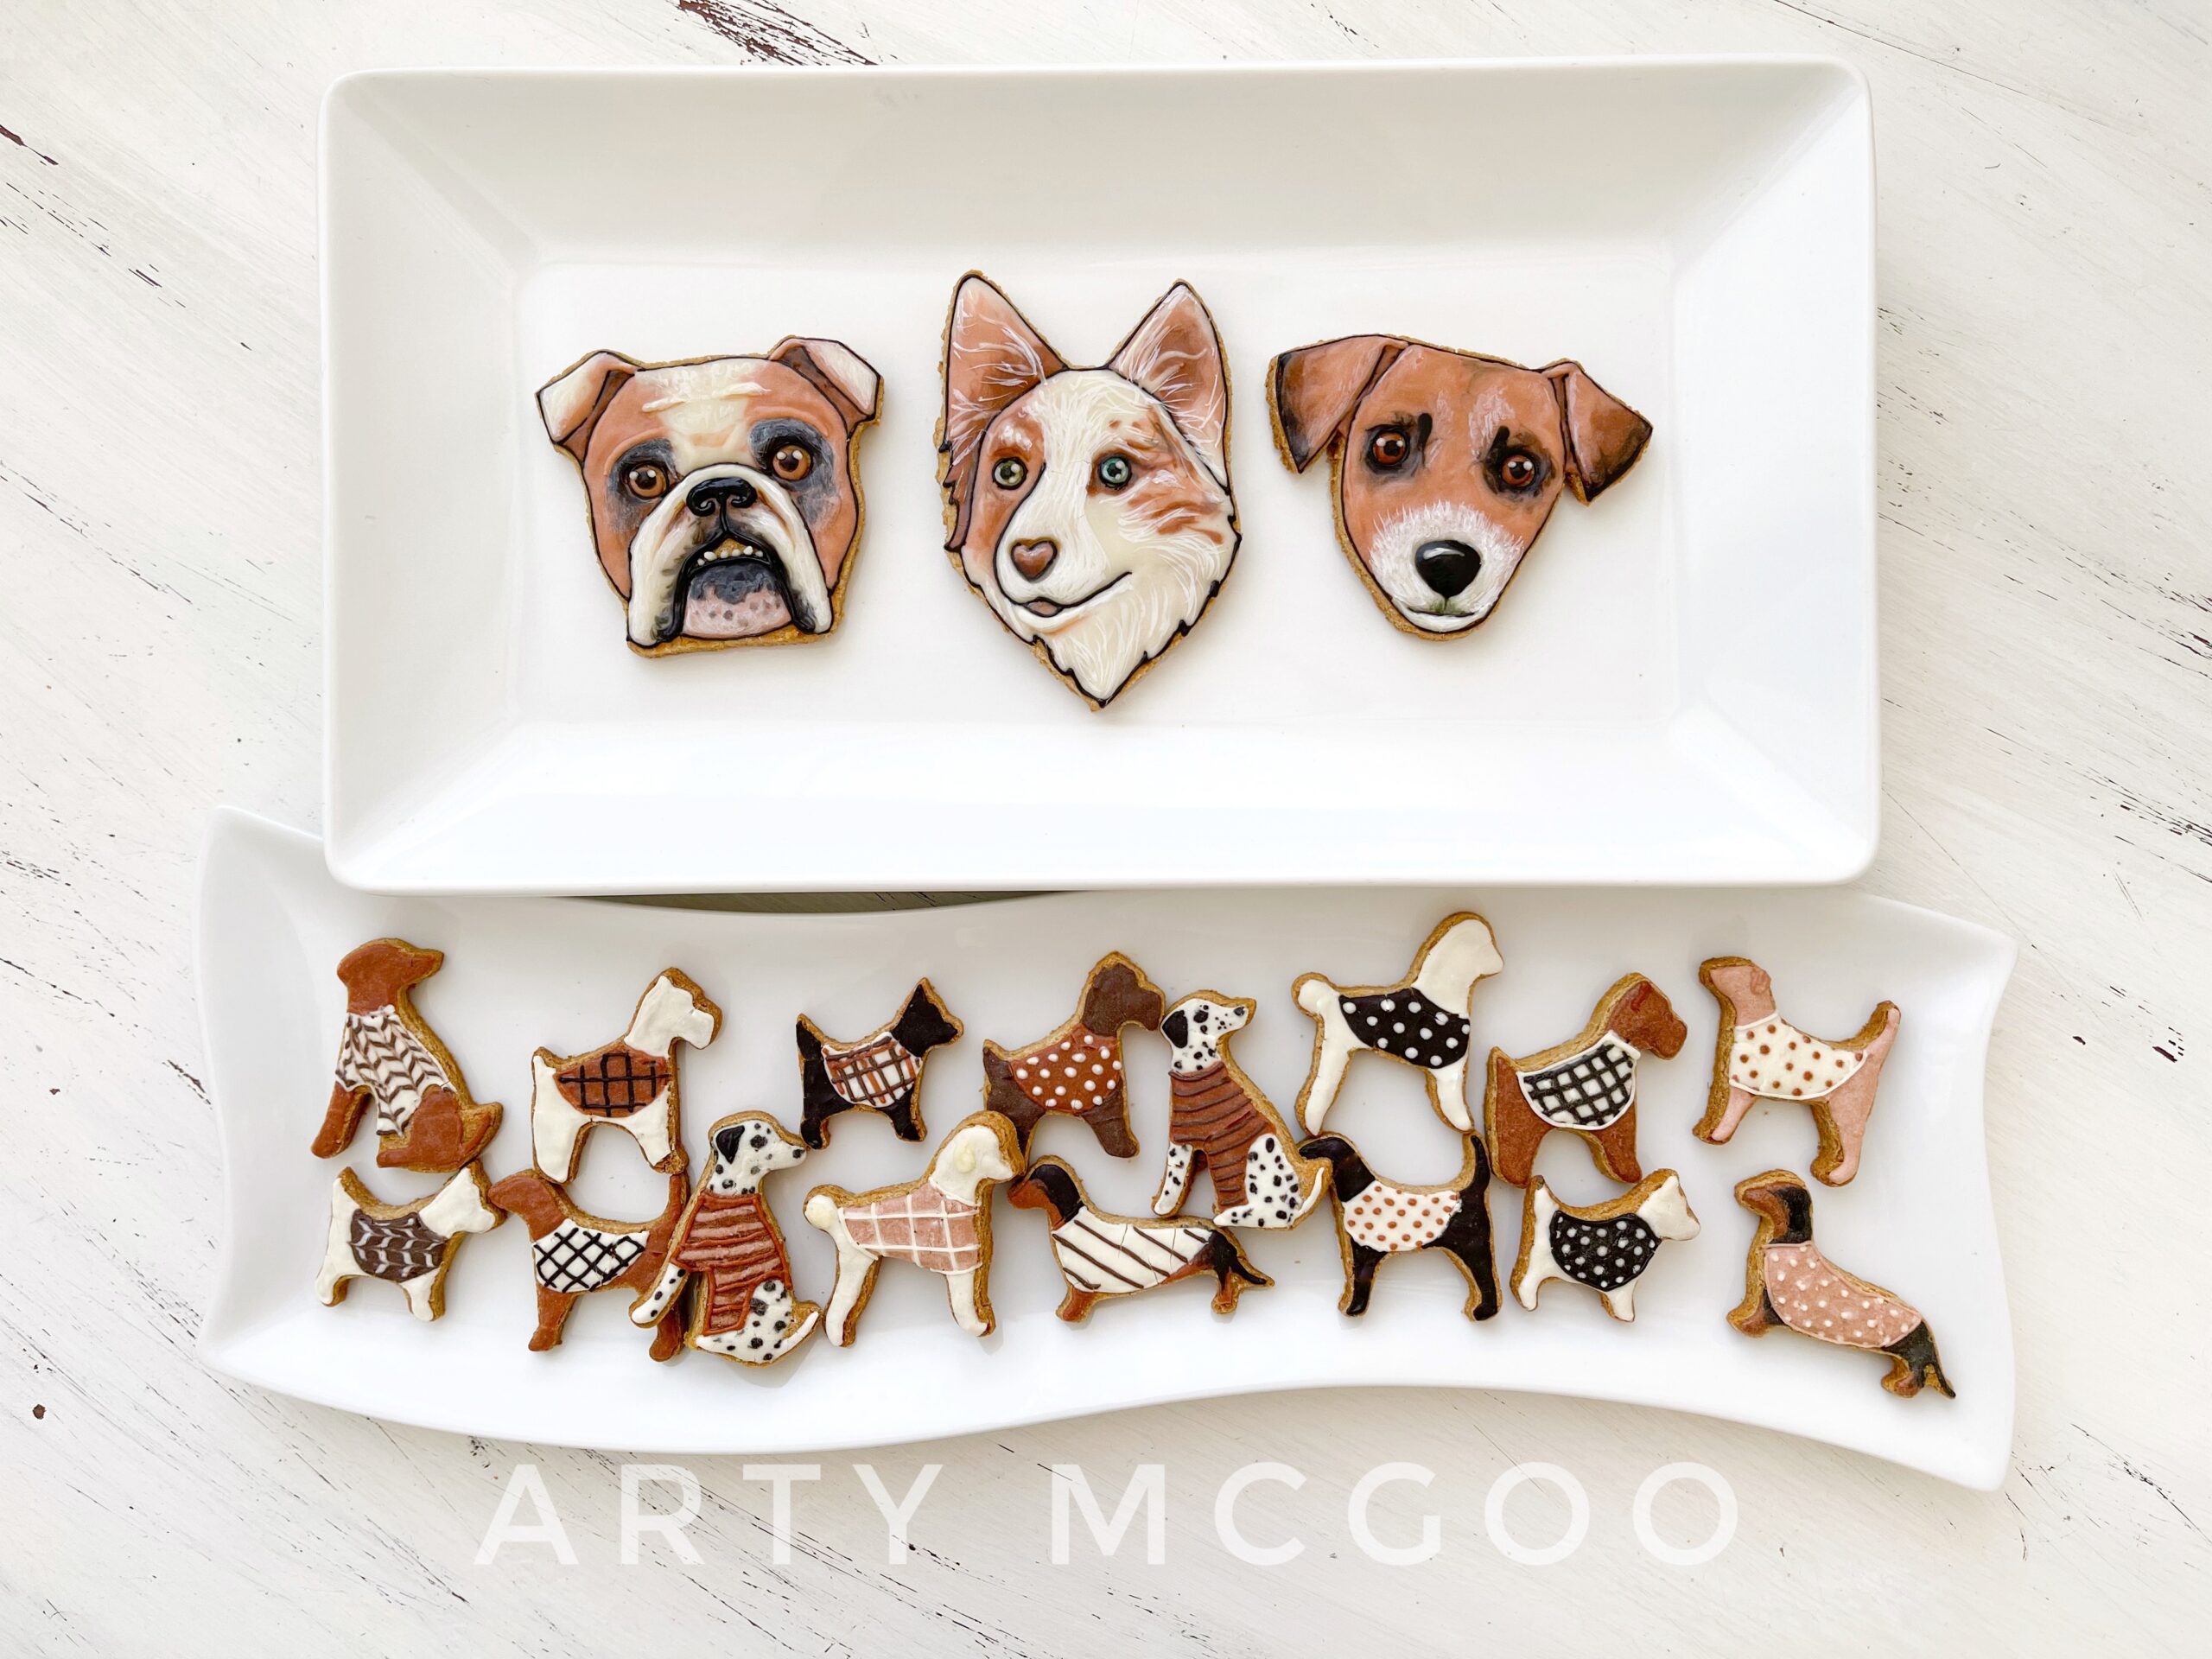
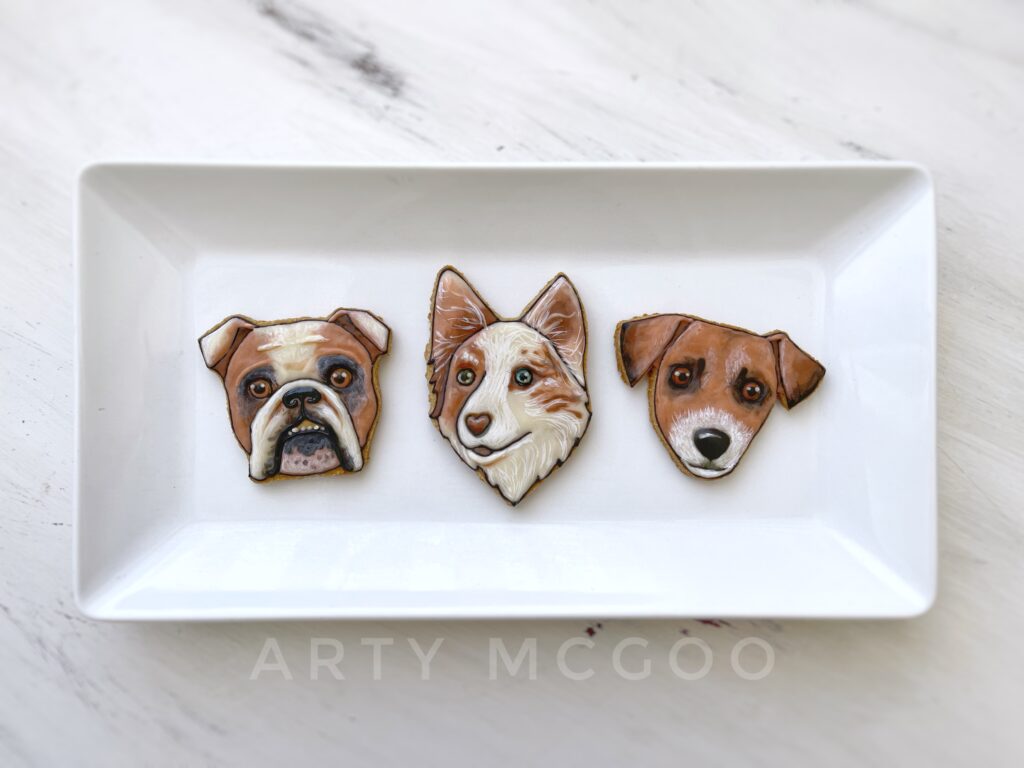
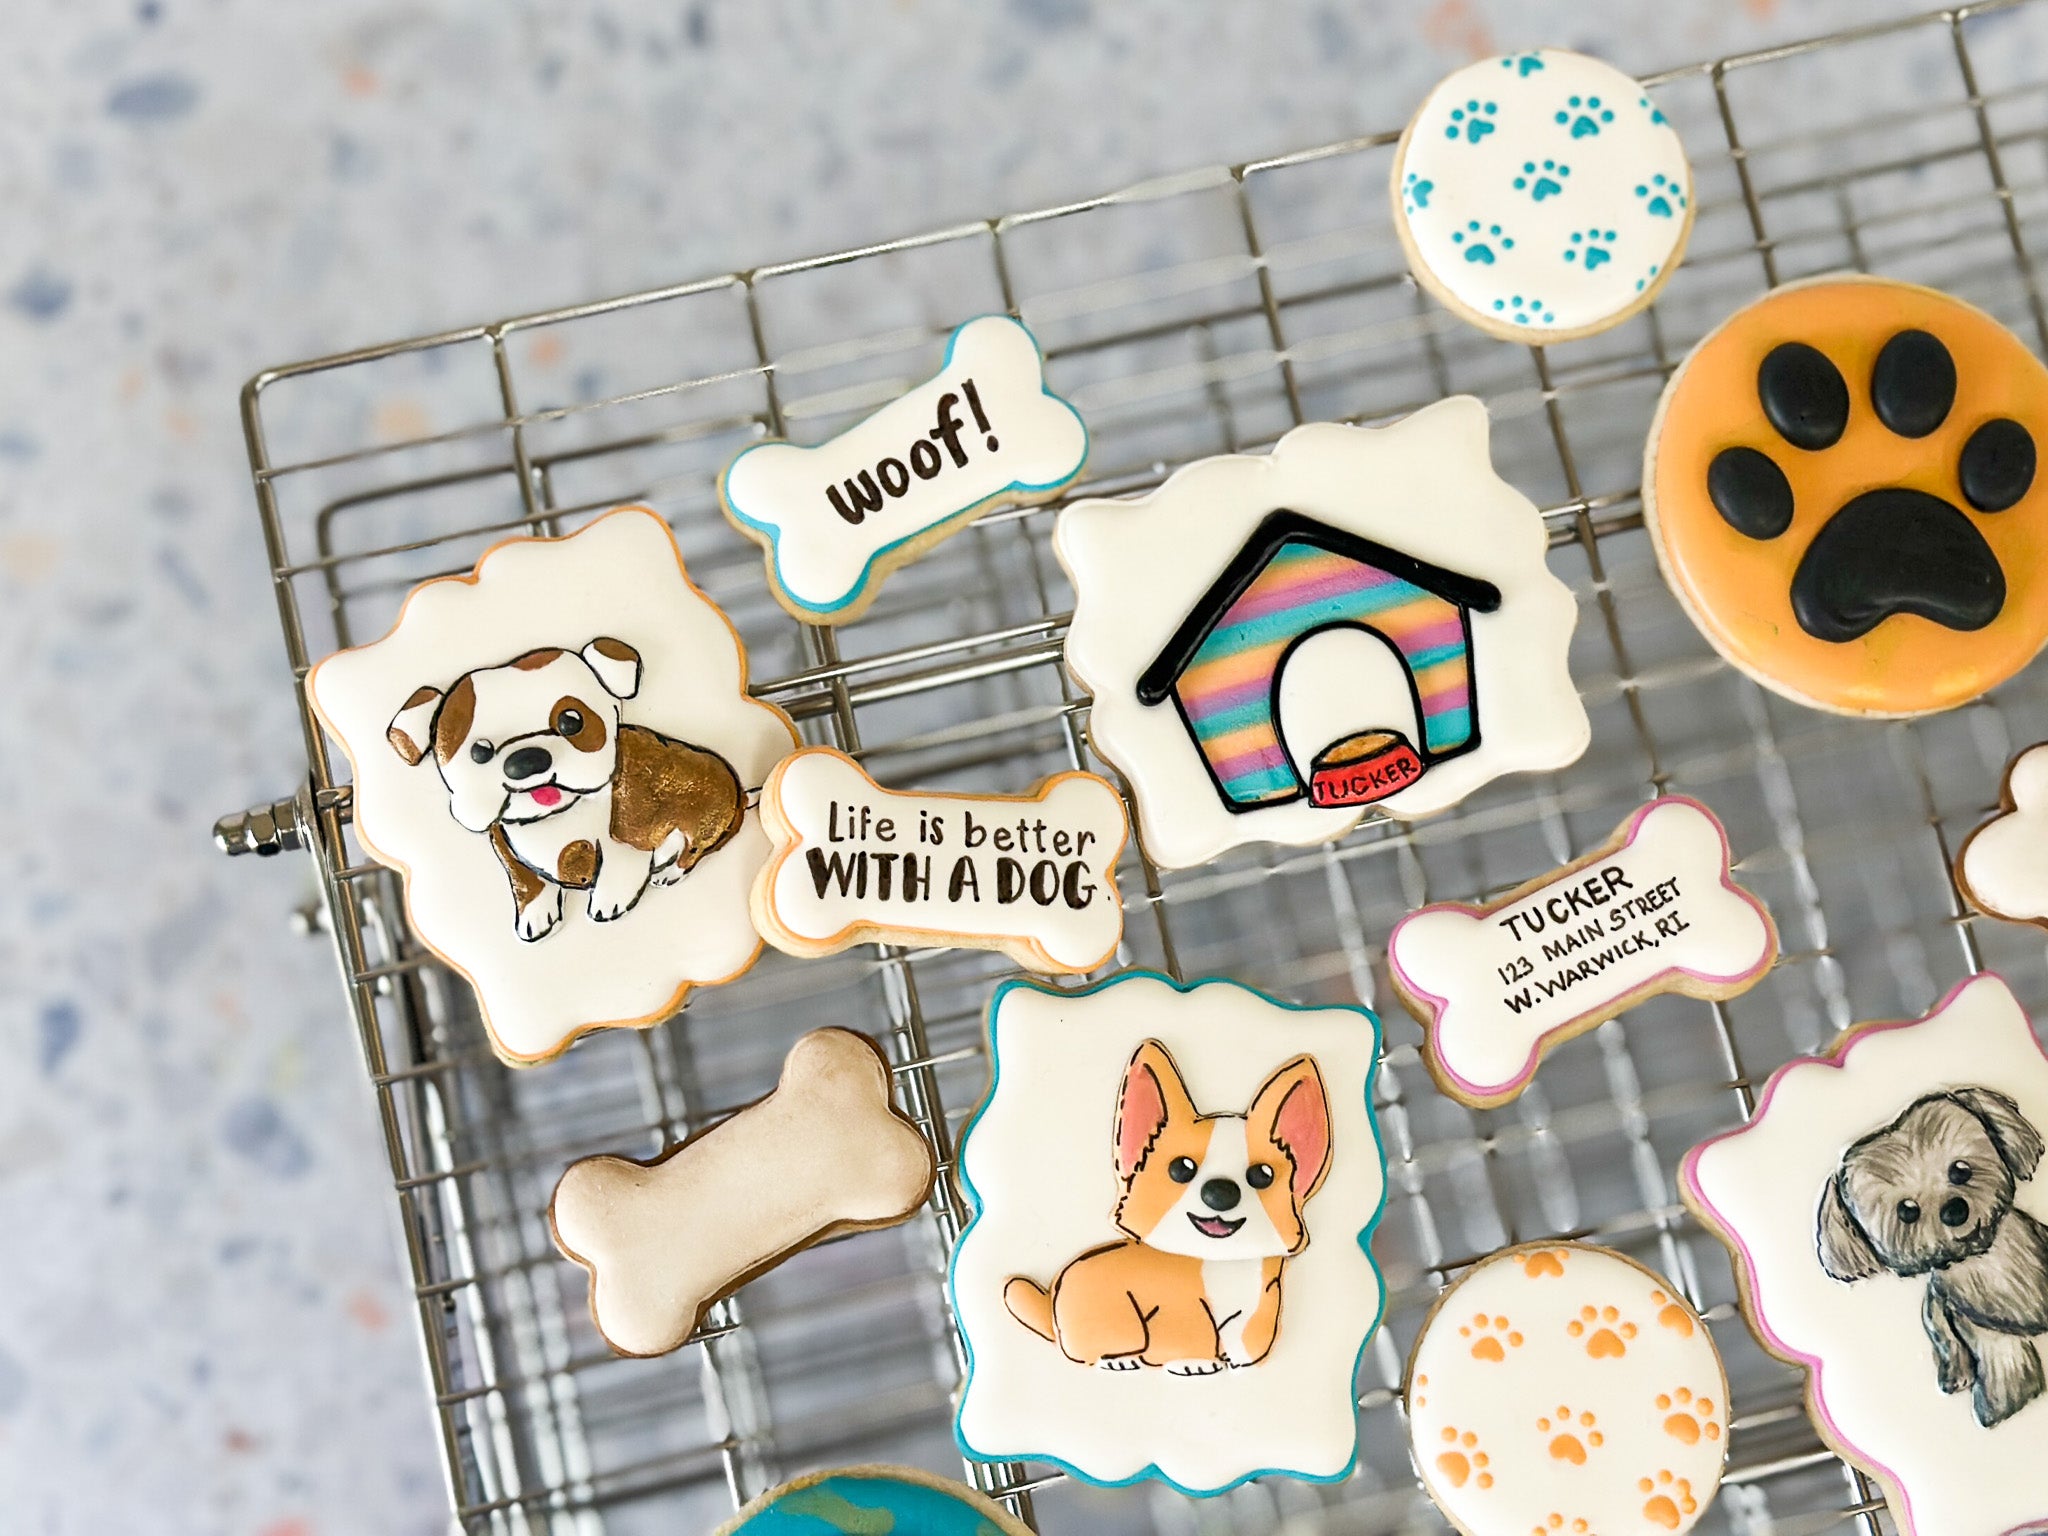
Now comes the fun part! Decorating your freshly baked dog cookies allows you to get creative. Here are some ideas to get you started.
Dog-Friendly Frosting Options
- Yogurt Frosting: Mix plain yogurt with a little honey (if your dog is not sensitive) for a sweet, creamy topping.
- Peanut Butter Icing: Combine peanut butter with a bit of coconut oil for a simple frosting.
- Carob Icing: Use carob powder mixed with yogurt for a chocolate-like treat.

Decorating Techniques
- Piping: Use a piping bag to create intricate designs or write your pup’s name.
- Sprinkles: Add dog-friendly sprinkles for a fun and colorful touch.
- Layering: Create a layered look by using different colors of frosting.
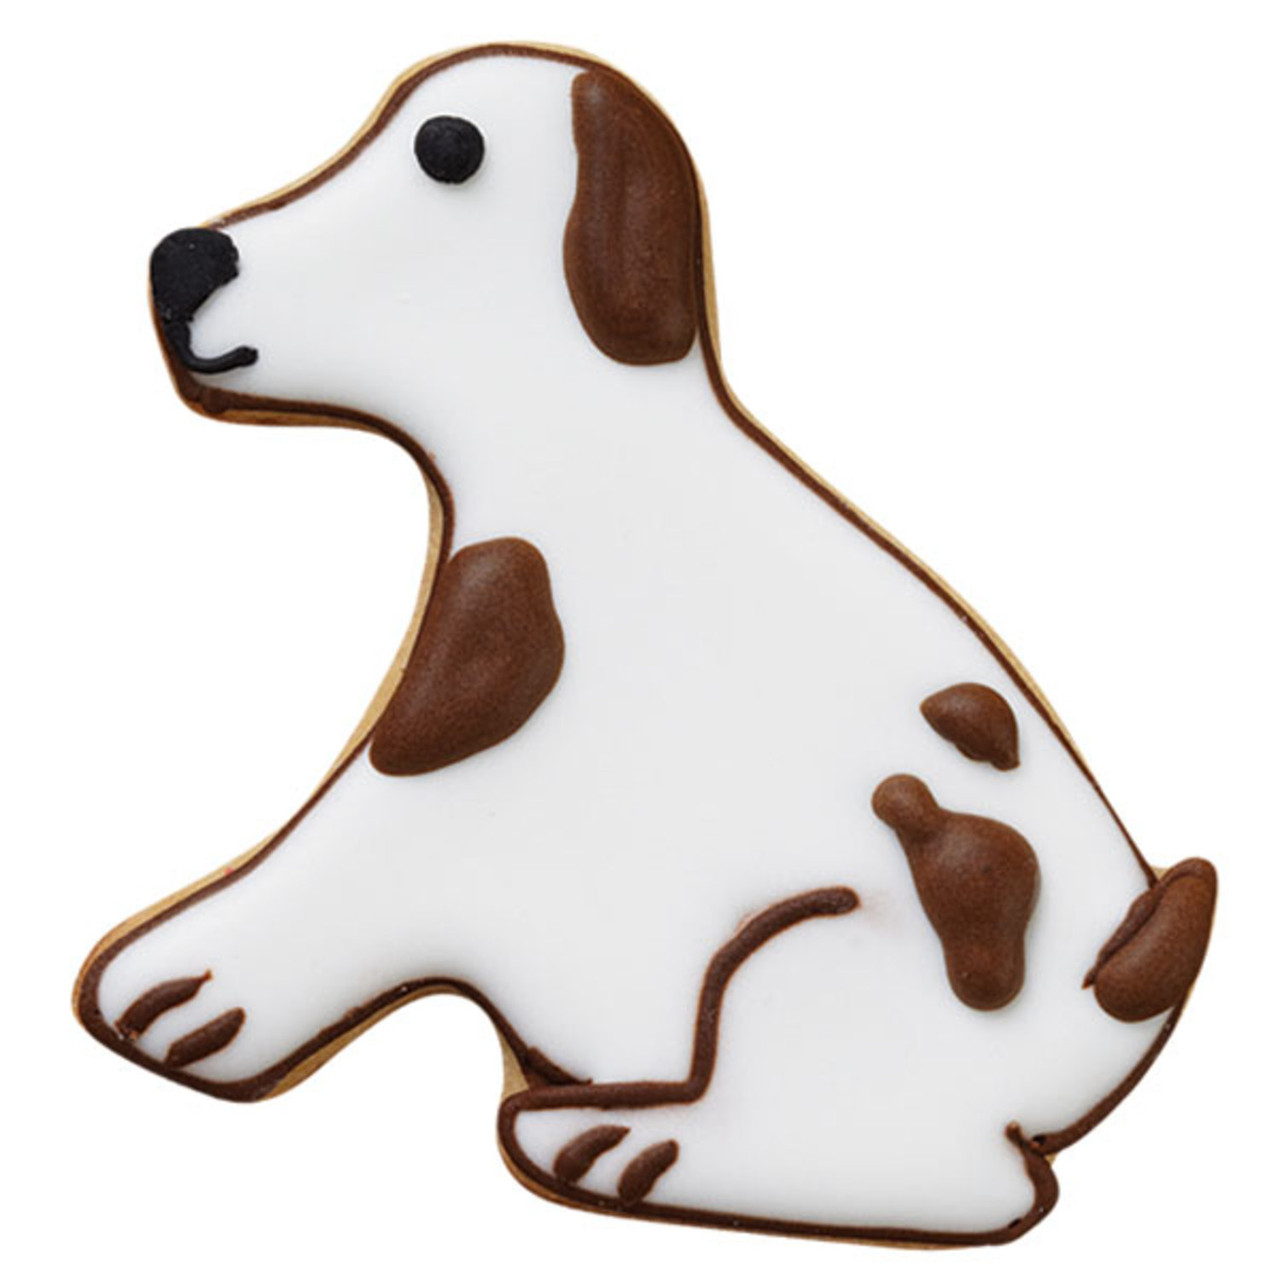
Tips for Beautifully Decorated Cookies
To achieve professional-looking cookies, keep these tips in mind:
- Practice piping techniques on parchment paper before decorating.
- Let the frosting harden before stacking cookies.
- Use a variety of colors to make your treats visually appealing.
Showing Off Your Masterpieces
Once your cookies are baked and beautifully decorated, it’s time to share them with your furry friend (and maybe a few human friends too!). Consider the following:
Packaging for Gifts
If you plan to gift your dog cookies, here are some cute packaging ideas:
- Doggie Bags: Use resealable plastic bags decorated with stickers.
- Gift Jars: Fill mason jars with cookies and tie with a ribbon.
- Custom Boxes: Design custom boxes with your dog’s picture or name for a personal touch.

Storing Your Cookies
To keep your cookies fresh:
- Store in an airtight container at room temperature for up to a week.
- For longer storage, freeze cookies in a single layer and transfer to a freezer-safe bag.
Pros and Cons of Dog Cookie Decorating
Pros:
- Creative outlet for pet owners.
- Healthy treats tailored to your dog’s needs.
- Great for bonding time with your dog.
Cons:
- Can be time-consuming.
- Requires some trial and error to master decorating techniques.
- Initial investment in ingredients and tools.
Personal Experience and Tips
Through my own journey of dog cookie decorating, I’ve discovered a few personal tips that may help you as well:
Experimentation is Key
Don’t be afraid to experiment with flavors and textures. My dog loves pumpkin, but I discovered he also enjoys sweet potato! Trying different ingredients can lead to delightful surprises.
Involve the Family
Get your family involved in the cookie-making process. It’s a wonderful bonding activity, especially for kids. They can help with decorating and even tasting the treats (supervised, of course!).
Share Your Creations Online
Join online dog lover communities to share your creations. You’ll find inspiration and connect with fellow dog owners.
FAQs About Dog Cookie Decorating
Can I use regular flour for dog cookies?
It’s best to use whole wheat flour or gluten-free alternatives, as regular flour may not be as beneficial for your dog.
How can I tell if my dog is allergic to certain ingredients?
Monitor your dog after introducing new ingredients. Look for symptoms like itching, vomiting, or diarrhea. Consult a vet if you suspect allergies.
How long do homemade dog cookies last?
Homemade dog cookies can last about a week at room temperature in an airtight container, or you can freeze them for several months.
Can I use cookie decorating kits for my dog cookies?
Yes! Just ensure any products used are dog-safe and free from harmful ingredients.
What are some good occasions for dog cookie decorating?
Birthdays, holidays, “Gotcha Day,” or just a fun weekend activity are all great occasions to whip up some decorated dog cookies!
Conclusion
Dog cookie decorating is a delightful and rewarding activity that brings joy to both you and your furry friend. It’s an opportunity to express your creativity while providing your pet with healthy, homemade treats. So grab your ingredients, gather your decorating tools, and get ready to make some tails wag!