Welcome to my kitchen! Today, I am excited to share with you my favorite dessert: flan decorado con fresas. This delightful treat combines a creamy, smooth flan with the tart sweetness of strawberries, making it the perfect dessert for any occasion. Whether you’re a seasoned chef or a culinary newbie, this guide will walk you through everything you need to know to create this stunning dessert.
What is Flan Decorado Con Fresas?
Flan, a traditional Spanish dessert, is a rich, creamy custard topped with a layer of smooth caramel. When decorated with fresh strawberries, or as we say in Spanish, “fresas”, it not only enhances the flavor but also adds a pop of color that makes the dish visually appealing. This combination is particularly popular in Latin American countries and has captured the hearts of many dessert lovers worldwide.
Why You’ll Love This Recipe
- Easy to Make: With simple ingredients and straightforward steps, anyone can whip this up.
- Impressive Presentation: The vibrant strawberries on top create an attractive dish for gatherings.
- Customizable: You can add other fruits, sauces, or toppings to suit your taste.
- Perfect for Any Occasion: Birthdays, anniversaries, or just a sweet treat for yourself—flan is always a hit!
Ingredients You’ll Need
To make your flan decorado con fresas, you will need the following ingredients:
- 1 cup of sugar (for caramel)
- 4 large eggs
- 1 can (14 oz) of sweetened condensed milk
- 1 can (12 oz) of evaporated milk
- 1 tablespoon of vanilla extract
- Fresh strawberries, washed and sliced (about 2 cups)
- Optional: Mint leaves for garnish
Step-by-Step Instructions
Step 1: Prepare the Caramel
In a medium-sized saucepan over medium heat, melt the sugar until it turns golden brown. Be sure to stir constantly to prevent burning. Once it reaches the desired color, quickly pour it into a round flan mold or cake pan, tilting to coat the bottom evenly.
Step 2: Mix the Flan Ingredients
In a blender, combine eggs, sweetened condensed milk, evaporated milk, and vanilla extract. Blend until smooth. Pour the mixture over the caramel in the mold.

Step 3: Bake the Flan
Preheat your oven to 350°F (175°C). Place the mold in a larger baking dish and fill the outer dish with water until it reaches halfway up the sides of the mold. Bake for about 50-60 minutes, or until a knife inserted in the center comes out clean.
Step 4: Cool and Unmold
Once baked, remove from the oven and let it cool at room temperature. Then, refrigerate for at least 4 hours or overnight. To unmold, run a knife around the edges and carefully invert it onto a serving plate.

Step 5: Decorate with Strawberries
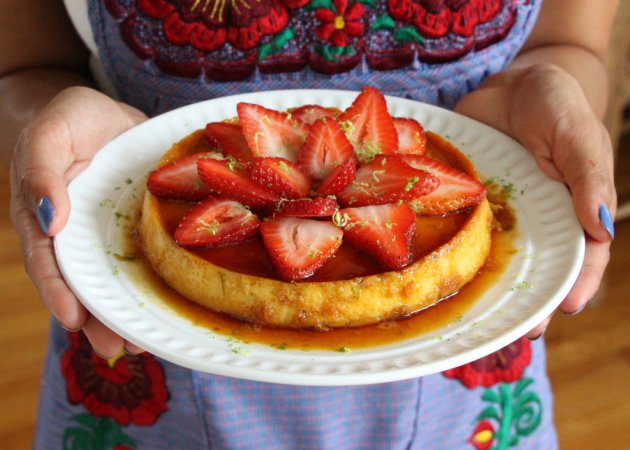
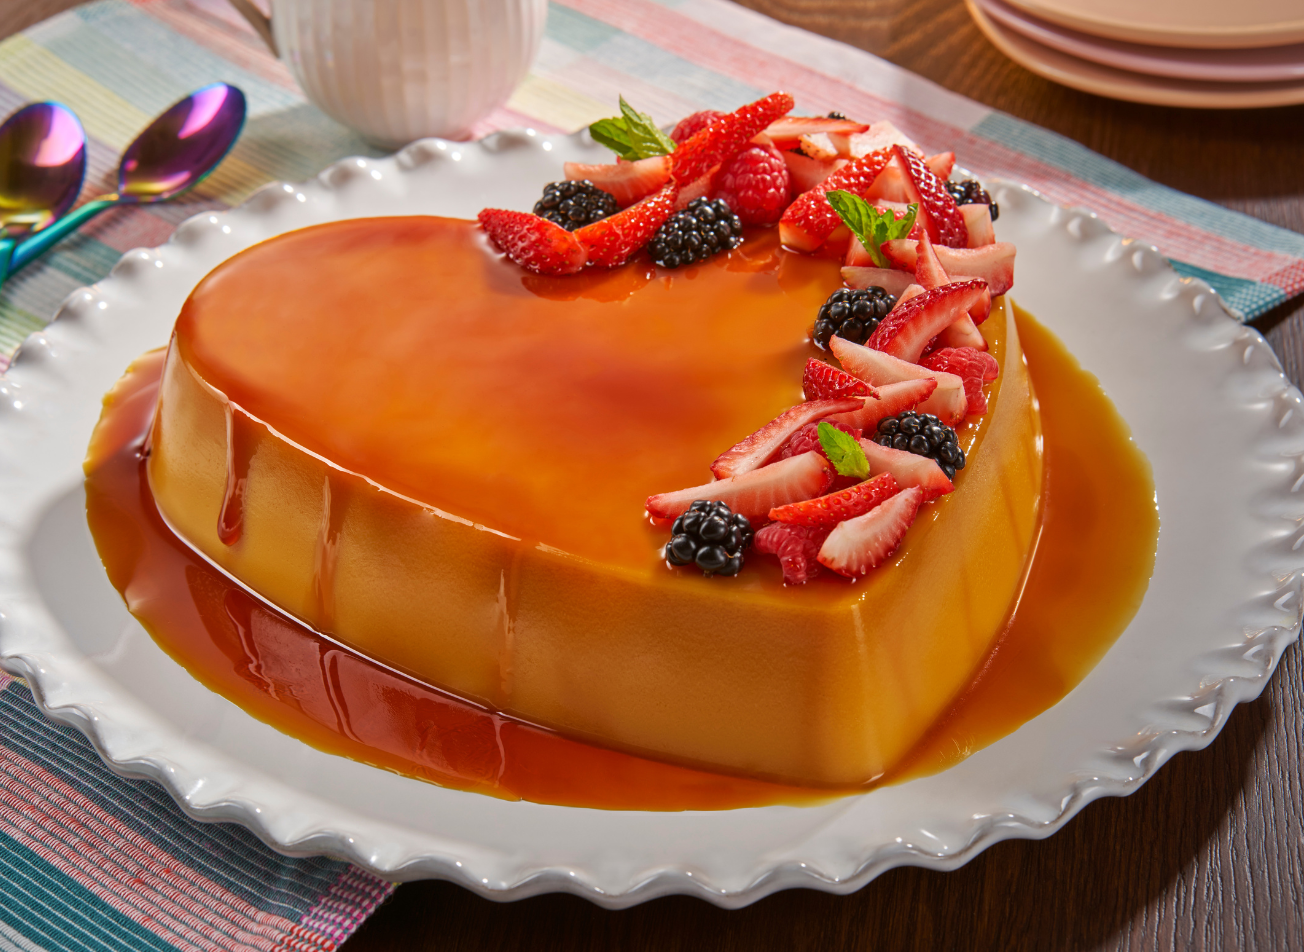
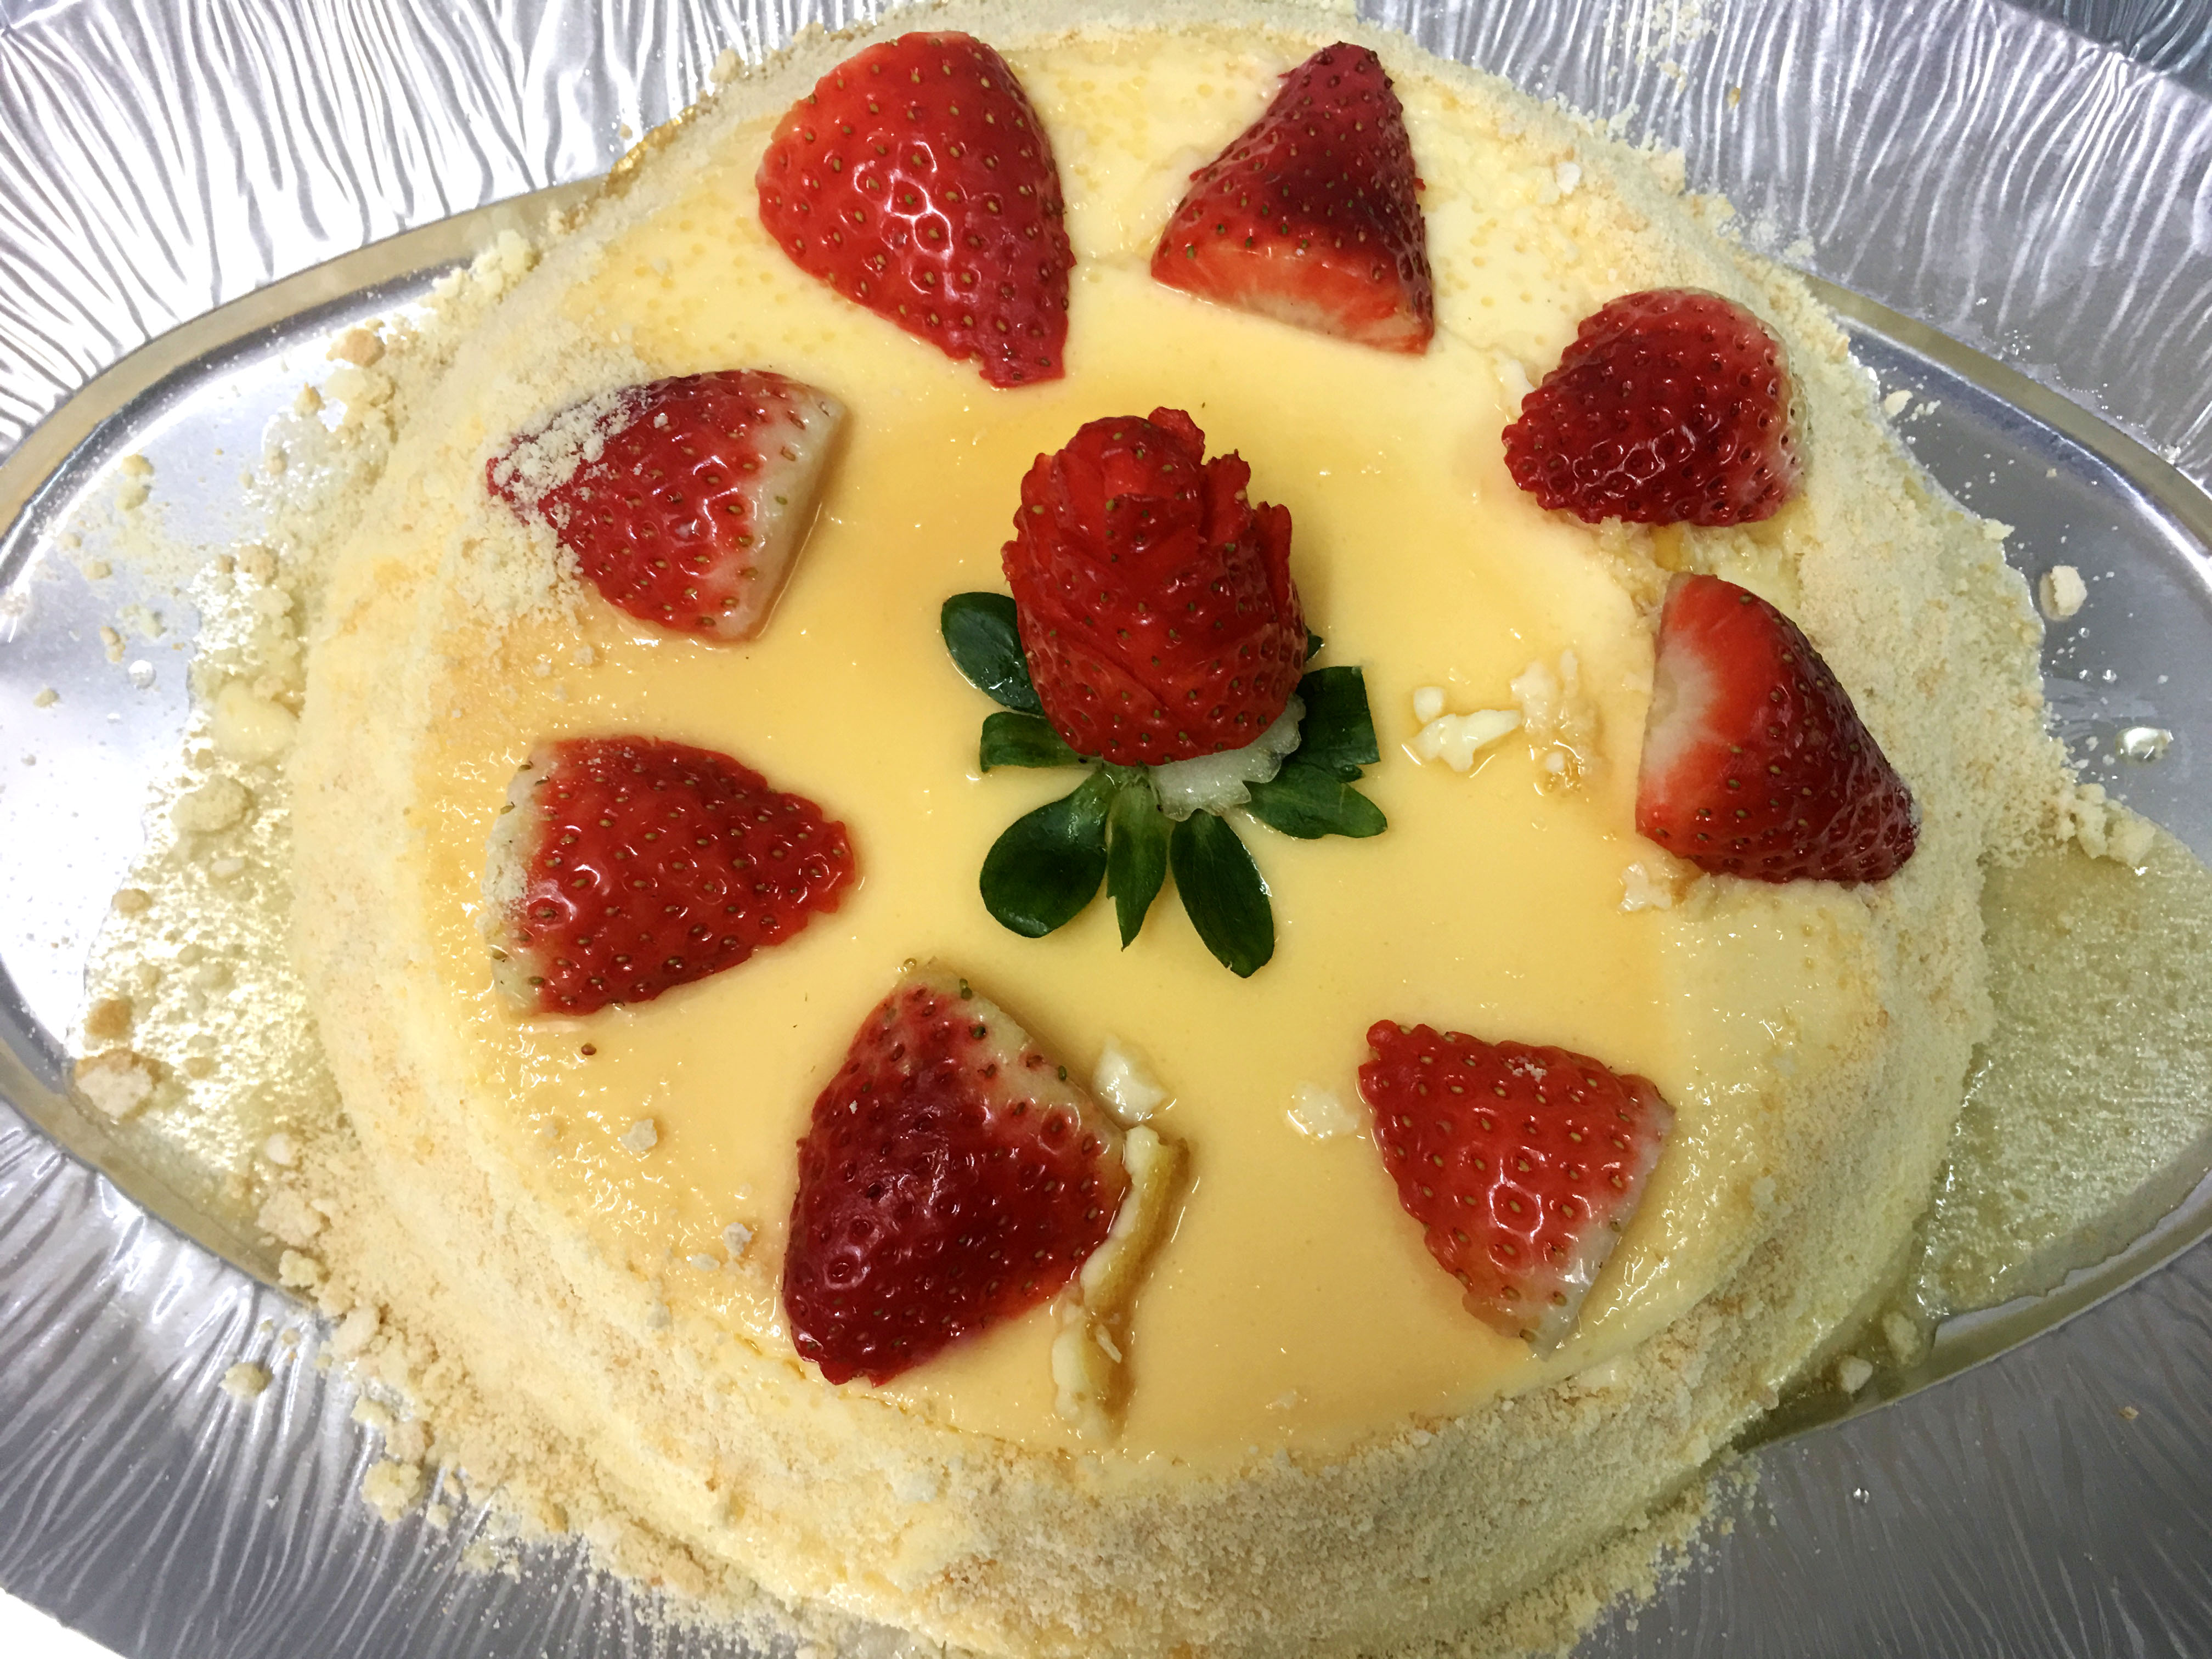
Arrange the fresh sliced strawberries on top of the flan. You can drizzle a bit of honey or syrup if you like an extra touch of sweetness. Optionally, add mint leaves for garnish.
Comparison Table of Flan Variations
| Variation | Flavor Profile | Best Occasions | Notes |
|---|---|---|---|
| Classic Flan | Sweet and creamy | All occasions | Traditional recipe |
| Flan de Coco | Coconut flavor | Tropical parties | Use coconut milk |
| Chocolate Flan | Rich chocolate | Chocolate lovers | Add cocoa powder |
| Flan Decorado Con Fresas | Sweet and tangy | Summer gatherings | Fresh strawberries enhance flavor |

Tips for the Perfect Flan
Use Fresh Ingredients
Using fresh eggs and high-quality milk will ensure the best flavor and texture in your flan.
Don’t Overmix
When blending the flan mixture, avoid overmixing to prevent incorporating too much air, which can lead to a spongy texture.

Let it Chill
Patience is key! Allowing the flan to chill for several hours helps the flavors meld beautifully.
Pros and Cons of Making Flan Decorado Con Fresas
Pros
- Impressive visual appeal
- Delicious flavor combination
- Simple ingredients
- Great for meal prep

Cons
- Requires chilling time
- Caramel can be tricky to make
- May require special molds
Personal Experience with Flan Decorado Con Fresas
I first discovered the allure of flan during a family gathering. My aunt would always make a giant flan topped with strawberries, and it was the star of the dessert table. The creamy texture combined with the bright burst of strawberries was unforgettable. Since then, I have made this dish for birthdays, holiday dinners, and even just to indulge myself. Each time, it brings back sweet memories and sparks joy for everyone who tastes it.

Frequently Asked Questions (FAQs)
Can I use frozen strawberries instead of fresh?
While fresh strawberries provide the best flavor and texture, you can use frozen ones. Just make sure to thaw and drain them well before decorating your flan.
How do I store leftover flan?
Store leftover flan in an airtight container in the refrigerator for up to 5 days. The strawberries can be added just before serving to keep them fresh.

Can I make flan without a water bath?
Yes, but using a water bath allows for even cooking and prevents the flan from cracking. If you skip it, keep a close eye on the baking time.
What can I substitute for sweetened condensed milk?
You can use a mixture of whole milk and sugar or homemade coconut cream to achieve a similar sweetness and creaminess.
Is flan gluten-free?
Yes! Flan is naturally gluten-free as it contains no flour or gluten ingredients. Always check your specific ingredients to be sure.
Conclusion
Flan decorado con fresas is not just a dessert; it’s a celebration of flavors and memories. With this recipe, you can impress your friends and family while enjoying the process of creating something special. Whether you stick to the traditional method or add your unique twist, I hope this guide inspires you to bring this delicious dessert to your table. Happy cooking!