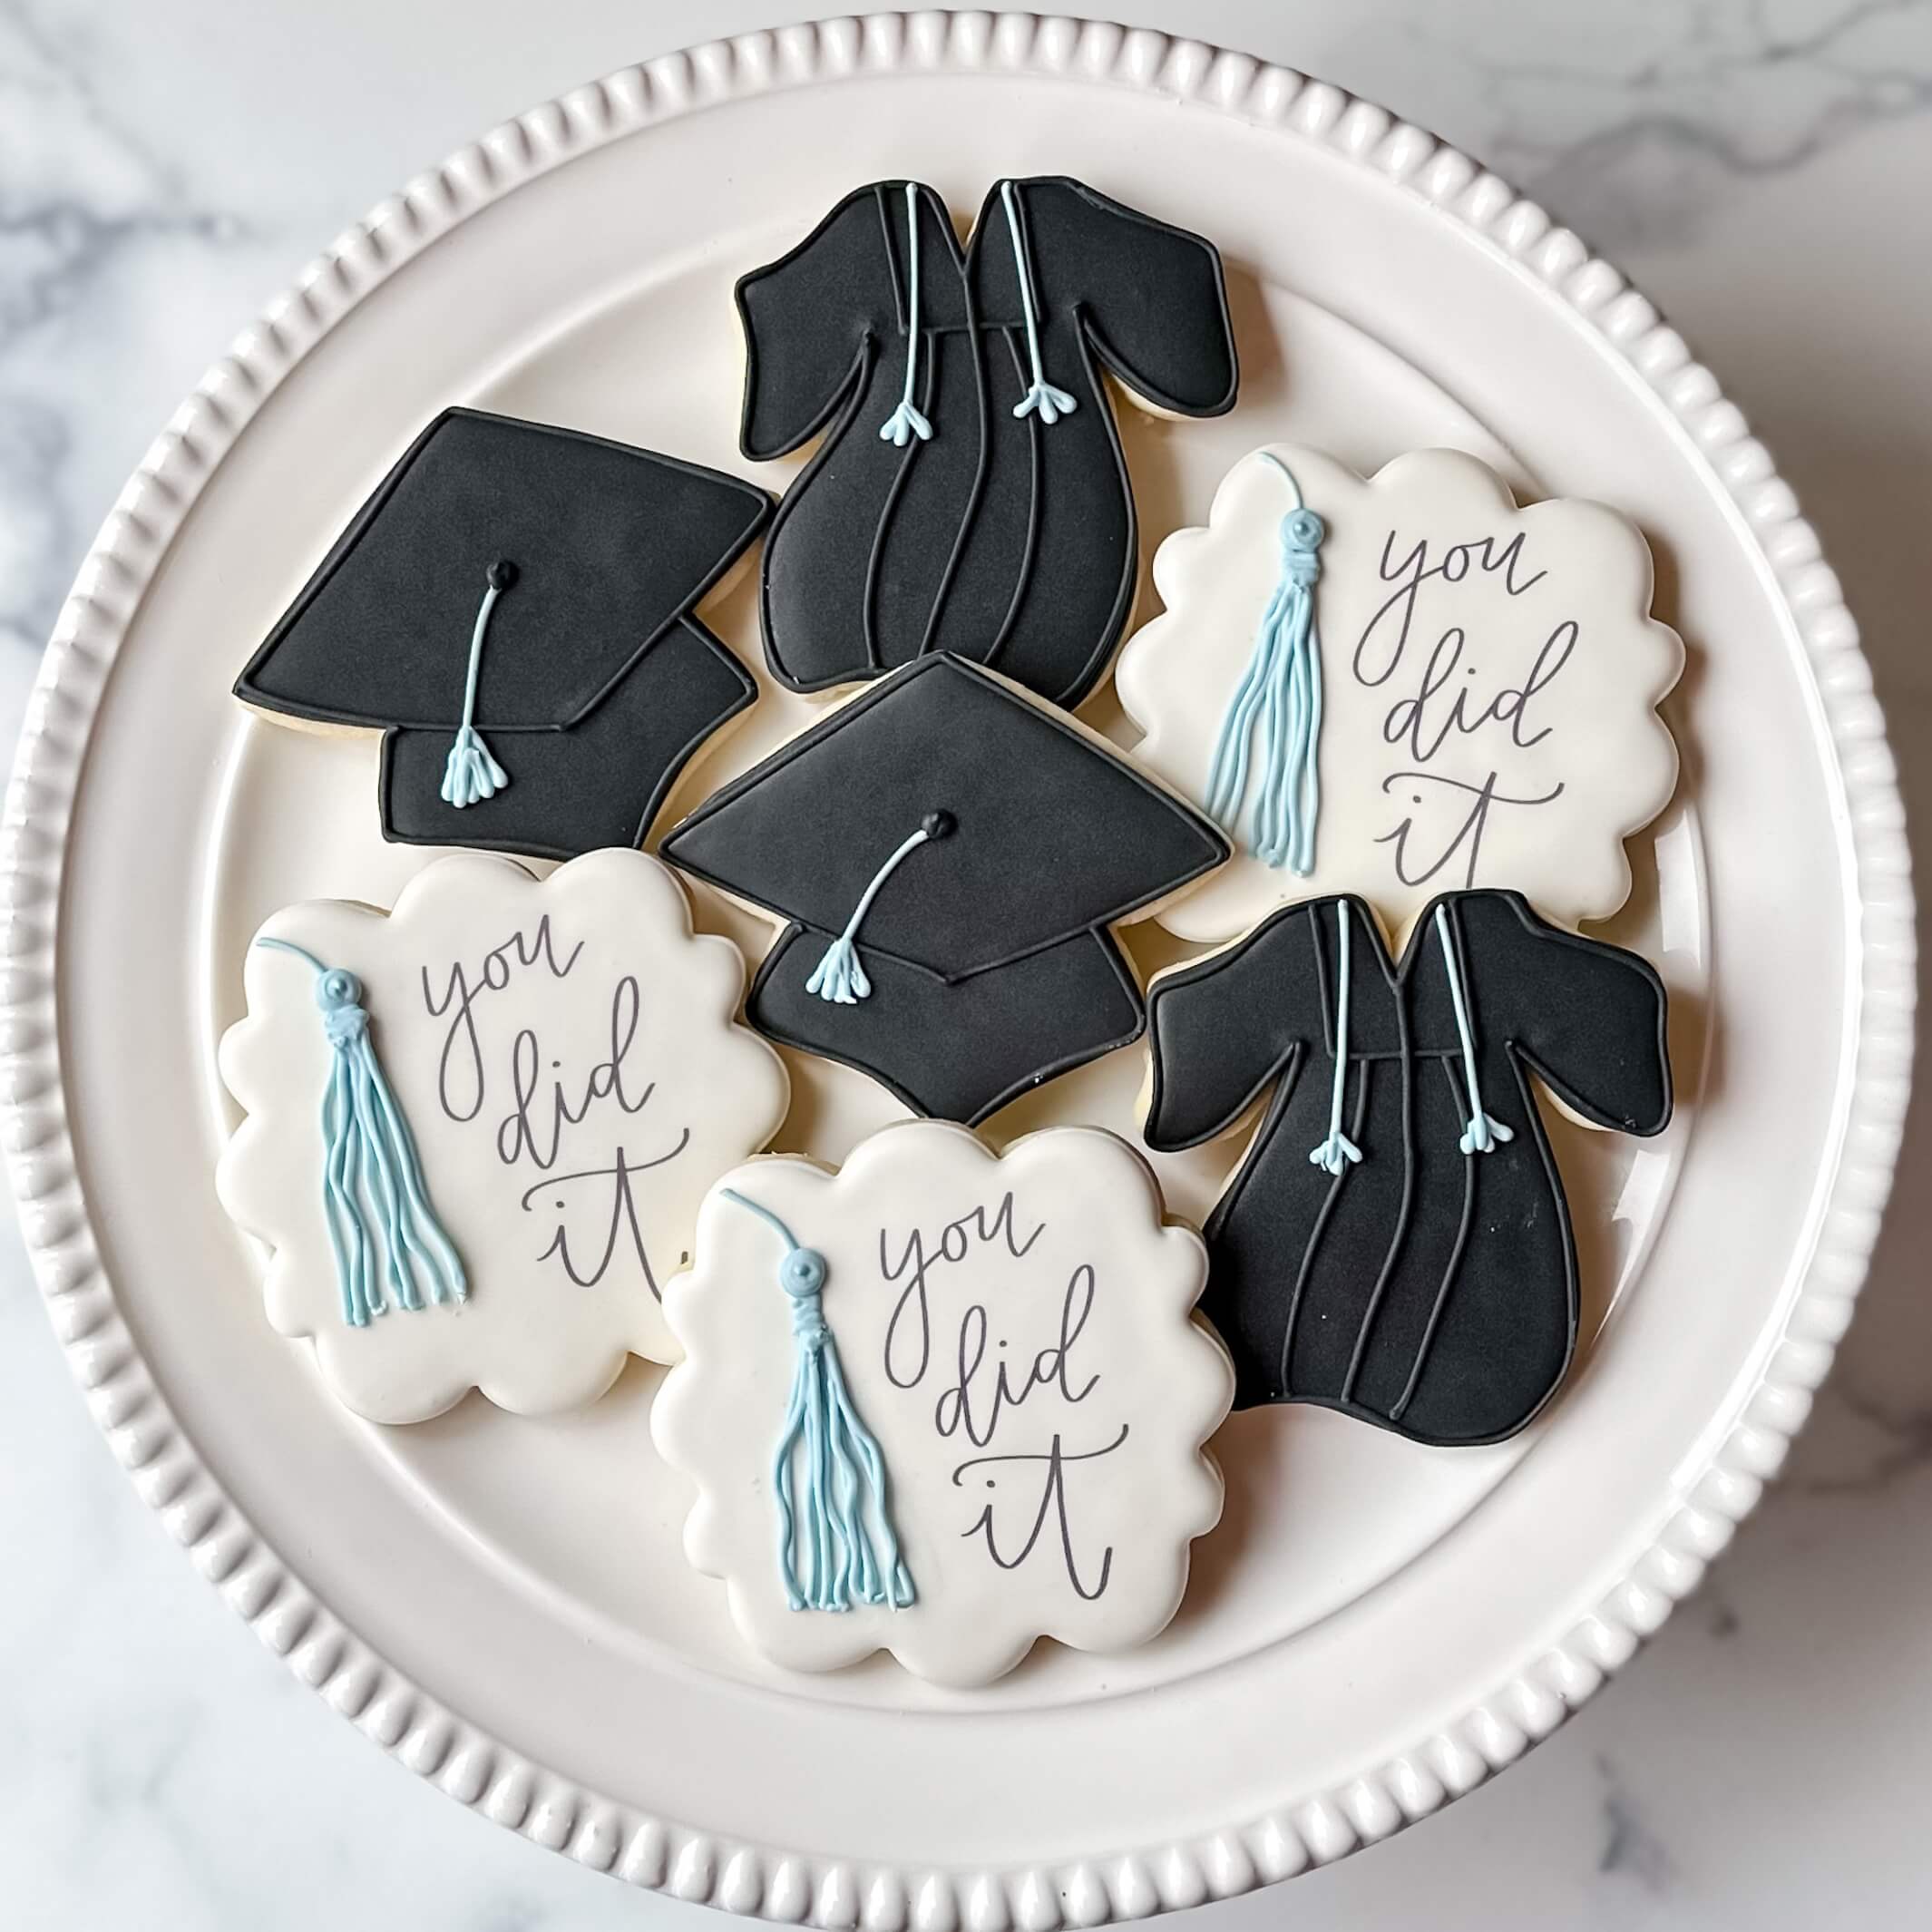
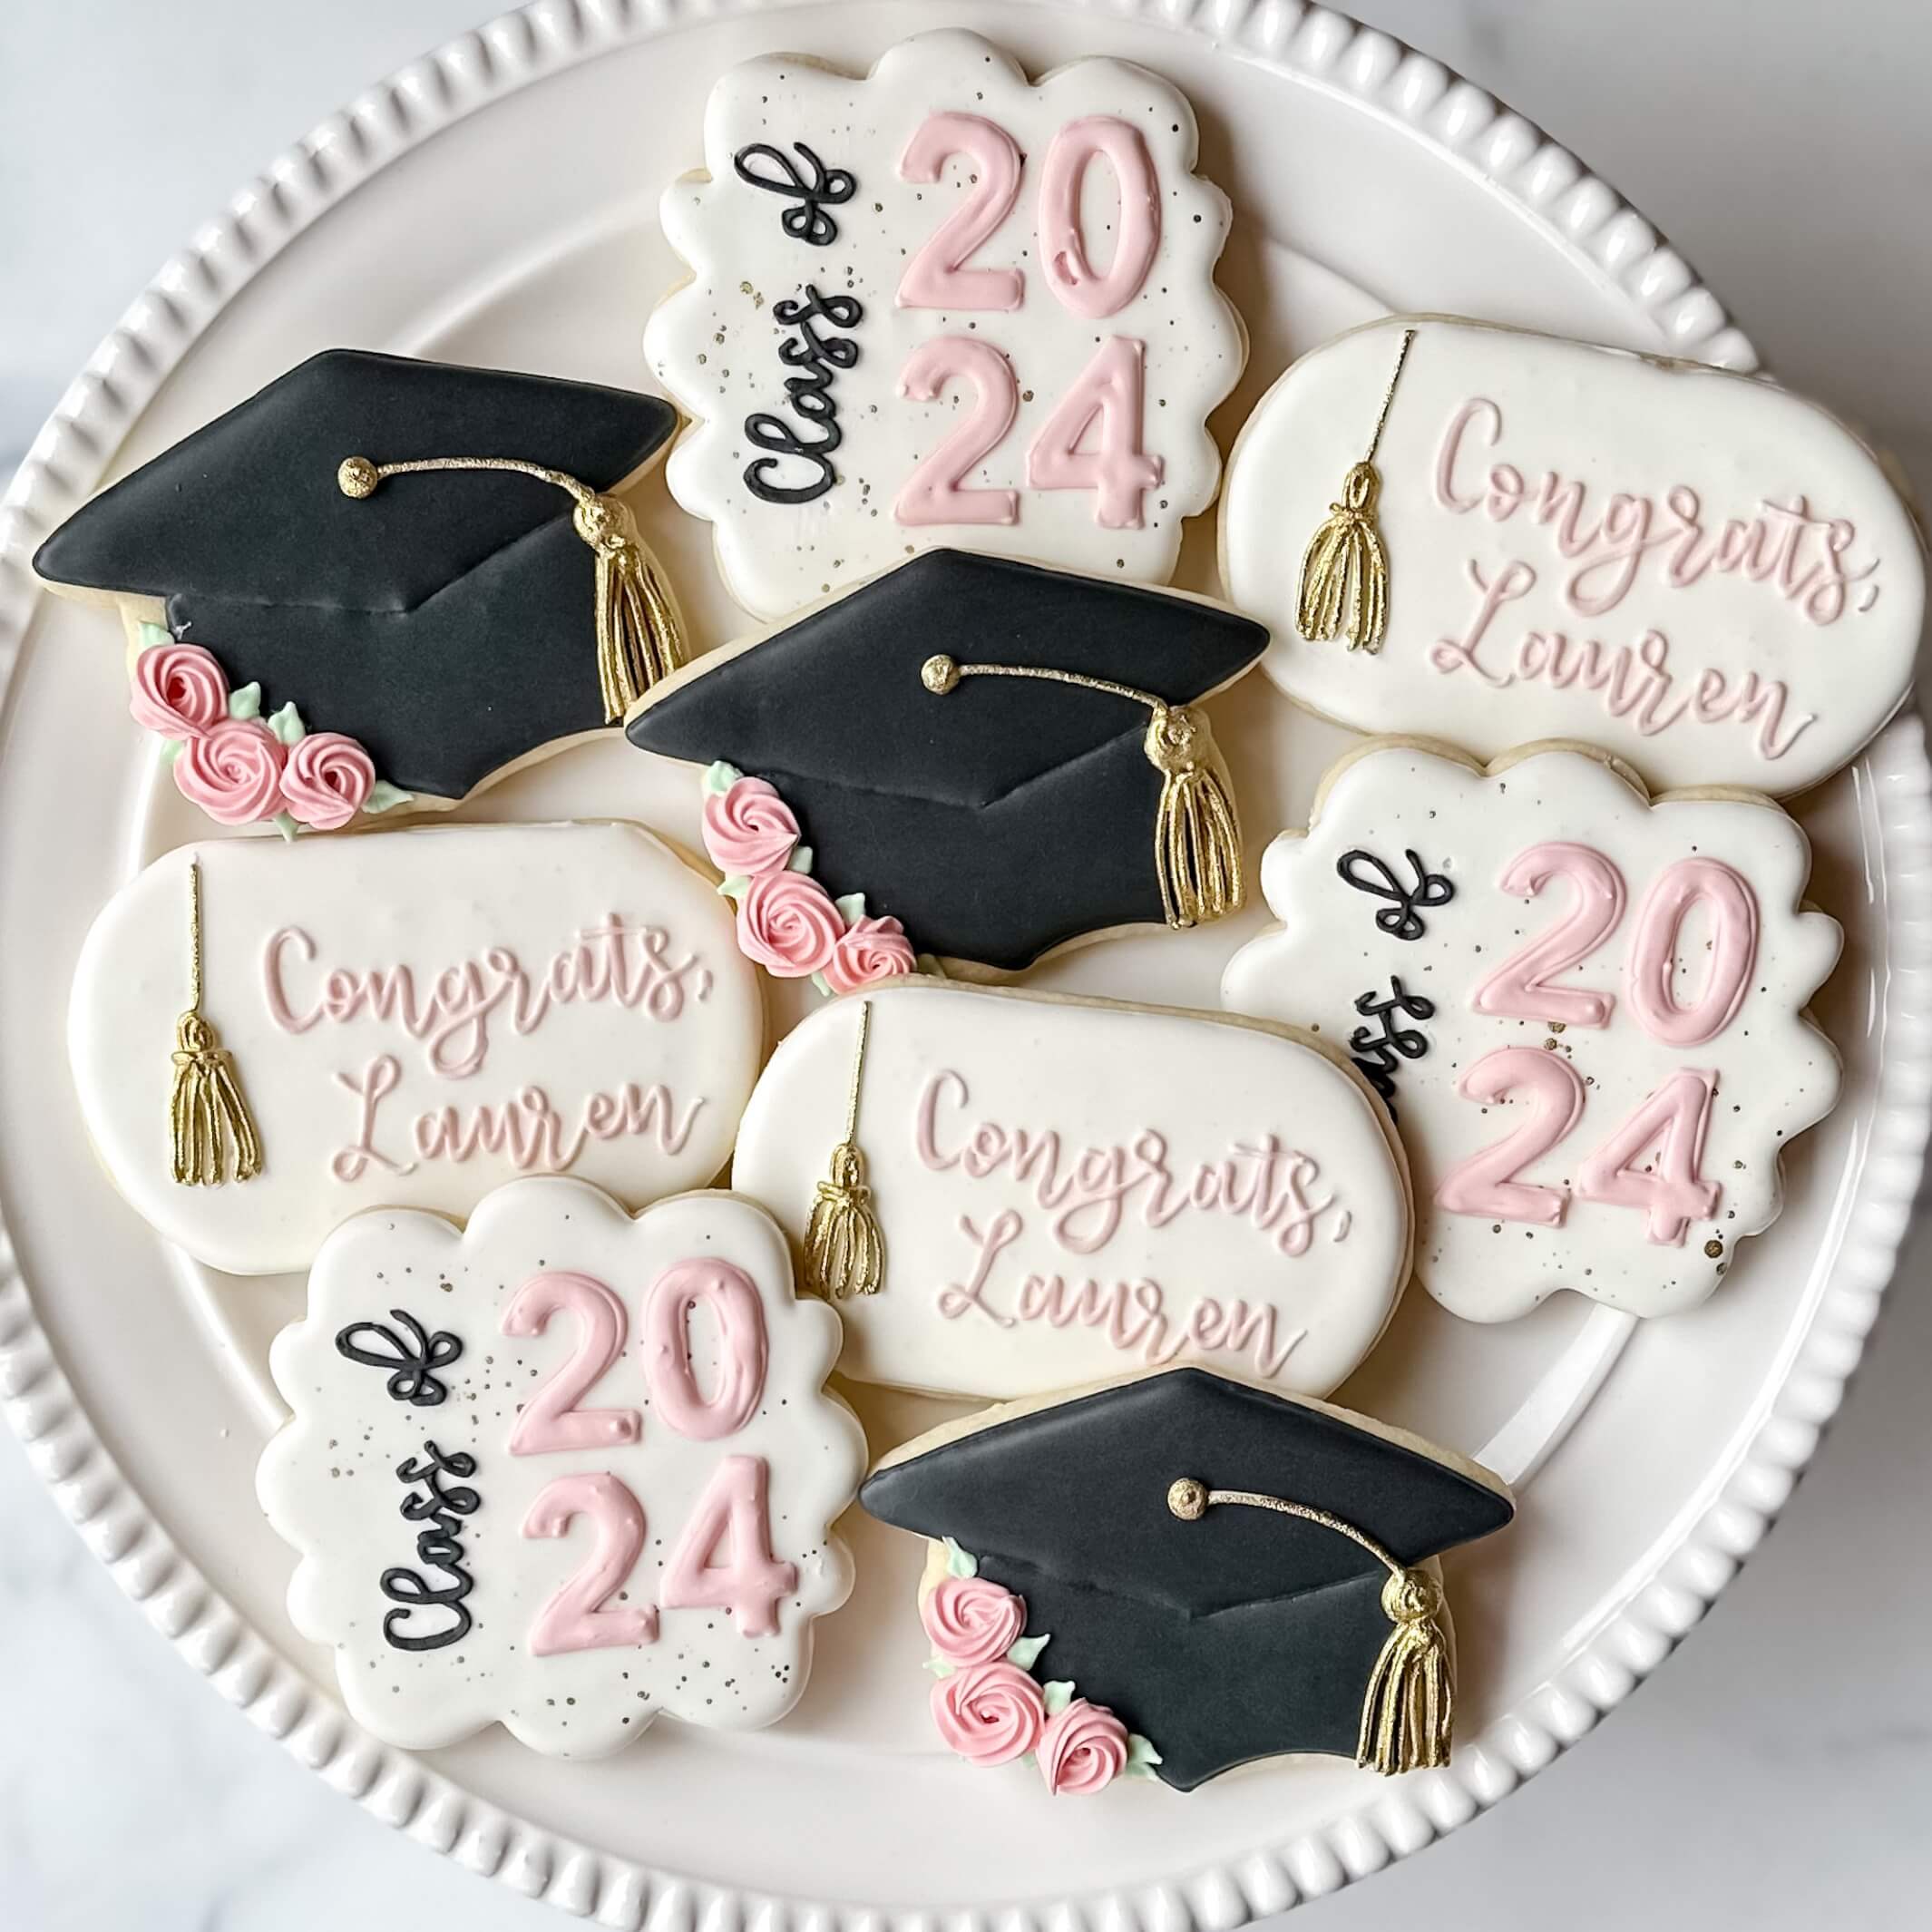
Graduation is a milestone that deserves to be celebrated in style, and what better way to do that than with deliciously decorated cookies? I still remember my own graduation day; the sense of accomplishment, the laughter with friends, and of course, the sweet treats that made the day even more special. In this article, we’ll dive deep into the tantalizing world of graduation cookies, exploring unique designs, recipes, and tips to create stunning treats that are sure to impress your guests.
Why Choose Decorated Cookies for Graduation?
Decorated cookies are not just a tasty treat; they also serve as delightful decorations and party favors. Here are some compelling reasons to choose decorated cookies for your graduation celebration:
- Customizable Designs: You can personalize them to match school colors, themes, or even include the graduate’s name.
- Easy to Serve: Cookies are portable and easy to enjoy, making them a hassle-free option for parties.
- Variety of Flavors: From classic sugar cookies to rich chocolate chip, there’s a cookie for every palate.
- Creative Expression: Baking and decorating cookies is a fun way to express your creativity.
Popular Designs for Graduation Cookies

When it comes to decorated graduation cookies, the possibilities are endless. Here are some popular designs that can elevate your cookie game:
1. Graduation Caps
Graduation cap cookies are a classic choice. They can be made in various sizes and decorated with royal icing to create a realistic look.

2. Diplomas
Rolled-up diploma cookies, tied with a tiny icing ribbon, are a fun way to represent academic achievements.
3. Personalized Cookies
Custom cookies featuring the graduate’s name, school logo, or graduation year are always a hit at parties.

4. Themed Cookies
Incorporating elements from the graduate’s field of study, such as books for literature or tools for engineering, adds a personal touch.
Must-Try Cookie Recipes

After deciding on your designs, it’s time to get baking. Here are two tried-and-true cookie recipes perfect for decorating:
Classic Sugar Cookies
Ingredients:
- 2 3/4 cups all-purpose flour
- 1 teaspoon baking soda
- 1/2 teaspoon baking powder
- 1 cup unsalted butter, softened
- 1 1/2 cups white sugar
- 1 egg
- 1 teaspoon vanilla extract
- 1/2 teaspoon almond extract
- 3 tablespoons decorating sugar (for sprinkling)


Instructions:
1. Preheat oven to 375°F (190°C).
2. In a small bowl, stir together flour, baking soda, and baking powder.
3. In a large bowl, cream together the butter and sugar until smooth.
4. Beat in the egg, vanilla, and almond extract.
5. Gradually blend in the dry ingredients.
6. Roll rounded teaspoonfuls of dough into balls, and place onto ungreased pans. Flatten each ball with the bottom of a glass and sprinkle with decorating sugar.
7. Bake 8 to 10 minutes in the preheated oven or until golden. Let cool.
Chocolate Chip Cookies
Ingredients:
- 2 1/4 cups all-purpose flour
- 1/2 teaspoon baking soda
- 1 cup unsalted butter, room temperature
- 1/2 cup granulated sugar
- 1 cup packed light-brown sugar
- 1 teaspoon salt
- 2 teaspoons pure vanilla extract
- 2 large eggs
- 2 cups semisweet and/or milk chocolate chips


Instructions:
1. Preheat oven to 350°F (180°C).
2. In a small bowl, whisk together flour and baking soda; set aside.
3. In a large bowl, using an electric mixer, cream butter and sugars together on medium speed until light and fluffy.
4. Add salt, vanilla, and eggs; mix well.
5. Gradually add flour mixture; mix just until combined.
6. Stir in chocolate chips.
7. Drop by heaping tablespoon onto baking sheets. Bake until golden brown, 10 to 12 minutes.
Comparison of Cookie Recipes
| Recipe | Texture | Ease of Preparation | Ideal for Decorating |
|---|---|---|---|
| Classic Sugar Cookies | Soft and chewy | Easy | Yes |
| Chocolate Chip Cookies | Chewy with crispy edges | Easy to Moderate | Less Ideal |

Essential Decorating Supplies
Before you start decorating, it’s important to gather the right supplies. Here’s what you’ll need:
- Royal Icing: Perfect for creating detailed designs that harden.
- Piping Bags and Tips: Essential for decorating cookies neatly.
- Food Coloring: Customize royal icing and fondant with vibrant colors.
- Edible Glitter: For a touch of sparkle on your cookies.
- Cookie Cutters: Shapes that match your graduation theme.
How to Decorate Graduation Cookies
Now that you have your cookies baked and supplies ready, let’s dive into the decorating process. Here are some simple steps to follow:
Step 1: Prepare the Icing
Make sure your royal icing has the right consistency: thin enough to spread easily but thick enough to hold its shape.
Step 2: Outline the Cookies
Using a piping bag with a small tip, outline the shape of your cookie.
Step 3: Flood the Cookies
Once the outline is set, fill in the area with flooding icing. Use a toothpick to spread and smooth the icing.
Step 4: Add Details
Once the base layer has dried, use a contrasting color to add details such as names, school logos, or designs.
Pros and Cons of Decorated Cookies
Pros
- Highly customizable for any graduation theme.
- Visually appealing, making them perfect for Instagram-worthy posts.
- Great for gifting and party favors.
Cons
- Can be time-consuming to decorate intricately.
- Requires some baking and decorating skills.
- May need to be stored carefully to avoid damage.
Storing and Packaging Graduation Cookies
To keep your decorated cookies fresh and presentable:
Storage Tips
- Store cookies in an airtight container at room temperature for up to two weeks.
- Avoid stacking them until the icing is completely dry to prevent smudging.
Packaging Ideas
- Use clear cellophane bags tied with ribbons matching the school colors.
- Place cookies in themed boxes with a thank-you note for guests.
FAQs About Decorated Graduation Cookies
What is the best type of icing for decorating cookies?
Royal icing is highly recommended because it dries hard and allows for detailed designs.
Can I freeze decorated cookies?
Yes, you can freeze cookies, but it’s best to freeze them before decorating to maintain the integrity of the icing.
How early can I prepare cookies for graduation?
Cookies can be baked and decorated up to two weeks in advance if stored properly in an airtight container.
What are some unique flavors for graduation cookies?
Consider flavors like lemon, almond, or funfetti for a twist! They can also tie into the graduate’s interests or major.
Conclusion
Decorated cookies are more than just a delightful treat; they’re a way to celebrate hard work and achievements. Whether you’re baking for a relative’s graduation or your own, these cookies can add a personal touch to the festivities. With the right designs, recipes, and decorating techniques, you can create cookies that not only taste heavenly but also look stunning. So, put on your apron, gather your supplies, and let the cookie decorating fun begin!

