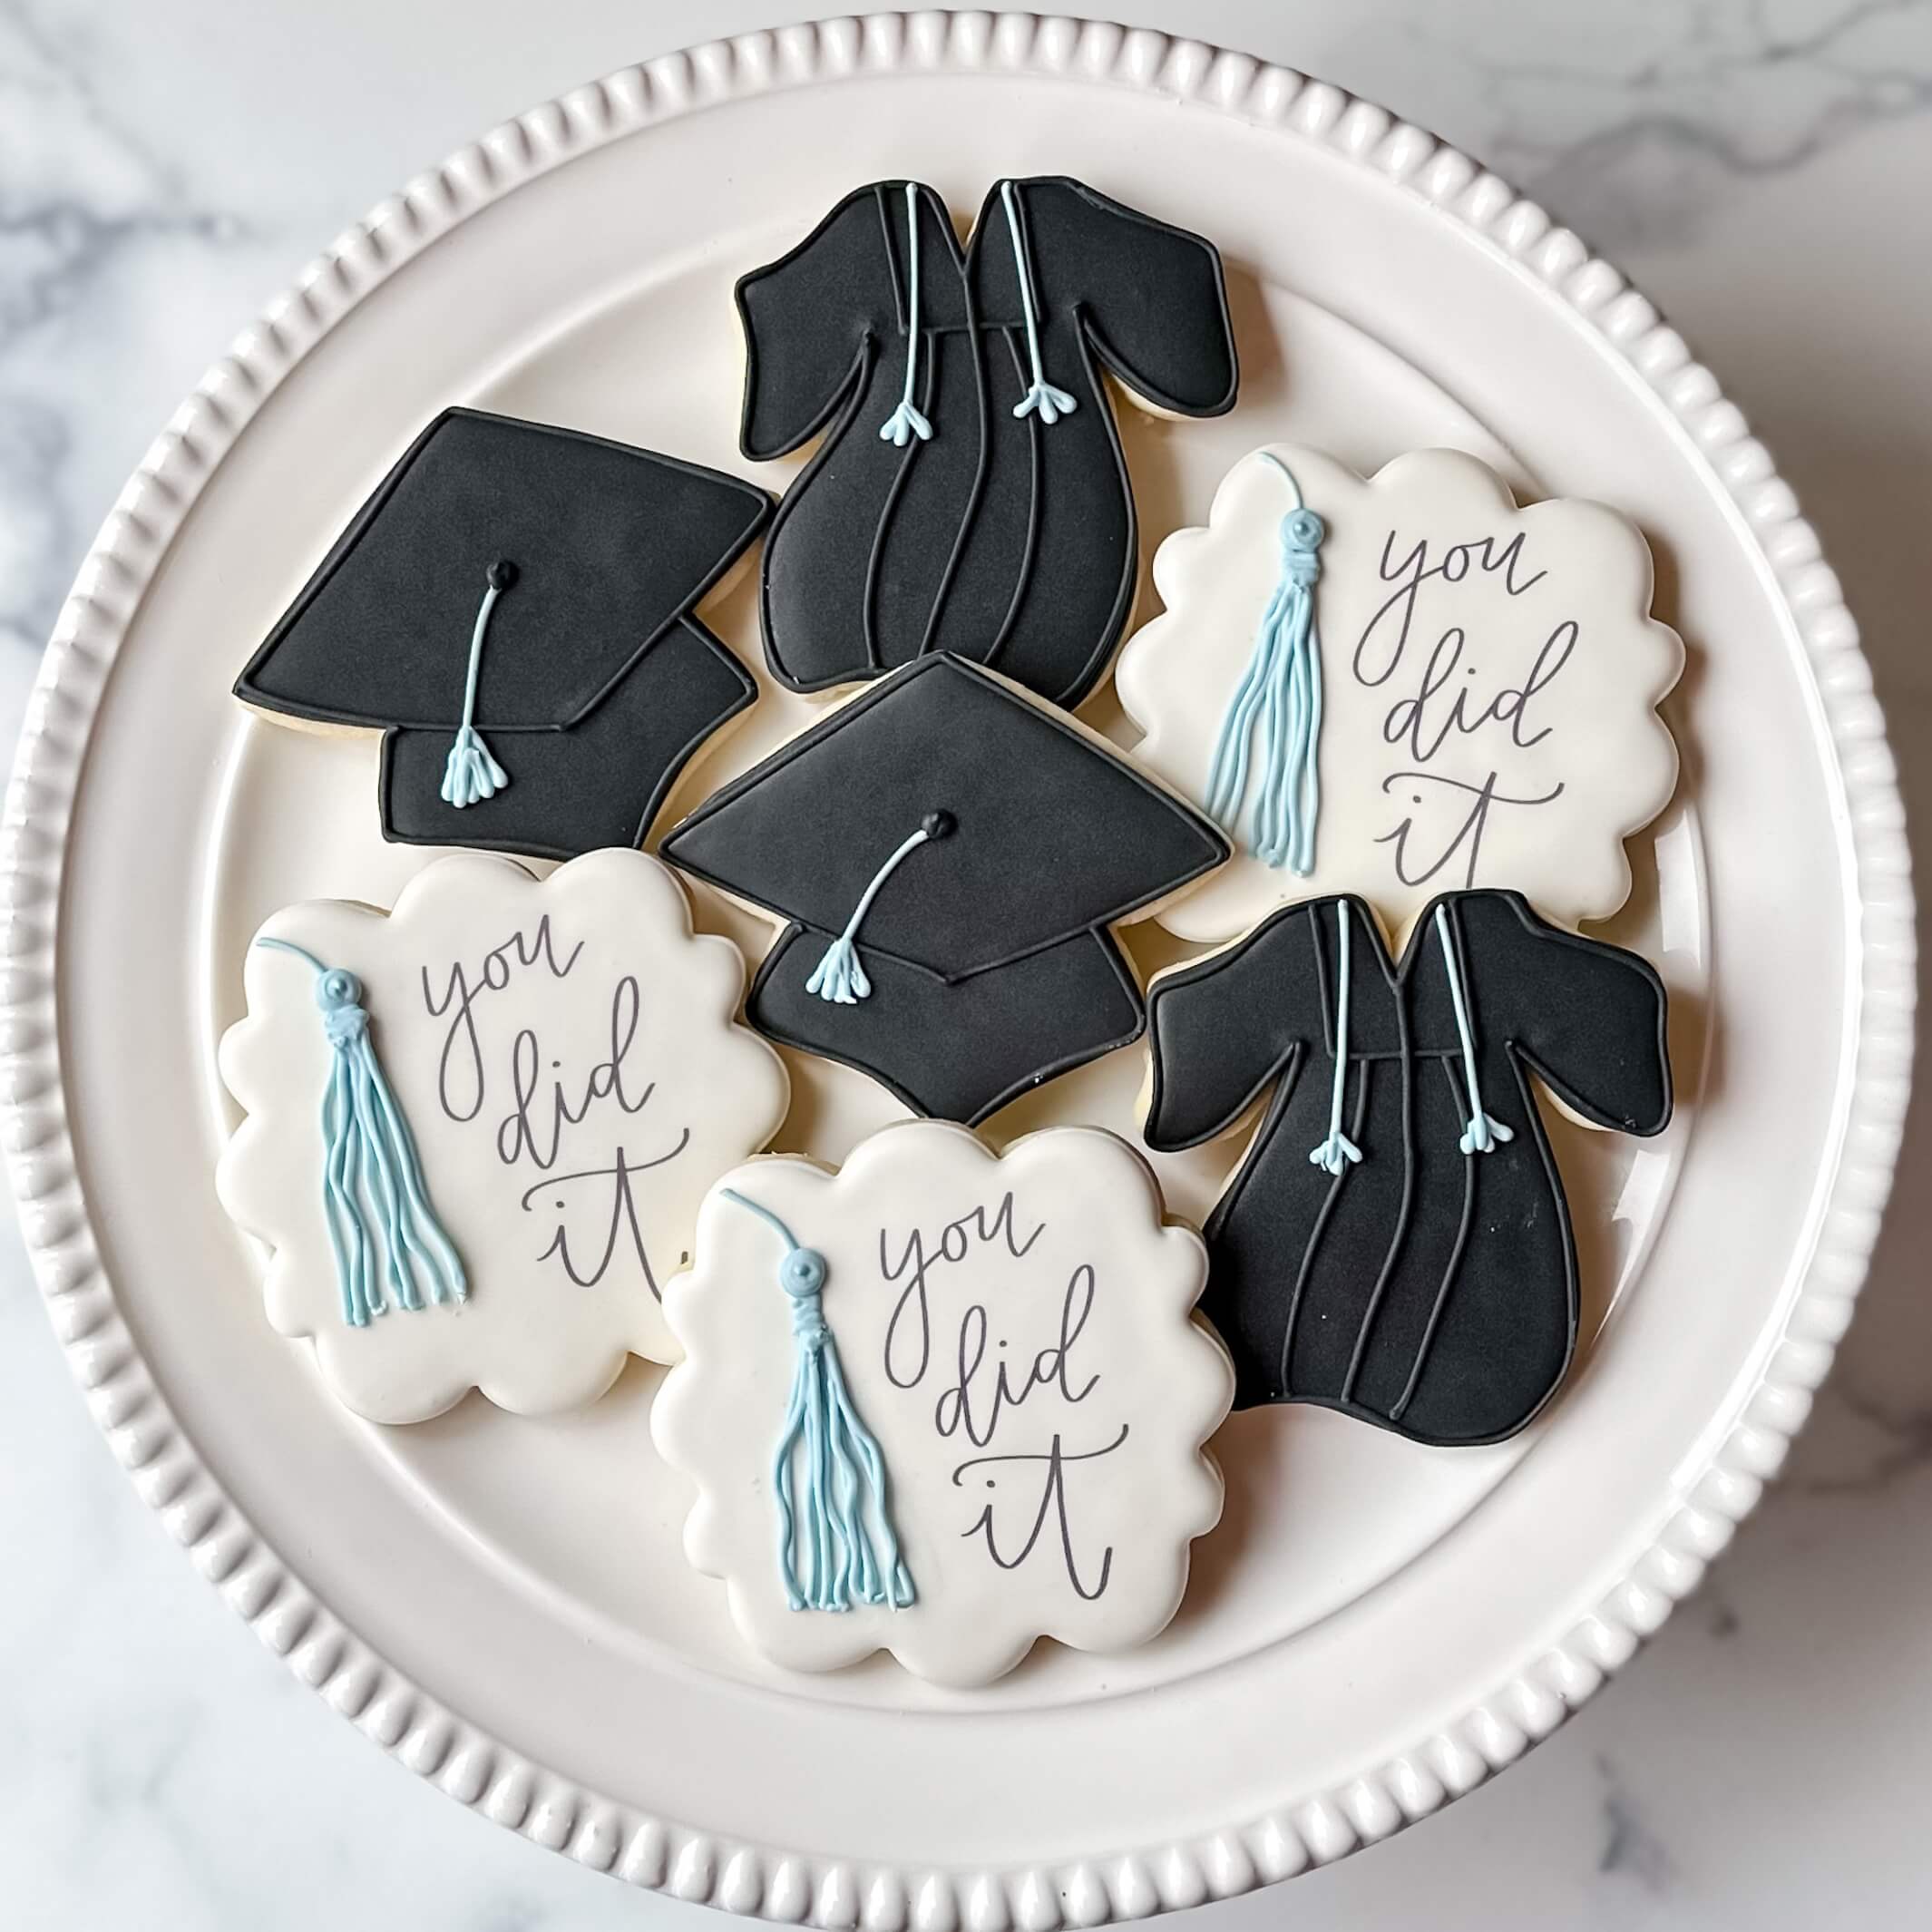
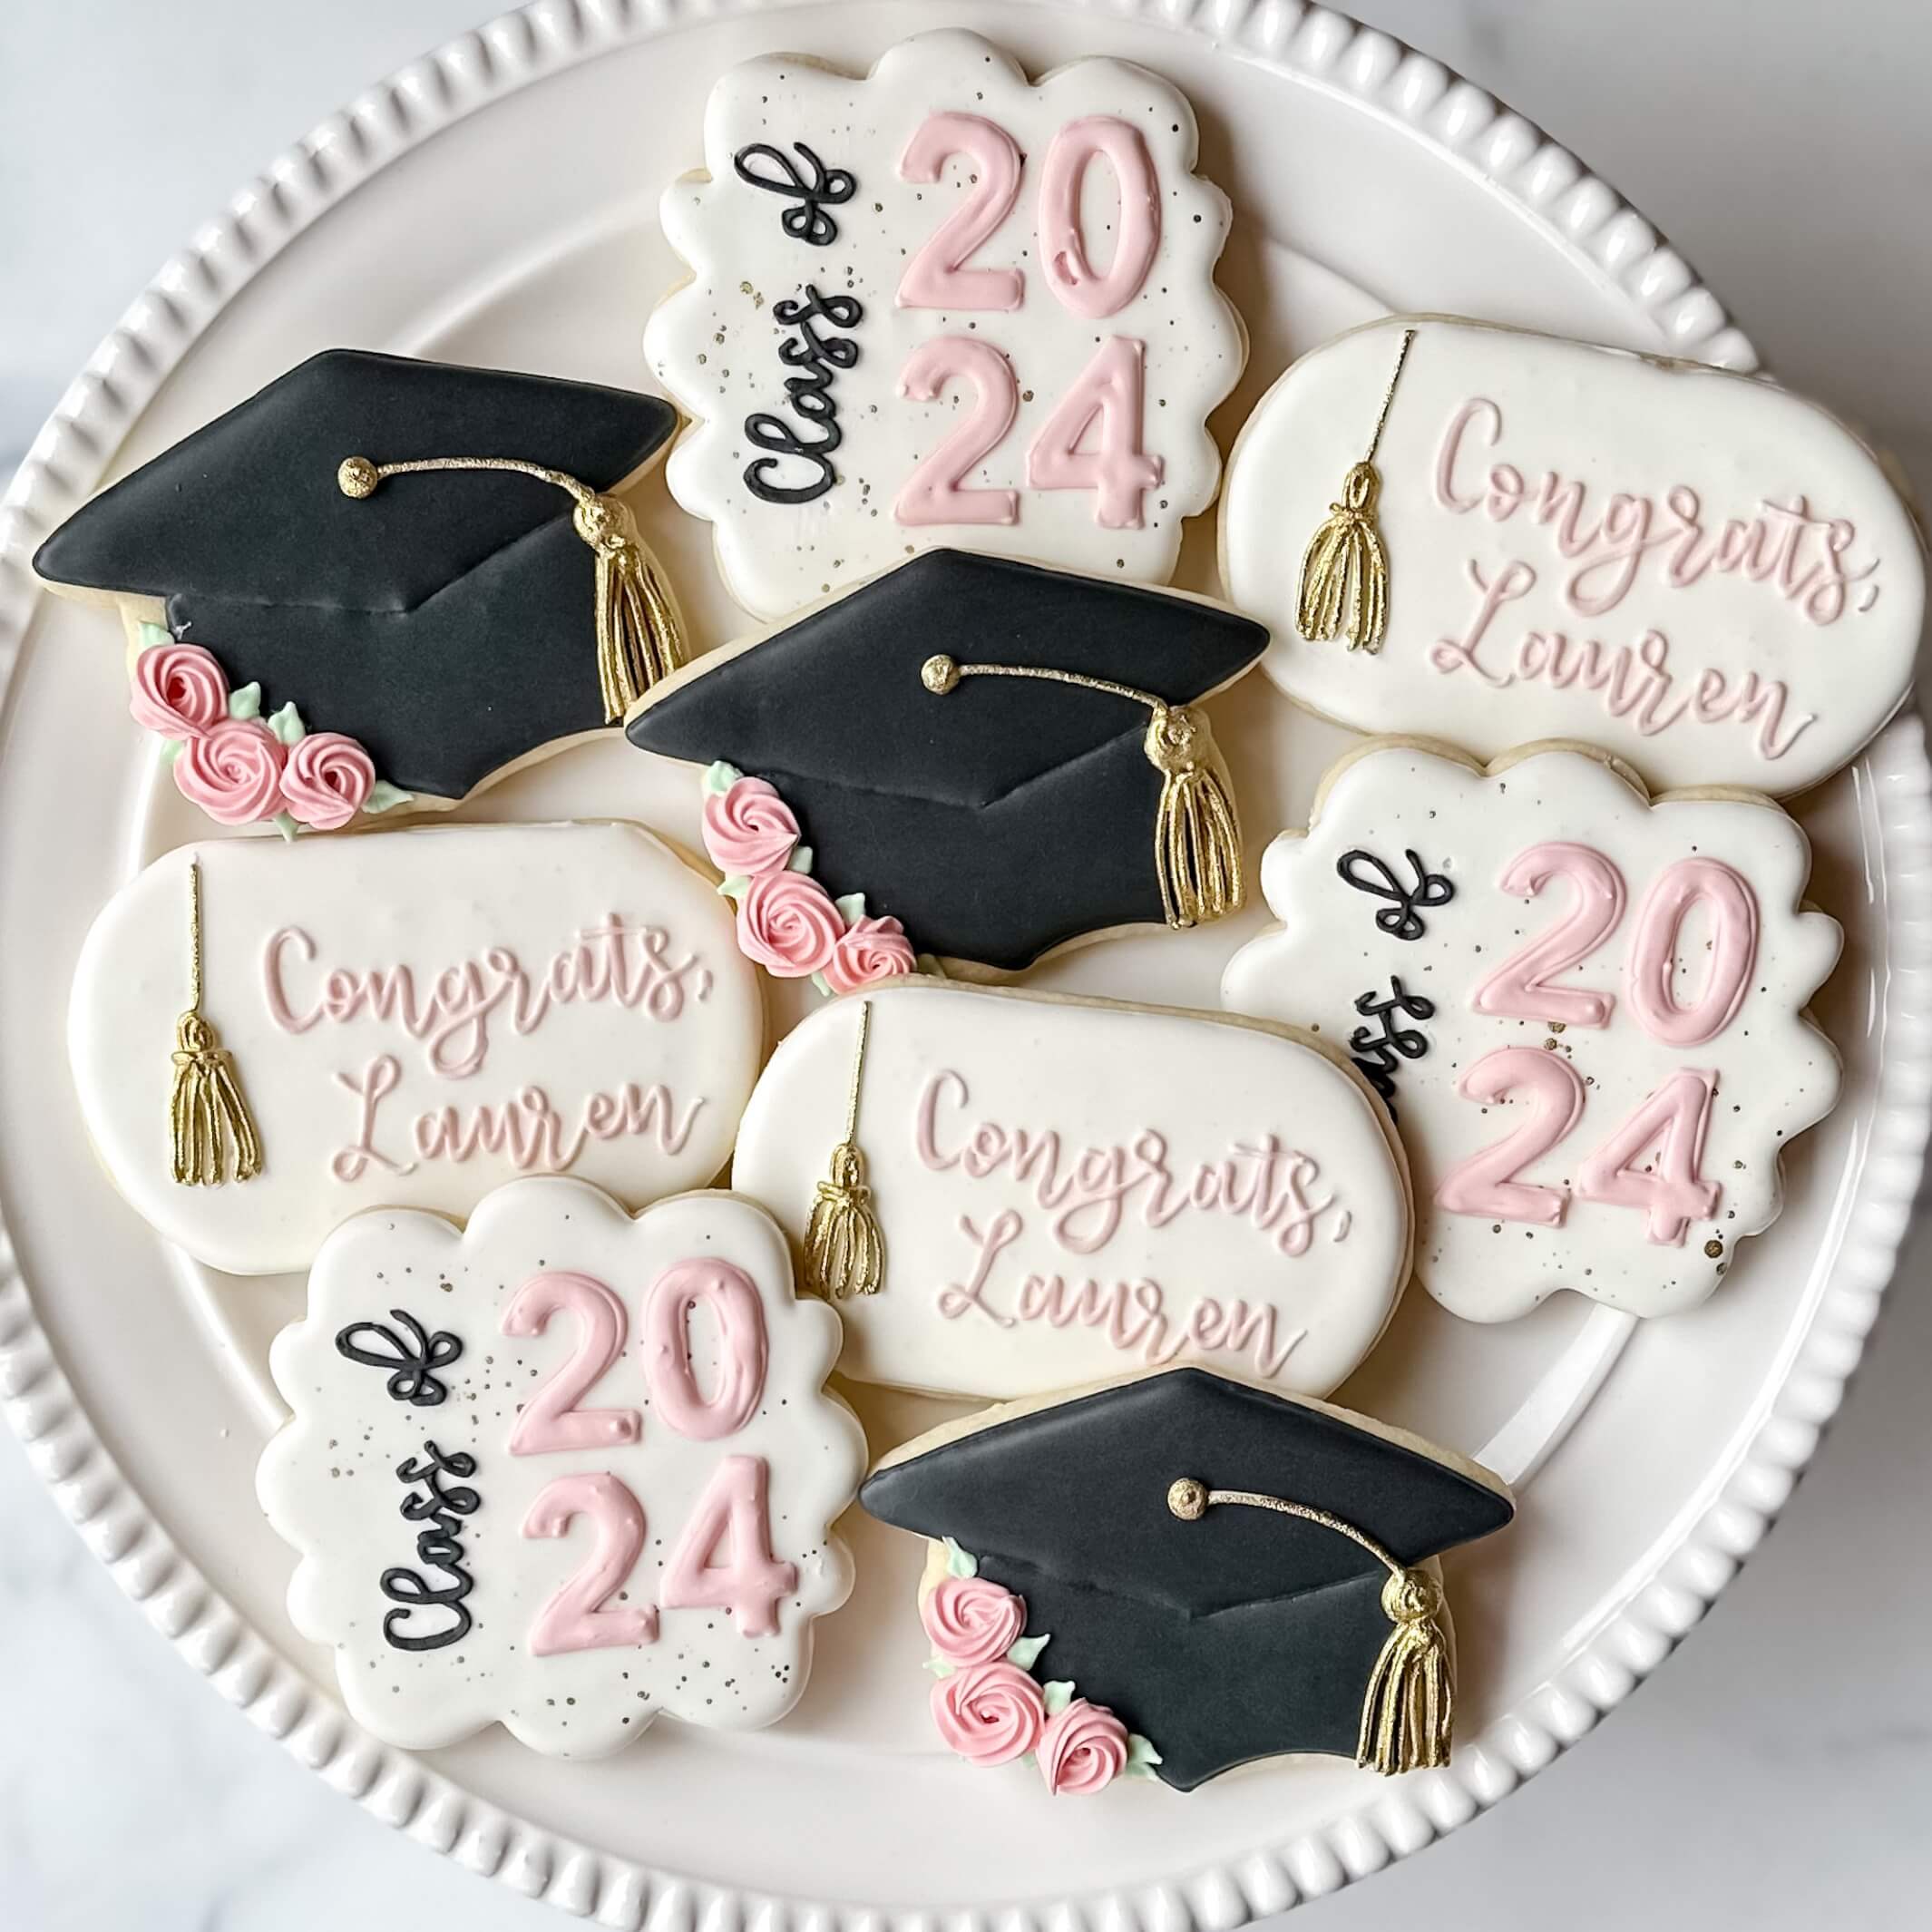
Graduation is a significant milestone in anyone’s life, symbolizing hard work, dedication, and achievement. What better way to commemorate this joyous occasion than with beautifully decorated cookies? As an avid baker and a proud graduate myself, I understand the importance of making celebrations sweet and memorable. In this article, we will explore everything you need to know about decorated cookies for graduation — from design ideas and recipes to tips on how to make your cookie table the highlight of the celebration!
Why Choose Decorated Cookies for Graduation?
Decorated cookies are not just a treat; they are a statement. Here are several reasons why they are a fantastic choice for graduation celebrations:
- Personalization: You can customize cookies to reflect the graduate’s personality, school colors, and achievement themes.
- Versatility: Cookies can be made in various shapes and sizes, from caps and diplomas to the graduate’s initials.
- Portability: Cookies are easy to package and transport, making them ideal for parties, gatherings, or family celebrations.
- Visual Appeal: Decorated cookies can serve as stunning centerpieces and conversation starters at graduation parties.
Choosing Your Cookie Design
When it comes to designing your graduation cookies, the sky’s the limit! Here are some popular themes to consider:
Classic Graduation Theme
Think caps, diplomas, and school logos. These cookies can be decorated in the school colors and adorned with edible glitter or gold dust for an extra touch of elegance.

Personalized Cookies
Personalizing cookies with the graduate’s name, graduation year, or even a favorite quote can make them truly special. Use letter cookie cutters or piping bags for intricate designs.
Graduation Party Colors
Choose colors that match the party theme. For instance, if the party is nautical-themed, consider cookies in the shapes of anchors and ships adorned with blue and white icing.

Cookie Shape Ideas
- Graduation caps
- Diplomas
- Books
- Stars
Essential Tools for Decorating Cookies
To create stunning decorated cookies, you’ll need a few essential tools:

| Tool | Purpose | Pros | Cons |
|---|---|---|---|
| Rolling Pin | To roll out dough evenly | Easy to use | Can be bulky to store |
| Cookie Cutters | For cutting cookie shapes | Variety of shapes available | May need multiple sets |
| Offset Spatula | To transfer cookies | Prevents breaking | Needs practice to master |
| Piping Bags | For detailed icing designs | Allows precision work | Can be messy if not handled properly |
Basic Cookie Recipe
Before we dive into decorating, let’s ensure we have a basic cookie recipe down. Here is a simple yet delicious sugar cookie recipe you can use:

Ingredients
- 2 ¾ cups all-purpose flour
- 1 teaspoon baking soda
- ½ teaspoon baking powder
- 1 cup unsalted butter, softened
- 1 ½ cups white sugar
- 1 egg
- 1 teaspoon vanilla extract
- ½ teaspoon almond extract
- 3 to 4 tablespoons of milk (if needed)
Instructions
- Preheat your oven to 375°F (190°C).
- In a small bowl, stir together flour, baking soda, and baking powder.
- In a larger bowl, cream together the butter and sugar until smooth.
- Add the egg, vanilla extract, and almond extract to the butter mixture.
- Gradually blend the dry ingredients into the wet mixture. If the dough is too crumbly, add milk one tablespoon at a time until it holds together.
- Roll rounded teaspoonfuls of dough into balls, and place onto ungreased cookie sheets. Flatten each ball with the bottom of a glass dipped in sugar.
- Bake 8 to 10 minutes in the preheated oven until golden. Allow cookies to cool on baking sheets for a few minutes before transferring them to wire racks to cool completely.

How to Decorate Your Graduation Cookies
Now that we have our cookies baked and cooled, it’s time to decorate them! Here’s a step-by-step guide:
Choosing Your Icing
There are a few types of icing you can use for cookie decorating:

- Royal Icing: Perfect for intricate designs and dries hard, allowing for stacking. Made with egg whites and powdered sugar.
- Buttercream Icing: Creamy and delicious but doesn’t harden, making it best for spreading rather than piping.
- Glaze Icing: A simple mixture of powdered sugar and milk, resulting in a shiny finish and softer texture.
Step-by-Step Decorating Process
- Outline: Using a piping bag filled with royal icing, outline your cookie design.
- Flood: Thin your icing with water until it reaches a flooding consistency, then fill in the outlined part.
- Add Details: Use contrasting colors to add details, whether with piping or using edible markers.
- Let Dry: Allow your cookies to dry completely before stacking or packaging them.

Personal Touches to Consider
Adding a personal touch can elevate your cookie presentation:
Use Edible Images
Consider using edible images of the graduate’s school logo or a memorable photo. Many bakeries offer this service for custom designs!
Incorporate Flowers or Leaves
Use edible flowers or icing leaves for a sophisticated touch. It’s a delightful way to celebrate achievements while adding a decorative flair.
Cookie Favors for Guests: A Sweet Send-off
Sending guests home with decorated cookies as favors is a lovely way to thank them for celebrating with you. Here’s how to create cookie favors:
Packaging Your Cookies
Here are a few ideas to consider:
- Cellophane Bags: Clear bags tied with a ribbon can showcase your cookies while keeping them fresh.
- Boxed Favors: Consider using small boxes that can be decorated in school colors.
- Tags: Attach thank-you tags or stickers that match the graduation theme to personalize your favors further.
Pros and Cons of Decorated Cookies for Graduation
As with any trend, there are pros and cons to consider when deciding on decorated cookies for graduation.
Pros
- Customizable to fit any celebration theme.
- Easy to transport and serve.
- Can be made in large quantities without losing their appeal.
- Fun for guests of all ages.
Cons
- Can be time-consuming to decorate.
- Materials for decorating can get costly.
- Requires some baking and decorating skills.
FAQs about Decorated Graduation Cookies
What type of cookie dough is best for decorating?
Sugar cookies are the best choice for decorating as they hold their shape well and provide a great base for icing.
How far in advance can I make decorated cookies?
Decorated cookies can be made up to two weeks in advance if stored properly in an airtight container.
Can I freeze decorated cookies?
Yes, you can freeze decorated cookies! Be sure to wrap them individually and store in an airtight container to prevent sticking.
What’s the best way to avoid cookies spreading while baking?
Ensure your dough is chilled before cutting shapes and baking. This helps the cookie maintain its shape.
Conclusion: Start Your Sweet Graduation Celebration Today!
Decorated cookies for graduation are more than just treats; they represent joy, accomplishment, and the love of celebration! From design ideas to practical steps for baking and decorating, I hope you feel inspired to create beautiful cookies that will delight your guests. As someone who has gone through the graduation celebrations myself, I can assure you that these cookies will be a sweet highlight of your event. So roll up your sleeves, gather your materials, and let the baking begin! Your graduate deserves a sweet send-off into their next adventure.