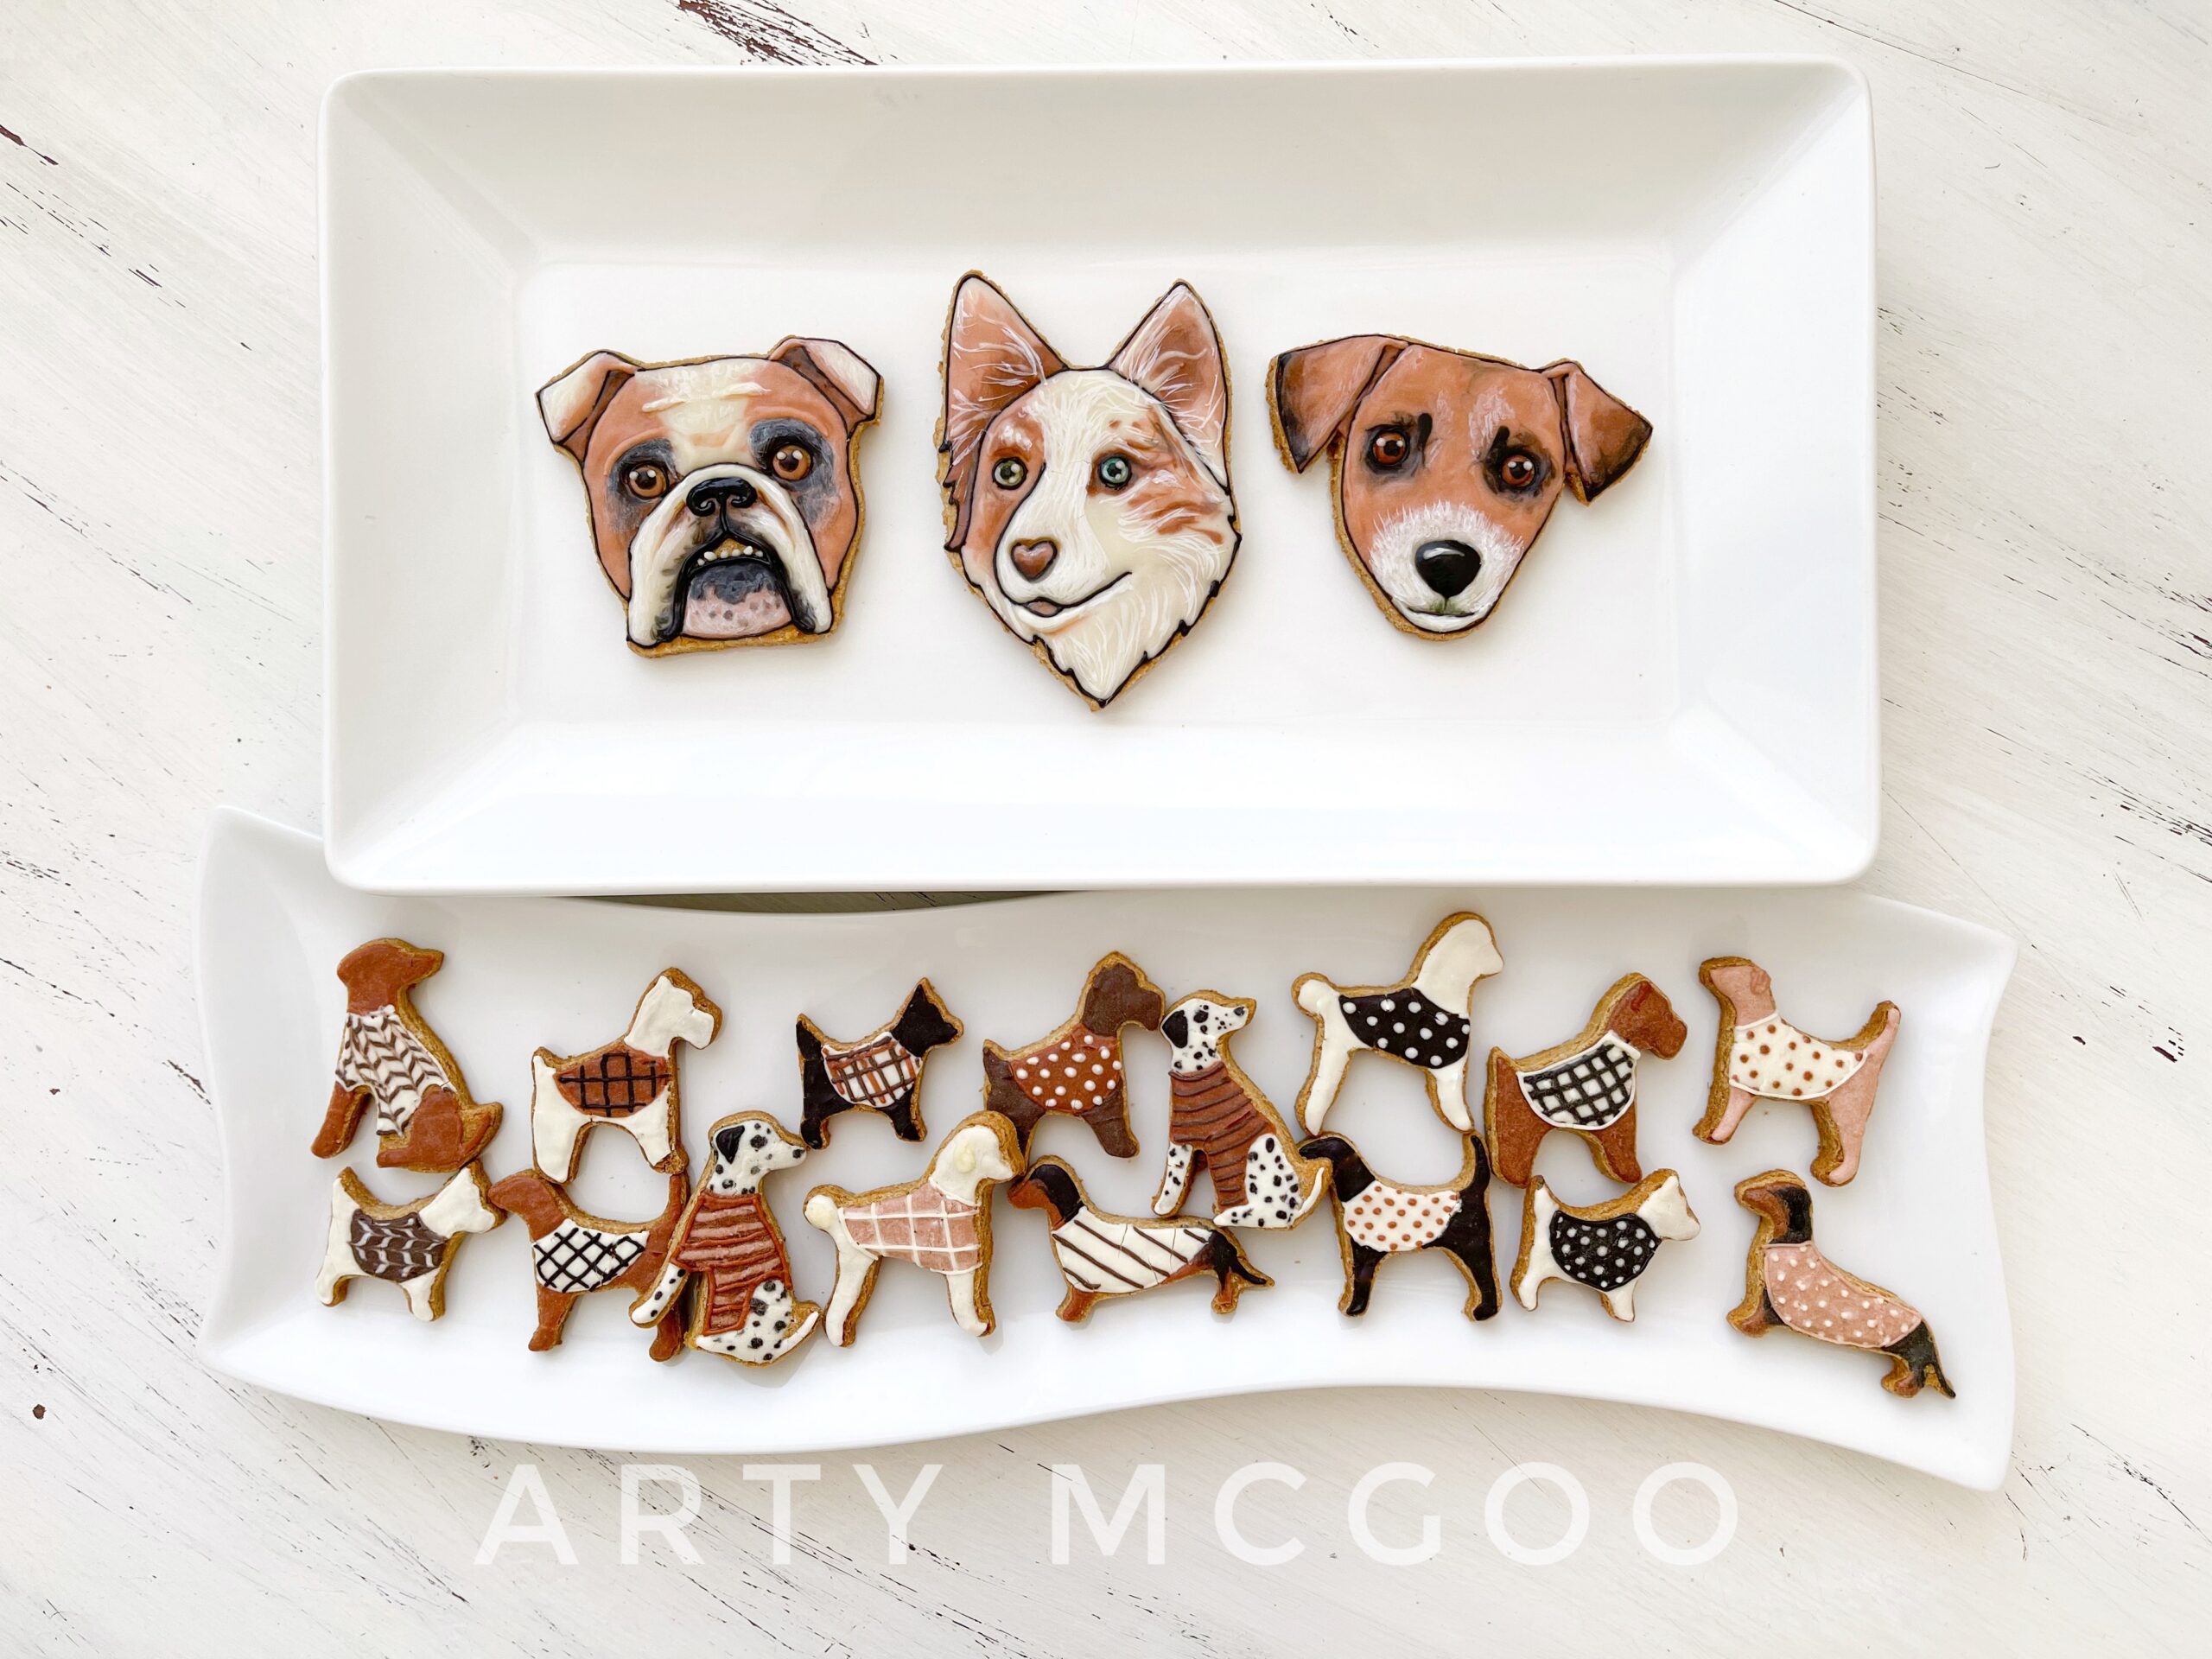
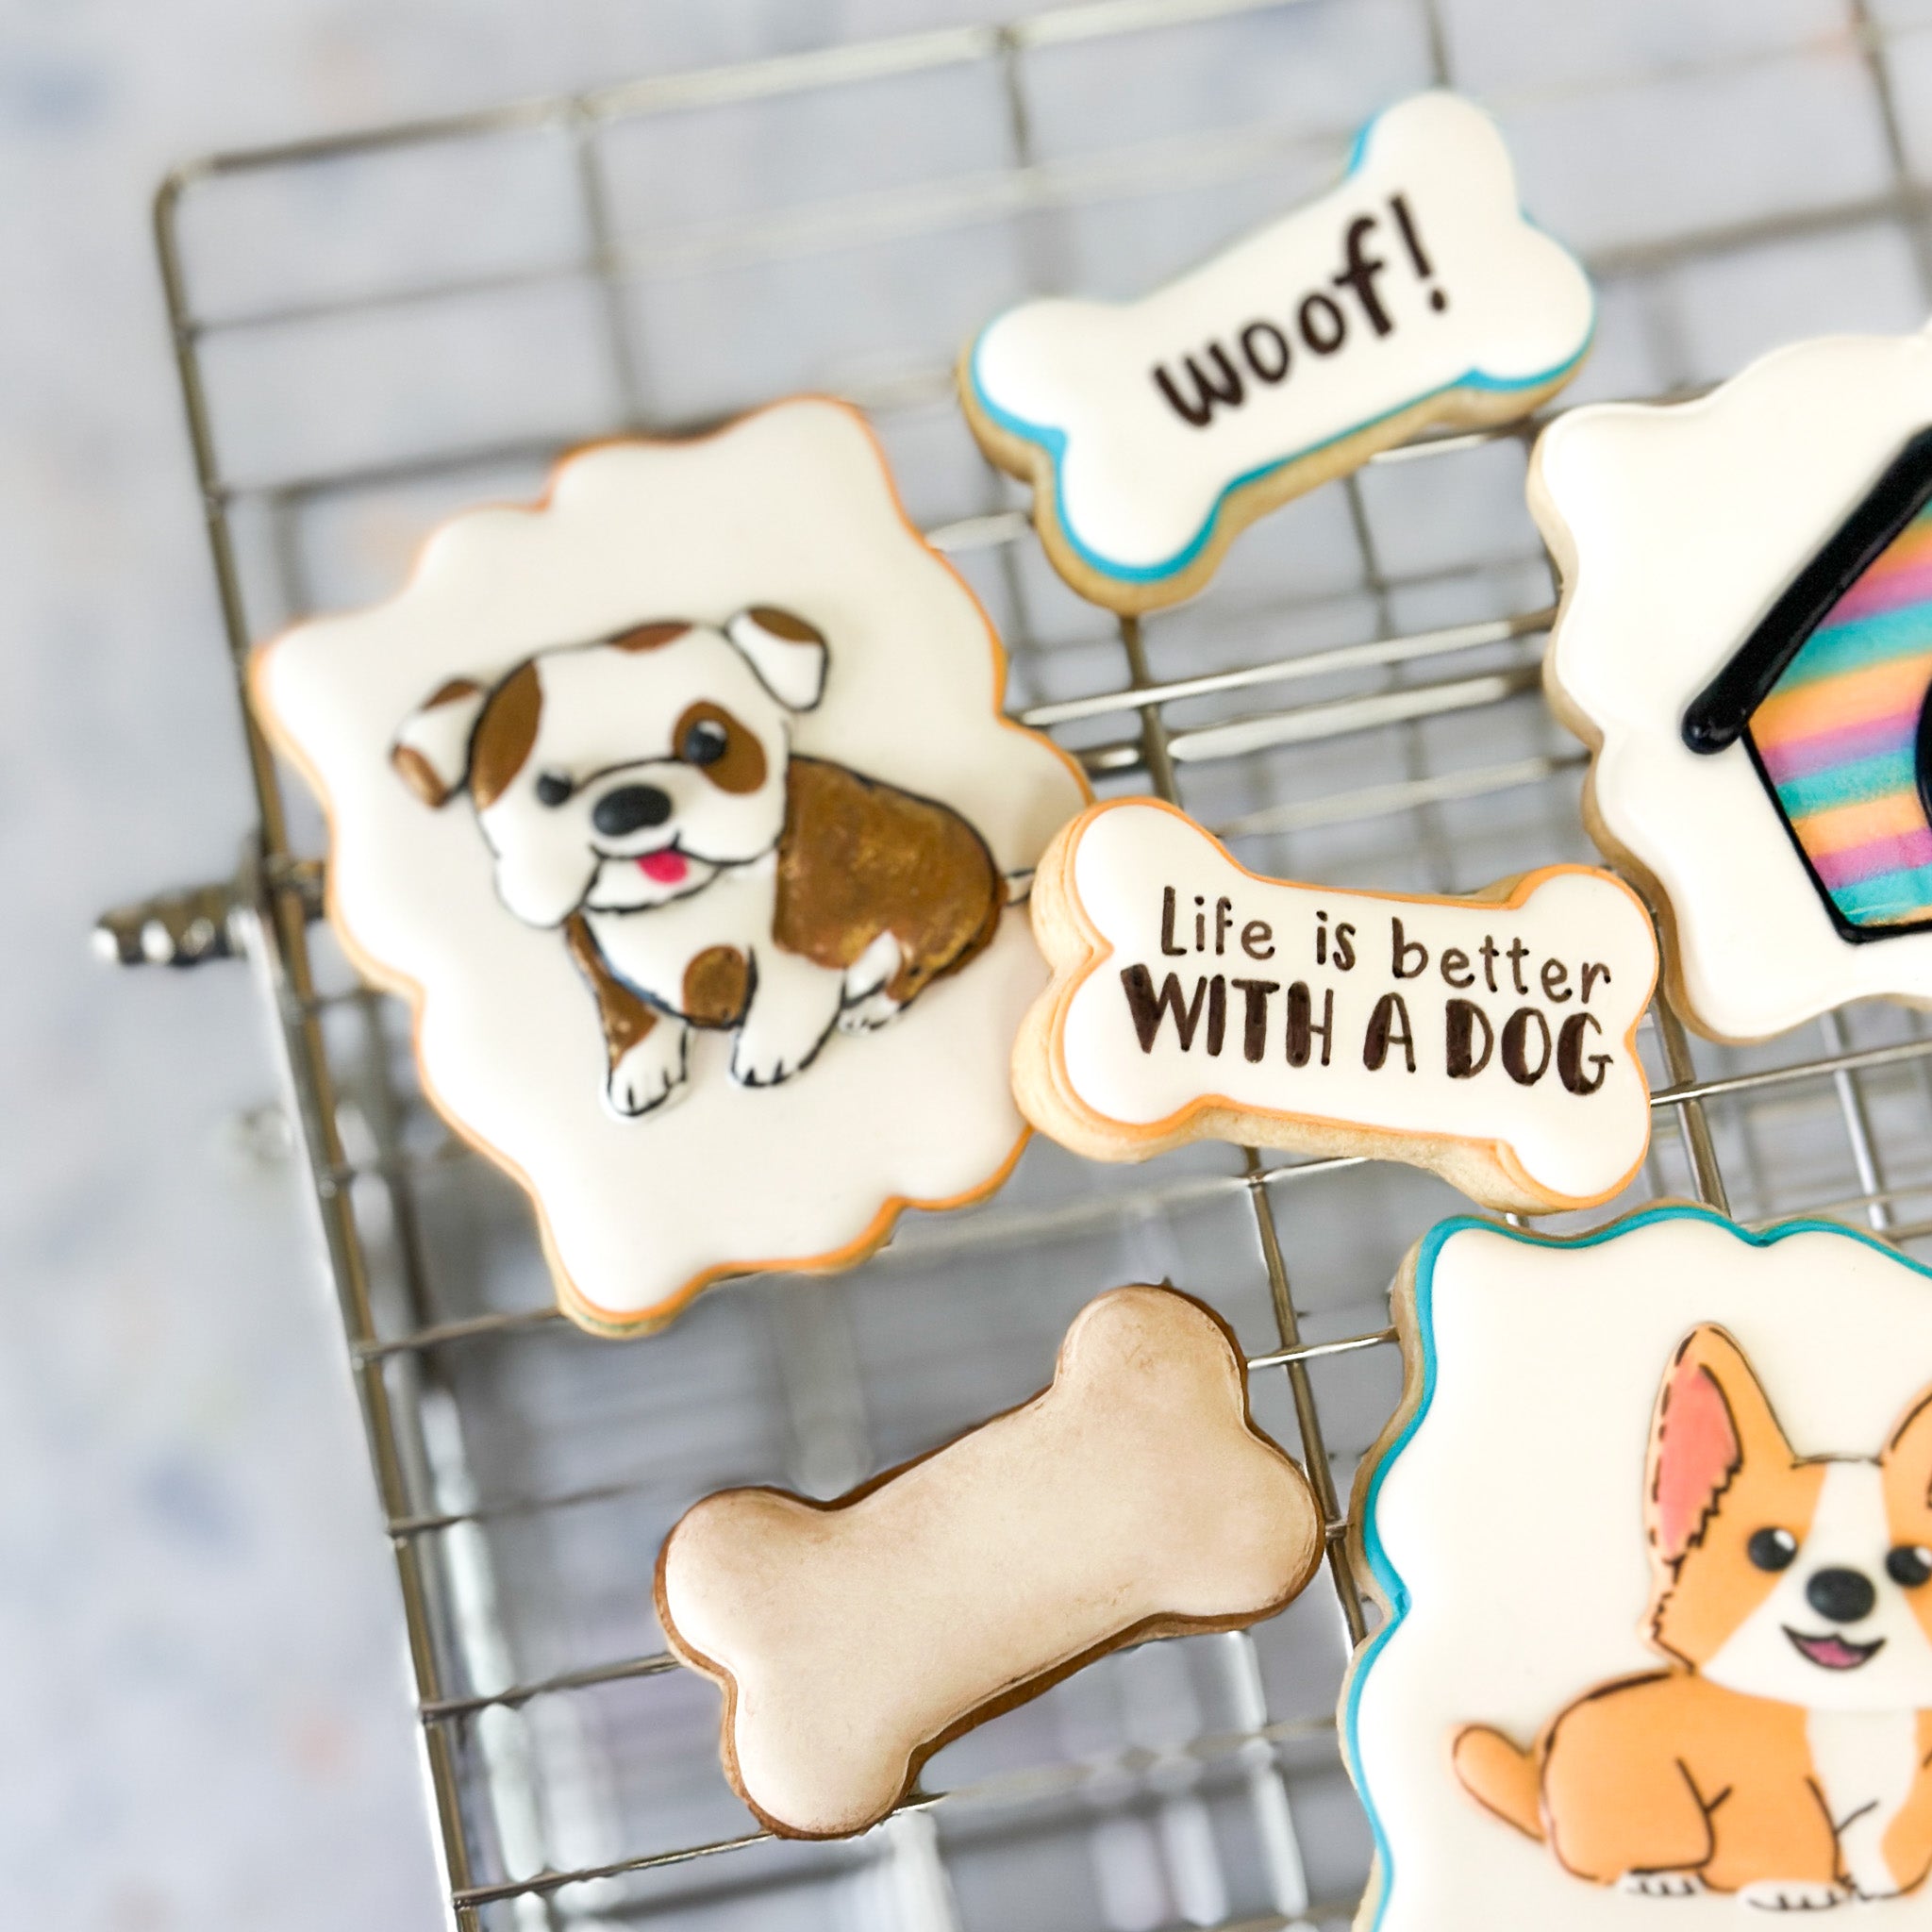
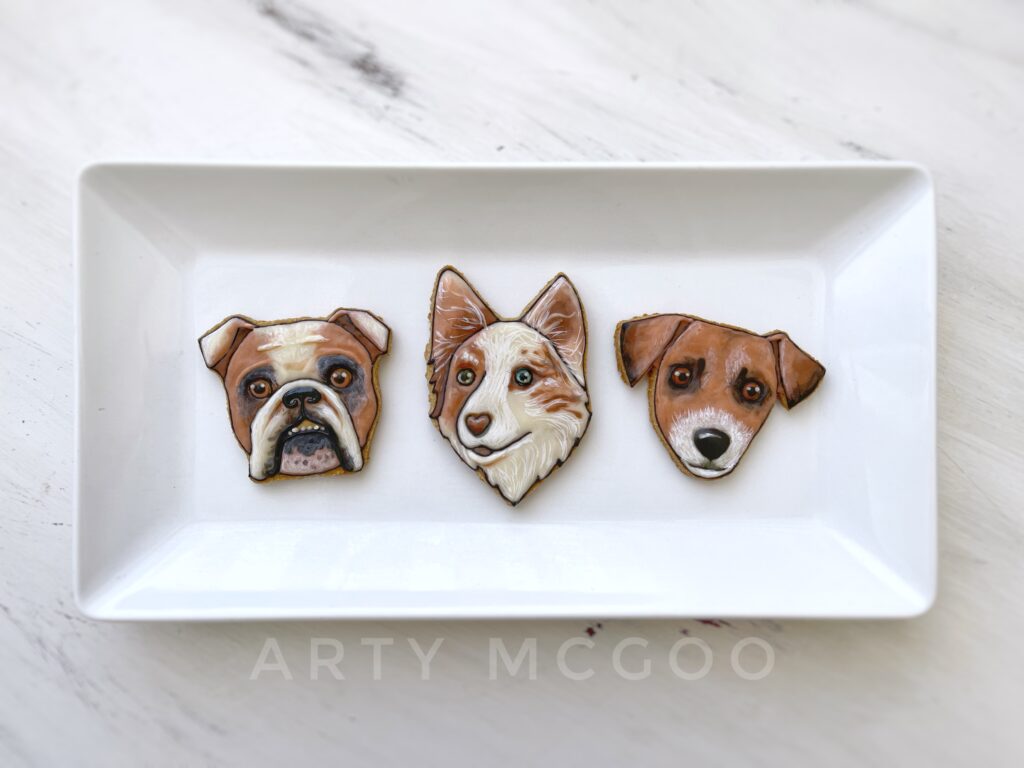
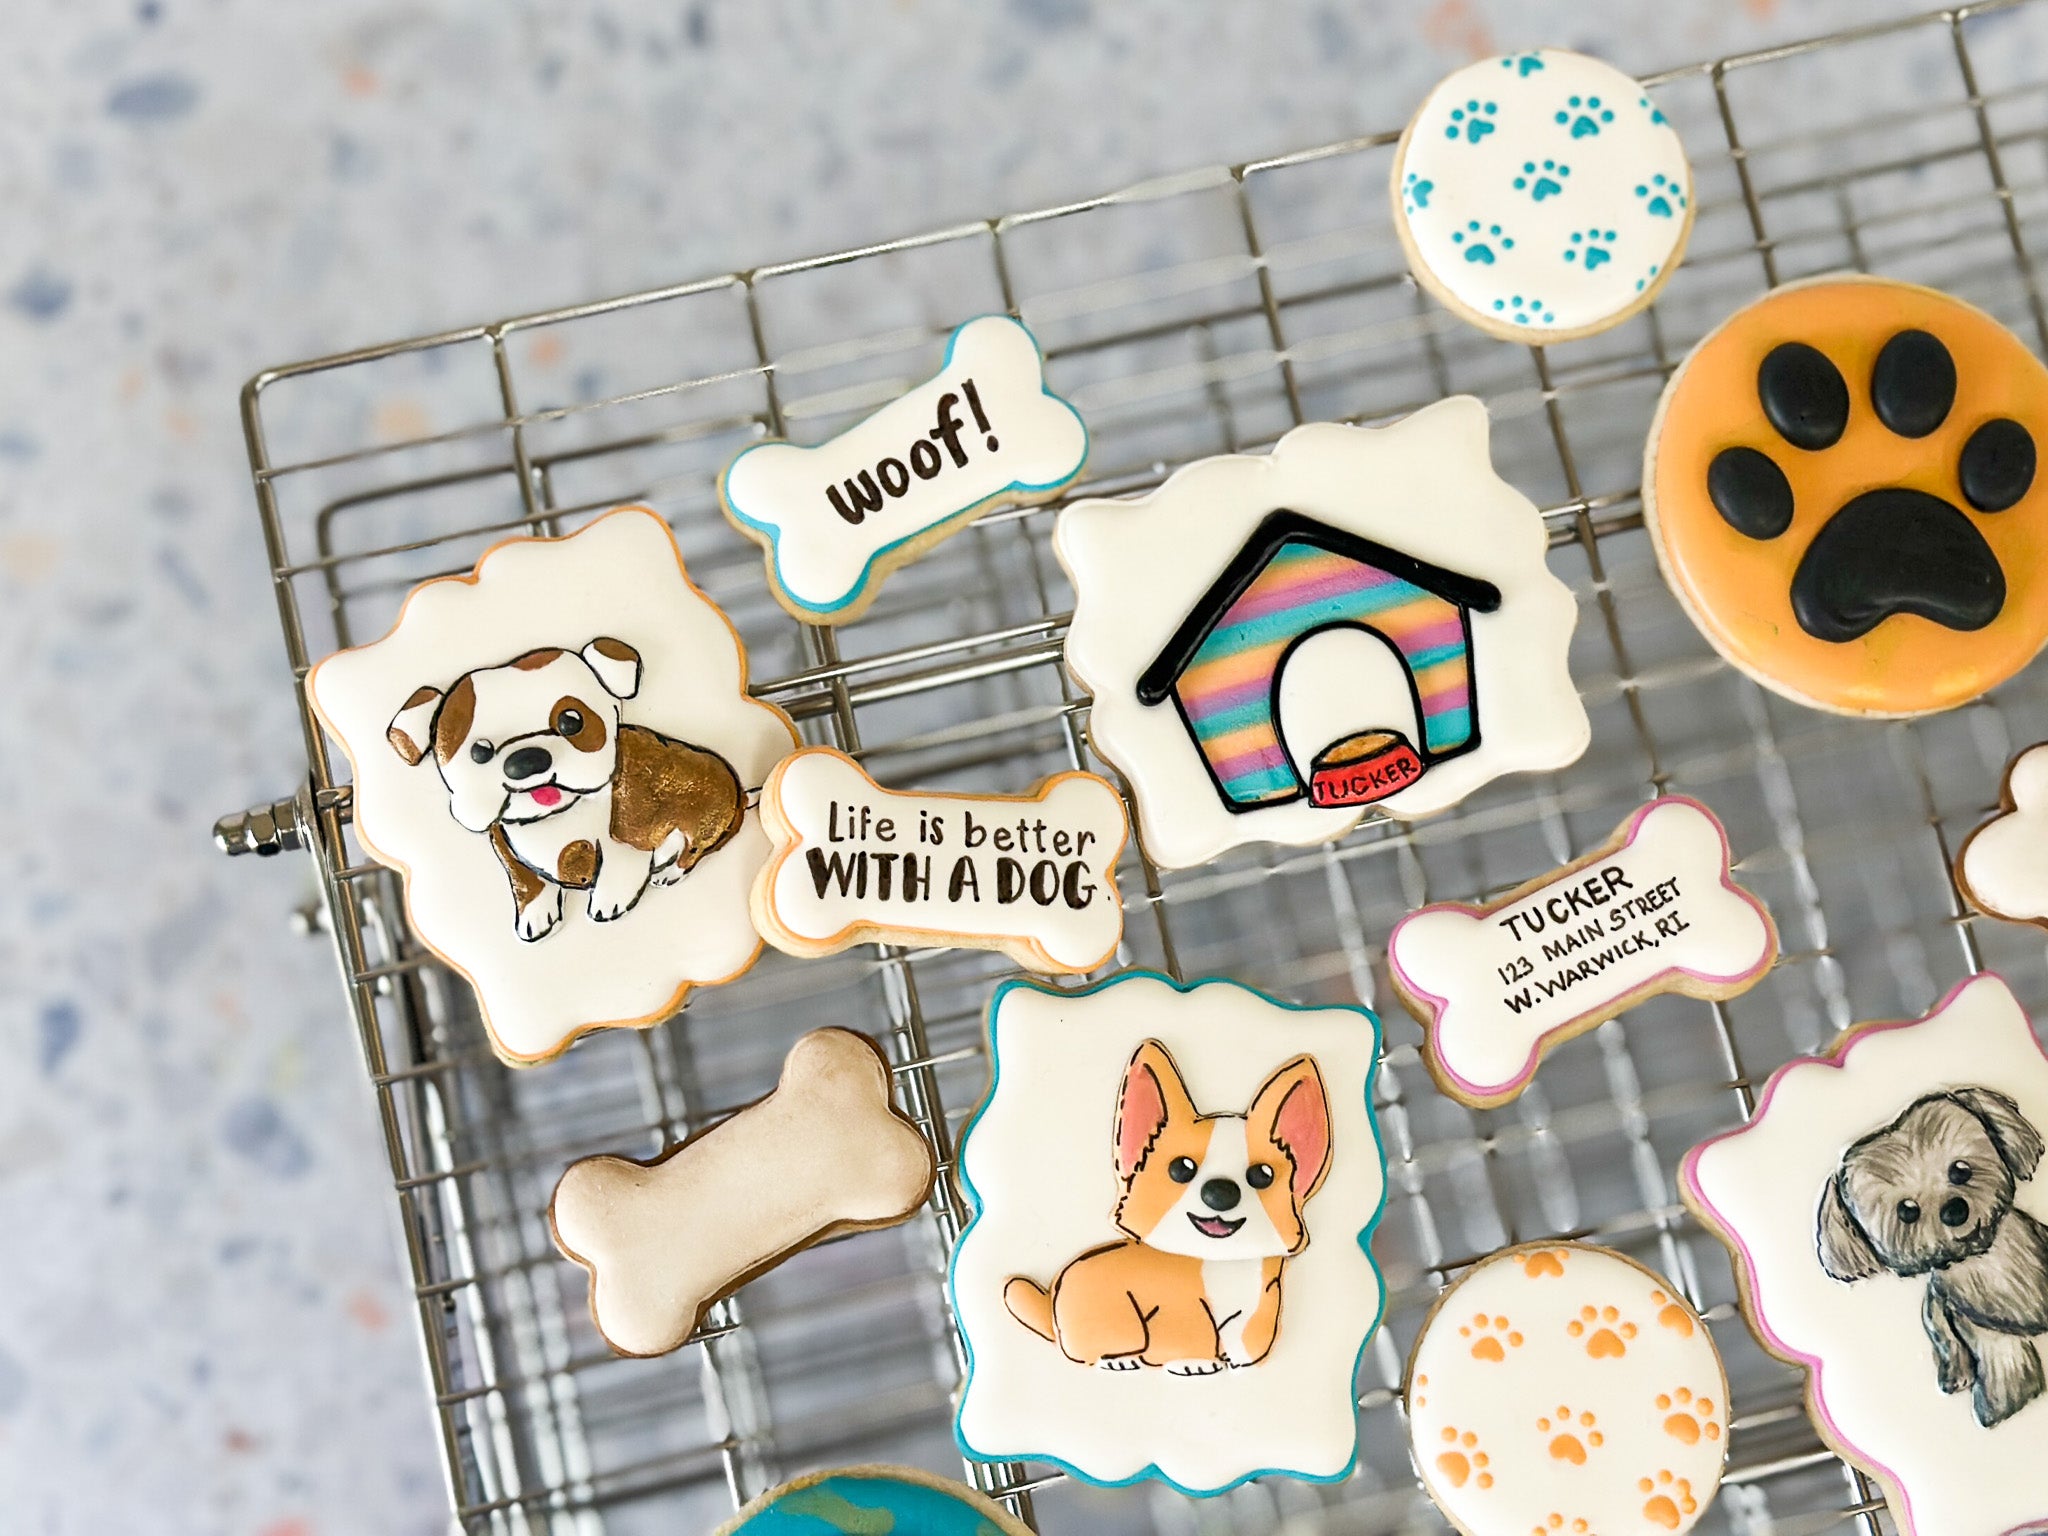
As a devoted dog owner, I understand the joy that comes from seeing our furry friends happy, especially when it comes to treats. Decorated dog cookies are not just a delightful snack; they are a form of art that combines nutrition with creativity. In this comprehensive guide, we’ll explore everything you need to know about decorated dog cookies—from recipes and tips for decoration to the benefits of homemade treats and some personal stories along the way.
The Rise of Decorated Dog Cookies
In recent years, the trend of gourmet dog treats has exploded. Pet owners are increasingly focused on health, quality, and presentation when it comes to what they feed their pets. Decorated dog cookies have become popular not only because they are tasty, but also because they look appealing. This article will take you through the different aspects of these delightful treats.
Why Choose Homemade Decorated Dog Cookies?
Making your own dog treats allows you to control ingredients, ensuring they are wholesome and safe for your furry friend. Not only that, but homemade treats are often more cost-effective compared to store-bought options. Here are some advantages:

- Control over ingredients
- Cost-effective
- Customization for dietary needs
- Fun activity for pet owners
Ingredients You’ll Need

To start making your own decorated dog cookies, gather the following ingredients:
| Ingredient | Purpose |
|---|---|
| Whole wheat flour | Main structure |
| Peanut butter | Flavor and binding agent |
| Egg | Helps to bind ingredients |
| Oats | Added texture |
| Carrots or pumpkin puree | Natural sweetness and nutrients |
| Dog-safe icing (optional) | Decoration |

Step-by-Step Guide to Making Decorated Dog Cookies
Let’s dive into the process of preparing your homemade decorated dog cookies!

Step 1: Prepare the Dough
- Preheat your oven to 350°F (175°C).
- In a bowl, combine 2 cups of whole wheat flour, 1 cup of oats, and 1/2 cup of peanut butter.
- Add 1 egg, 1 cup of pumpkin puree or grated carrots, and mix until combined.
- Knead the dough on a floured surface for about 5 minutes.

Step 2: Cut the Cookies
Roll the dough to about 1/4 inch thick. Use cookie cutters in fun shapes (bones, stars, etc.) to cut out your cookies. Place them on a baking sheet lined with parchment paper.

Step 3: Bake the Cookies
Bake in the preheated oven for 25-30 minutes or until golden. Let them cool completely before decorating.
Step 4: Decorate with Dog-Safe Icing
You can use a simple dog-safe icing made from yogurt or even honey to give your cookies a beautiful finishing touch. Just ensure that all ingredients used for decoration are safe for your furry friends.
Personal Experience: The Joy of Homemade Treats
When I first decided to make decorated dog cookies for my Golden Retriever, Daisy, I didn’t anticipate how much joy it would bring both her and me. Not only did I enjoy the process of baking and decorating, but seeing her excitement as I presented the cookies to her was priceless. She loved the peanut butter flavor, and the colorful icing had her wagging her tail in delight!
Popular Designs for Decorated Dog Cookies
Now that you know how to make them, let’s explore some popular designs for decorated dog cookies.
1. Holiday-Themed Cookies
During holidays like Christmas or Halloween, you can create festive cookies in the shapes of trees, pumpkins, or snowmen. Use natural dyes from beet juice or spinach to add color.
2. Birthday Cookies
Celebrate your pup’s birthday with a special cake-shaped cookie, decorated with a “Happy Birthday” message and a fun hat design!
3. Seasonal Cookies
Adapt your designs to the seasons, such as flowers in spring or leaves in fall, to keep things fresh and exciting for your dog.
Health Benefits of Homemade Dog Cookies
Let’s talk about why making these cookies at home can be healthier for your pet:
Natural Ingredients
When you control the ingredients, you can ensure that your dog gets the nutritional benefits without harmful additives and preservatives.
Tailored to Dietary Needs
If your dog has allergies or specific dietary requirements, you can easily adjust the recipes to suit their needs without compromising on taste.
Portion Control
Homemade treats allow you to cut cookies to a size that matches your dog’s dietary plan, preventing overfeeding.
Comparison: Homemade vs. Store-Bought Decorated Dog Cookies
| Feature | Homemade Dog Cookies | Store-Bought Dog Cookies |
|---|---|---|
| Control over ingredients | High | Low |
| Customizability | High | Limited |
| Cost | Lower in bulk | Generally higher |
| Preservatives | None (if using fresh ingredients) | Often present |
Common FAQs about Decorated Dog Cookies
What are the best ingredients for making dog cookies?
Whole wheat flour, peanut butter, pumpkin puree, and oats are excellent ingredients. Always avoid toxic ingredients like chocolate, onions, and xylitol.
Can dogs eat icing on decorated cookies?
It’s important to use dog-safe icing made from pet-friendly ingredients, like yogurt, to ensure it’s safe for consumption.
How long can I store homemade dog cookies?
Homemade dog cookies can generally be stored in an airtight container for up to 2 weeks. You can also freeze them for longer storage.
Are decorated dog cookies suitable for all dogs?
While most dogs can enjoy these treats, be aware of any specific allergies or dietary restrictions your dog may have.
Conclusion: A Treat That Strengthens Bonds
Decorated dog cookies are more than just treats; they are a way to bond with your pet and show them love. The joy of baking, decorating, and watching your dog enjoy them is an experience every dog owner should indulge in. So why not start today? Your furry friend will thank you with tail wags and slobbery kisses!
Whether you’re crafting these treats for a special occasion or just because, remember that the best ingredient is love. Happy baking!