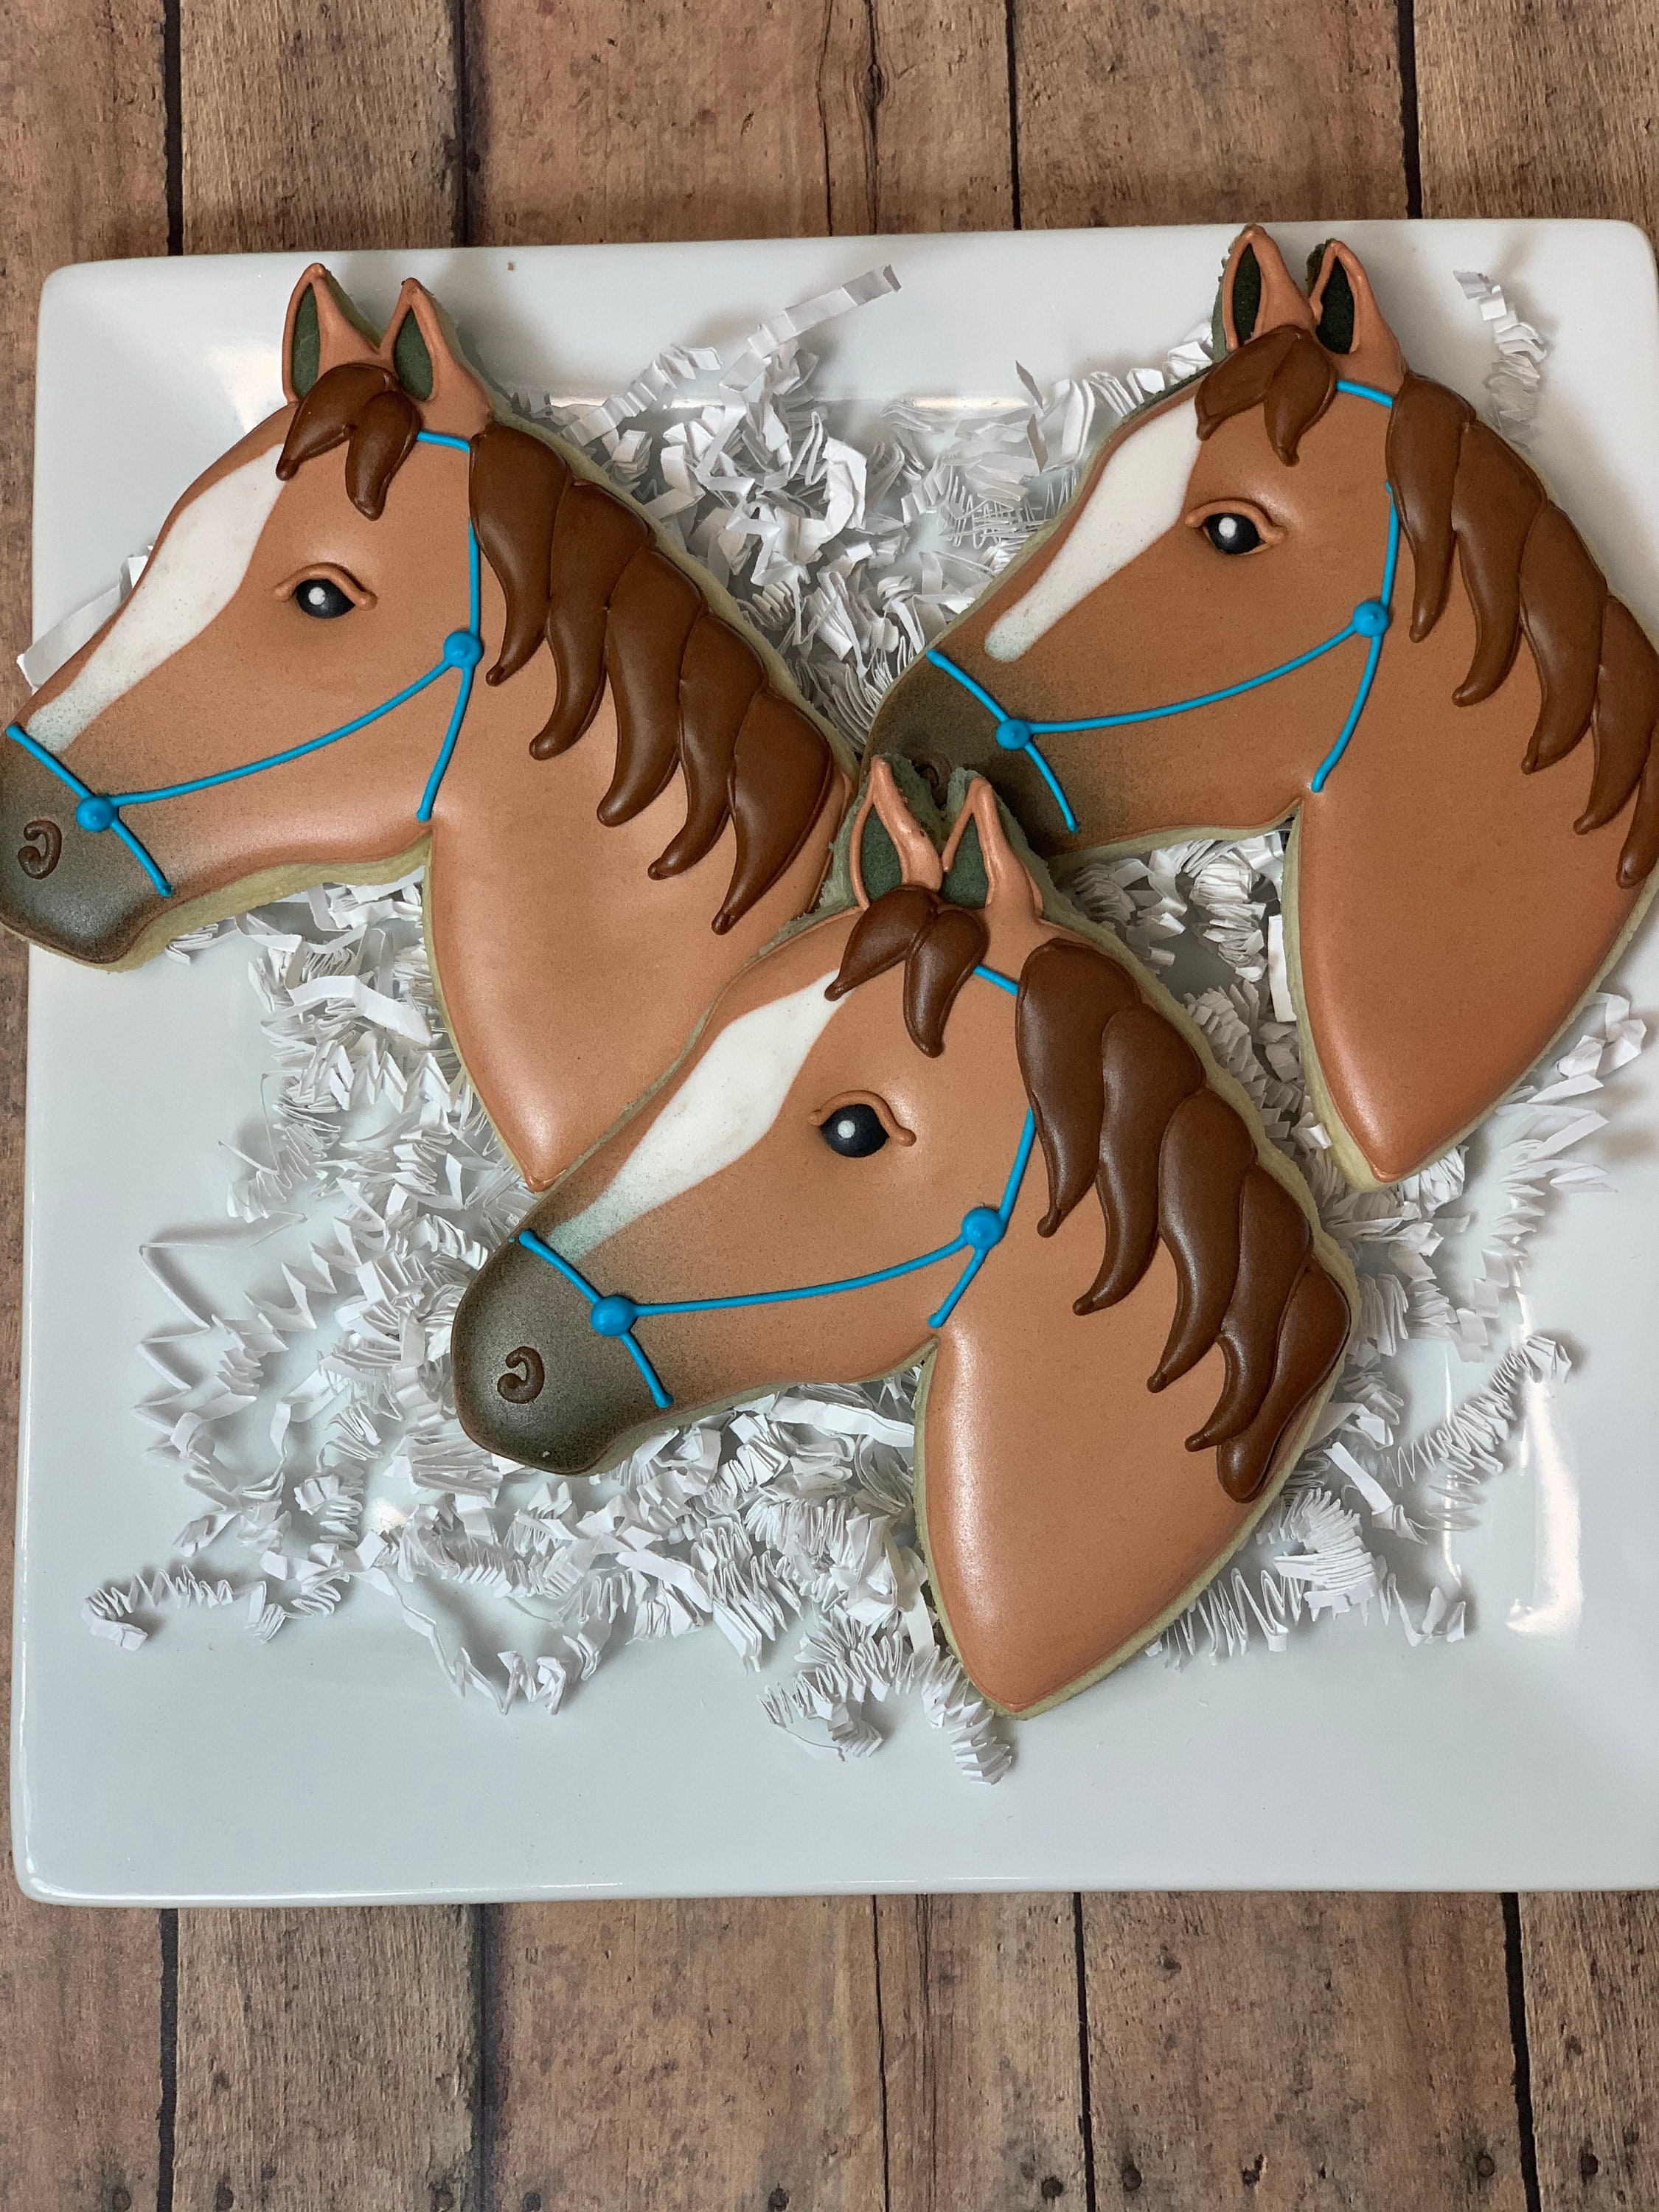
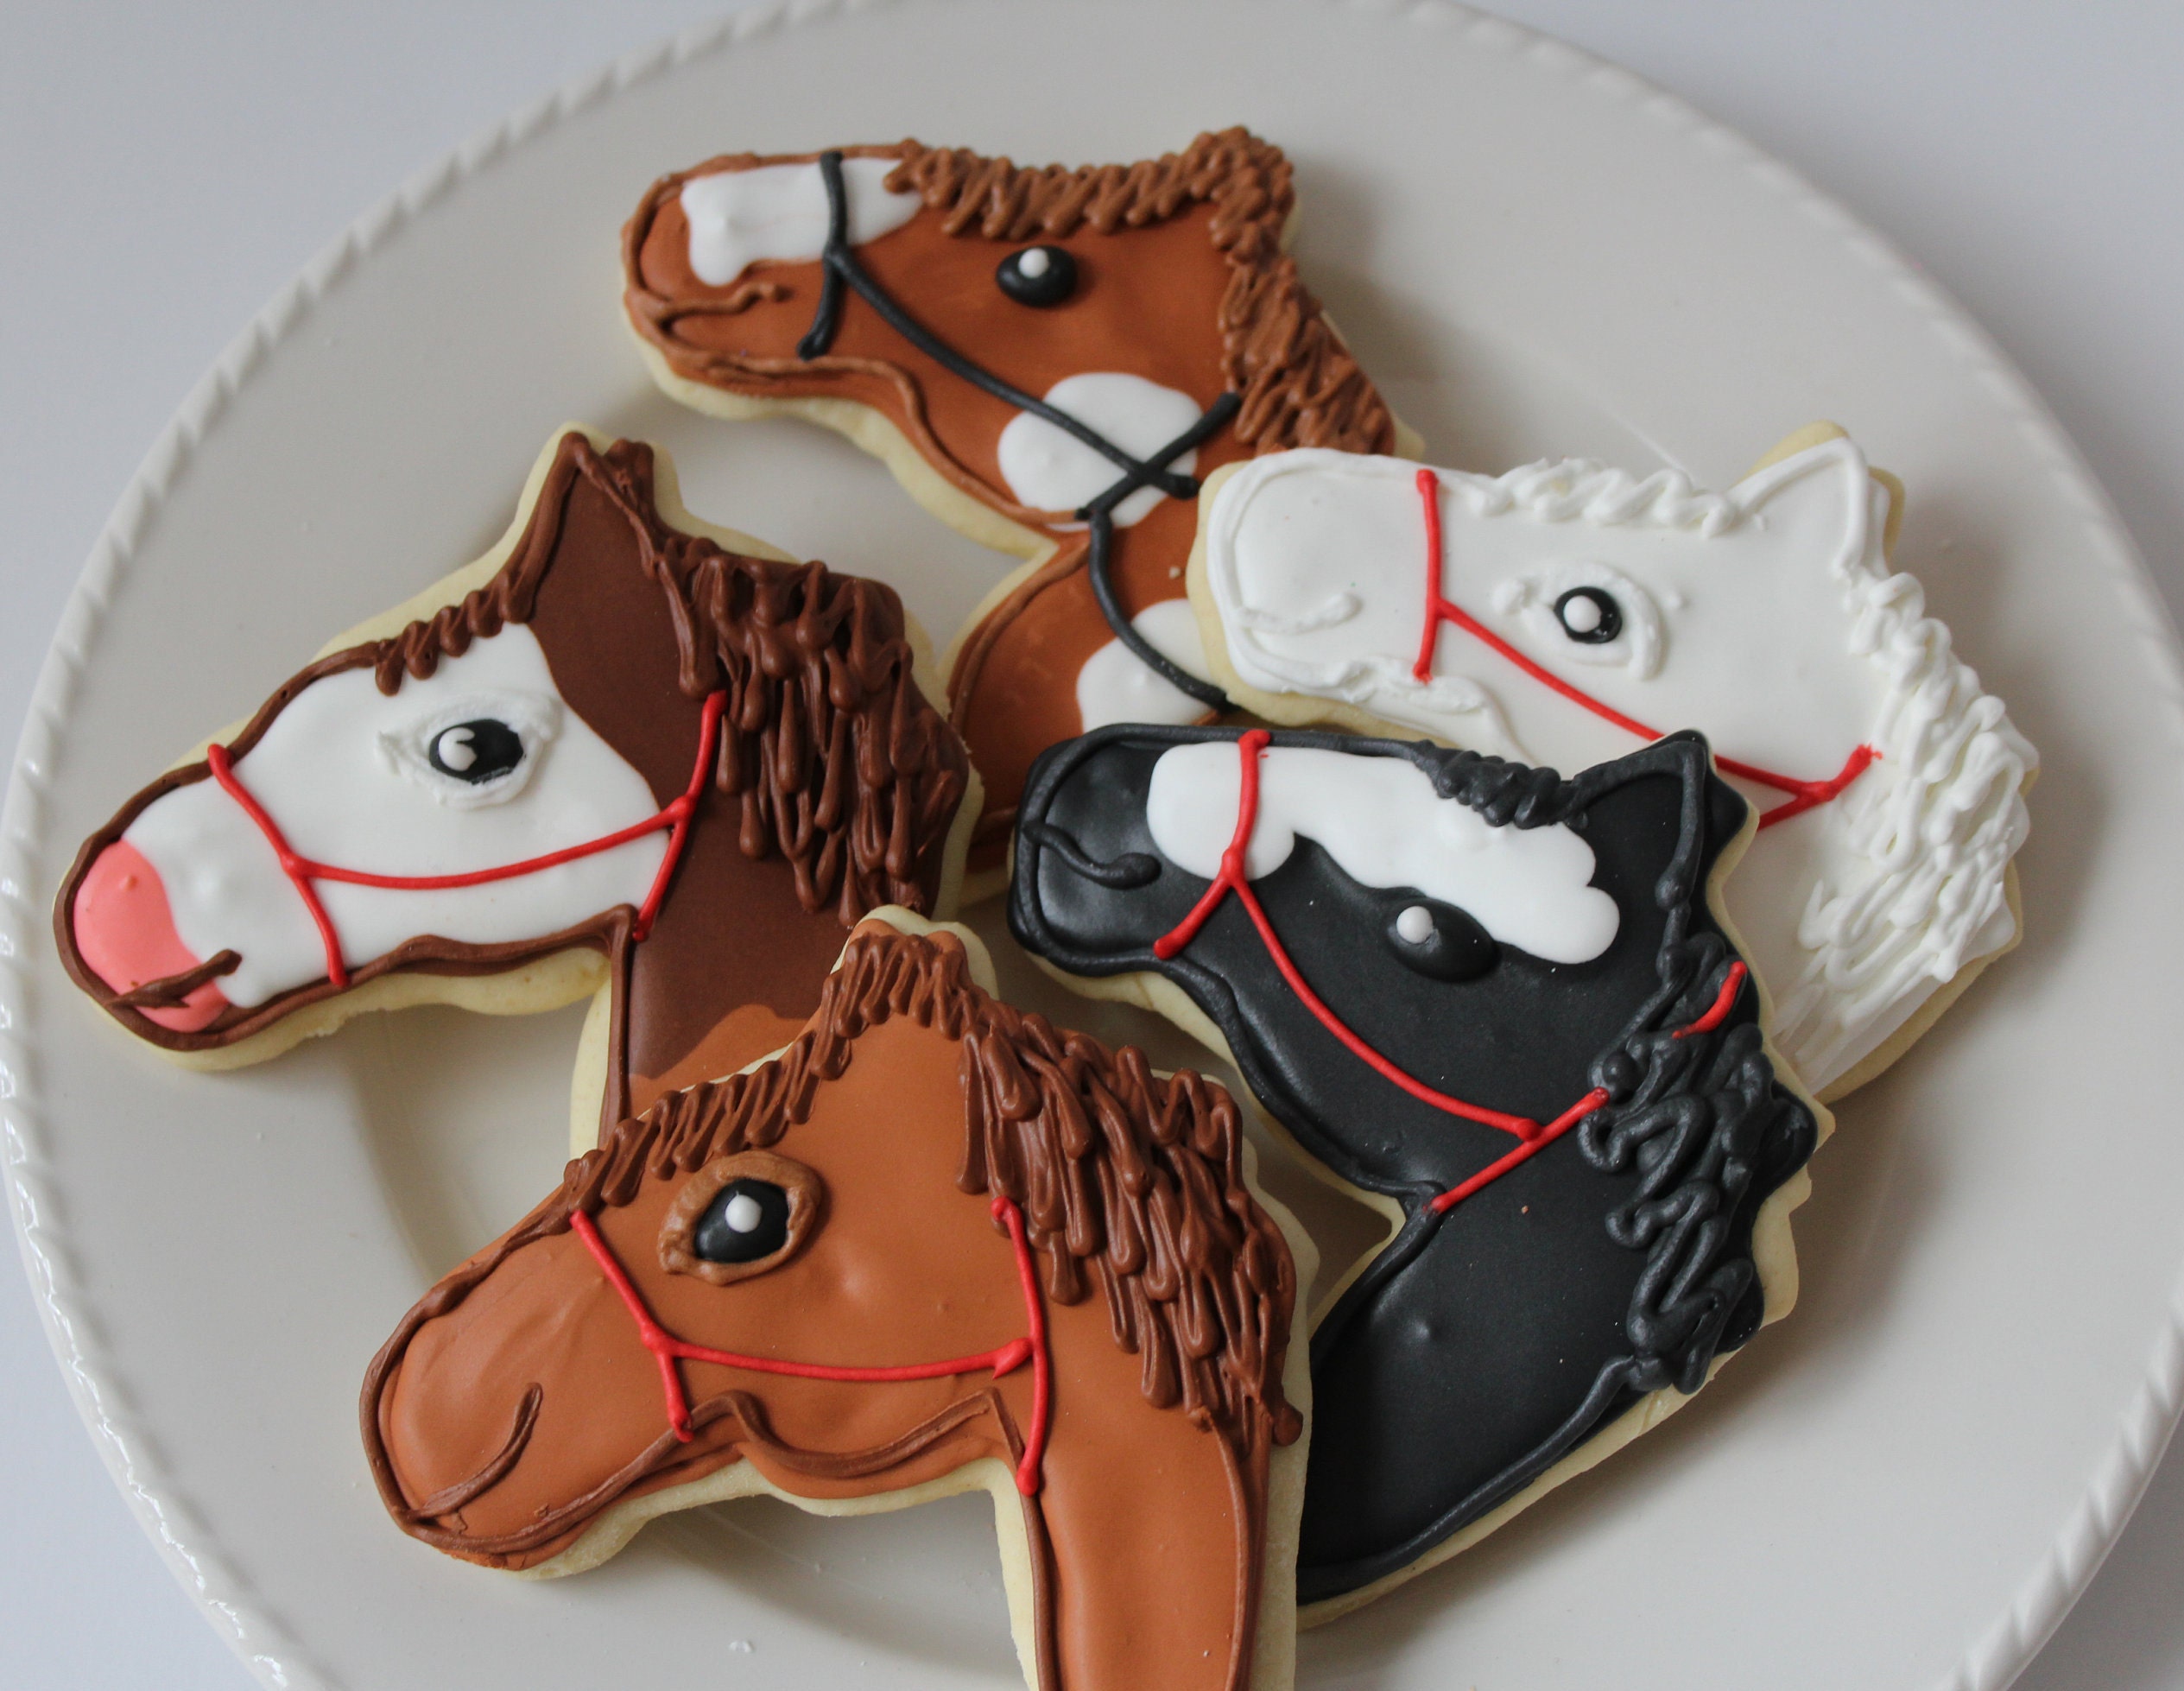
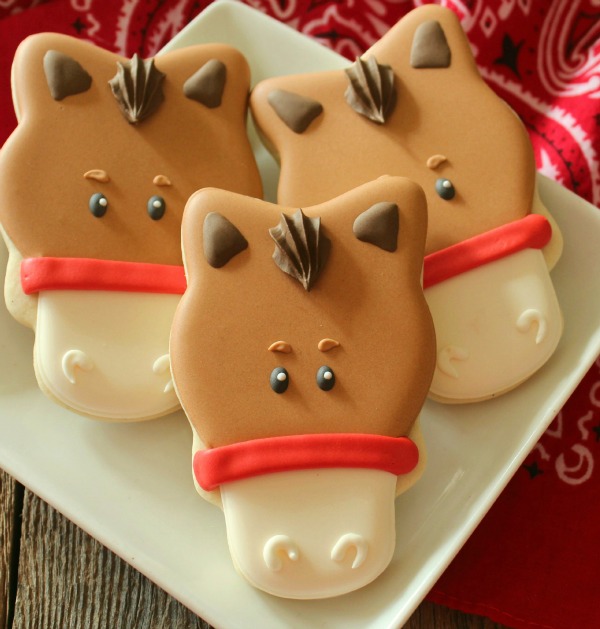
As a passionate equestrian and a self-proclaimed cookie enthusiast, I’ve found an incredible way to combine my two loves: decorated horse cookies. These delightful treats are not just visually appealing, but they also bring joy to both humans and horses alike. Whether you’re looking to impress at a barn party or just want to spoil your furry friend, this guide will provide you with all the tips and tricks to create fabulous decorated horse cookies!
What are Decorated Horse Cookies?
Decorated horse cookies are specially designed treats that are shaped like horses, equestrian gear, or horse-related themes. They are typically made from a soft yet sturdy cookie base and can be decorated using various icing techniques for an eye-catching finish. These cookies are perfect for horse lovers, birthday parties, or any equestrian event.
The Ingredients You’ll Need
Creating these delightful cookies requires some basic ingredients, which may vary based on your chosen recipe. Here’s a typical list:
- Flour
- Butter
- Sugar
- Eggs
- Vanilla Extract
- Baking Powder
- Salt
- Royal Icing Ingredients (egg whites, powdered sugar, lemon juice)
- Food Coloring (for decorations)
Choosing Quality Ingredients
When it comes to baking, quality matters! Here’s a quick table showcasing some common ingredients and what to look for:
| Ingredient | What to Look For |
|---|---|
| Flour | All-purpose flour with high protein content |
| Butter | Unsalted butter for better control of sweetness |
| Sugar | Granulated sugar for a crisp texture |
| Eggs | Fresh eggs for optimal flavor |
| Food Coloring | Gel food coloring for vibrant shades |

Basic Decorated Horse Cookie Recipe
Ingredients
- 3 cups all-purpose flour
- 1 cup unsalted butter, softened
- 1 cup granulated sugar
- 1 large egg
- 1 tsp vanilla extract
- 1 tsp baking powder
- 1/2 tsp salt
Instructions
- Preheat your oven to 350°F (175°C).
- In a mixing bowl, cream together the butter and sugar until light and fluffy.
- Add in the egg and vanilla extract, mixing until well combined.
- In a separate bowl, whisk together the flour, baking powder, and salt.
- Gradually add the dry ingredients to the wet ingredients until a dough forms.
- Roll out the dough on a floured surface to about 1/4 inch thickness.
- Cut out shapes using horse-themed cookie cutters.
- Place cookies on a baking sheet lined with parchment paper and bake for 10-12 minutes, or until edges are golden.
- Let cool completely before decorating.

Decorating Your Cookies: Techniques and Tips
Now that your cookies are baked and cooled, it’s time to decorate!
Royal Icing Basics
Royal icing is a popular choice for cookie decorating due to its smooth finish and ability to harden. Here’s how to make it:
- In a mixing bowl, combine 2 egg whites, 3 cups of powdered sugar, and 1 tsp of lemon juice.
- Whip the mixture on high until stiff peaks form, about 7-10 minutes.
- Divide the icing into separate bowls and add food coloring to achieve your desired hues.

Flooding and Piping Techniques
Flooding involves covering the cookie’s surface with a thin layer of icing, while piping is used for adding details:
- Flooding: Use a squeeze bottle or piping bag with a round tip. Outline the cookie’s edges and fill in the center with icing.
- Piping: Use a smaller tip for intricate designs. Practice on parchment paper before working on cookies.
Creative Decoration Ideas
Here are some decoration ideas to inspire your creativity:
- Horse heads with bridles
- Equestrian boots
- Ribbons and rosettes
- Hoof prints

Special Occasions for Decorated Horse Cookies
Decorated horse cookies can brighten any event. Here’s a look at some special occasions where they shine:
1. Birthday Parties
Horse-themed birthday parties are perfect for young equestrians. Create a cookie display that matches the party’s theme!

2. Barn Parties and Gatherings
Show your gratitude to barn mates or instructors with a batch of beautifully decorated horse cookies.
3. Competitions and Shows
Bring cookies as a treat for your fellow competitors, or use them as a fun prize for the winners.

Pros and Cons of Making Decorated Horse Cookies
Like any baking endeavor, making decorated horse cookies comes with its own set of advantages and challenges:
Pros
- Customizable designs for any occasion.
- Perfect activity for kids and adults alike.
- Delicious and visually appealing treats.
- A fun way to express your creativity.

Cons
- Can be time-consuming, especially for intricate designs.
- Requires practice to master decorating techniques.
- Perishable, so must be consumed or stored properly.
Personal Experience: My Journey with Decorated Horse Cookies
Let me take you back to my first attempt at decorating horse cookies. It was during a summer barn party, and I wanted to impress my friends. Armed with basic ingredients and a horse-shaped cookie cutter, I set to work. Despite a few minor mishaps—like a runny icing flood and an over-ambitious color palette—the laughter and joy during the decorating process made it all worthwhile. My cookies may not have been perfect, but seeing the smiles on my friends’ faces was the best reward!
FAQs About Decorated Horse Cookies
1. Can I use other types of icing instead of royal icing?
Yes! You can use buttercream or fondant. However, royal icing is preferred for its smooth finish and ability to harden, making it easier for stacking and gifting.
2. How can I store my decorated cookies?
Store them in an airtight container at room temperature for up to a week. If decorating with royal icing, ensure they are completely dry before stacking.
3. Are decorated horse cookies safe for horses to eat?
While the cookies can be made with horse-safe ingredients, they should be offered in moderation and be free of harmful additives like chocolate or artificial sweeteners.
4. Can I freeze decorated cookies?
Yes! You can freeze undecorated cookies for up to 3 months. Just make sure to wrap them tightly to prevent freezer burn.
Conclusion: Unleash Your Creativity with Decorated Horse Cookies
Decorated horse cookies offer a wonderful way to express your love for horses and baking. With the right ingredients, techniques, and a sprinkle of creativity, you can create delightful treats that will make any occasion special. So grab your cookie cutters, gather your supplies, and start decorating! I can’t wait to see what you come up with!