Have you ever met someone who is just absolutely fascinated by horses? I certainly have! Being a horse enthusiast myself, I often find joy in creating treats that reflect this passion. One of my favorite ways to express my love for these magnificent animals is through making horse decorated cookies. In this article, I’ll share insights, recipes, and tips on how to create beautiful horse-themed cookies that are not only visually stunning but also delicious.
The Joy of Baking Horse Decorated Cookies
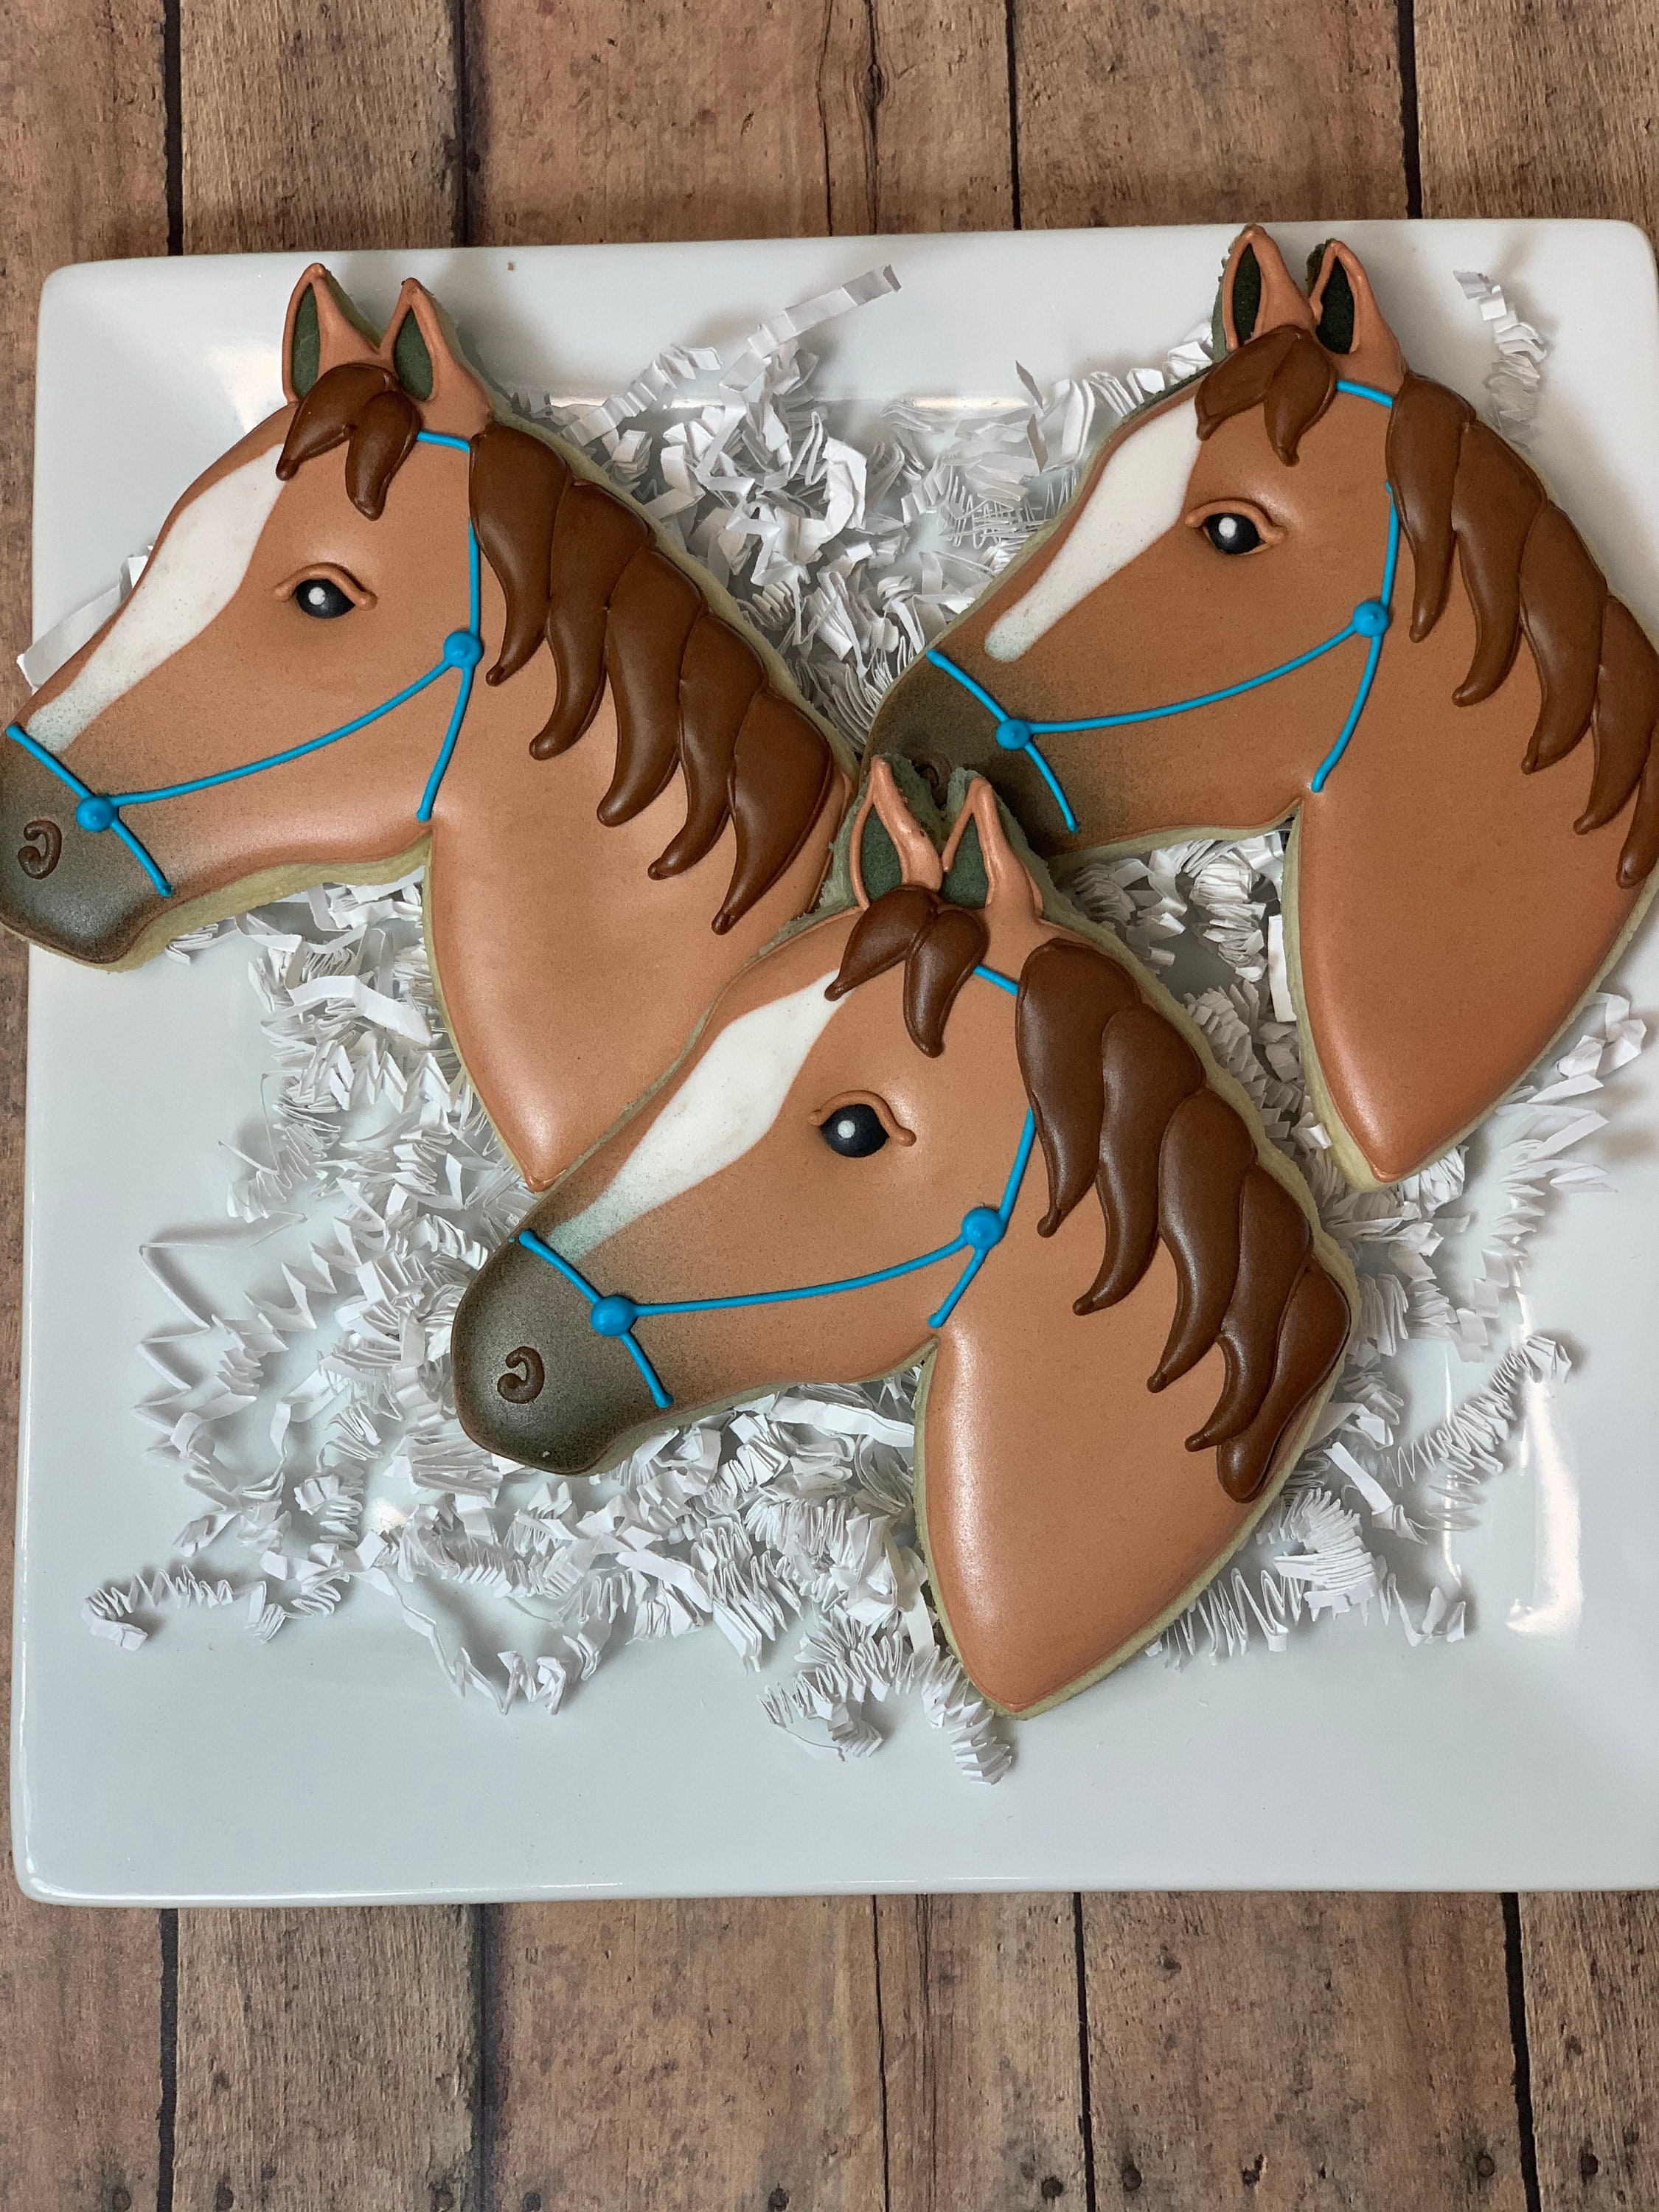
Baking can be a therapeutic experience, and decorating cookies opens up a world of creativity. When it comes to horse decorated cookies, the possibilities are endless. From simple designs to intricate masterpieces, you can tailor your cookies for birthday parties, equestrian events, or just for fun! I remember the first set of horse cookies I made; they were a tad lopsided, but my friends loved them, and that’s what ignited my passion for cookie decorating.
Why Choose Horse Cookies?
Horse cookies are perfect for various occasions:
- Birthday parties for horse lovers
- Horse shows or competitions
- Themed events and celebrations
- Party favors or gifts for equestrian friends
Getting Started: Essential Ingredients and Tools
Before you dive into the exciting world of cookie decorating, let’s gather the necessary ingredients and tools.
Key Ingredients
| Ingredient | Description |
|---|---|
| All-purpose flour | The base ingredient for your cookie dough. |
| Butter | Provides richness and flavor; use unsalted for more control. |
| Sugar | Granulated sugar adds sweetness, while powdered sugar is used for icing. |
| Eggs | Help bind the ingredients and add moisture. |
| Vanilla extract | Adds a delightful flavor to the cookies. |
| Baking powder | Helps cookies rise and become fluffy. |
| Royal icing | Perfect for decorating and holding shapes. |

Essential Tools
– Mixing bowls
– Measuring cups and spoons
– Silpat or parchment paper
– Cookie cutters (horse shapes, stars, etc.)
– Piping bags and tips
– Food coloring (for royal icing)
– Offset spatula

Step-by-Step Recipe for Horse Decorated Cookies
Now that we have our ingredients and tools ready, let’s bake some delightful horse cookies!

Cookie Dough Recipe
Ingredients
- 2 ¾ cups all-purpose flour
- 1 cup unsalted butter, softened
- 1 ½ cups granulated sugar
- 1 egg
- 1 tsp vanilla extract
- 1 tsp baking powder
- ½ tsp salt

Instructions
- In a mixing bowl, cream the softened butter and sugar until light and fluffy.
- Add the egg and vanilla extract, mixing until well combined.
- In a separate bowl, whisk together the flour, baking powder, and salt.
- Gradually add the dry ingredients to the wet ingredients, mixing until a soft dough forms.
- Wrap the dough in plastic wrap and refrigerate for at least 1 hour.
- Preheat your oven to 350°F (175°C).
- Roll out the chilled dough on a floured surface to about ¼ inch thick.
- Use horse-shaped cookie cutters to cut out your cookies and place them on a baking sheet lined with parchment paper.
- Bake for 8-10 minutes or until the edges are lightly golden.
- Let the cookies cool completely before decorating.
Decoration Techniques for Horse Cookies
Once your cookies are cooled, it’s time to unleash your creativity! Here are some popular decoration techniques:
Using Royal Icing
Royal icing creates a smooth, hard surface that’s perfect for detailed designs. Here’s how to make it:
Royal Icing Recipe
- 4 cups powdered sugar
- 3 egg whites (or meringue powder with water)
- 1 tsp lemon juice
Instructions
- In a bowl, combine powdered sugar and egg whites, beating until the mixture is smooth and glossy.
- Add lemon juice to enhance the flavor and stability.
- Divide the icing into bowls and tint with food coloring as desired.
- Use piping bags fitted with different tips to create various designs.
Fondant Decorations
Another fun way to decorate is with fondant. It can be rolled out and cut into shapes, making it great for adding 3D designs to your cookies.
Pros and Cons of Fondant
| Pros | Cons |
|---|---|
| Versatile and easy to shape | Can be too sweet for some |
| Great for 3D decorations | Requires practice to handle well |
| Comes in various colors | Doesn’t harden like royal icing |
Tips for Perfectly Decorated Horse Cookies
Here are some personal tips I’ve picked up through trial and error:
- Make sure your cookies are completely cool before decorating; otherwise, the icing will melt.
- Use a toothpick to spread icing for finer details.
- Don’t rush the drying process; let your cookies sit overnight for the best results.
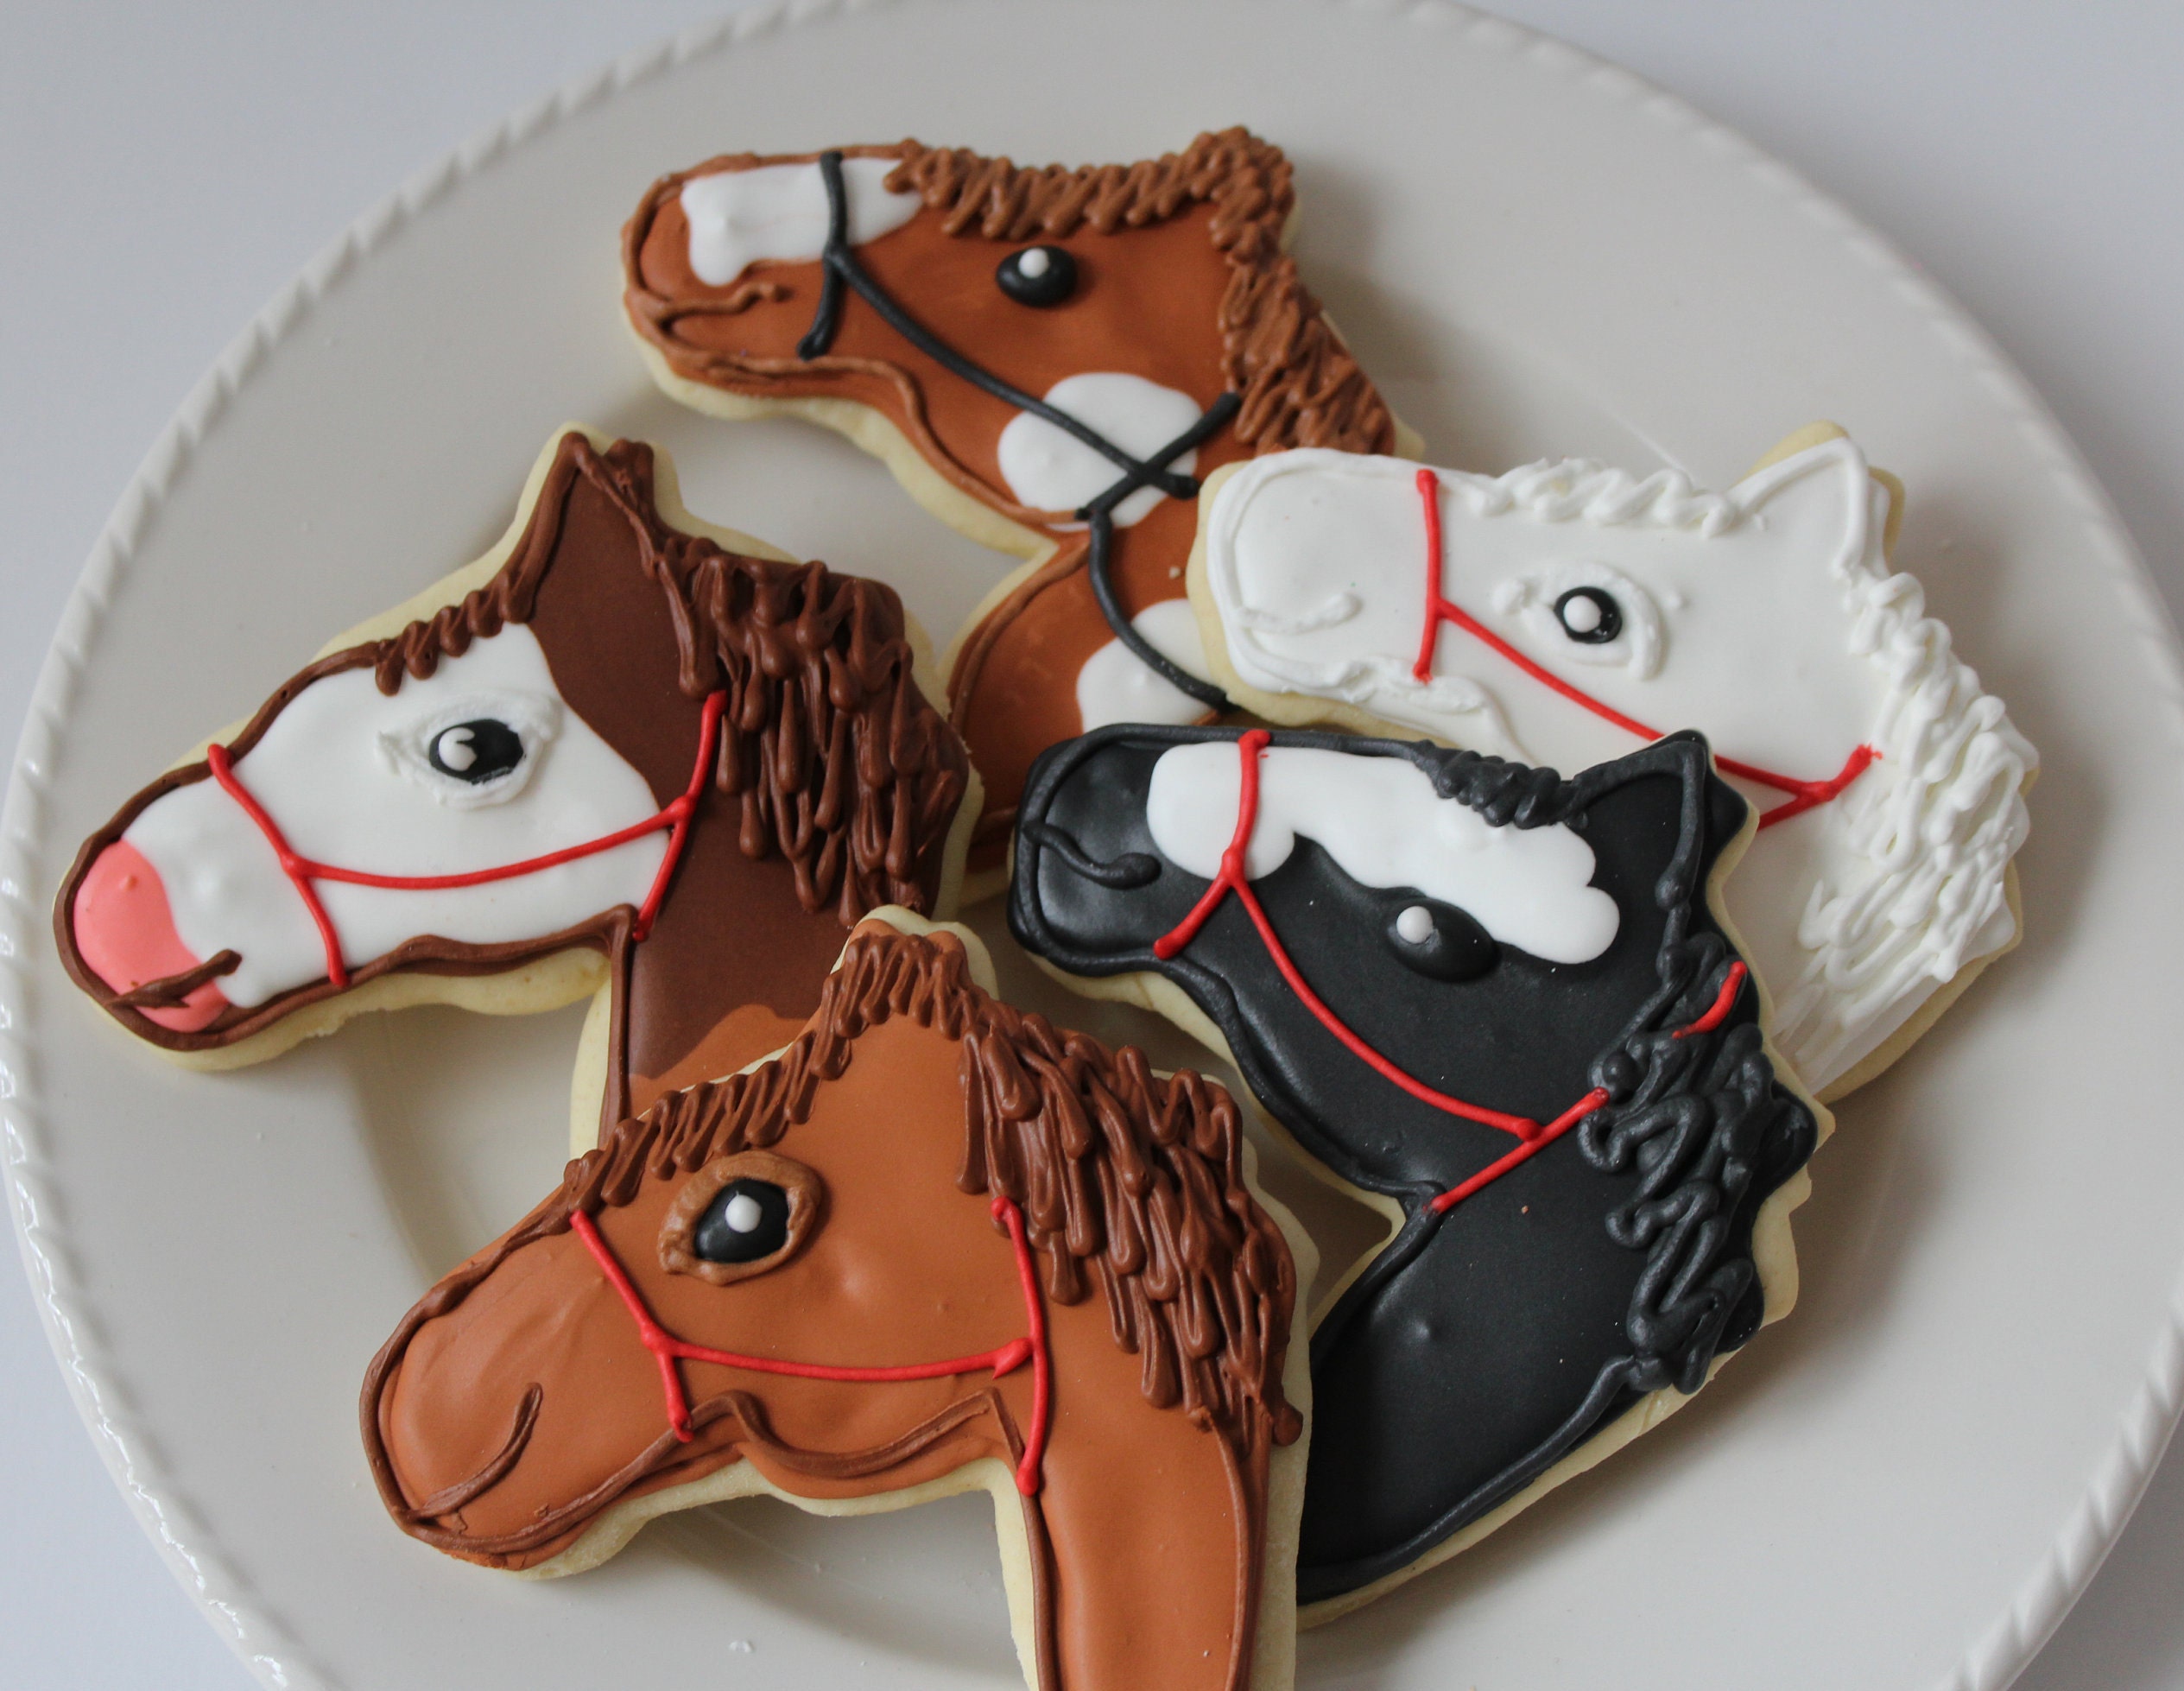
- Experiment with different color combinations to make your horse designs pop!
Frequently Asked Questions (FAQs)
What are horse decorated cookies made of?
Horse decorated cookies are typically made from a base dough using flour, butter, sugar, eggs, and flavored with vanilla. The decoration usually involves royal icing or fondant for intricate designs.
How do I store my decorated horse cookies?
Store your cookies in an airtight container at room temperature. To maintain their freshness, it’s best to keep them away from direct sunlight and heat.
Can I customize the designs on my horse cookies?
Absolutely! You can personalize your cookies with different colors, patterns, and even names to make them unique for any occasion.
What type of icing is best for cookie decorating?
Royal icing is often preferred for decorating cookies as it dries hard, allowing for detailed designs. However, fondant can also be a good choice for 3D decorations.
How long do decorated cookies last?
When stored properly, decorated cookies can last for up to two weeks. However, they often taste best within the first week.
Conclusion: The Art of Baking and Decorating Horse Cookies
Baking and decorating horse cookies is not just a culinary activity; it’s a way to express your love for horses and share it with others. Whether you’re preparing for a special event or simply indulging in a fun baking afternoon, these cookies are sure to bring smiles. Remember, practice makes perfect, so don’t be discouraged if your first batch doesn’t turn out as expected—embrace the journey!
So, grab your baking supplies, unleash your creativity, and let’s create some delightful horse decorated cookies together!