Chocolate chip cookies are a classic treat that many of us cherish from childhood. Their warm, gooey centers and crisp edges make them irresistible. But what really elevates these beloved cookies is the art of decorating them. In this article, we will dive into the world of chocolate chip decorated cookies, exploring everything from the basics of cookie baking to advanced decorating techniques, all while sharing personal anecdotes and tips that will help you create stunning cookies that wow your friends and family!
Understanding Chocolate Chip Cookies
The History of Chocolate Chip Cookies
The chocolate chip cookie was created in the 1930s by Ruth Wakefield, who owned the Toll House Inn. She mixed semi-sweet chocolate into her cookie dough, and the rest is history! Since then, chocolate chip cookies have become a staple in many households around the world.
Why Decorate Chocolate Chip Cookies?

While classic chocolate chip cookies are delicious on their own, decorating them adds a personal touch. Whether for a birthday party, holiday celebration, or just for fun, decorated cookies make for an engaging and delightful treat. They allow for creativity, making baking an even more enjoyable experience.
Gathering Your Ingredients
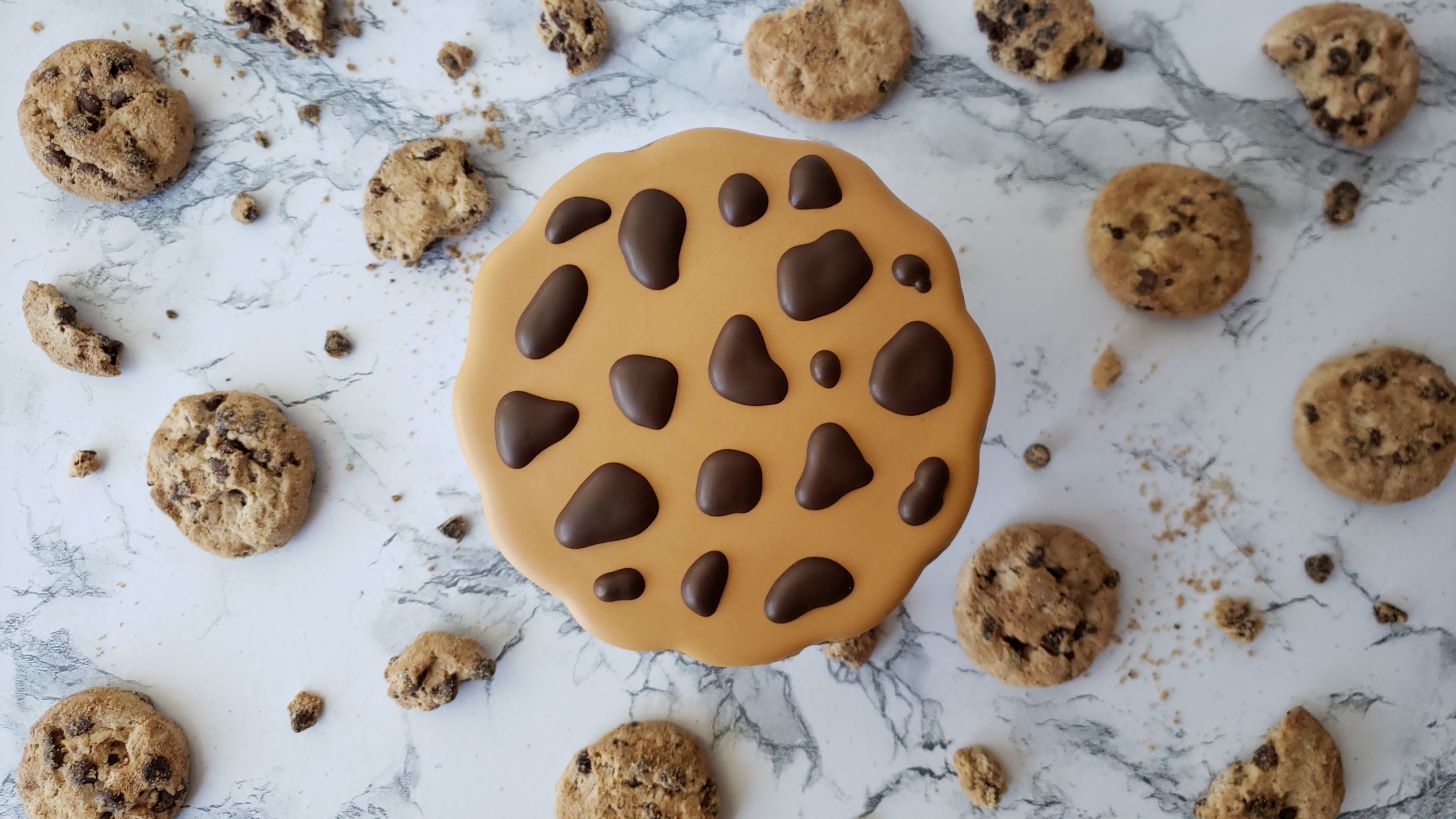
Basic Ingredients for Chocolate Chip Cookies
- 2 1/4 cups all-purpose flour
- 1/2 teaspoon baking soda
- 1 cup unsalted butter, room temperature
- 1/2 cup granulated sugar
- 1 cup packed light-brown sugar
- 1 teaspoon coarse salt
- 2 teaspoons pure vanilla extract
- 2 large eggs
- 2 cups semisweet and/or milk chocolate chips

Decorating Supplies
To elevate your cookies, you’ll need a few extra supplies:
- Royal icing or fondant
- Food coloring
- Decorative sprinkles
- Piping bags and tips
- Cookie cutters
- Edible markers

Baking Perfect Chocolate Chip Cookies
Step-by-Step Guide to Baking Cookies

- Preheat your oven: Start by preheating your oven to 350°F (175°C).
- Mix dry ingredients: In a bowl, whisk together the flour and baking soda.
- Cream butter and sugars: In a separate bowl, beat the butter, granulated sugar, brown sugar, and salt until light and fluffy.
- Add eggs and vanilla: Beat in the eggs and vanilla extract, mixing until combined.
- Combine mixtures: Gradually add the dry ingredients to the wet mixture, stirring until just combined. Fold in the chocolate chips.
- Form cookies: Using a cookie scoop or tablespoon, drop dough onto baking sheets lined with parchment paper.
- Bake: Bake for 10-12 minutes or until the edges are golden brown. Allow to cool completely before decorating.
Basic Decorating Techniques

Using Royal Icing
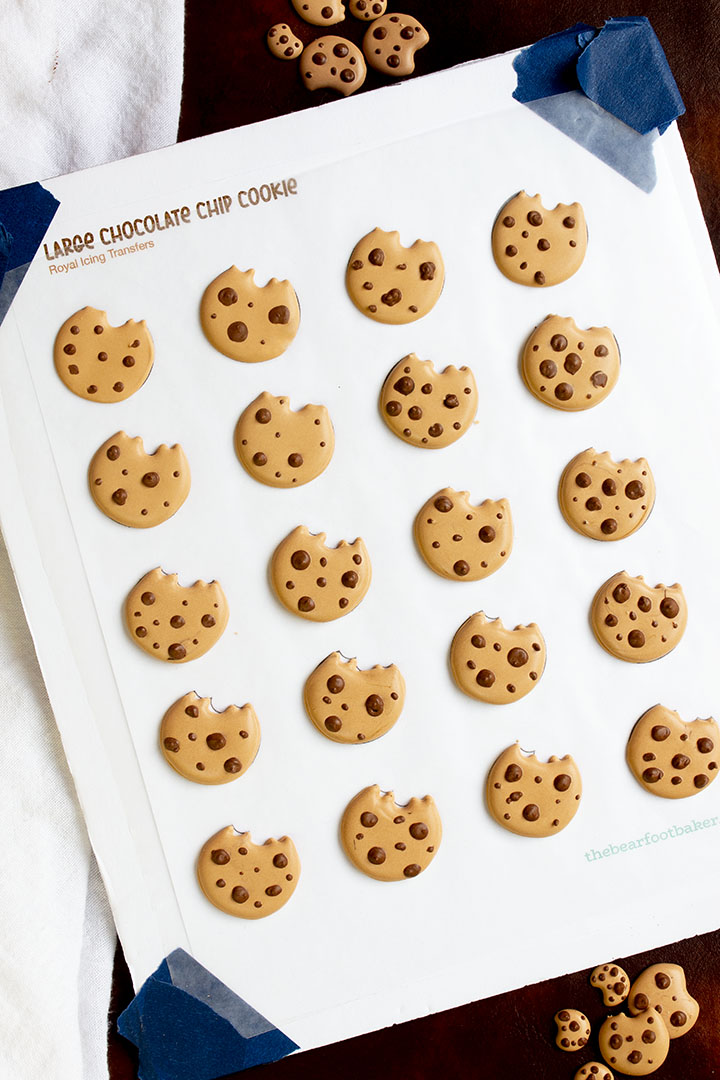
Royal icing is a popular choice for decorating cookies due to its smooth finish and ability to dry hard. Here’s a basic recipe:
- 2 egg whites
- 3-4 cups powdered sugar
- 1/2 teaspoon lemon juice or white vinegar
Steps to Make Royal Icing
- In a mixing bowl, beat the egg whites until frothy.
- Gradually add powdered sugar, continuing to beat until the mixture reaches a stiff peak.
- Add lemon juice or vinegar and mix until combined.
Decorating with Fondant
Fondant can give cookies a smooth, polished look. You can buy pre-made fondant or make your own using marshmallows and powdered sugar.
Creative Decorating Ideas
Fun Themes to Try
Decorating cookies can be themed around various holidays. Here are some fun ideas:
| Holiday | Decoration Ideas |
|---|---|
| Christmas | Red and green icing, candy canes, or snowflakes |
| Birthday | Bright colored icing, sprinkles, and themed shapes |
| Halloween | Orange frosting, black sprinkles, ghost shapes |
| Valentine’s Day | Pink icing, heart shapes, and edible glitter |
Personal Touch: My Favorite Cookie Decorating Memory
I remember the first time I decorated cookies for a friend’s birthday party. Armed with a variety of icing colors and sprinkles, my friends and I spent hours laughing and creating cookie masterpieces. It was a beautiful mess, and the cookies brought everyone together—something I cherish to this day!
Pros and Cons of Decorating Chocolate Chip Cookies
Pros
- Enhances visual appeal
- Personalizes baked goods for special occasions
- Encourages creativity and experimentation
Cons
- Can be time-consuming
- Requires practice to perfect techniques
- Messy, especially with younger children involved
Frequently Asked Questions
What is the best way to store decorated cookies?
Store decorated cookies in an airtight container at room temperature for up to a week. If your cookies are iced, ensure they are completely dry before stacking to prevent smudging.
Can I freeze decorated chocolate chip cookies?
Yes, you can freeze decorated cookies! Lay them flat in a single layer on a baking sheet until they are frozen, then transfer them to a freezer-safe container. They can be stored for up to three months.
How can I prevent cookies from spreading during baking?
Chill the dough for at least 30 minutes before baking. This helps the cookies maintain their shape while baking.
What is the best food coloring to use for royal icing?
Gel food coloring is the ideal choice because it doesn’t thin out the icing and provides vibrant colors without affecting the consistency.
Conclusion
Decorating chocolate chip cookies is not only about enhancing their look but also about creating lasting memories in the kitchen. With the right ingredients and techniques, you can turn a simple cookie into a personalized masterpiece. So gather your supplies, grab your loved ones, and let your creativity flow. Happy baking and decorating!