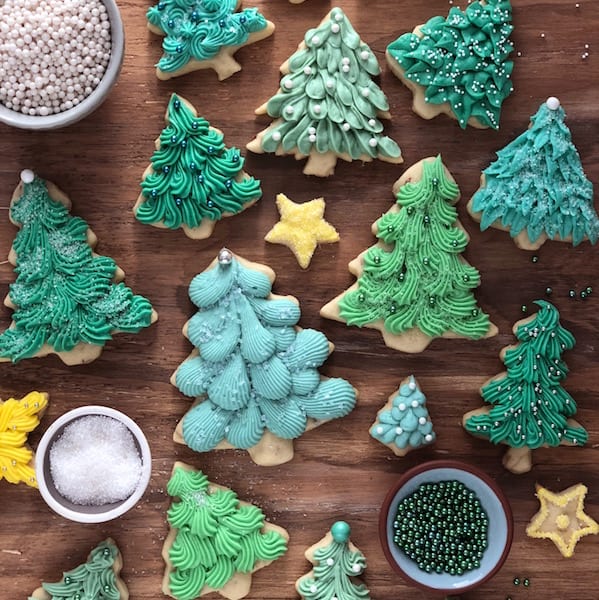
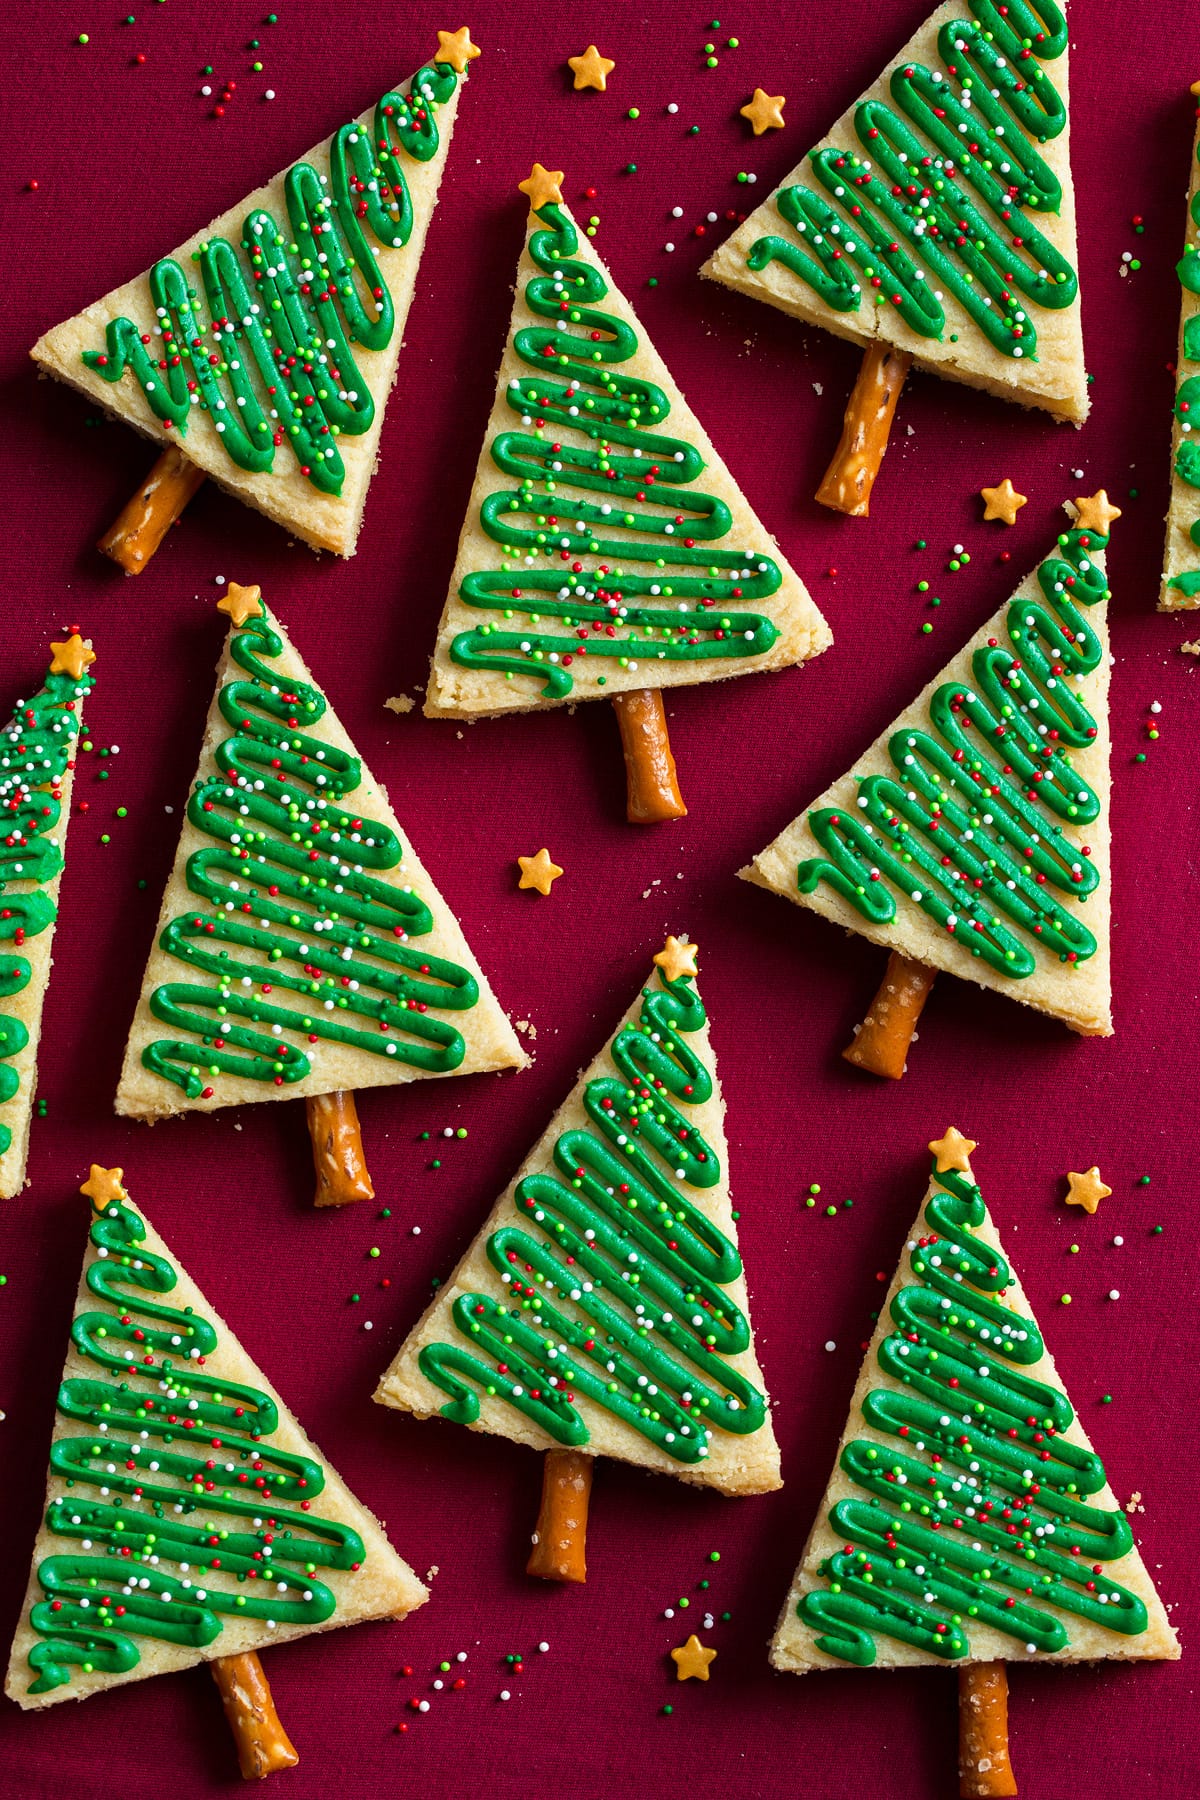
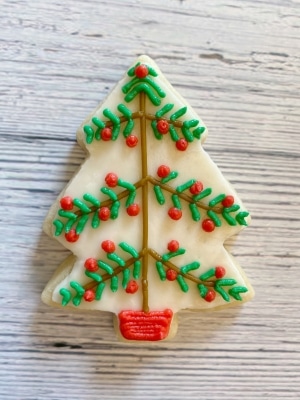
As the holiday season approaches, the scent of sugar cookies and gingerbread fills the air, igniting that joyful, festive spirit within us. Christmas tree cookies are not just treats; they’re a canvas for creativity and a family tradition that brings loved ones together. In this article, I’ll share my personal experiences and a wealth of ideas about decorating these delectable treats, ensuring your holiday baking is both fun and memorable!
Getting Started with Christmas Tree Cookies
Before we dive into the decoration ideas, let’s discuss the essentials of making Christmas tree cookies.
Basic Sugar Cookie Recipe
Here’s a simple sugar cookie recipe to kick off your decorated cookie journey:
- 2 ¾ cups all-purpose flour
- 1 teaspoon baking soda
- ½ teaspoon baking powder
- 1 cup unsalted butter, softened
- 1 ½ cups white sugar
- 1 egg
- 1 teaspoon vanilla extract
- ½ teaspoon almond extract
- 3 to 4 tablespoons of milk (as needed)
Instructions
- Preheat your oven to 375°F (190°C).
- In a small bowl, stir together flour, baking soda, and baking powder.
- In a large bowl, cream together the butter and sugar until smooth. Beat in the egg, vanilla, and almond extract.
- Gradually blend the dry ingredients into the creamed mixture. Add milk as needed to make the dough workable.
- Roll rounded teaspoonfuls of dough into balls, and place them onto ungreased cookie sheets. Flatten each ball slightly with the bottom of a glass.
- Bake for 8 to 10 minutes in the preheated oven until golden. Let cool before decorating.

Top Christmas Tree Cookie Decoration Ideas
With your cookies baked and cooled, it’s time to get creative! Here are some festive and fun decoration ideas.
1. Classic Royal Icing
Royal icing is a versatile medium perfect for creating intricate designs. It dries hard, making it excellent for decorating cookies.
How to Make Royal Icing
- 1 egg white (or 2 tablespoons meringue powder)
- 3 cups powdered sugar
- 1 tablespoon lemon juice
Beat the egg whites until frothy, gradually adding the powdered sugar and lemon juice until the mixture holds stiff peaks. Thin with a bit of water for piping.

Decoration Ideas
- Snowy Treetops: Use white icing to create snowcap designs at the top of the tree.
- Ornament Details: Pipe colorful circles or teardrops for ornaments; use edible glitter for an extra sparkle.
2. Fondant Fun
Fondant allows for more 3D decorations. You can mold it into various shapes, from small stars to tiny gifts.
Fondant Tips
- Work with small amounts to prevent it from drying out.
- Color with gel food coloring for vibrant results.

Decoration Ideas
- 3D Stars: Roll fondant into small stars to place on top of the cookie.
- Mini Gift Boxes: Mold fondant into tiny squares, then add fondant bows for a gift effect.
3. Sprinkles and Edible Glitter
Nothing says “festive” like a generous sprinkle of colored sugar or edible glitter. Let’s look at how to integrate them into your designs.

Sprinkle Ideas
- Holiday Colors: Use red, green, gold, and silver sprinkles to create a festive palette.
- Textured Effects: Mix different sizes of sprinkles for depth on your cookie surface.
Creative Decoration Techniques
Using various techniques can take your cookie decorating to the next level. Let’s explore a few of my favorites!

1. Piping Techniques
Piping is an art! Invest in good quality piping bags and tips for clean lines and beautiful designs.
Common Piping Techniques
- Outline and Flood: Outline your shape then fill with thinned royal icing.
- Tipless Bags: Cut the tip of the bag for larger designs, allowing more icing flow.

2. Marbling Icing
Marbling is a stunning effect that can enhance the look of your cookies. Here’s how to do it:
Steps to Marble Icing
- Prepare two different colors of royal icing.
- Drop spoonfuls of each color onto the cookie.
- Take a toothpick and swirl them together gently.
Comparison of Decorations
| Decoration Type | Ease of Use | Visual Appeal | Flavor Impact |
|---|---|---|---|
| Royal Icing | Moderate | High | Neutral |
| Fondant | Easy | Very High | Sweet |
| Sprinkles | Very Easy | Medium | Varies by Type |
Tips for a Successful Cookie Decorating Session
Based on my experiences, here are some tips that can help streamline your decorating process:
Preparation is Key
Always have your materials ready—icing bags filled, fondant rolled, and sprinkles organized. This will save you time and make the process smoother.
Practice Makes Perfect
If you’re new to cookie decorating, practice on parchment paper before working on your cookies to build your confidence.
Enjoy the Process
Remember, it’s not just about the end product but the joy of creating with friends and family. Play music, share stories, and make it a festive occasion!
Pros and Cons of Different Decoration Styles
Royal Icing
Pros: Beautiful designs, holds shape well.
Cons: Requires practice to master, can be time-consuming.
Fondant
Pros: Flexible and easily shaped, visually stunning.
Cons: Sweet flavor may not appeal to everyone.
Sprinkles
Pros: Quick and easy addition, great for kids.
Cons: Can be less visually striking than icing or fondant.
Frequently Asked Questions (FAQs)
What type of icing is best for decorating cookies?
Royal icing is often favored due to its versatility and ability to dry hard, making it ideal for detailed designs.
How can I store decorated cookies?
Store cookies in an airtight container to maintain freshness. If using fondant, avoid stacking them to prevent smudging.
Can I use regular food coloring with royal icing?
Yes, but gel food colors are recommended for vibrant, consistent hues that won’t affect the icing’s consistency.
What if my icing is too runny?
Add more powdered sugar to thicken it. If it’s too thick, thin it with a bit of water or lemon juice.
Conclusion
Decorating Christmas tree cookies is a delightful way to embrace the holiday spirit. From royal icing to fondant designs and fun sprinkles, the possibilities are endless. So gather your supplies, invite your loved ones, and create beautiful and tasty works of art that will surely bring joy to this festive season. Happy decorating!