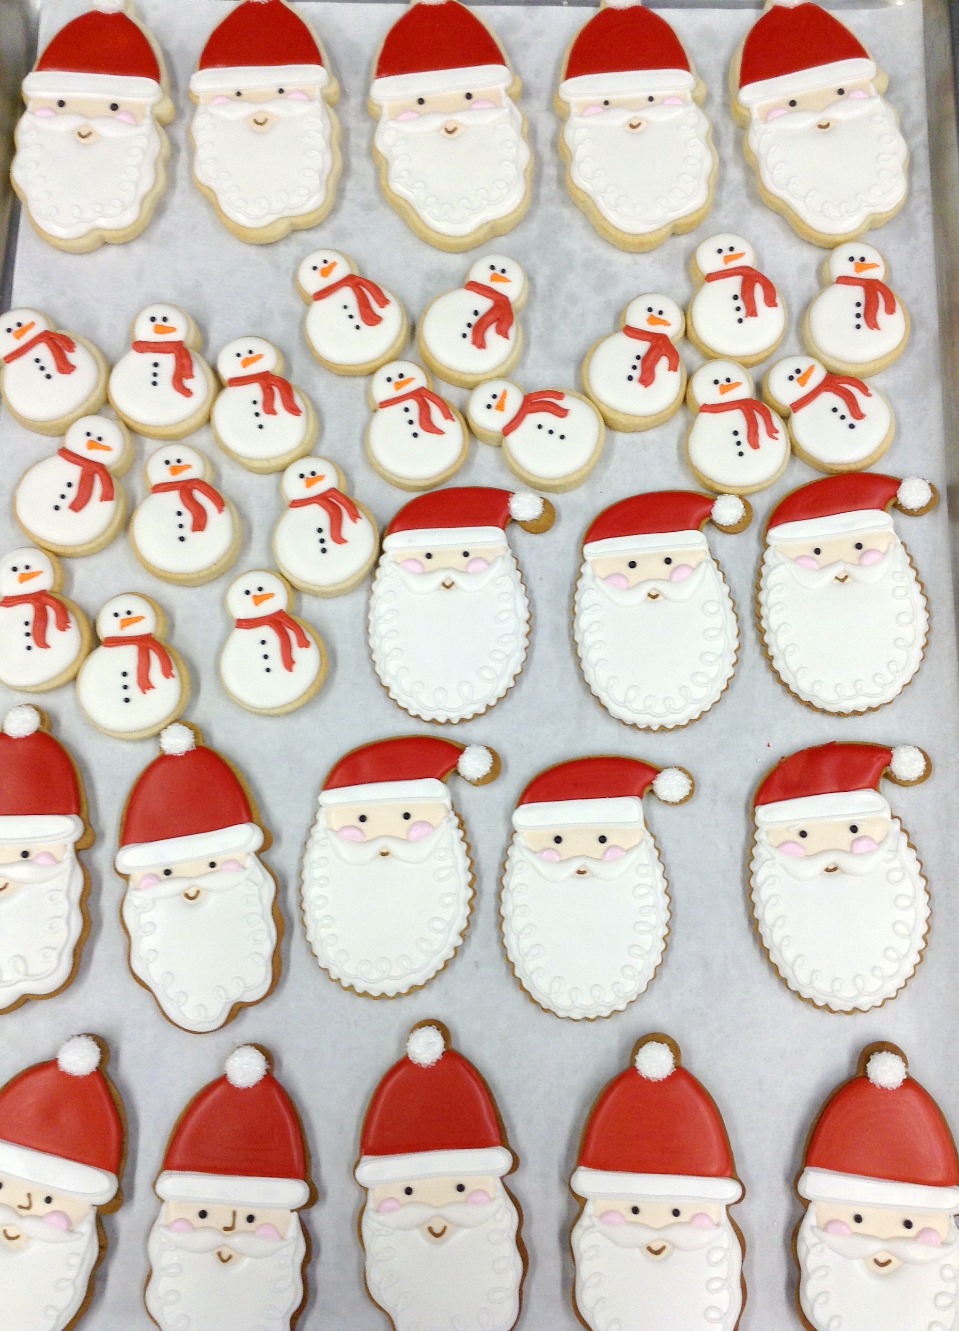
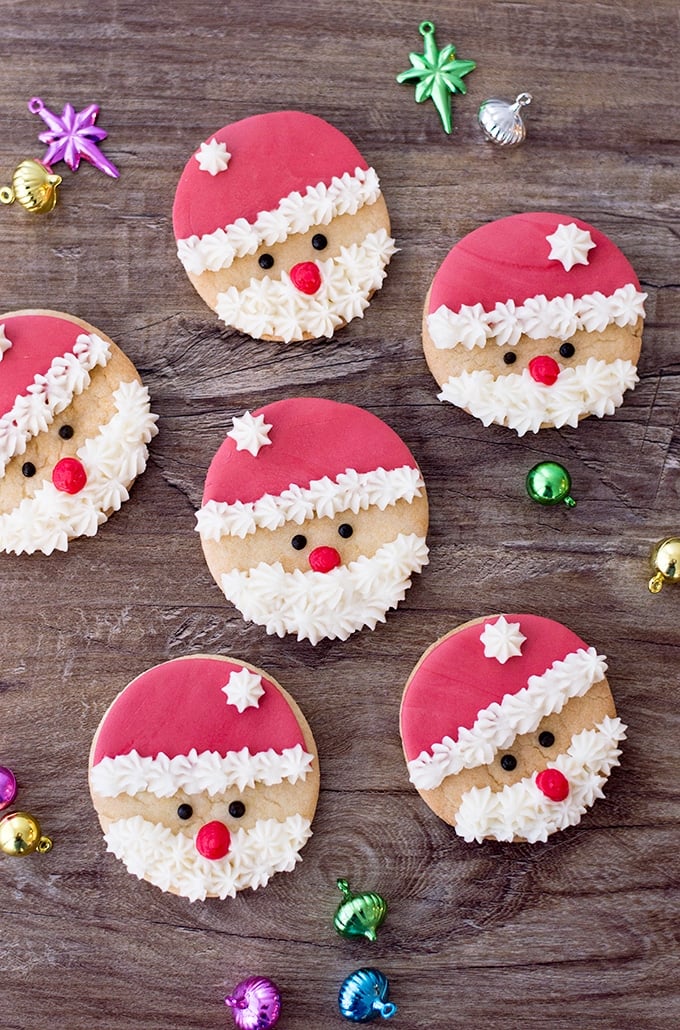
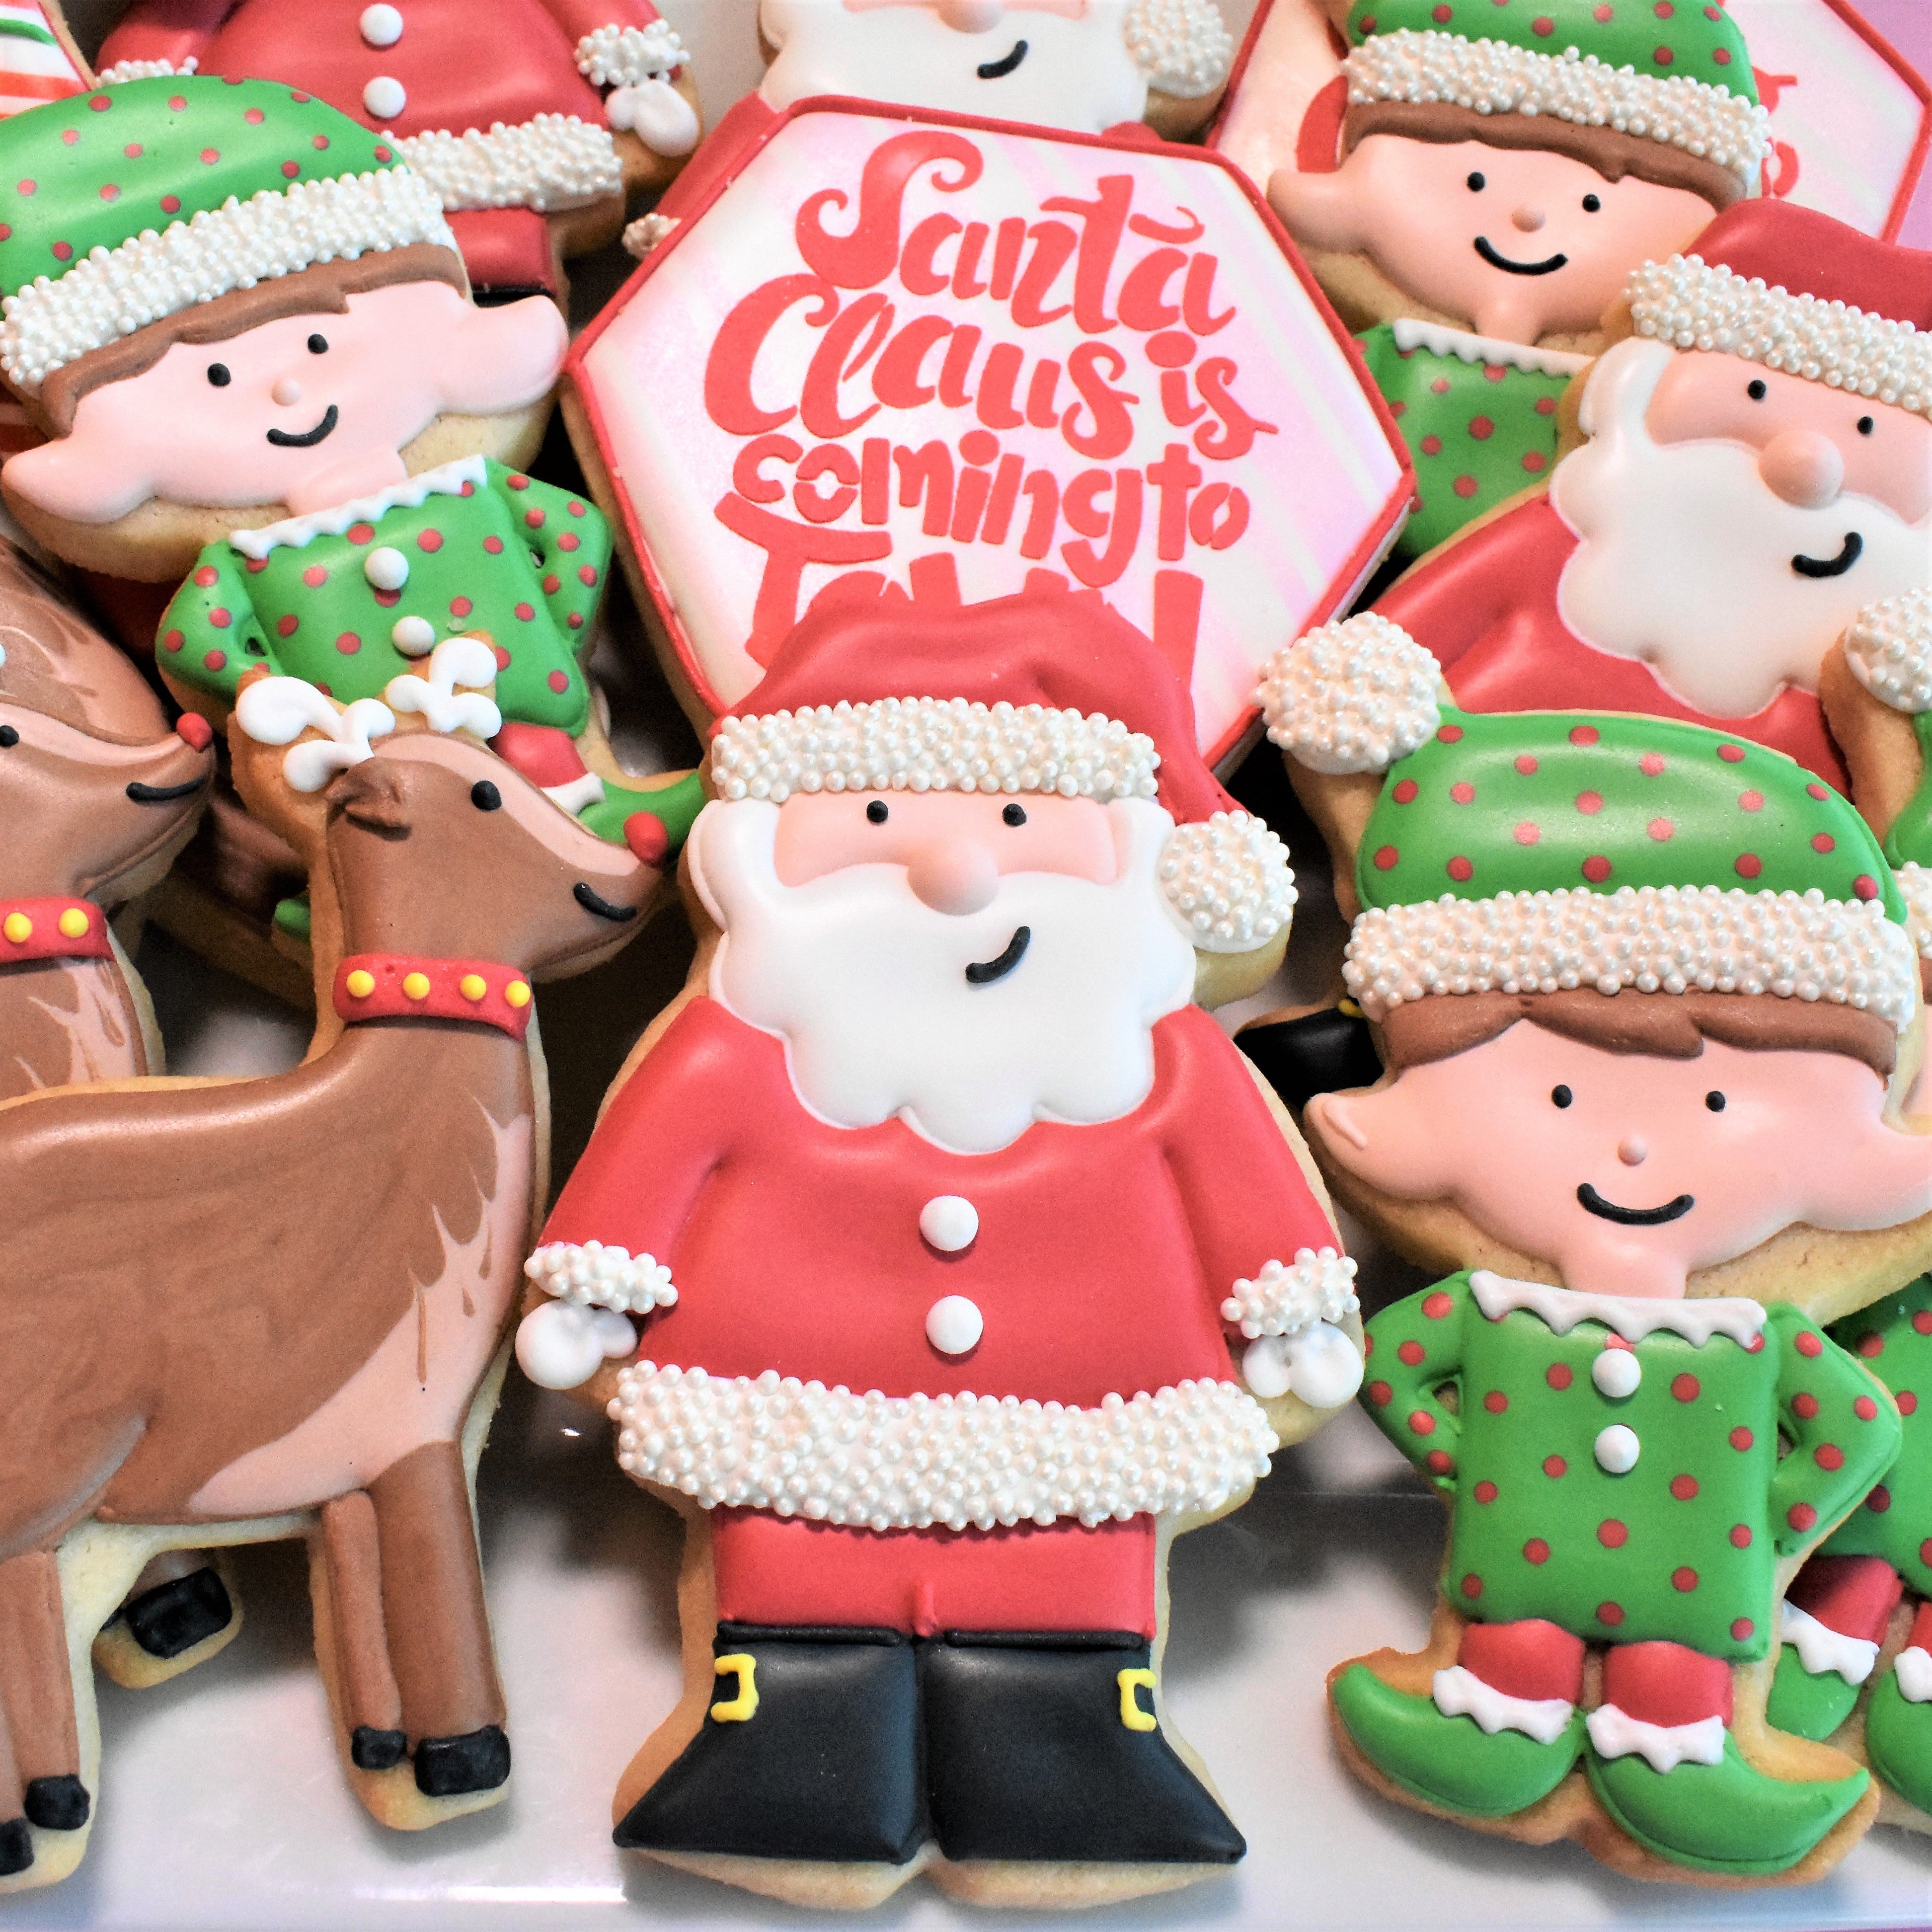
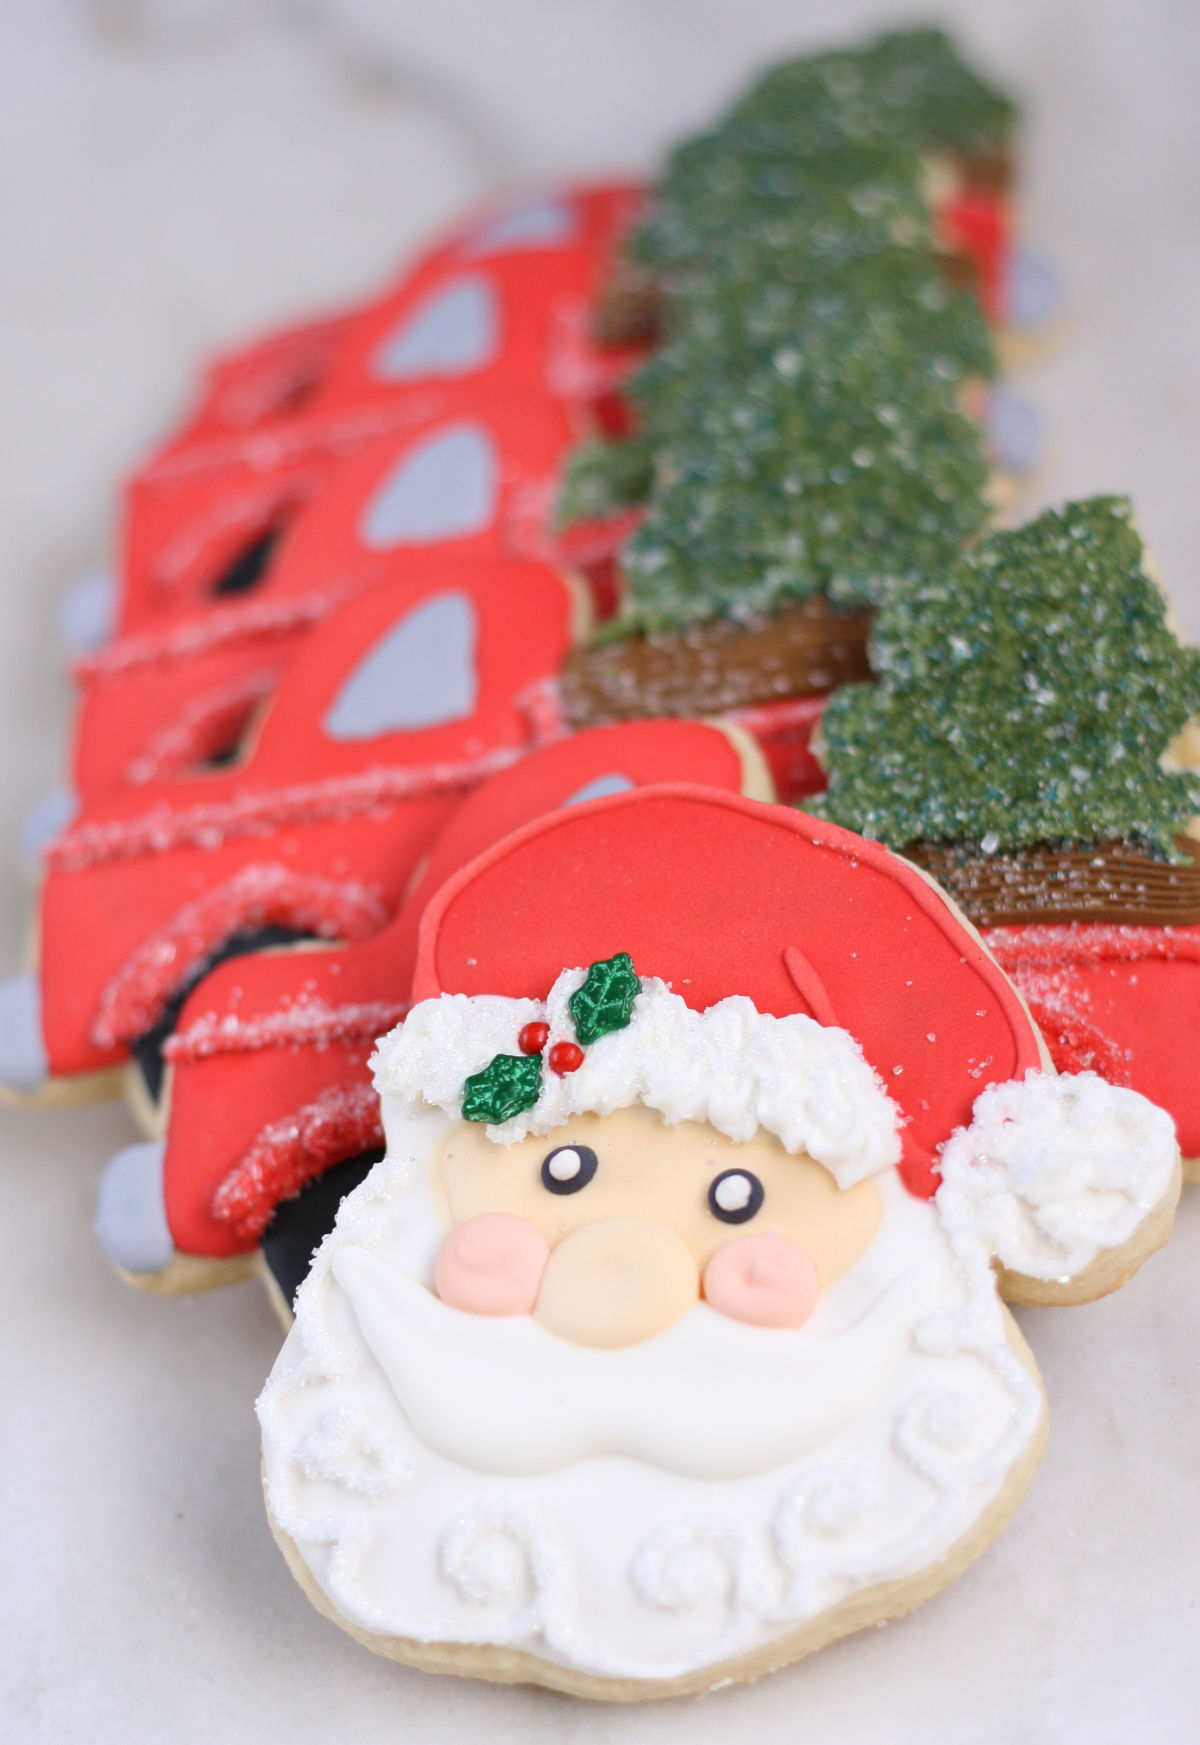
As the holiday season approaches, the magic of baking fills the air, and what better way to spread cheer than with beautifully decorated Santa Claus cookies? These delightful creations not only taste delicious but also bring a smile to everyone’s face. In this guide, I’ll share my personal experiences, tips, and tricks for making and decorating Santa cookies that are sure to impress. Let’s get started on this festive baking adventure!
The History of Santa Claus Cookies
Santa Claus cookies have a charming history that ties back to various holiday traditions around the world. Originating from the custom of leaving treats for Santa on Christmas Eve, these cookies have evolved into a fun baking activity that families enjoy together. I remember the first time I baked these cookies with my kids; we laughed, shared stories, and created memories that we cherish to this day.
Cultural Significance
Different cultures celebrate Christmas in unique ways, and Santa Claus cookies are a representation of those traditions. In the United States, people often leave milk and cookies for Santa, while other countries may have different variations. Understanding these traditions can add depth to your holiday baking experience.
Essential Ingredients for Santa Claus Cookies
Before you start baking, it’s crucial to gather all the necessary ingredients. Here’s a quick overview of what you’ll need:
Basic Cookie Recipe
| Ingredient | Quantity |
|---|---|
| All-purpose flour | 2 3/4 cups |
| Sugar | 1 1/2 cups |
| Butter (softened) | 1 cup |
| Eggs | 2 large |
| Baking powder | 1 teaspoon |
| Vanilla extract | 1 teaspoon |
| Salt | 1/2 teaspoon |
Decorating Ingredients
Once you’ve baked your cookies, it’s time to decorate! Here are some fun toppings and supplies:
- Royal icing (white, red, and black)
- Edible glitter
- Colored sprinkles
- Chocolate chips
- Fondant for 3D decorations
Step-by-Step Guide to Baking Santa Claus Cookies
Preparation
Start by preheating your oven to 350°F (175°C). While it’s heating, gather your ingredients, and let’s get mixing!
Mixing Ingredients
- In a large bowl, cream together the softened butter and sugar until fluffy.
- Add in the eggs and vanilla extract, mixing until well combined.
- In a separate bowl, whisk together flour, baking powder, and salt.
- Gradually add the dry ingredients to the wet mixture, stirring until the dough forms.
Shaping Santa Claus Cookies
Once your cookie dough is ready, it’s time to shape it. Here are a few tips:
- Roll out the dough to about 1/4 inch thickness.
- Use a Santa-shaped cookie cutter for that festive touch!
- Place the cookies on a parchment-lined baking sheet.
Baking the Cookies
Bake your cookies for 8-10 minutes, or until they’re just starting to turn golden around the edges. Once baked, let them cool on a wire rack.
Tips for Decorating Your Santa Claus Cookies
Now comes the most exciting part – decoration! Here are tips I’ve found helpful over the years:

Using Royal Icing
Royal icing is perfect for cookie decorating due to its smooth finish and ability to hold intricate designs. To make royal icing, you’ll need:
- 2 egg whites (or meringue powder for a safer option)
- 3 cups powdered sugar
- 1/2 teaspoon lemon juice
Coloring the Icing
Divide the icing into bowls and add gel food coloring to achieve vibrant red and green hues.

Decorating Techniques
- Piping: Use piping bags for intricate designs, like Santa’s beard or belt.
- Flooding: Flood the cookie with thinned icing for a smooth finish.
- Sprinkling: Add fun sprinkles before the icing sets for an extra festive touch.
Personal Experiences: Creating Memories with Santa Cookies
Every holiday season, I look forward to baking these cookies with my family. It has become a cherished tradition. The laughter, the flour fights, and the joy of decorating together create lasting memories. One year, my daughter decided to give Santa a scarf made of colorful sprinkles, and it made our cookies unique and filled with love.
Storage and Presentation
Storage Tips
To keep your cookies fresh, store them in an airtight container. They can last up to a week at room temperature, or you can freeze them for longer storage. Just ensure they’re wrapped well to prevent freezer burn.
Presentation Ideas
When it comes to presenting your decorated Santa cookies, think festive! Here are a few creative ideas:
- Place them on a decorative platter.
- Wrap them in clear cellophane bags tied with red ribbon.
- Use festive tins for gifting to friends and family.

Pros and Cons of Decorated Santa Claus Cookies
Pros
- Fun Activity: Baking and decorating can be a fun family activity.
- Customizable: You can personalize each cookie.
- Delicious Treat: They make wonderful holiday snacks.

Cons
- Time-Consuming: Decorating can take time, especially for intricate designs.
- Messy: The baking and decorating process can be messy.
- Perishable: They can lose freshness if not stored properly.
Frequently Asked Questions

1. Can I use store-bought cookie dough for Santa cookies?
Yes, you can use store-bought cookie dough to save time. Just remember, the fun is in decorating!
2. How long do decorated Santa Claus cookies last?
When stored properly in an airtight container, they can last up to a week at room temperature.

3. Can I freeze decorated cookies?
Yes, you can freeze decorated cookies. Just ensure they are wrapped well to prevent freezer burn.
4. What kind of icing is best for decorating cookies?
Royal icing is the best choice for decorating cookies as it hardens and provides a smooth finish.

5. How can I make my cookies softer?
If you prefer softer cookies, consider using more brown sugar and underbaking them slightly.
Conclusion
Baking decorated Santa Claus cookies is more than just a holiday tradition; it’s an opportunity to create cherished memories with loved ones. Whether you prefer simple designs or intricate decorations, the joy of baking these cookies is unmatched. So gather your ingredients, invite your family into the kitchen, and let the holiday baking fun begin! Happy Holidays!