As the winter season rolls in, the holiday spirit fills the air, and what better way to celebrate than with some delightful decorated snowman cookies? Whether you’re baking for a festive gathering or simply want to indulge your sweet tooth, these cookies are not only delicious but also an absolute joy to create and share. Join me on this fun baking adventure, and let’s dive into the world of decorated snowman cookies!
Why Decorated Snowman Cookies?
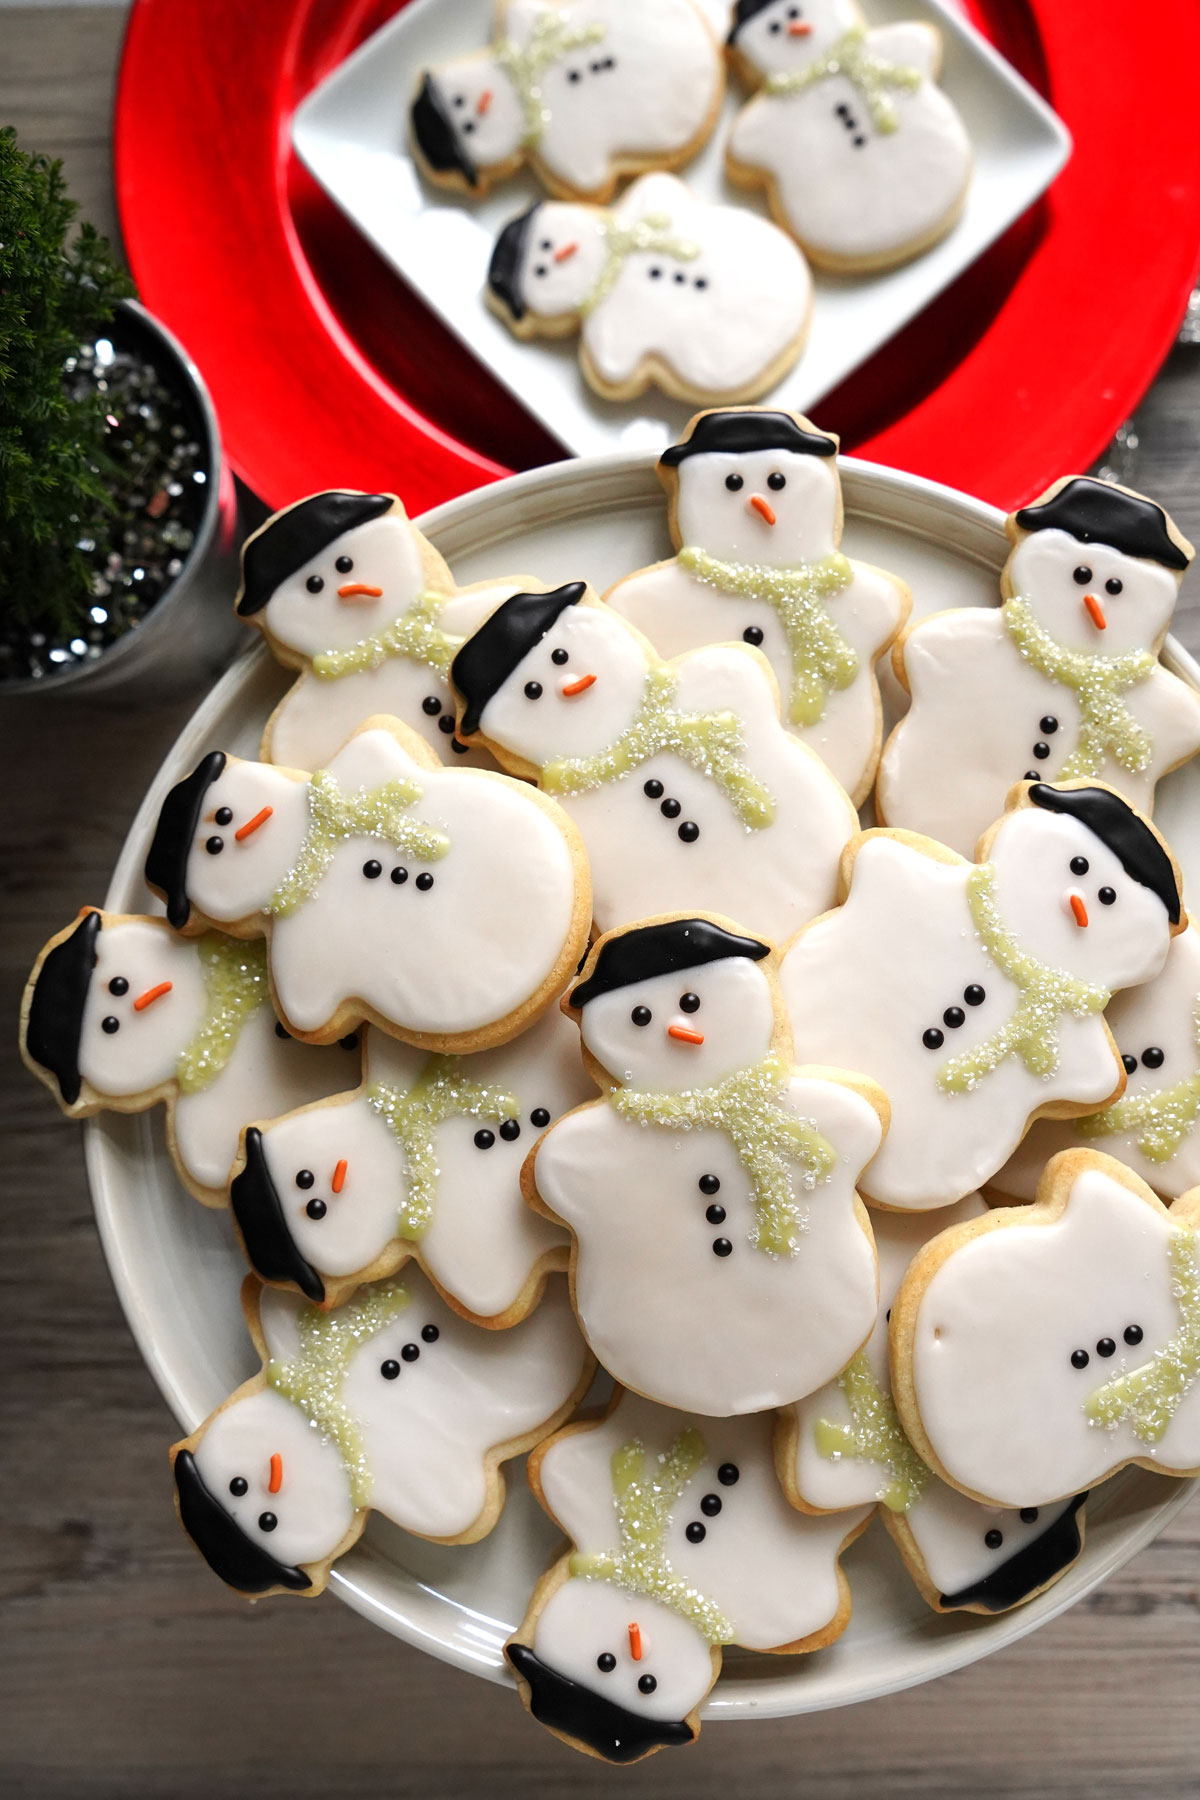
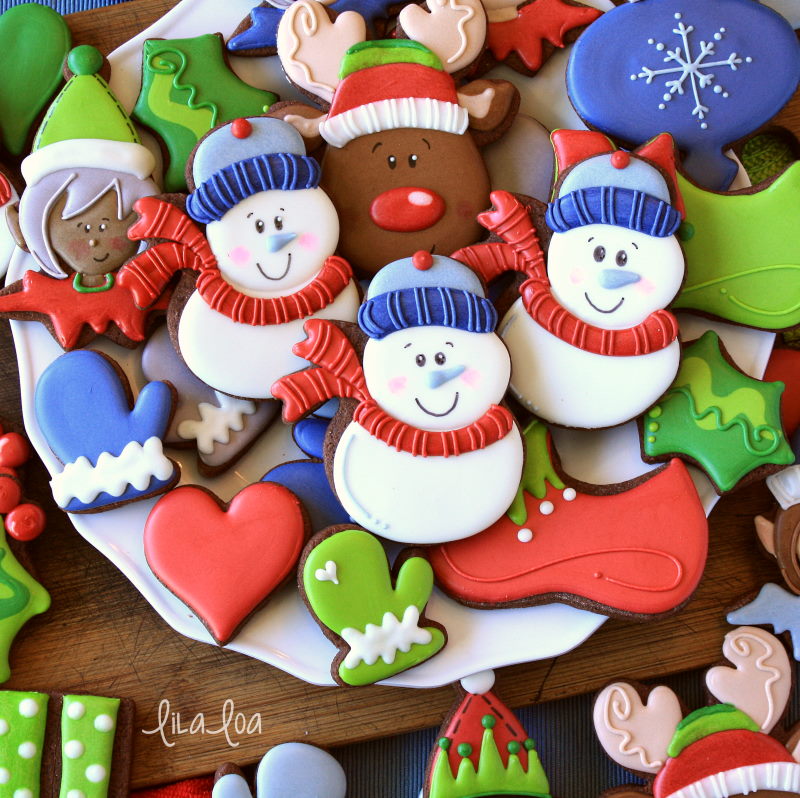
There’s something magical about snowman cookies that brings a smile to everyone’s face. They’re perfect for:
- Holiday parties
- Children’s events
- Gift giving
- Winter-themed gatherings
In my experience, baking these cookies has become a cherished tradition within my family, sparking laughter and creativity while decorating. Plus, they make a charming centerpiece for any holiday table!
Ingredients You Need
Before we dive into the baking process, let’s gather our ingredients. Here’s what you’ll need to make the cookie base and the icing:
Cookie Base Ingredients
| Ingredient | Quantity |
|---|---|
| All-purpose flour | 2 ¾ cups |
| Sugar | 1 cup |
| Unsalted butter | 1 cup (softened) |
| Eggs | 1 large |
| Baking powder | 1 tsp |
| Vanilla extract | 2 tsp |
| Salt | ½ tsp |
Royal Icing Ingredients
| Ingredient | Quantity |
|---|---|
| Powdered sugar | 4 cups |
| Egg whites or meringue powder | 3 egg whites or 3 tbsp meringue powder |
| Water | 2-4 tbsp (as needed) |
| Food coloring | Various colors |
Step-by-Step Cookie Recipe
1. Preparing the Dough
Start by preheating your oven to 350°F (175°C). In a large bowl, cream together the softened butter and sugar until light and fluffy. Beat in the egg and vanilla extract. In a separate bowl, whisk together the flour, baking powder, and salt. Gradually blend the dry mixture into the wet mixture until a dough forms.
Wrap the dough in plastic wrap and refrigerate for at least one hour. This will make rolling out the dough much easier!

2. Rolling Out and Cutting Shapes
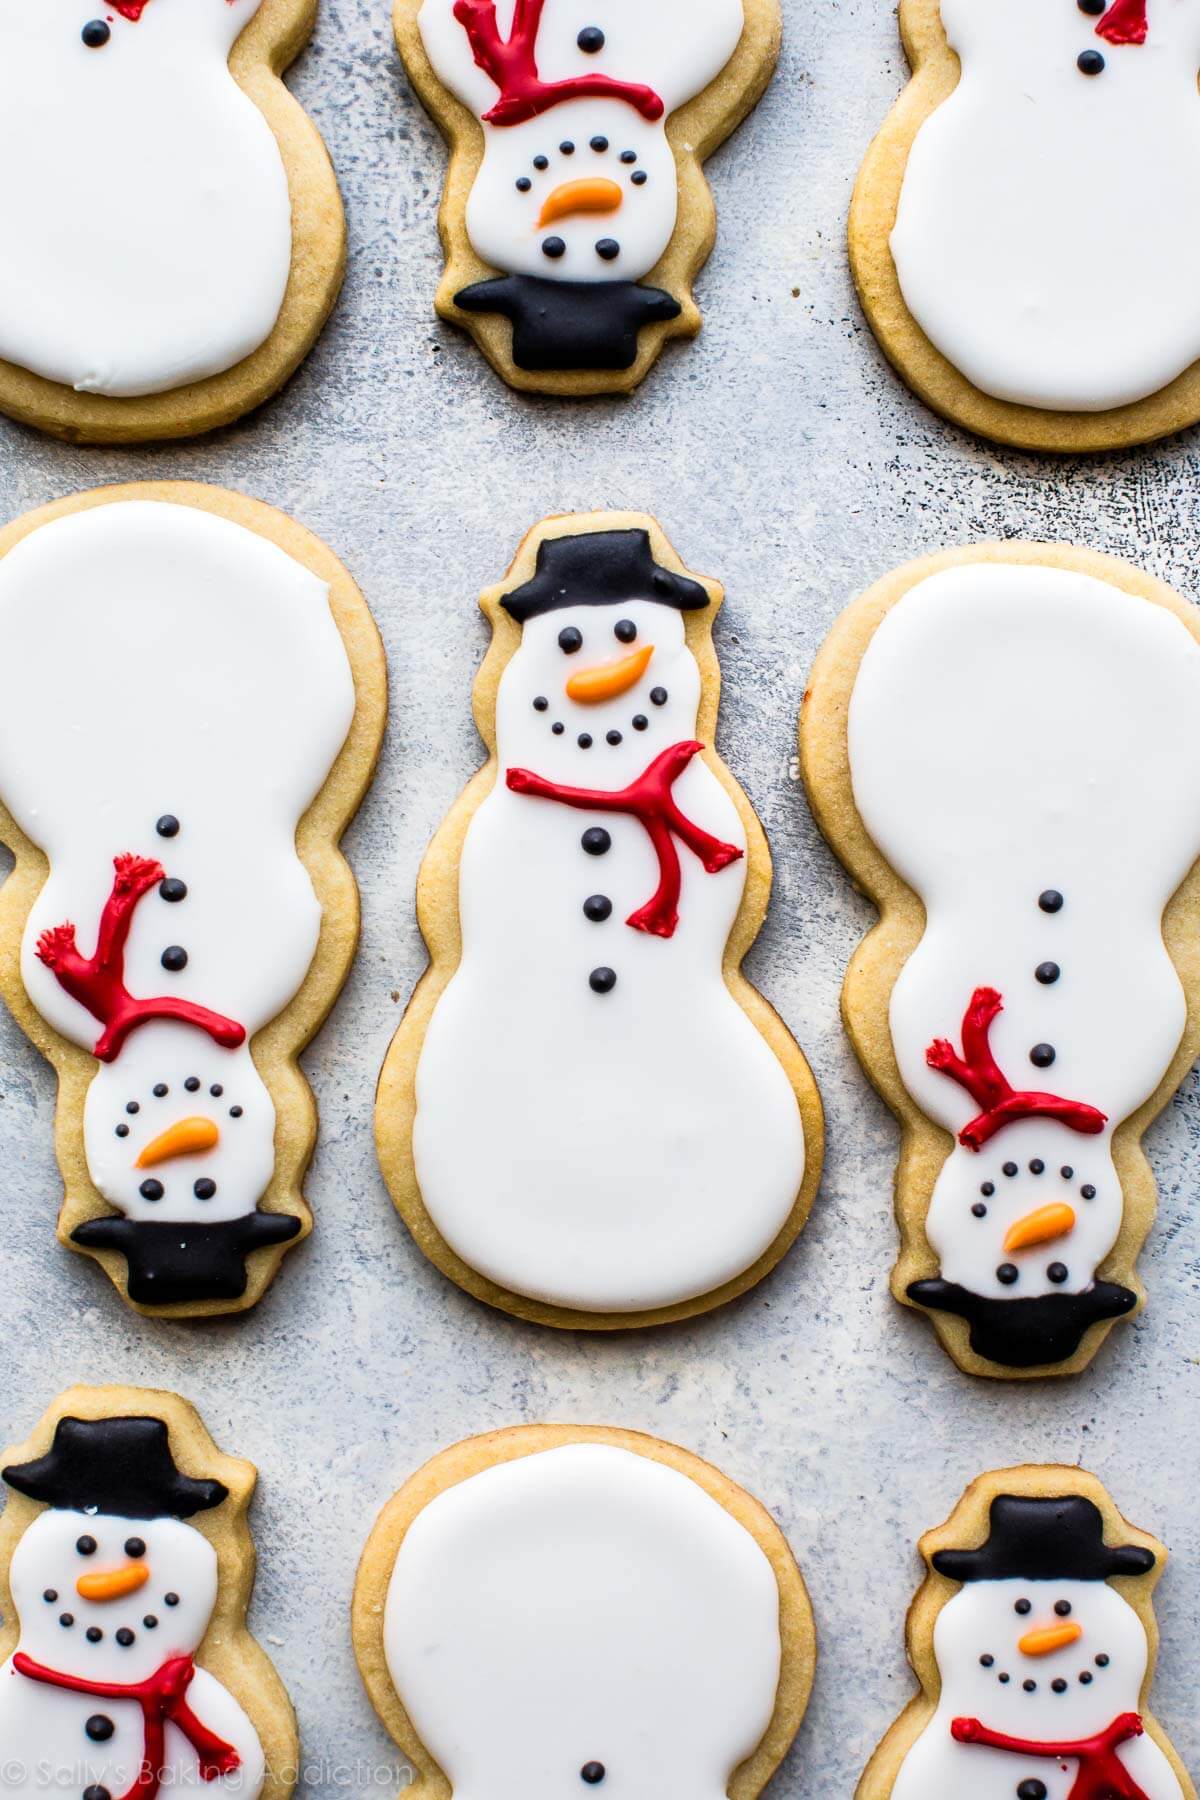
Once the dough is chilled, lightly flour your workspace and roll out the dough to about ¼ inch thick. Use a snowman-shaped cookie cutter to cut out your cookies and place them on a parchment-lined baking sheet.
3. Baking the Cookies
Bake for 8-10 minutes or until the edges are lightly golden. Allow them to cool on a wire rack before decorating.
Mastering Royal Icing Techniques
Royal icing is the key to creating stunning decorated snowman cookies. Here’s how to prepare it:
Mixing Royal Icing
Combine the powdered sugar with egg whites or meringue powder in a mixing bowl. Beat on low speed, gradually adding water until you reach a thick, spreadable consistency. You can adjust the thickness by adding more water or sugar as needed.
Coloring Your Icing
Divide your royal icing into separate bowls and add food coloring as desired. Use gel colors for vibrant hues that won’t water down your icing. For snowman cookies, I typically use:
- White for the snowman body
- Orange for the carrot nose
- Black for the eyes and buttons
- Various colors for scarves and hats
Decorating Your Snowman Cookies
Now comes the fun part—decorating! Here are some tips to create adorable snowman faces:
Basic Decorating Techniques
1. Flooding Icing
To cover larger areas, use the flooding technique. Outline the area with thicker icing and fill it in with a thinner consistency. Use a toothpick to spread the icing evenly.
2. Piping Details
Once the base icing has dried (at least 2-4 hours), use a piping bag fitted with a small round tip to add details like eyes, mouths, and buttons.
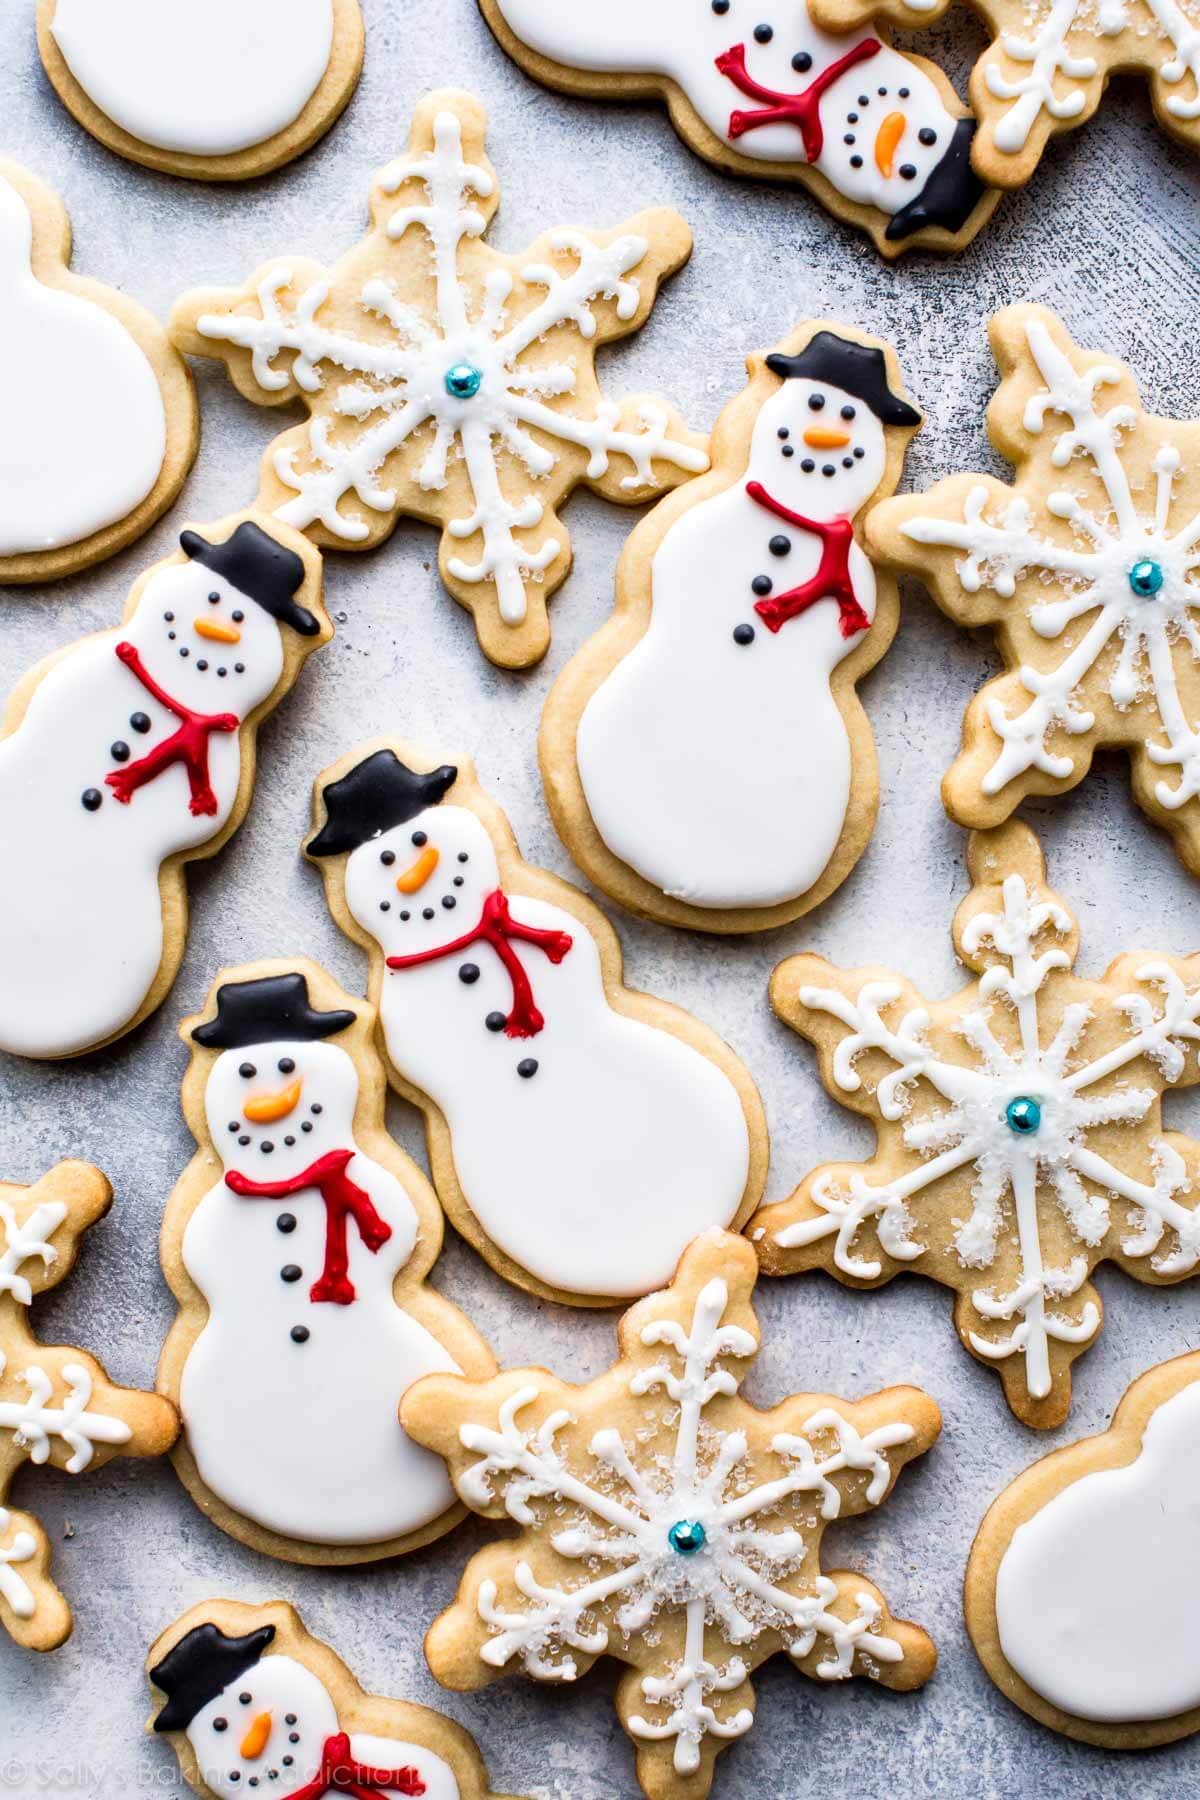
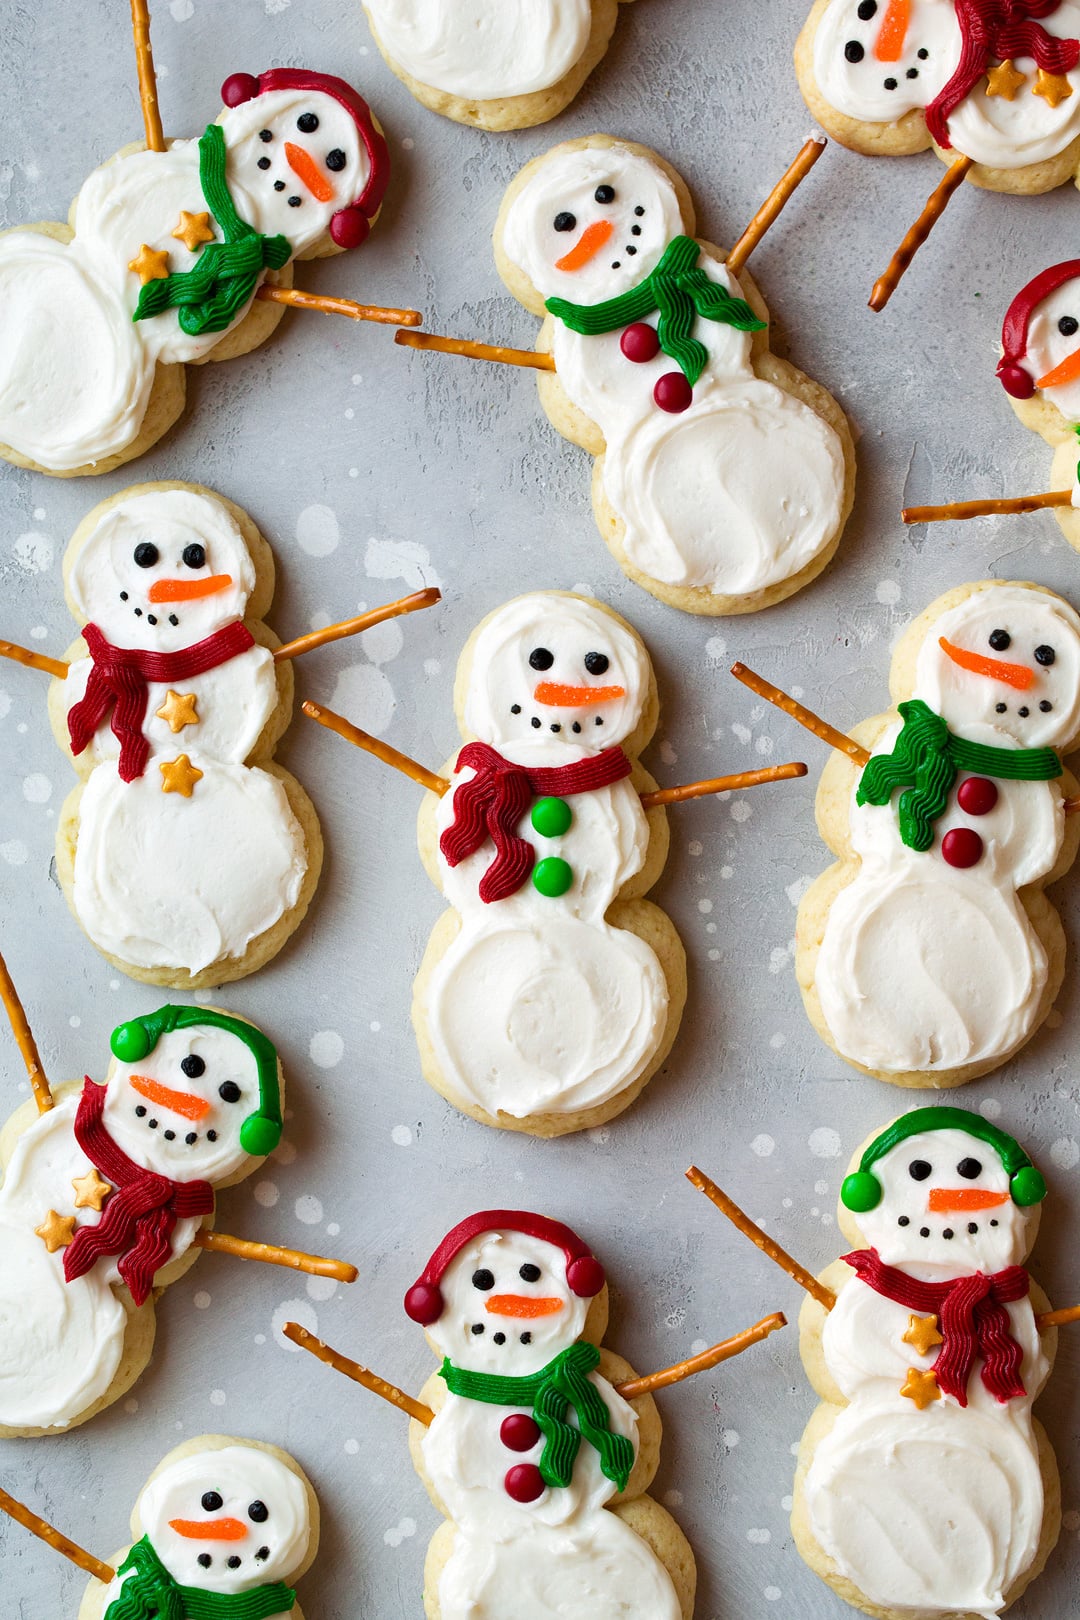
Creative Decoration Ideas
Get creative! Here are some ideas you can try:
- Add mini chocolate chips for buttons.
- Use candy pieces for hats and scarves.
- Add sprinkles for extra festive flair.
Storage Tips for Your Cookies
To keep your decorated snowman cookies fresh and tasty:
- Store them in an airtight container at room temperature for up to a week.
- For longer storage, freeze the un-decorated cookies. Thaw them before decorating.

Personal Experience: Joy in the Process
Every year, my family and I gather around the kitchen table to bake and decorate snowman cookies. It’s more than just a baking session; it becomes a beautiful bonding time filled with laughter, creativity, and sometimes a little chaos. I’ve learned that the imperfections often make the cookies even more special. So don’t worry about the perfect shape or color—just have fun!
Pros and Cons of Decorated Snowman Cookies
| Pros | Cons |
|---|---|
| Easy to customize | Can take time to decorate |
| Fun family activity | Requires some skill with icing |
| Perfect for gifting | May not hold up well in hot weather |
FAQs About Decorated Snowman Cookies
What is the best way to color royal icing?
The best way is to use gel food coloring, which provides vibrant colors without altering the icing’s consistency. Add small amounts at a time until you reach your desired shade.
How long do decorated snowman cookies last?
When stored in an airtight container, decorated cookies can last for about a week at room temperature. If frozen, they can last up to 3 months.
Can I use a different icing recipe?
Yes! While royal icing is traditional for decorating cookies, you can also use buttercream icing for a softer finish. Just be aware that buttercream might not provide the same crisp details.
Are there any allergen-free alternatives for the ingredients?
Absolutely! You can substitute all-purpose flour with gluten-free flour blends and use vegan butter or egg replacers for the cookies. For the icing, look for meringue powder that fits your dietary needs.
Conclusion: Create Your Own Snowman Wonderland
Decorated snowman cookies are not just tasty treats; they’re a way to connect with loved ones during the holiday season. With the tips, recipes, and techniques I’ve shared, you’re now ready to embark on your own baking adventure. Remember, it’s all about creativity, joy, and the memories you create along the way. Happy baking!