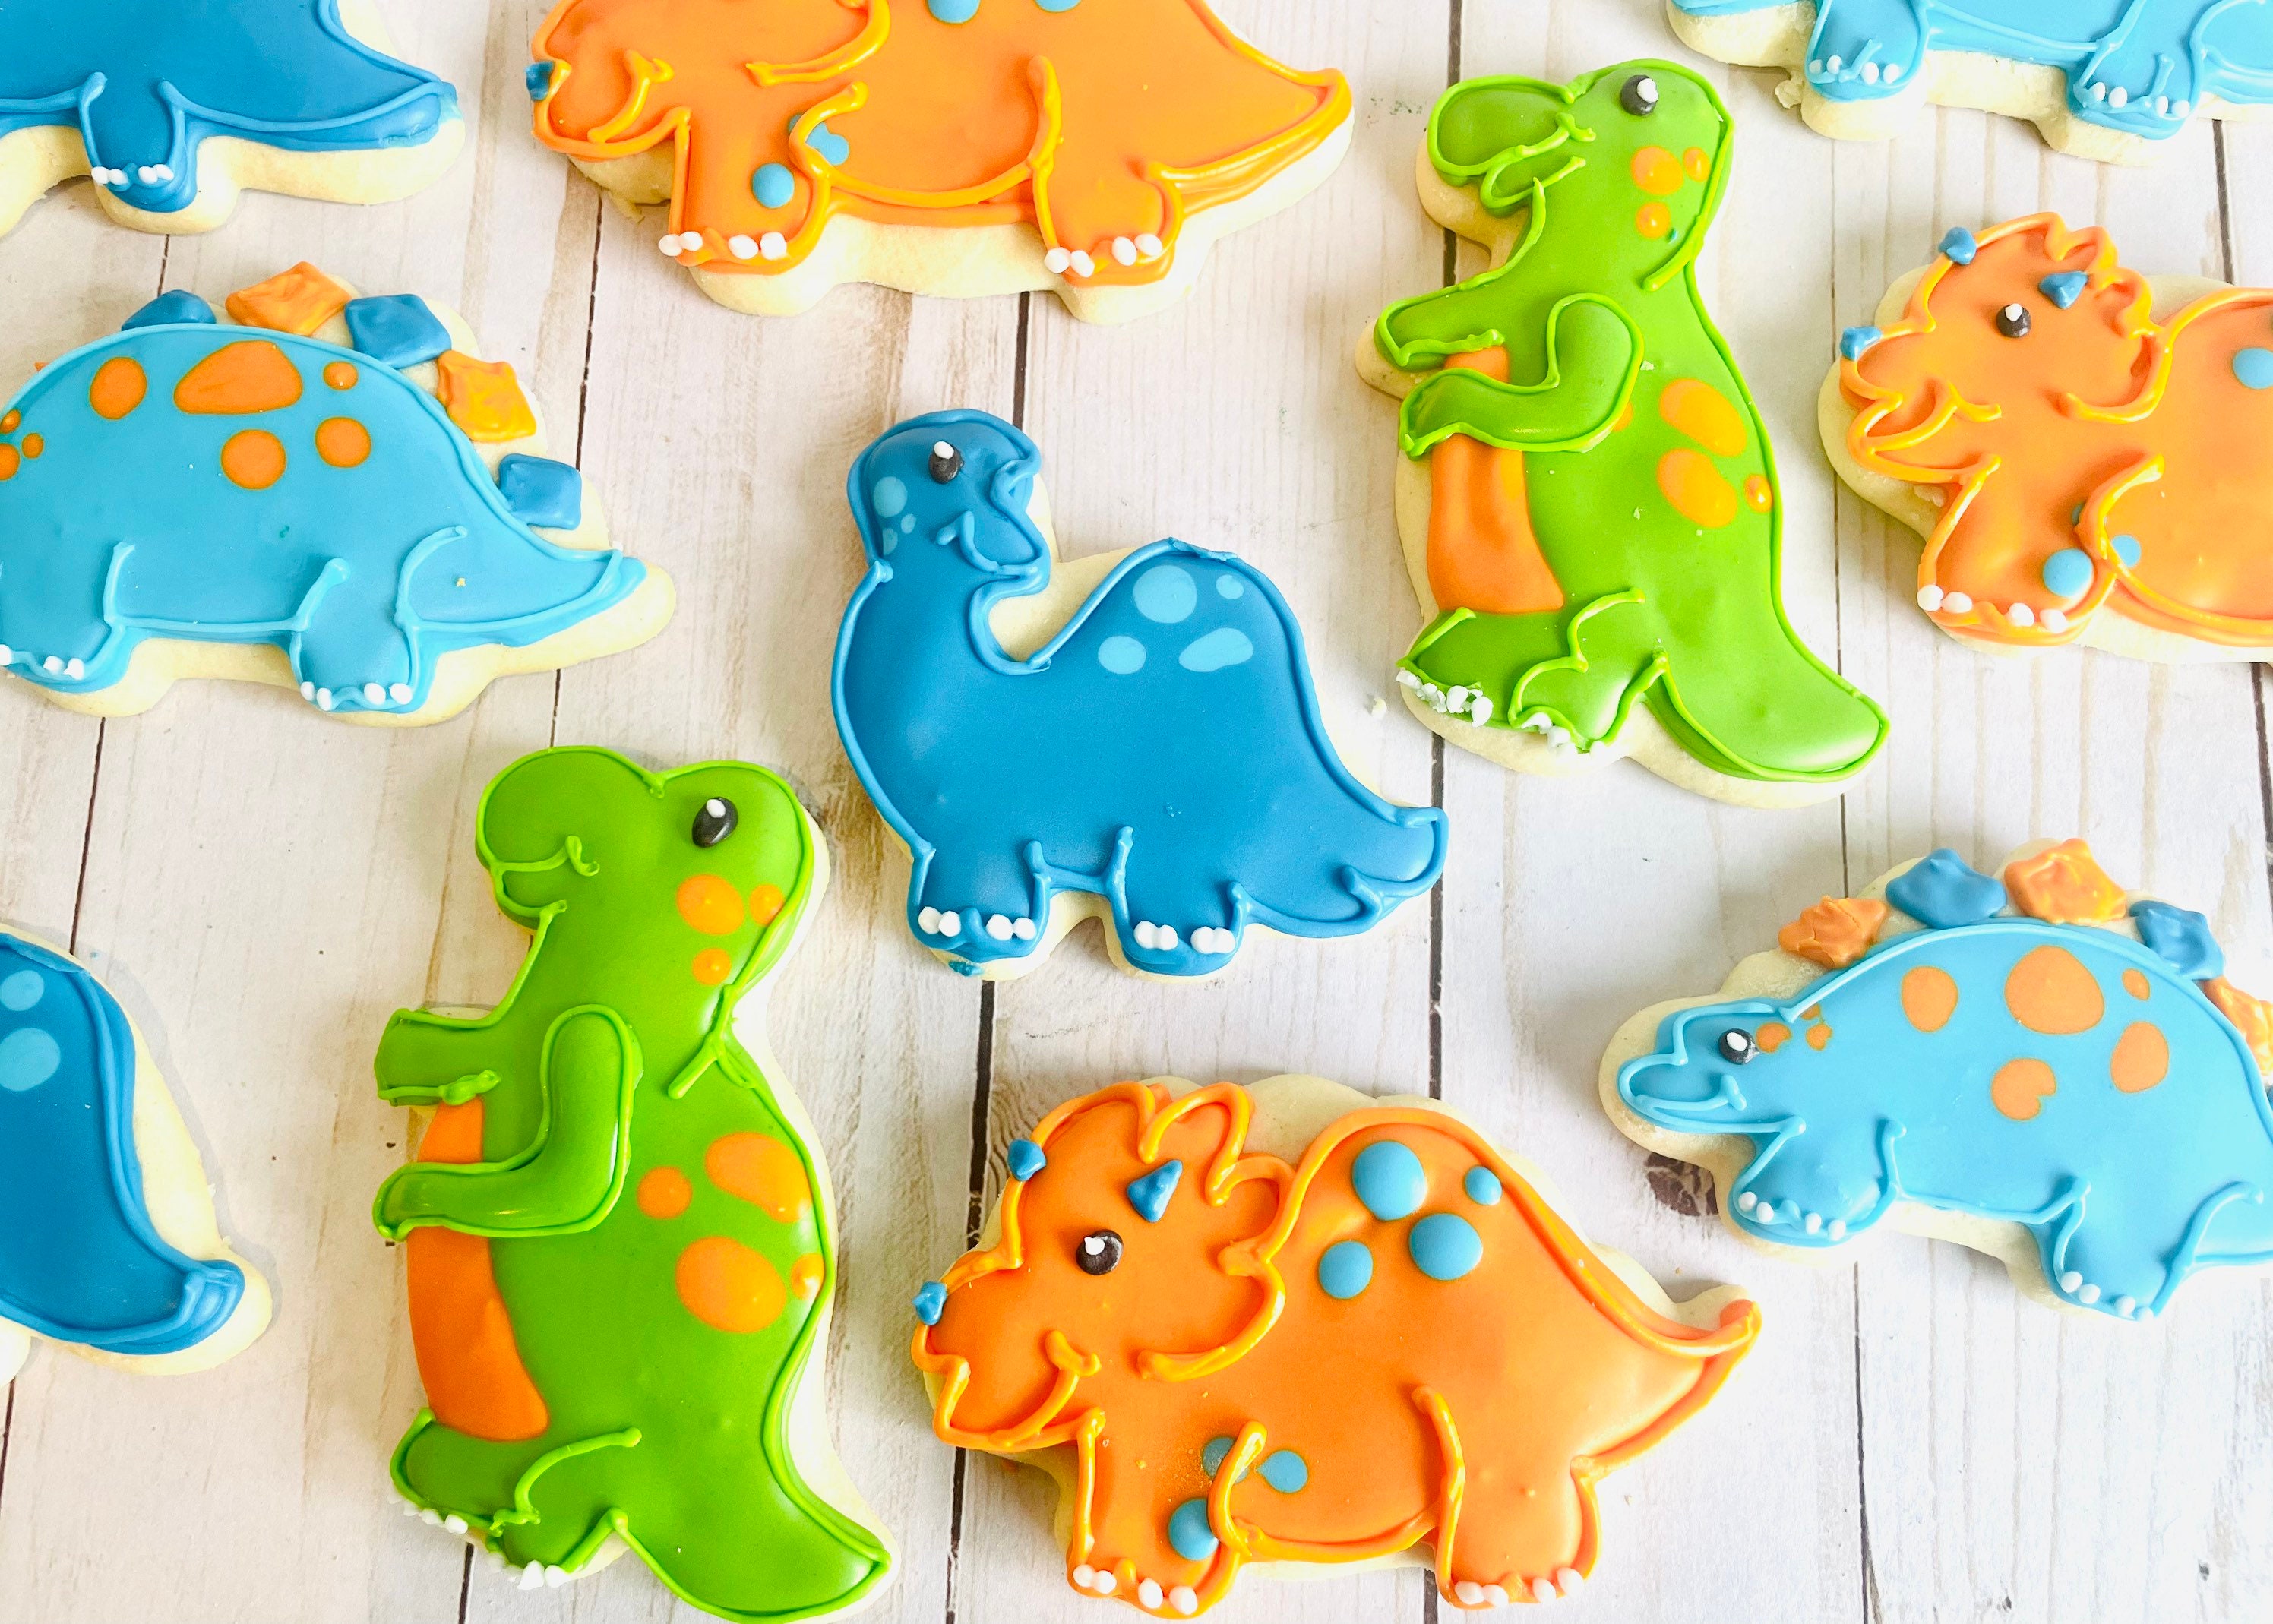
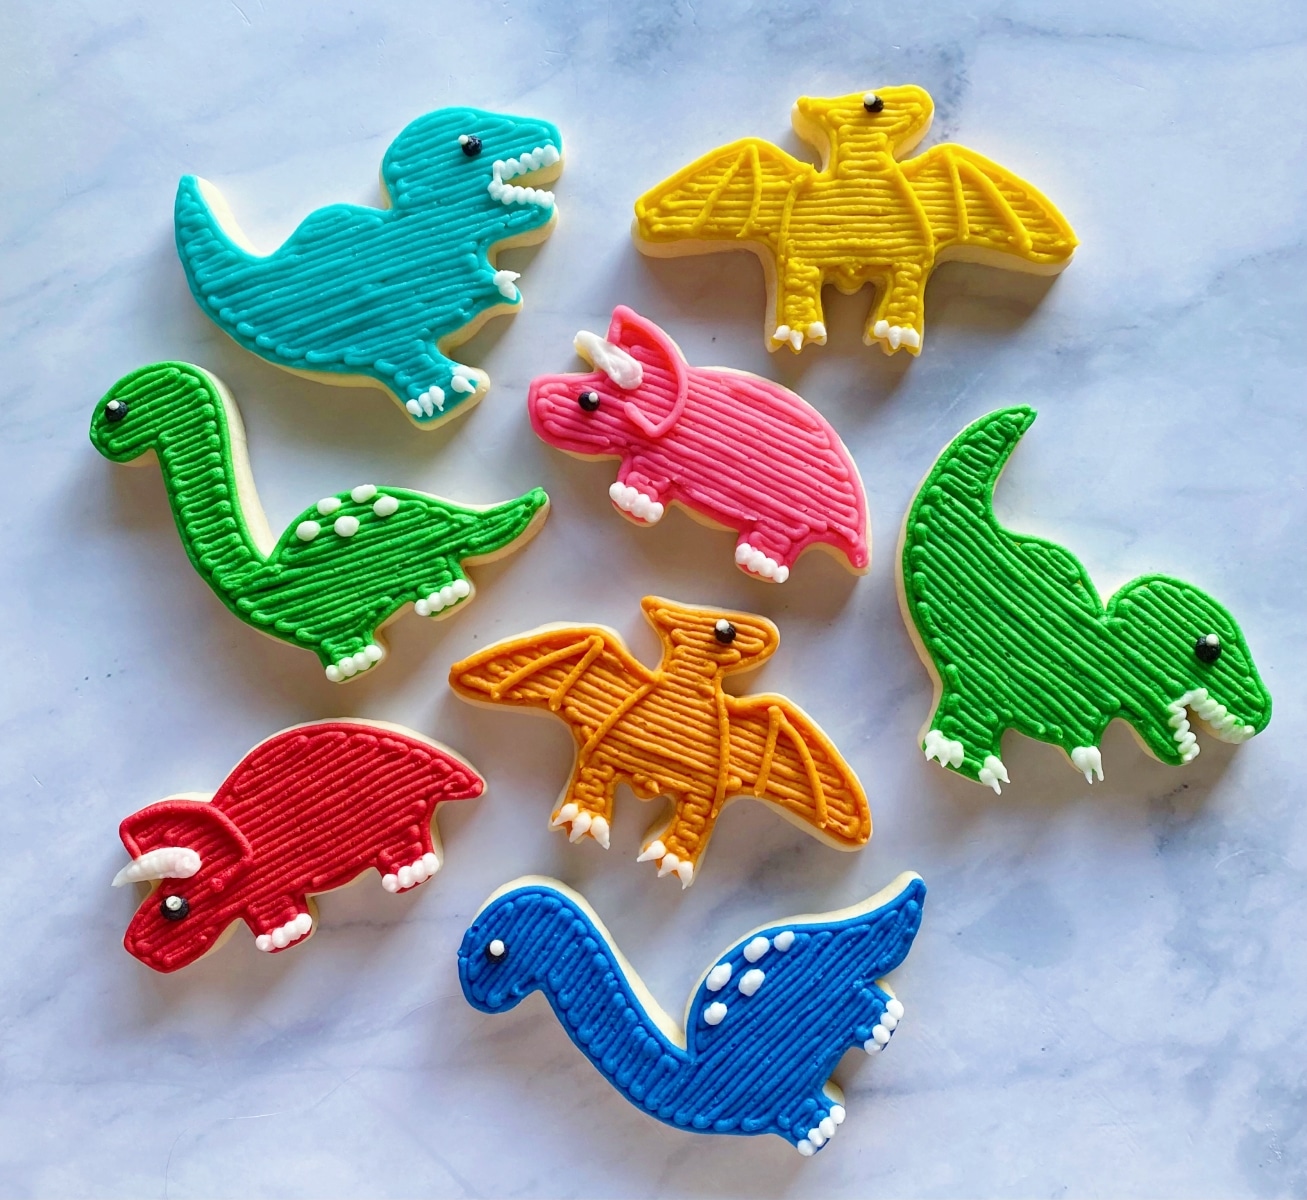
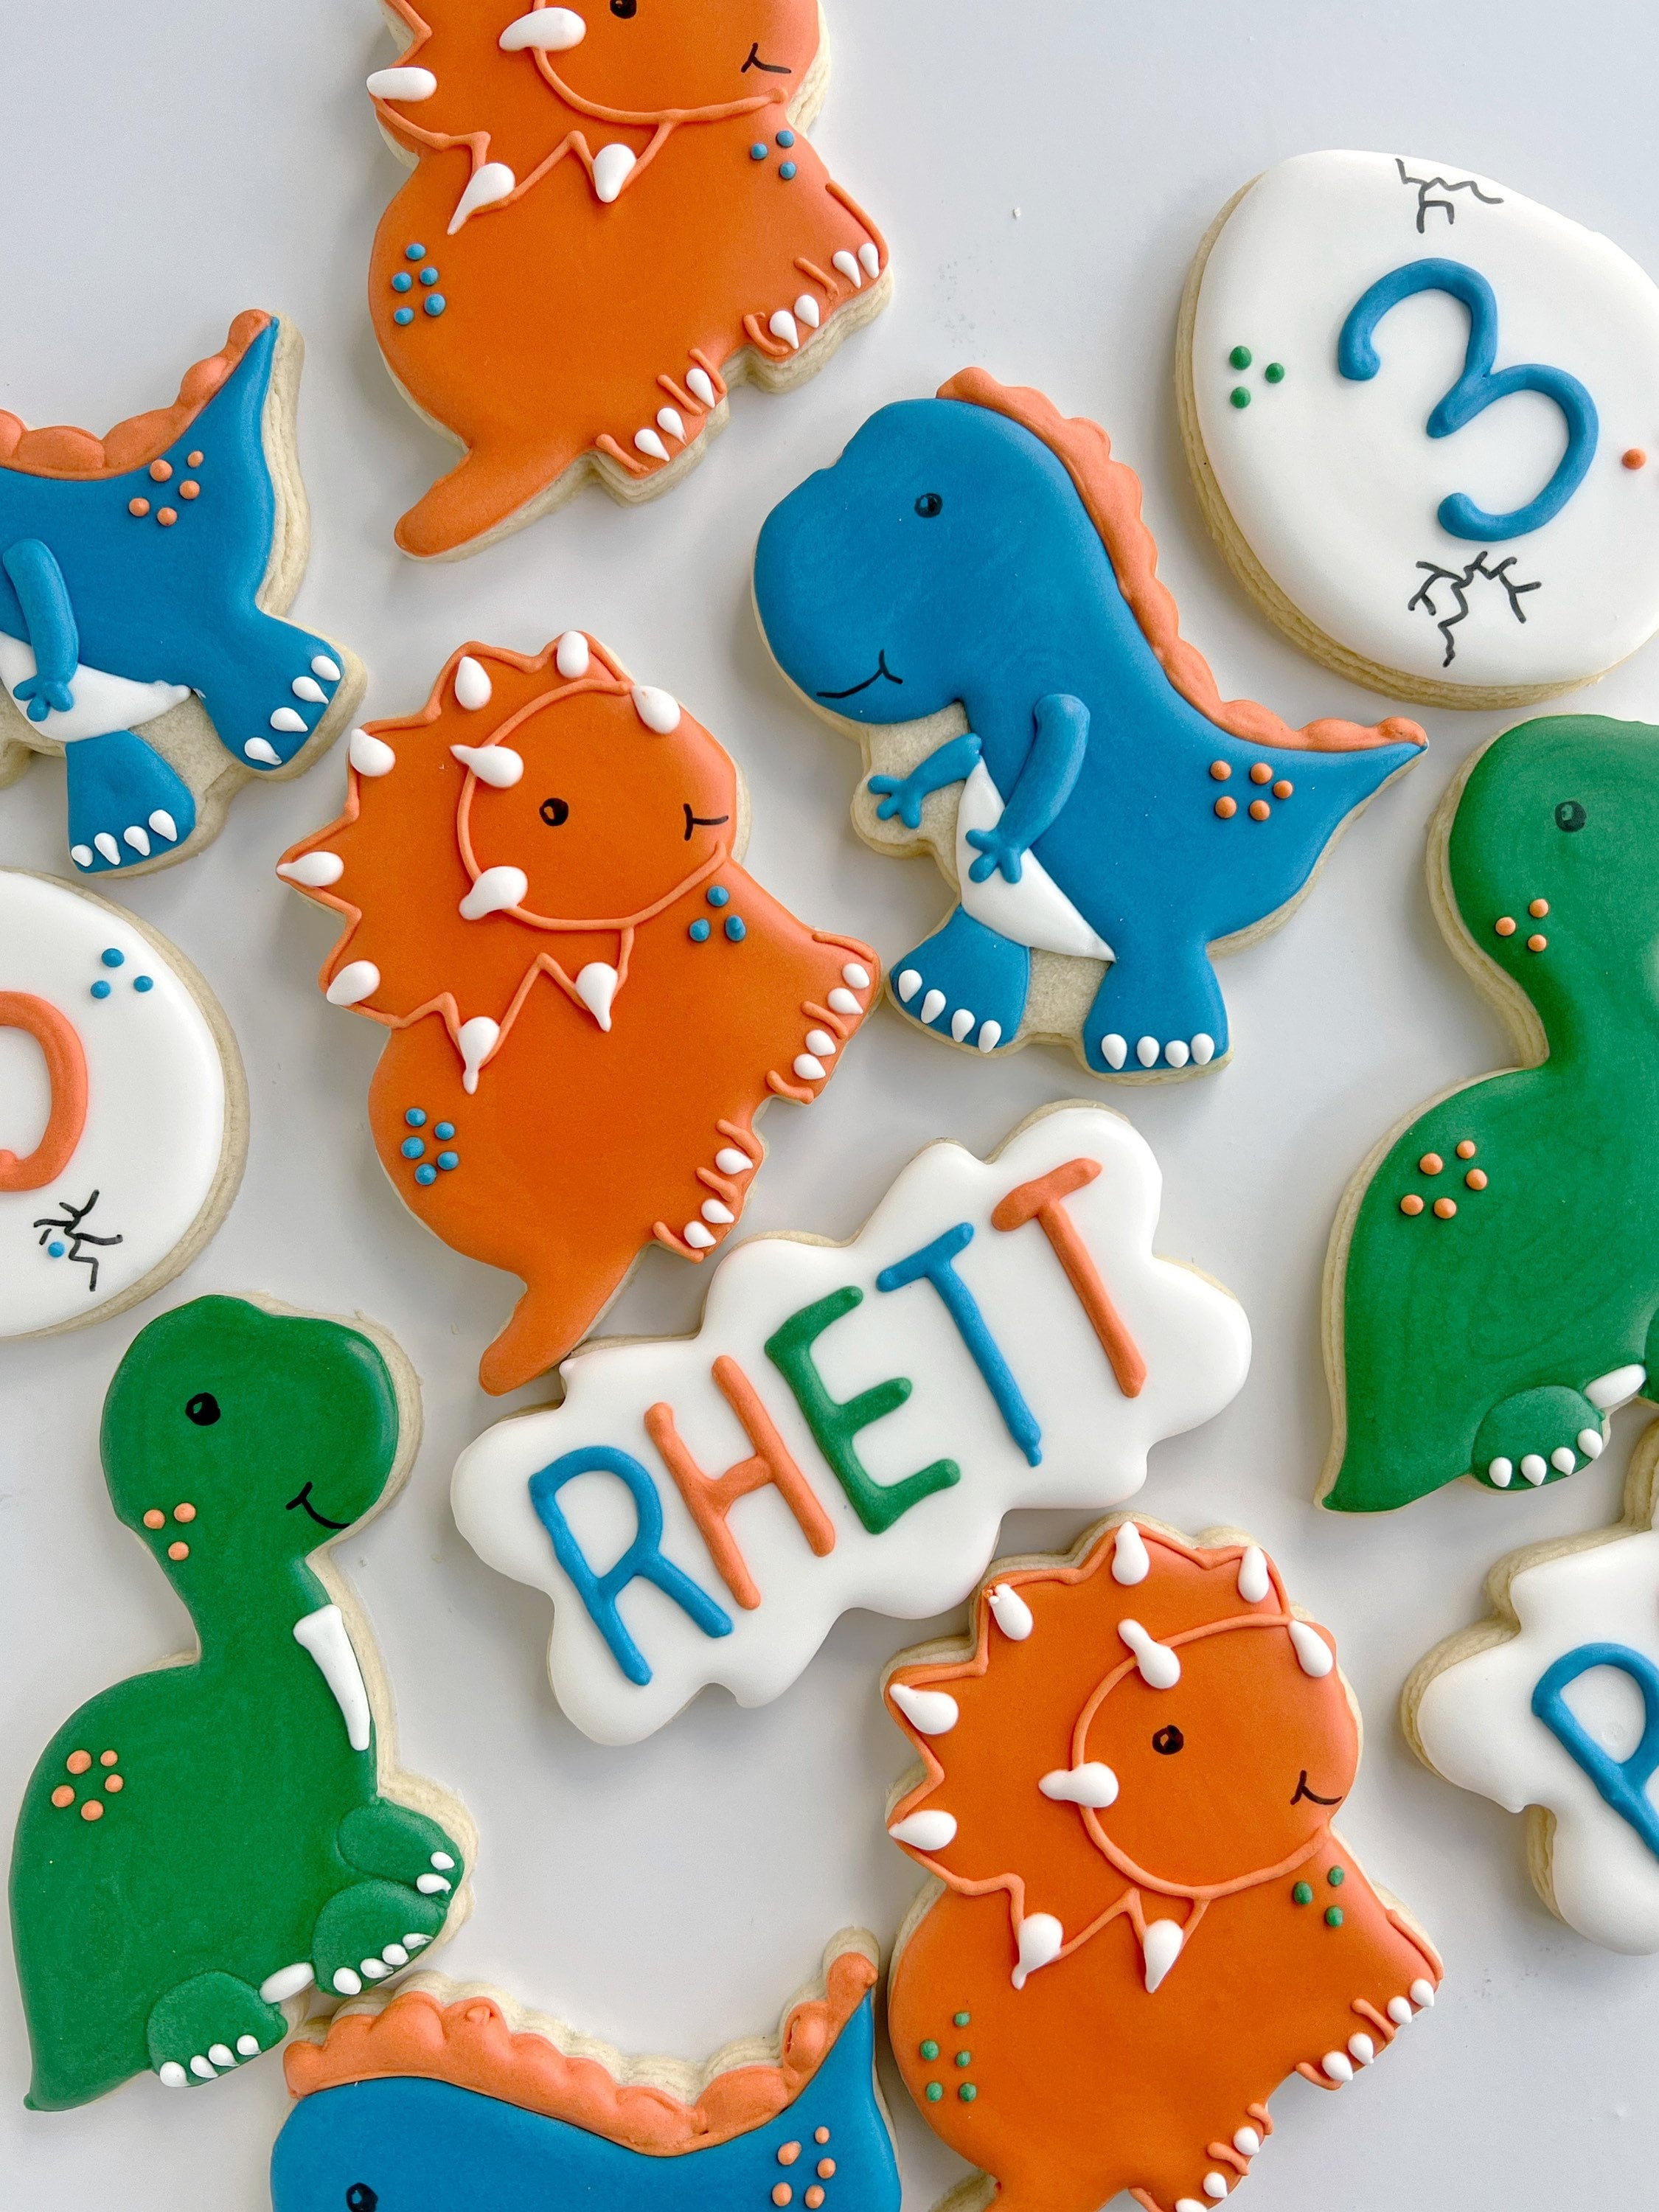
Welcome to the enchanting world of dinosaur cookies! Whether you’re a baking newbie or a seasoned pro, decorating these delightful cookies will bring out your inner child. Join me as we explore everything from recipes to decorating techniques that will make your cookies a hit at every event.
Why Choose Dinosaur Cookies?
Dinosaur cookies are not only adorable but also a big hit among children and adults alike. They make for a perfect themed party treat or a fun activity at home. Plus, who doesn’t love the charm of dinosaurs?
- Perfect for birthday parties.
- Great for educational purposes.
- Fun baking activity for families.
Getting Started: Ingredients and Tools
Before we dive into the decorating process, let’s gather our ingredients and tools. Here’s what you’ll need:
Ingredients
- 2 3/4 cups all-purpose flour
- 1 teaspoon baking soda
- 1/2 teaspoon salt
- 1 cup unsalted butter, softened
- 1 1/2 cups granulated sugar
- 1 large egg
- 1 teaspoon vanilla extract
- Royal icing for decorating
- Food coloring (various colors for decorating)
Tools
- Baking sheets
- Parchment paper
- Cookie cutters (dinosaur-shaped)
- Mixing bowls
- Whisk
- Pastry bags and tips for icing
- Rolling pin
- Cooling rack
Step-by-Step Cookie Recipe
Preparing the Dough
Now that we have everything in place, let’s start baking!
- In a mixing bowl, whisk together the flour, baking soda, and salt. Set aside.
- In another bowl, cream together the softened butter and sugar until light and fluffy.
- Add the egg and vanilla extract to the butter mixture and continue to mix.
- Gradually add the dry ingredients to the wet mixture until well combined.
- Chill the dough for at least 1 hour in the refrigerator.
Baking the Cookies
- Preheat your oven to 350°F (175°C).
- Roll out the dough on a floured surface to about 1/4 inch thick.
- Use dinosaur-shaped cookie cutters to cut out the cookies and place them on a parchment-lined baking sheet.
- Bake for 8-10 minutes until the edges are lightly golden.
- Let the cookies cool on a rack before decorating.

Decorating Tips for Dinosaur Cookies
Now comes the fun part – decorating! Here are some tips to make your dinosaur cookies stand out.
Choosing Your Designs
Popular designs include:
- Brontosaurus in green and yellow
- Velociraptor in shades of blue
- Stegosaurus with bright pink spikes
- Triceratops decorated with edible glitter
Using Royal Icing
Royal icing is ideal for decorating as it dries hard, providing a smooth finish. Here’s a quick guide:
- Mix 4 egg whites with 1 pound of powdered sugar.
- Add a few drops of lemon juice to enhance flavor.
- Divide the icing into bowls and add food coloring as desired.
- Use a piping bag with a small tip for fine details.

Techniques for Decorating
| Technique | Description | Pros | Cons |
|---|---|---|---|
| Flooding | Covering the cookie with a layer of icing. | Smooth finish; vibrant colors. | Requires practice to avoid flooding over the edges. |
| Piping | Using a piping bag to create outlines and details. | Great for intricate designs. | Can be time-consuming. |
| Sprinkling | Adding sprinkles or edible glitter. | Easy and fun! | Can be messy. |
Personal Experience: My Fun with Dinosaur Cookies
Let me share a little story from my own baking adventures. The first time I tried my hand at decorating dinosaur cookies, it was a family activity with my kids. We spent an entire afternoon rolling dough, cutting out shapes, and decorating them with vibrant colors. The sheer joy on their faces when they saw their edible creations was priceless! Not only did we make delicious cookies, but we also created lasting memories together.
We hosted a small dinosaur-themed party, and the cookies were the highlight! There’s something magical about seeing both kids and adults squeal in delight over a cookie shaped like a T-Rex. It truly brings the dinosaur theme to life!

FAQs About Dinosaur Cookies Decorated
Can I use cookie mix for dinosaur cookies?
Absolutely! Cookie mixes can save time, but homemade dough offers a fresher taste.
How can I store my decorated dinosaur cookies?
Store them in an airtight container at room temperature. They can last up to a week, but they’re usually eaten much sooner!

Can I freeze dinosaur cookies?
Yes! You can freeze undecorated cookies for up to three months. Just ensure they are wrapped properly to prevent freezer burn.
What are some fun decoration ideas for kids?
Using edible markers, candy eyes, and colorful sprinkles can make the decorating process more engaging for kids.

Are there allergy-friendly recipes for dinosaur cookies?
Yes, you can substitute regular flour with almond or gluten-free flour, and use egg replacers for vegan options. Just ensure to check for other allergens!
Final Thoughts: The Joy of Baking and Decorating Dinosaur Cookies
Whether you are baking for a party, a classroom event, or simply want to spend quality time with loved ones, dinosaur cookies are a fantastic choice. They are not only delicious but also a great way to spark creativity and fun. I encourage you to try this delightful activity and create your own dino-tastic treats!
Remember, the most important ingredient in baking is love. So roll up your sleeves, gather your friends and family, and let’s make some prehistoric magic happen!