It’s that time of year again when twinkling lights and festive decorations fill our homes. This holiday season, why not add a unique twist to your décor with an ice cream cone Christmas tree? This fun and creative project brings back childhood memories while adding a cheerful touch to your holiday celebrations.
In this article, I will share my personal experiences, tips, and detailed instructions on how to make your very own ice cream cone Christmas tree. Let’s get started!
What is an Ice Cream Cone Christmas Tree?
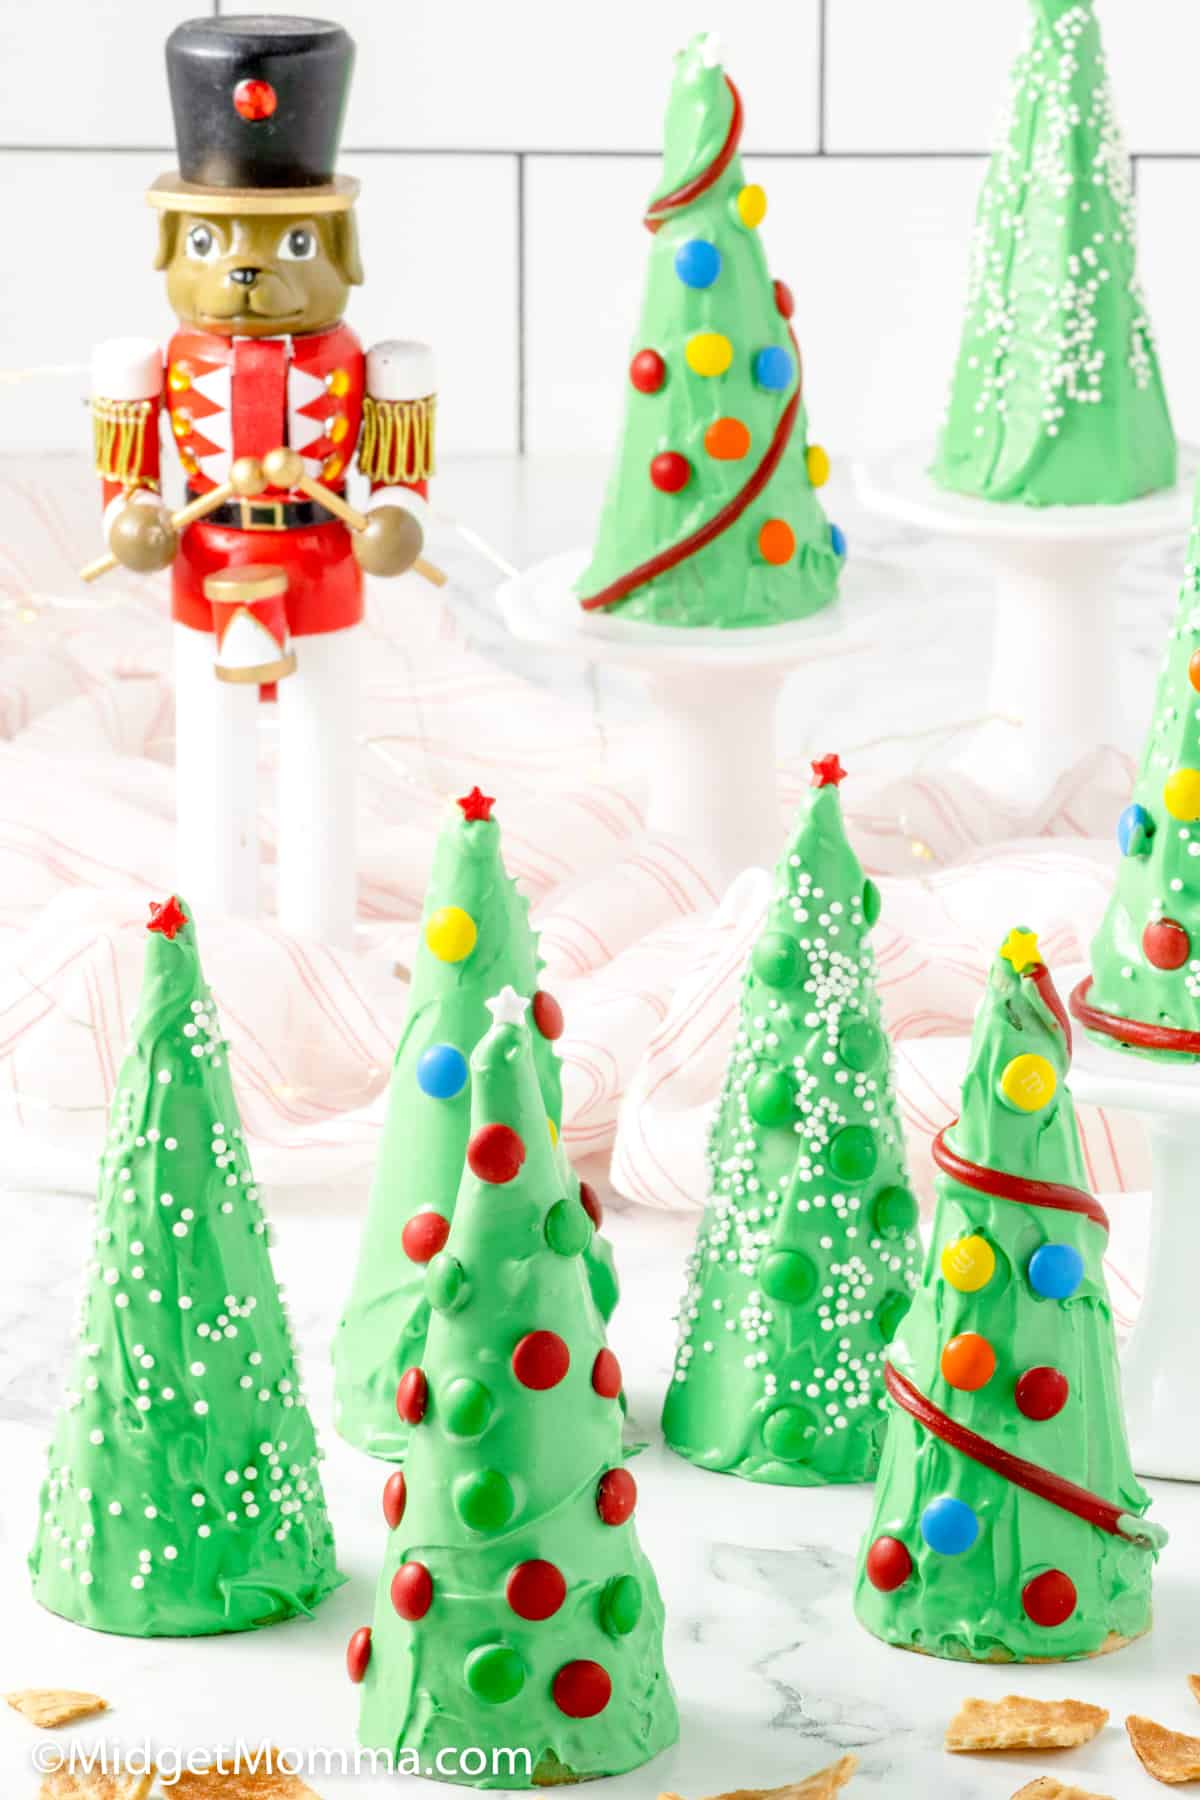
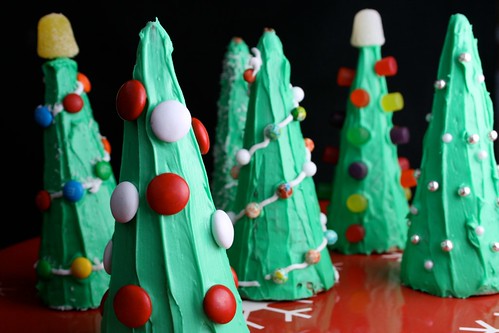
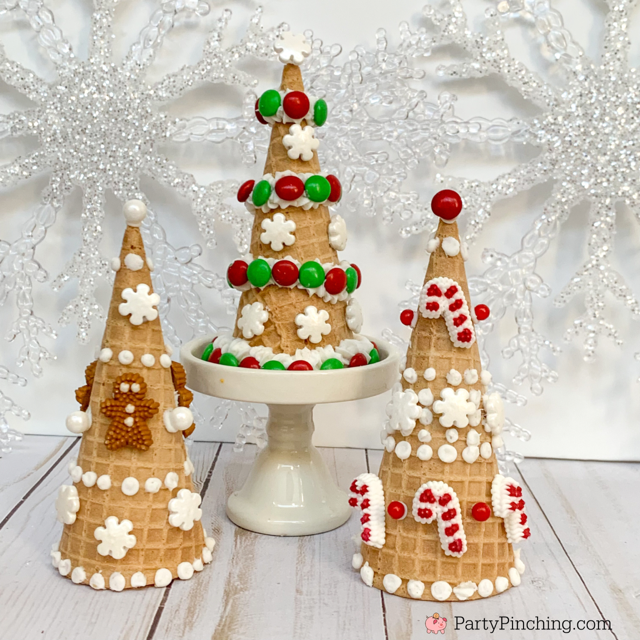
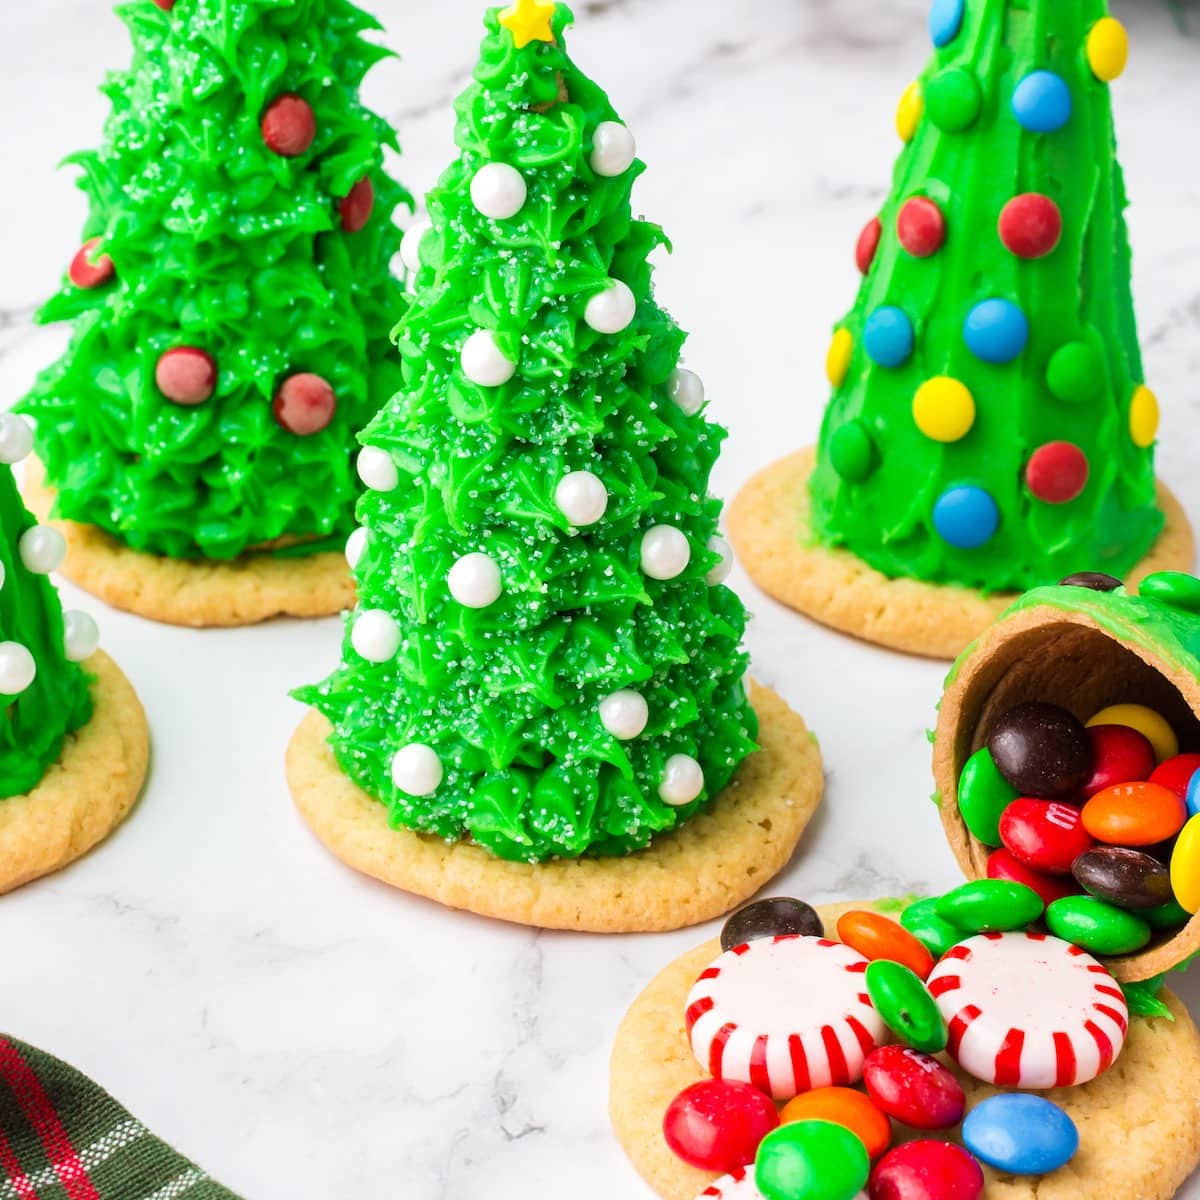
An ice cream cone Christmas tree is a playful and delightful decoration made using ice cream cones as the base for a mini Christmas tree. It’s often adorned with colorful candies and icing, making it a perfect centerpiece or a festive treat for your holiday gatherings.
Why Choose Ice Cream Cone Christmas Trees?
This unique DIY project offers several benefits:
- Fun and Engaging: This activity is great for families and kids, allowing everyone to participate in the crafting process.
- Edible Decoration: Unlike traditional decorations, these trees can be eaten, making them a delightful treat after the holidays.
- Unique Look: They stand out among typical holiday decorations, adding a whimsical flair to your festive displays.
Materials Needed for Ice Cream Cone Christmas Trees
Before diving into the fun, gather all the necessary materials. Here’s a comprehensive list:
| Material | Description/Alternatives |
|————————-|——————————————————|
| Ice Cream Cones | Standard cone or waffle cone; choose your preferred type. |
| Green Icing or Frosting | Can be homemade or store-bought; consider various shades of green. |
| Edible Decorations | Sprinkles, candies (M&Ms, Skittles), and chocolate chips. |
| Toothpicks | For securing decorations if needed. |
| Styrofoam Base | Optional, for added stability (especially for taller trees). |
Optional Materials
- Decorative Toppers: Use a star-shaped candy or a small ornament for the tree top.
- Spray Edible Glitter: Adds a festive sparkle to your creation.

Step-by-Step Guide to Creating Your Ice Cream Cone Christmas Tree
Step 1: Prepare Your Workspace
Find a clean, flat surface to work on. Lay down some parchment paper to catch any mess. This will make the cleanup process much easier!

Step 2: Assemble the Ice Cream Cone
Take your ice cream cone and turn it upside down. This will serve as the base of your tree. If you’re using a styrofoam base, insert the cone into it for support.
Step 3: Apply Green Icing
Use a piping bag or a knife to spread green icing all over the cone. You can mix different shades of green to create a more textured and realistic tree look.

Step 4: Add Edible Decorations
Now comes the fun part: decorating! Use candy sprinkles, chocolate chips, or any edible decorations you have to create your tree ornaments. Feel free to get creative—there are no rules when it comes to holiday décor!
Step 5: Top It Off
Place your decorative topper at the very top of the cone. This could be anything from a candy star to a small ornament, enhancing the festive appearance.
Step 6: Let It Dry
Allow your decorated tree to dry for a bit before displaying it. This will help the icing set and the decorations adhere properly.
Personal Experience: My First Ice Cream Cone Christmas Tree
I vividly remember the first time I decided to make an ice cream cone Christmas tree. It was a cold December afternoon, and I was looking for something unique to do with my children. We gathered all our materials, and the excitement filled the room. As we decorated our trees, laughter echoed as we made silly designs and even a few edible “ornaments” fell off and were promptly eaten. The entire process transformed into a mini family event that we still cherish every holiday season.
Tips for Making the Perfect Ice Cream Cone Christmas Tree
Choosing the Right Cone
Select a sturdy ice cream cone, especially if you plan to make taller trees. Waffle cones often work best due to their sturdiness and larger surface area for icing.
Mixing Icing Colors
For a more vibrant look, consider making your own icing with food coloring. Mixing various shades can create depth, making your tree look more realistic.
Experimenting with Flavors
Why limit yourself to traditional flavors? Consider using flavored icing, such as peppermint or vanilla, to add a unique taste to your tree!
Pros and Cons of Ice Cream Cone Christmas Trees
Pros
- Creative Outlet: Encourages creativity and imagination.
- Family Activity: Great bonding experience for families and friends.
- Edible and Fun: Perfect for adding a playful element to your holiday table.
Cons
- Time-Consuming: Can take a while to decorate, especially with kids.
- Fragility: The cones can be delicate and may break if not handled carefully.
- Storage: Depending on the size and decorations, they may be hard to store after the holidays.
Creative Variations to Try
If you love the ice cream cone Christmas tree concept, consider these creative variations:
1. Multi-Colored Trees
Use different colors of icing for a rainbow effect. This will give your tree a vibrant and lively appearance!
2. Miniature Village
Make several small trees and arrange them to create a miniature holiday village scene. Use coconut flakes as “snow” for an added touch.
3. Themed Trees
Pick a theme, like “Winter Wonderland” or “Candy Land,” and decorate your trees accordingly. This adds an extra layer of fun and creativity.
Displaying Your Ice Cream Cone Christmas Tree
Once your masterpiece is complete, it’s time to showcase it!
Table Centerpiece
Place your tree as a centerpiece on your dining table. Surround it with candles or fairy lights for a magical effect.
Gift Idea
Consider wrapping the tree for a creative gift. It’s a memorable way to share the joy of the season with friends and family.
Holiday Parties
Bring your decorated tree to holiday parties. It’s sure to be a conversation starter and a hit among guests, especially children.
Frequently Asked Questions (FAQs)
Can I make my ice cream cone Christmas tree ahead of time?
Yes, you can prepare your tree a day or two in advance. Just be mindful of storage; keep it in a cool, dry place to prevent melting or damage.
What if I have leftover decorations?
Save any leftover candies and decorations for future projects or add them to holiday gift baskets!
Are ice cream cone trees suitable for parties?
Absolutely! They are a delightful and tasty treat that both kids and adults will enjoy. Just ensure to keep them cool until it’s time to eat.
Can I use gluten-free cones for my ice cream cone Christmas tree?
Yes! There are many gluten-free ice cream cone options available that you can use to accommodate dietary restrictions.
Conclusion: Spread Joy with Ice Cream Cone Christmas Trees
Decorating ice cream cone Christmas trees is not only a fun holiday activity, but it also creates lasting memories with loved ones. Whether you’re crafting these whimsical trees alone or with your family, enjoy the process, let your creativity shine, and make this holiday season uniquely yours.
Now that you have all the tips, tricks, and steps needed, it’s time to get started! Gather your materials and let the holiday magic unfold with your ice cream cone Christmas trees!