As fall approaches and the air turns crisp, there’s something magical about baking pumpkin-decorated cookies. These delightful treats not only celebrate the season but also bring a burst of flavor and creativity into your kitchen. With my years of baking experience, I’ve learned that these cookies are perfect for both novice bakers and seasoned pros, allowing everyone to embrace their artistic side. Join me as we explore everything from recipes to decorating techniques and tips!
What Are Pumpkin Decorated Cookies?
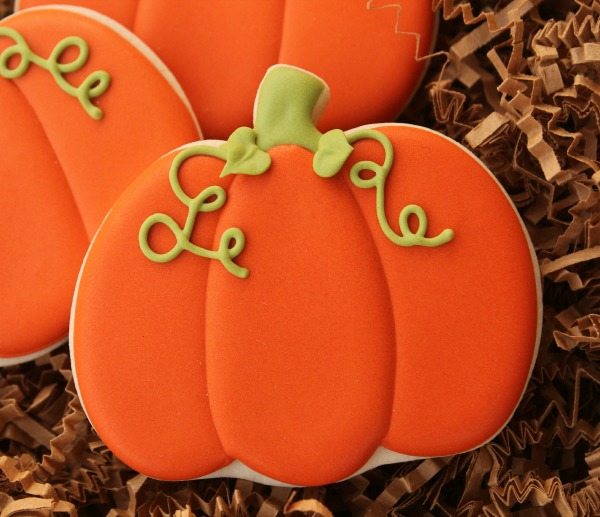
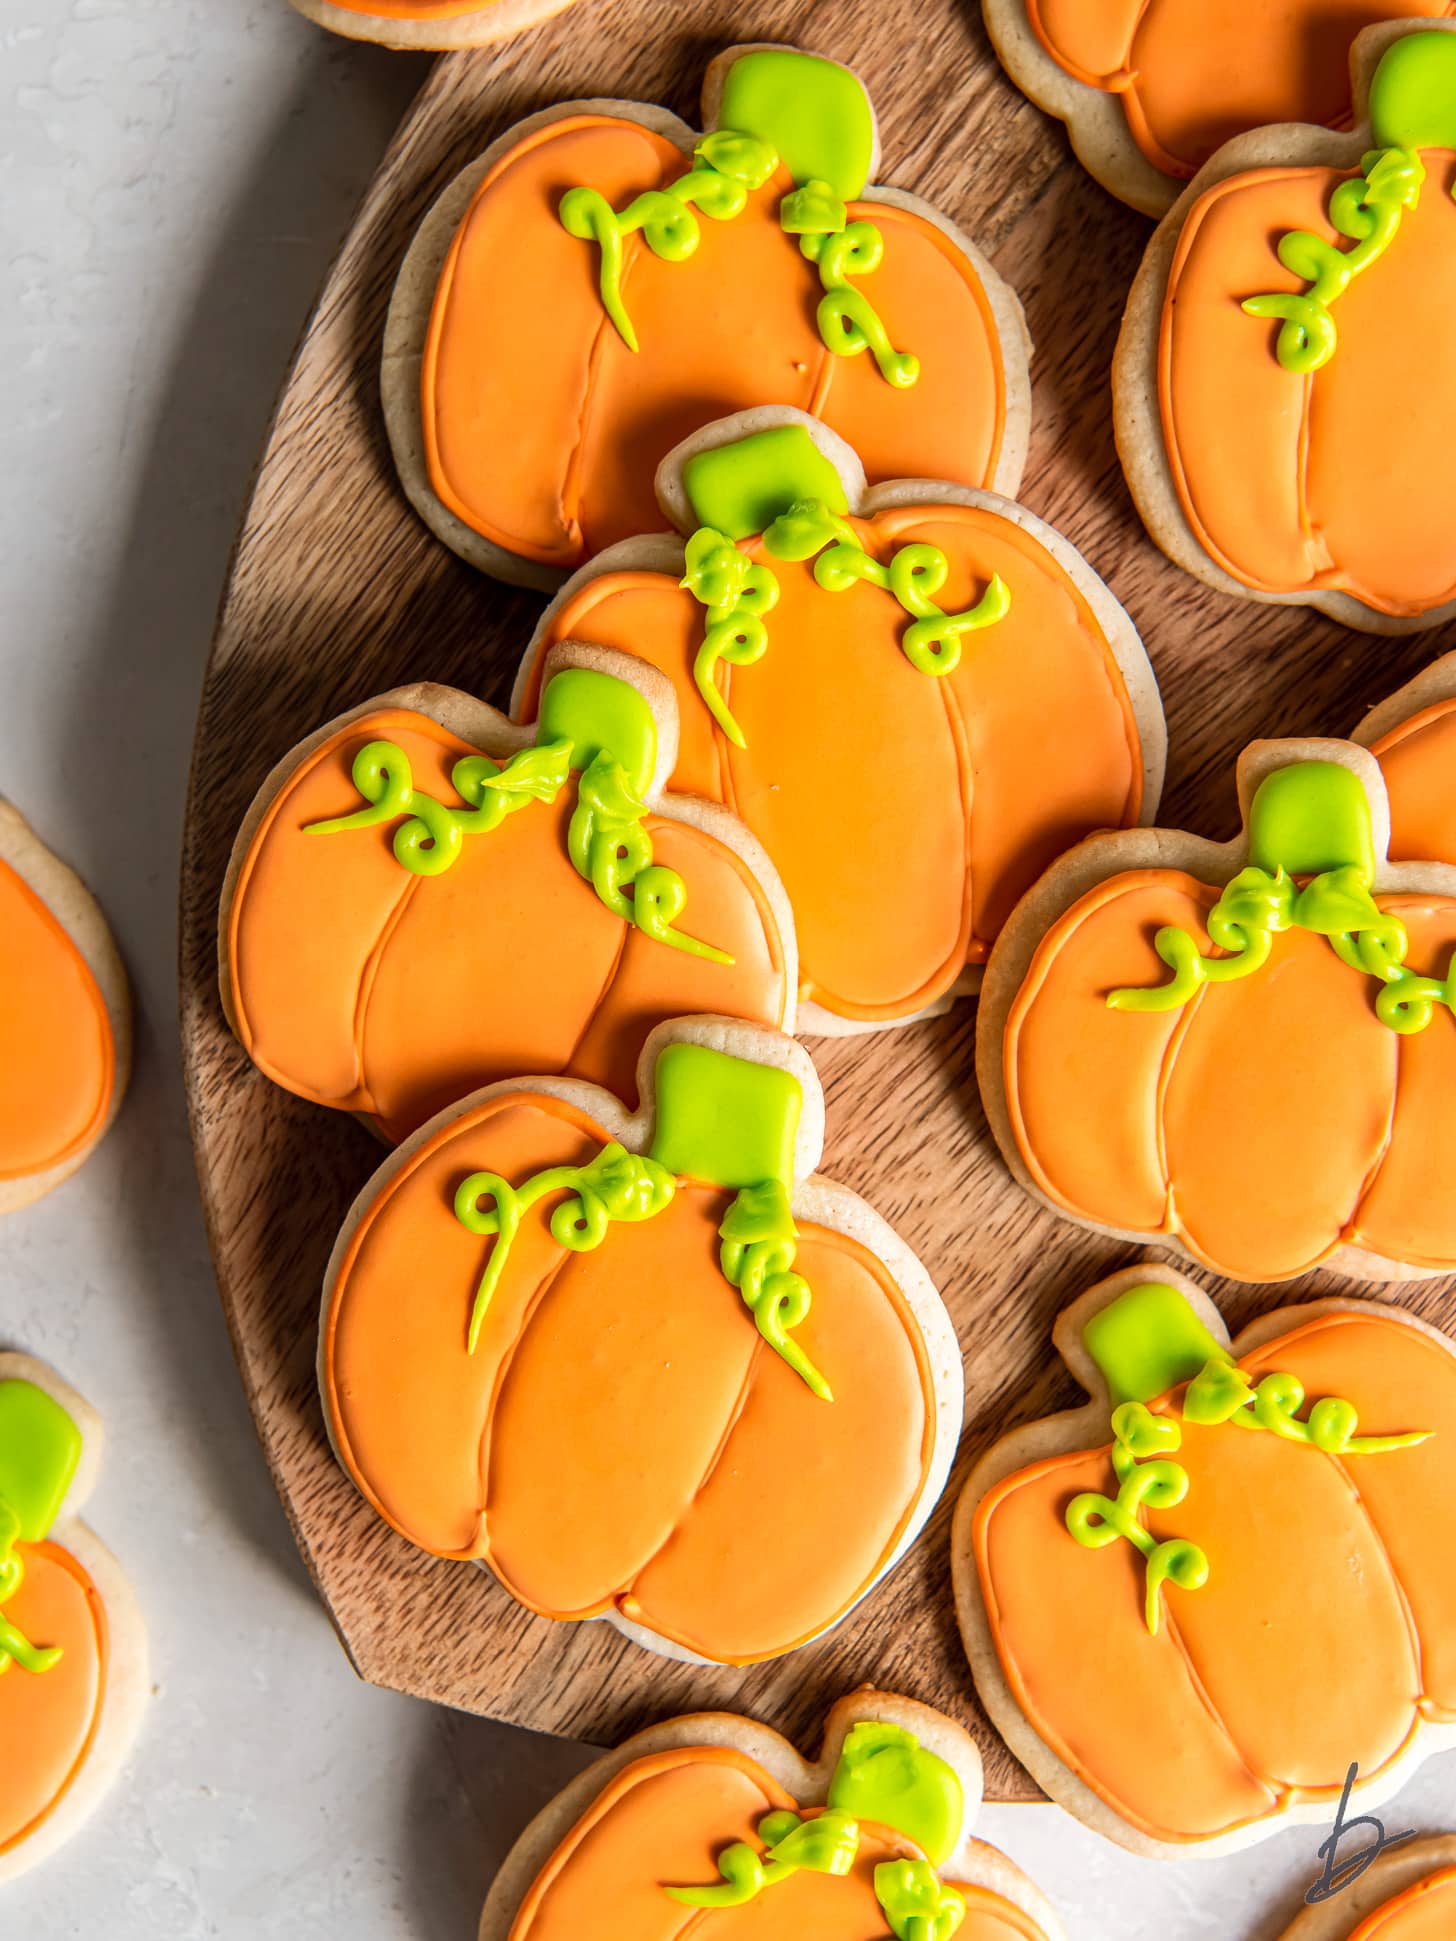
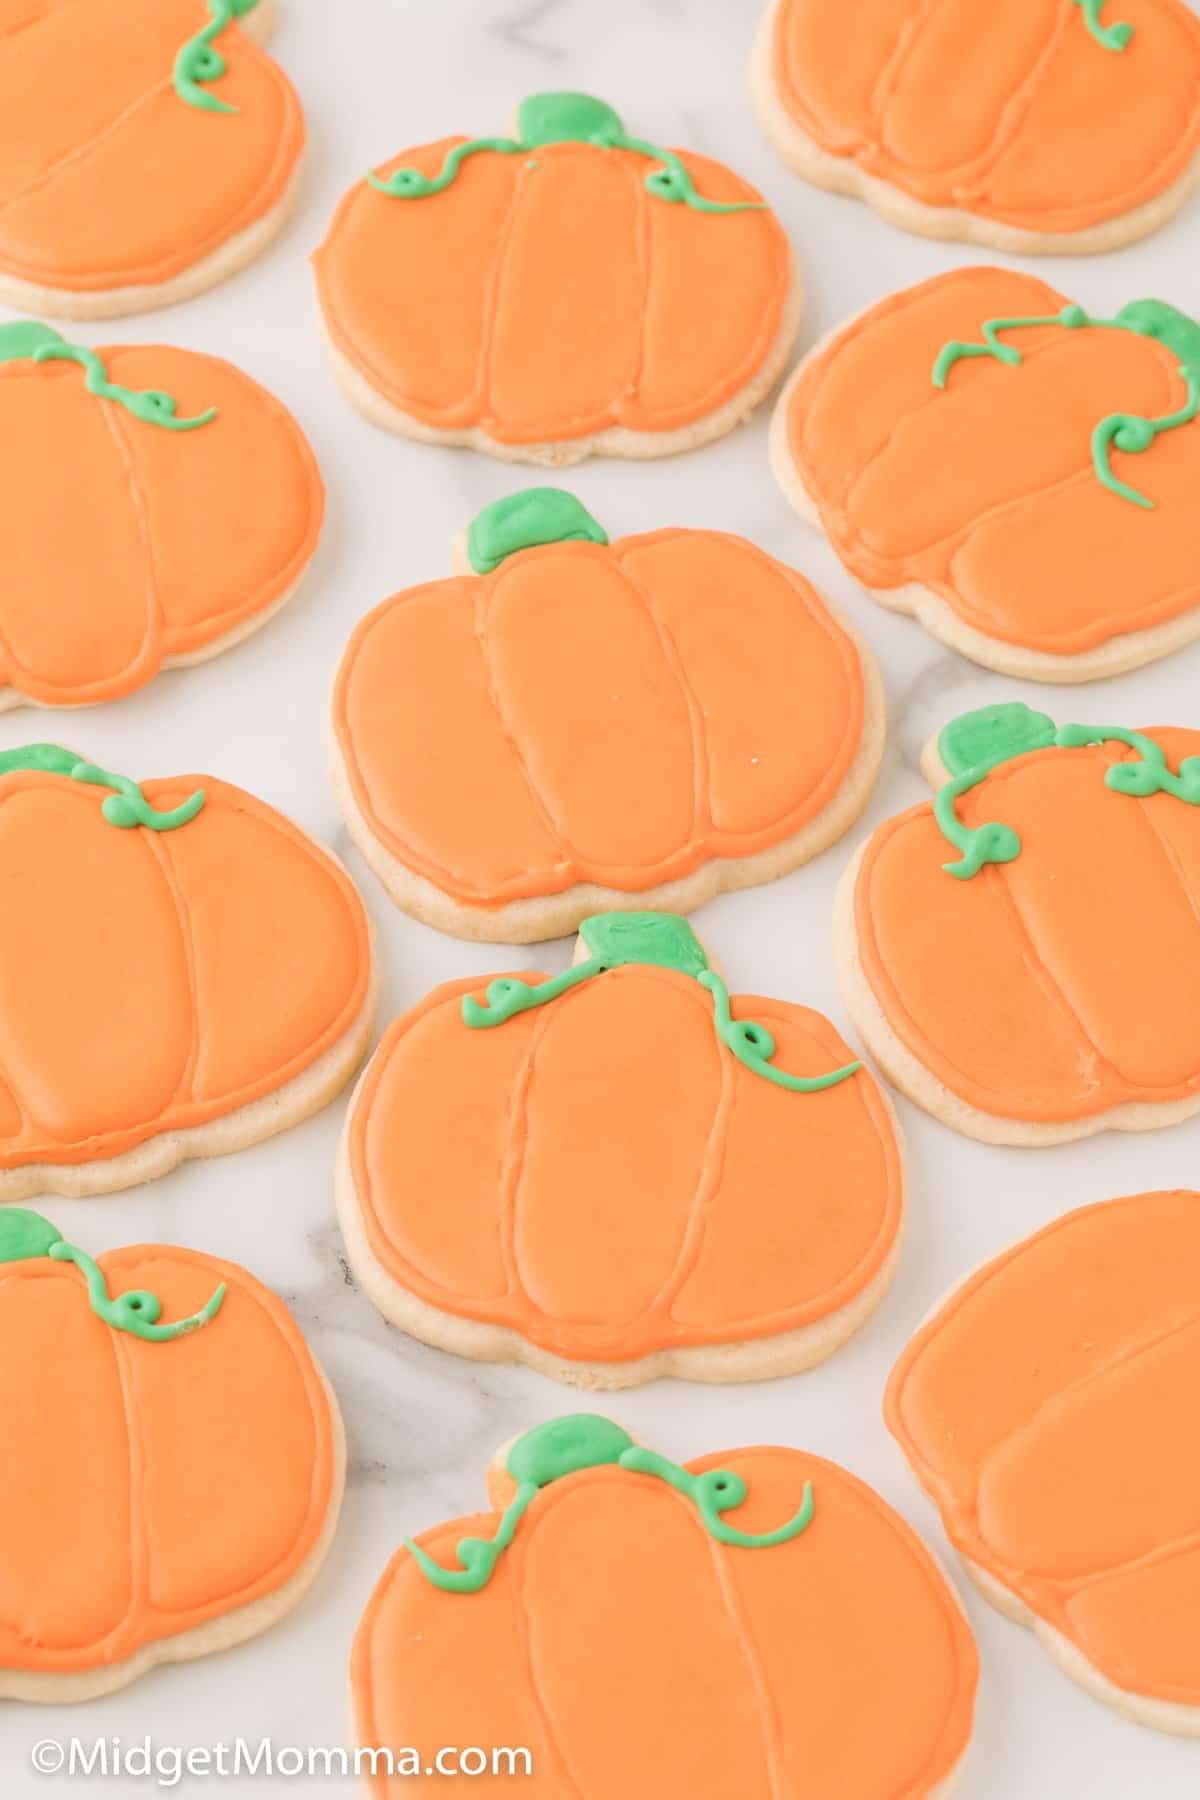
Pumpkin decorated cookies are typically sugar cookies shaped like pumpkins, adorned with vibrant orange and green icing, and can be embellished with various designs that reflect the spirit of fall. They’re not just easy to make; they also offer endless possibilities for decoration, making them perfect for Halloween parties, Thanksgiving gatherings, or simply to enjoy at home while watching the leaves fall.
Why Bake Pumpkin Decorated Cookies?
- Seasonal Delight: They perfectly embody the essence of autumn and are visually appealing.
- Creative Expression: Decorating cookies is a fun activity for kids and adults alike.
- Homemade Touch: There’s nothing quite like the aroma of freshly baked cookies wafting through your home.
- Customization: You can have fun with flavors, shapes, and colors to match your preference or occasion.
Ingredients for Pumpkin Decorated Cookies
Before we dive into the recipes, let’s gather our ingredients. Here’s what you will need:
| Ingredient | Quantity | Notes |
|---|---|---|
| All-purpose flour | 2 ¾ cups | Sifting improves texture. |
| Granulated sugar | 1 cup | Adds sweetness. |
| Pumpkin puree | 1 cup | Canned or homemade works. |
| Butter | 1 cup | Softened at room temperature. |
| Eggs | 1 large | For binding. |
| Vanilla extract | 1 tsp | Enhances flavor. |
| Baking powder | 1 tsp | Helps cookies rise. |
| Ground cinnamon | 1 tsp | Classic fall flavor. |
| Salt | ½ tsp | Balances sweetness. |
Essential Tools for Decorating

To achieve that professional-looking finish on your cookies, consider investing in a few essential tools:
- Piping bags and tips: For detailed icing work.
- Smoothing spatula: To spread icing smoothly.
- Cookie cutters: Pumpkin-shaped or any fall-inspired shapes.
- Food coloring: To create vibrant icing colors.
- Edible glitter or sprinkles: For a festive touch.
Step-by-Step Recipe for Pumpkin Decorated Cookies
Step 1: Prepare the Dough
Start by preheating your oven to 350°F (175°C). In a mixing bowl, cream together the softened butter and sugar until light and fluffy. Add the pumpkin puree, egg, and vanilla extract, mixing until well combined.
Step 2: Combine Dry Ingredients
In a separate bowl, whisk together the flour, baking powder, salt, and cinnamon. Gradually add this mixture to the wet ingredients, ensuring everything is well blended. The dough should be soft and slightly sticky.
Step 3: Chill the Dough

Wrap the dough in plastic wrap and refrigerate for at least 30 minutes. Chilling the dough helps it hold its shape during baking.
Step 4: Roll and Cut
Once chilled, roll the dough out on a floured surface to about ¼ inch thick. Use your pumpkin-shaped cookie cutter to cut out shapes and place them on a parchment-lined baking sheet.
Step 5: Bake
Bake the cookies for 10-12 minutes or until lightly golden around the edges. Let them cool on the baking sheet for a few minutes before transferring them to a wire rack to cool completely.
Step 6: Decorate!
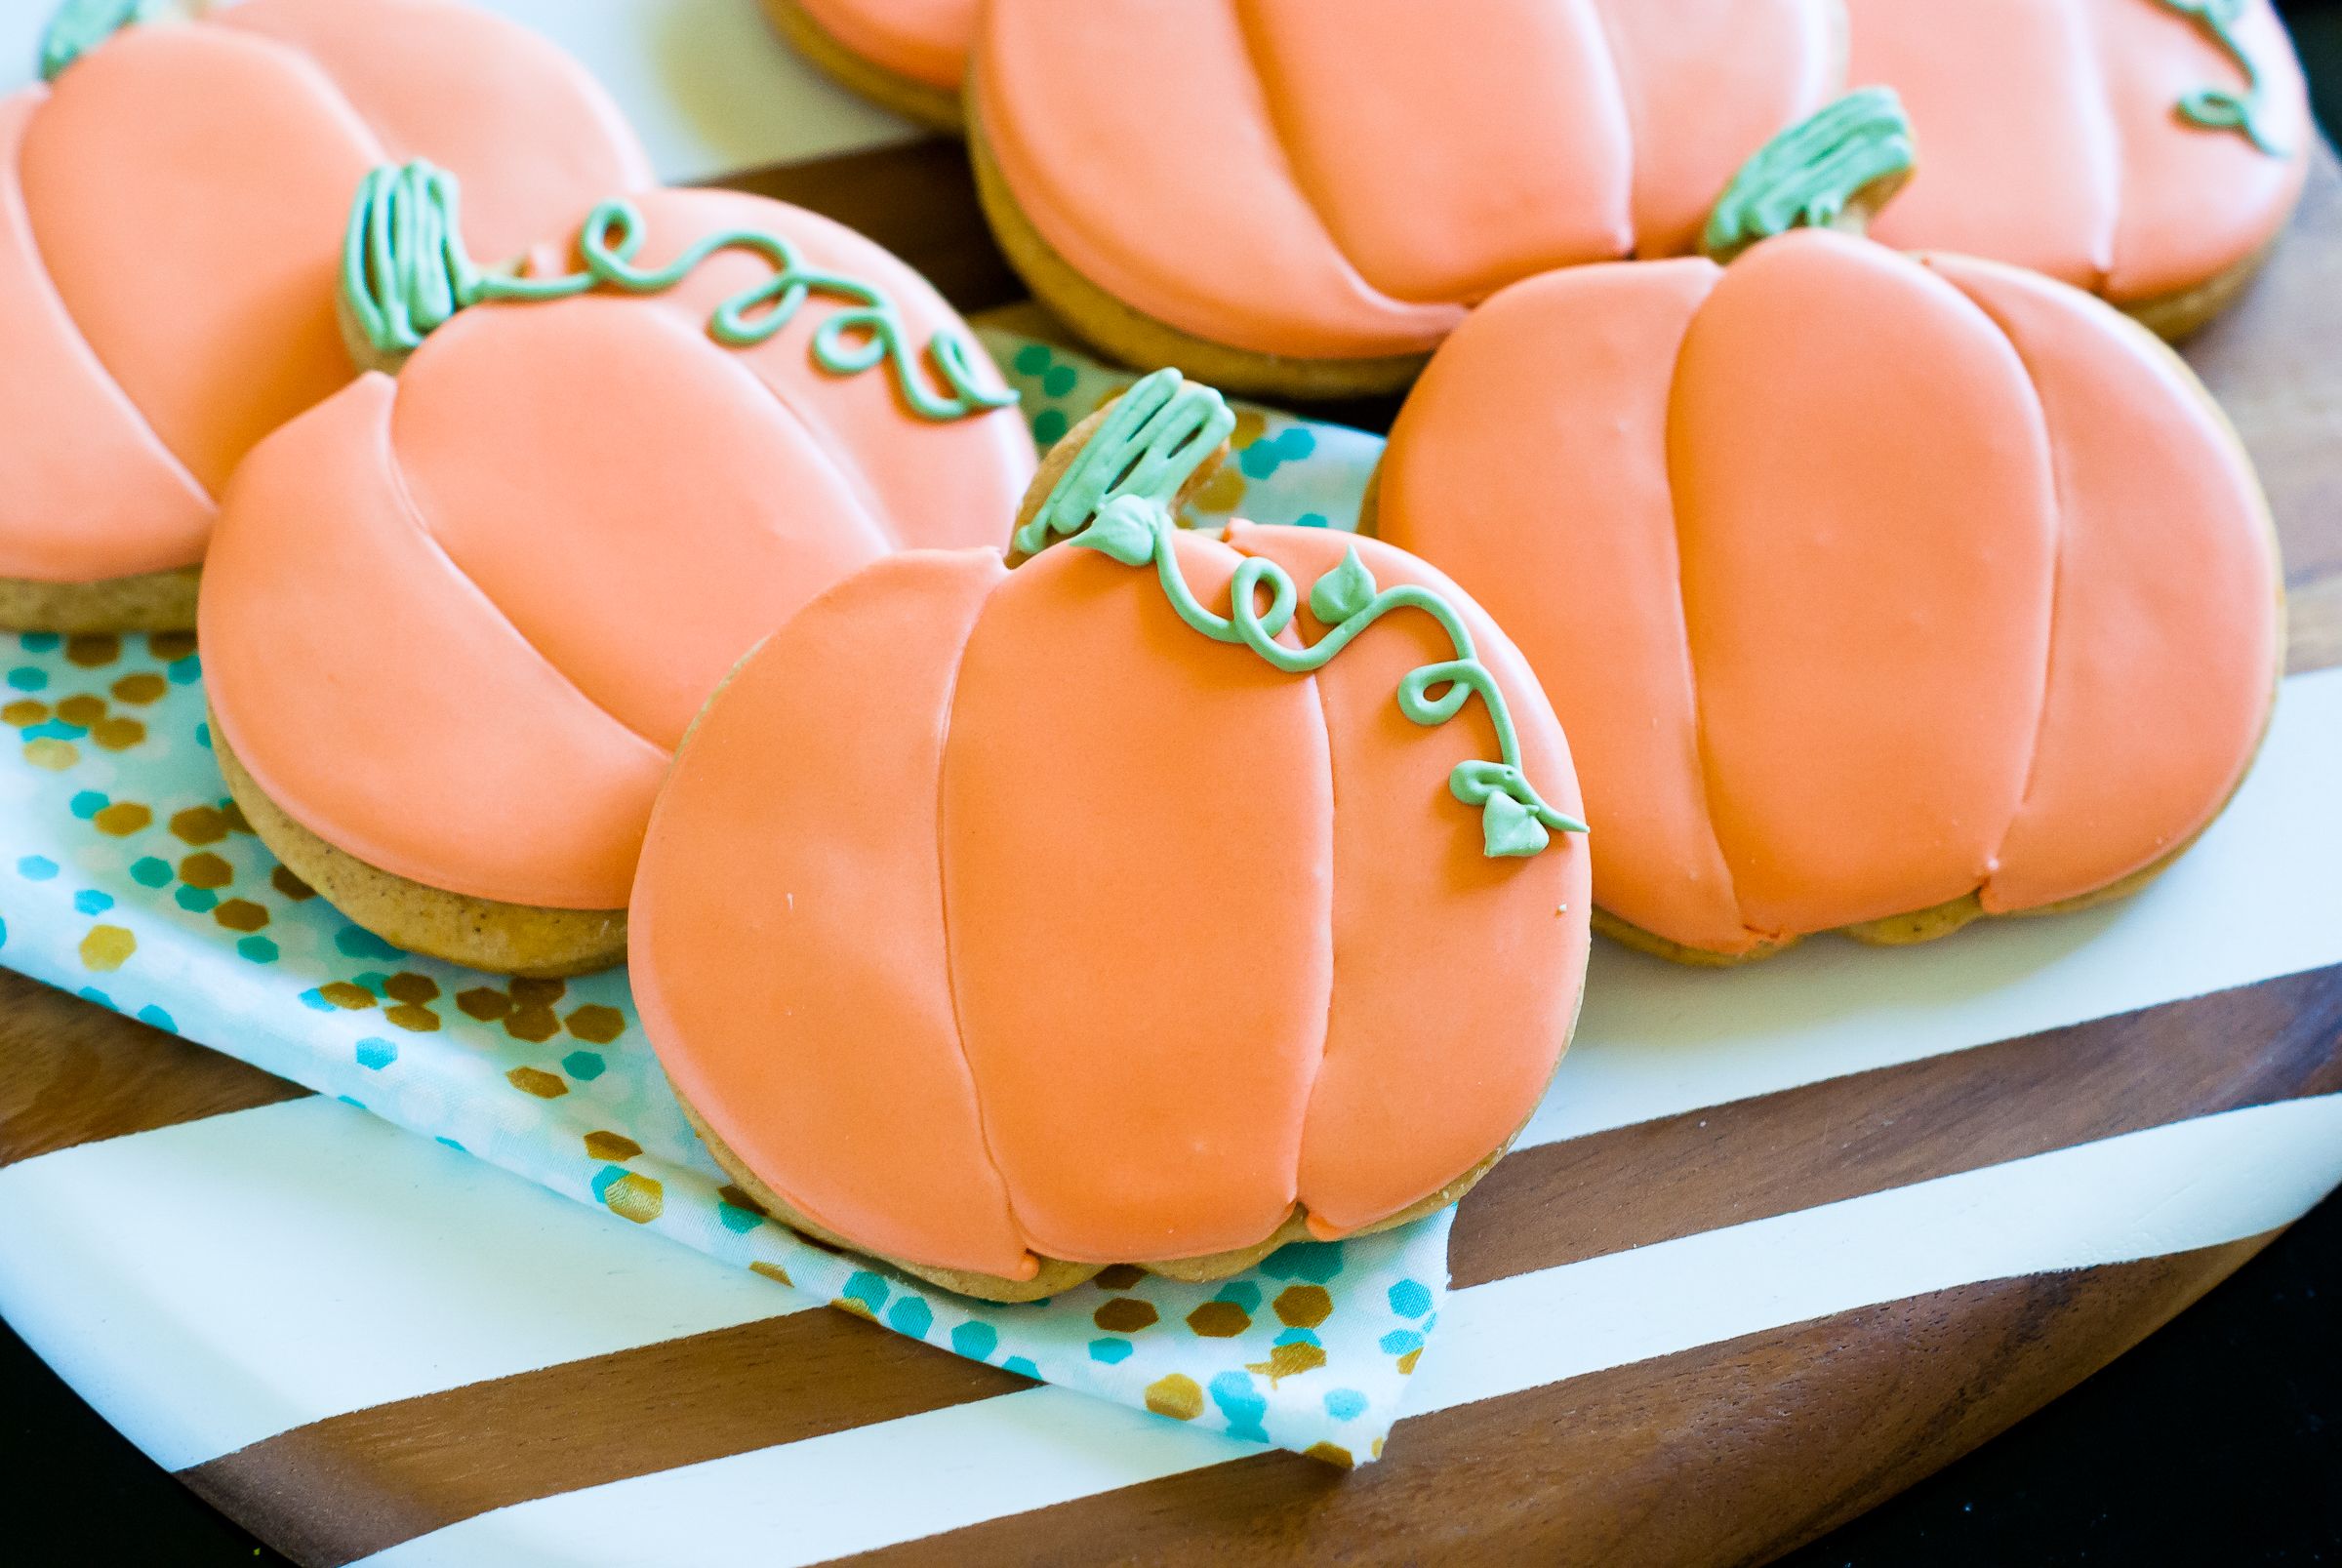
Once the cookies are completely cooled, it’s time to decorate! Prepare your icing and pour it into your piping bags. I like to use a base layer of orange icing for the pumpkin body and green for the stem. Here’s a simple icing recipe:
Simple Royal Icing Recipe
- 2 egg whites
- 3 cups powdered sugar
- 1 tsp lemon juice (optional, for flavor)
Mix all ingredients until smooth and glossy. Divide into bowls and tint with food coloring as desired.
Fun Decorating Ideas for Pumpkin Cookies
Let your imagination run wild! Here are some fun decorating ideas:
- Jack-o’-lantern Faces: Use black icing to create fun or spooky faces.
- Swirls and Stripes: Use different colors to create swirls or stripes.
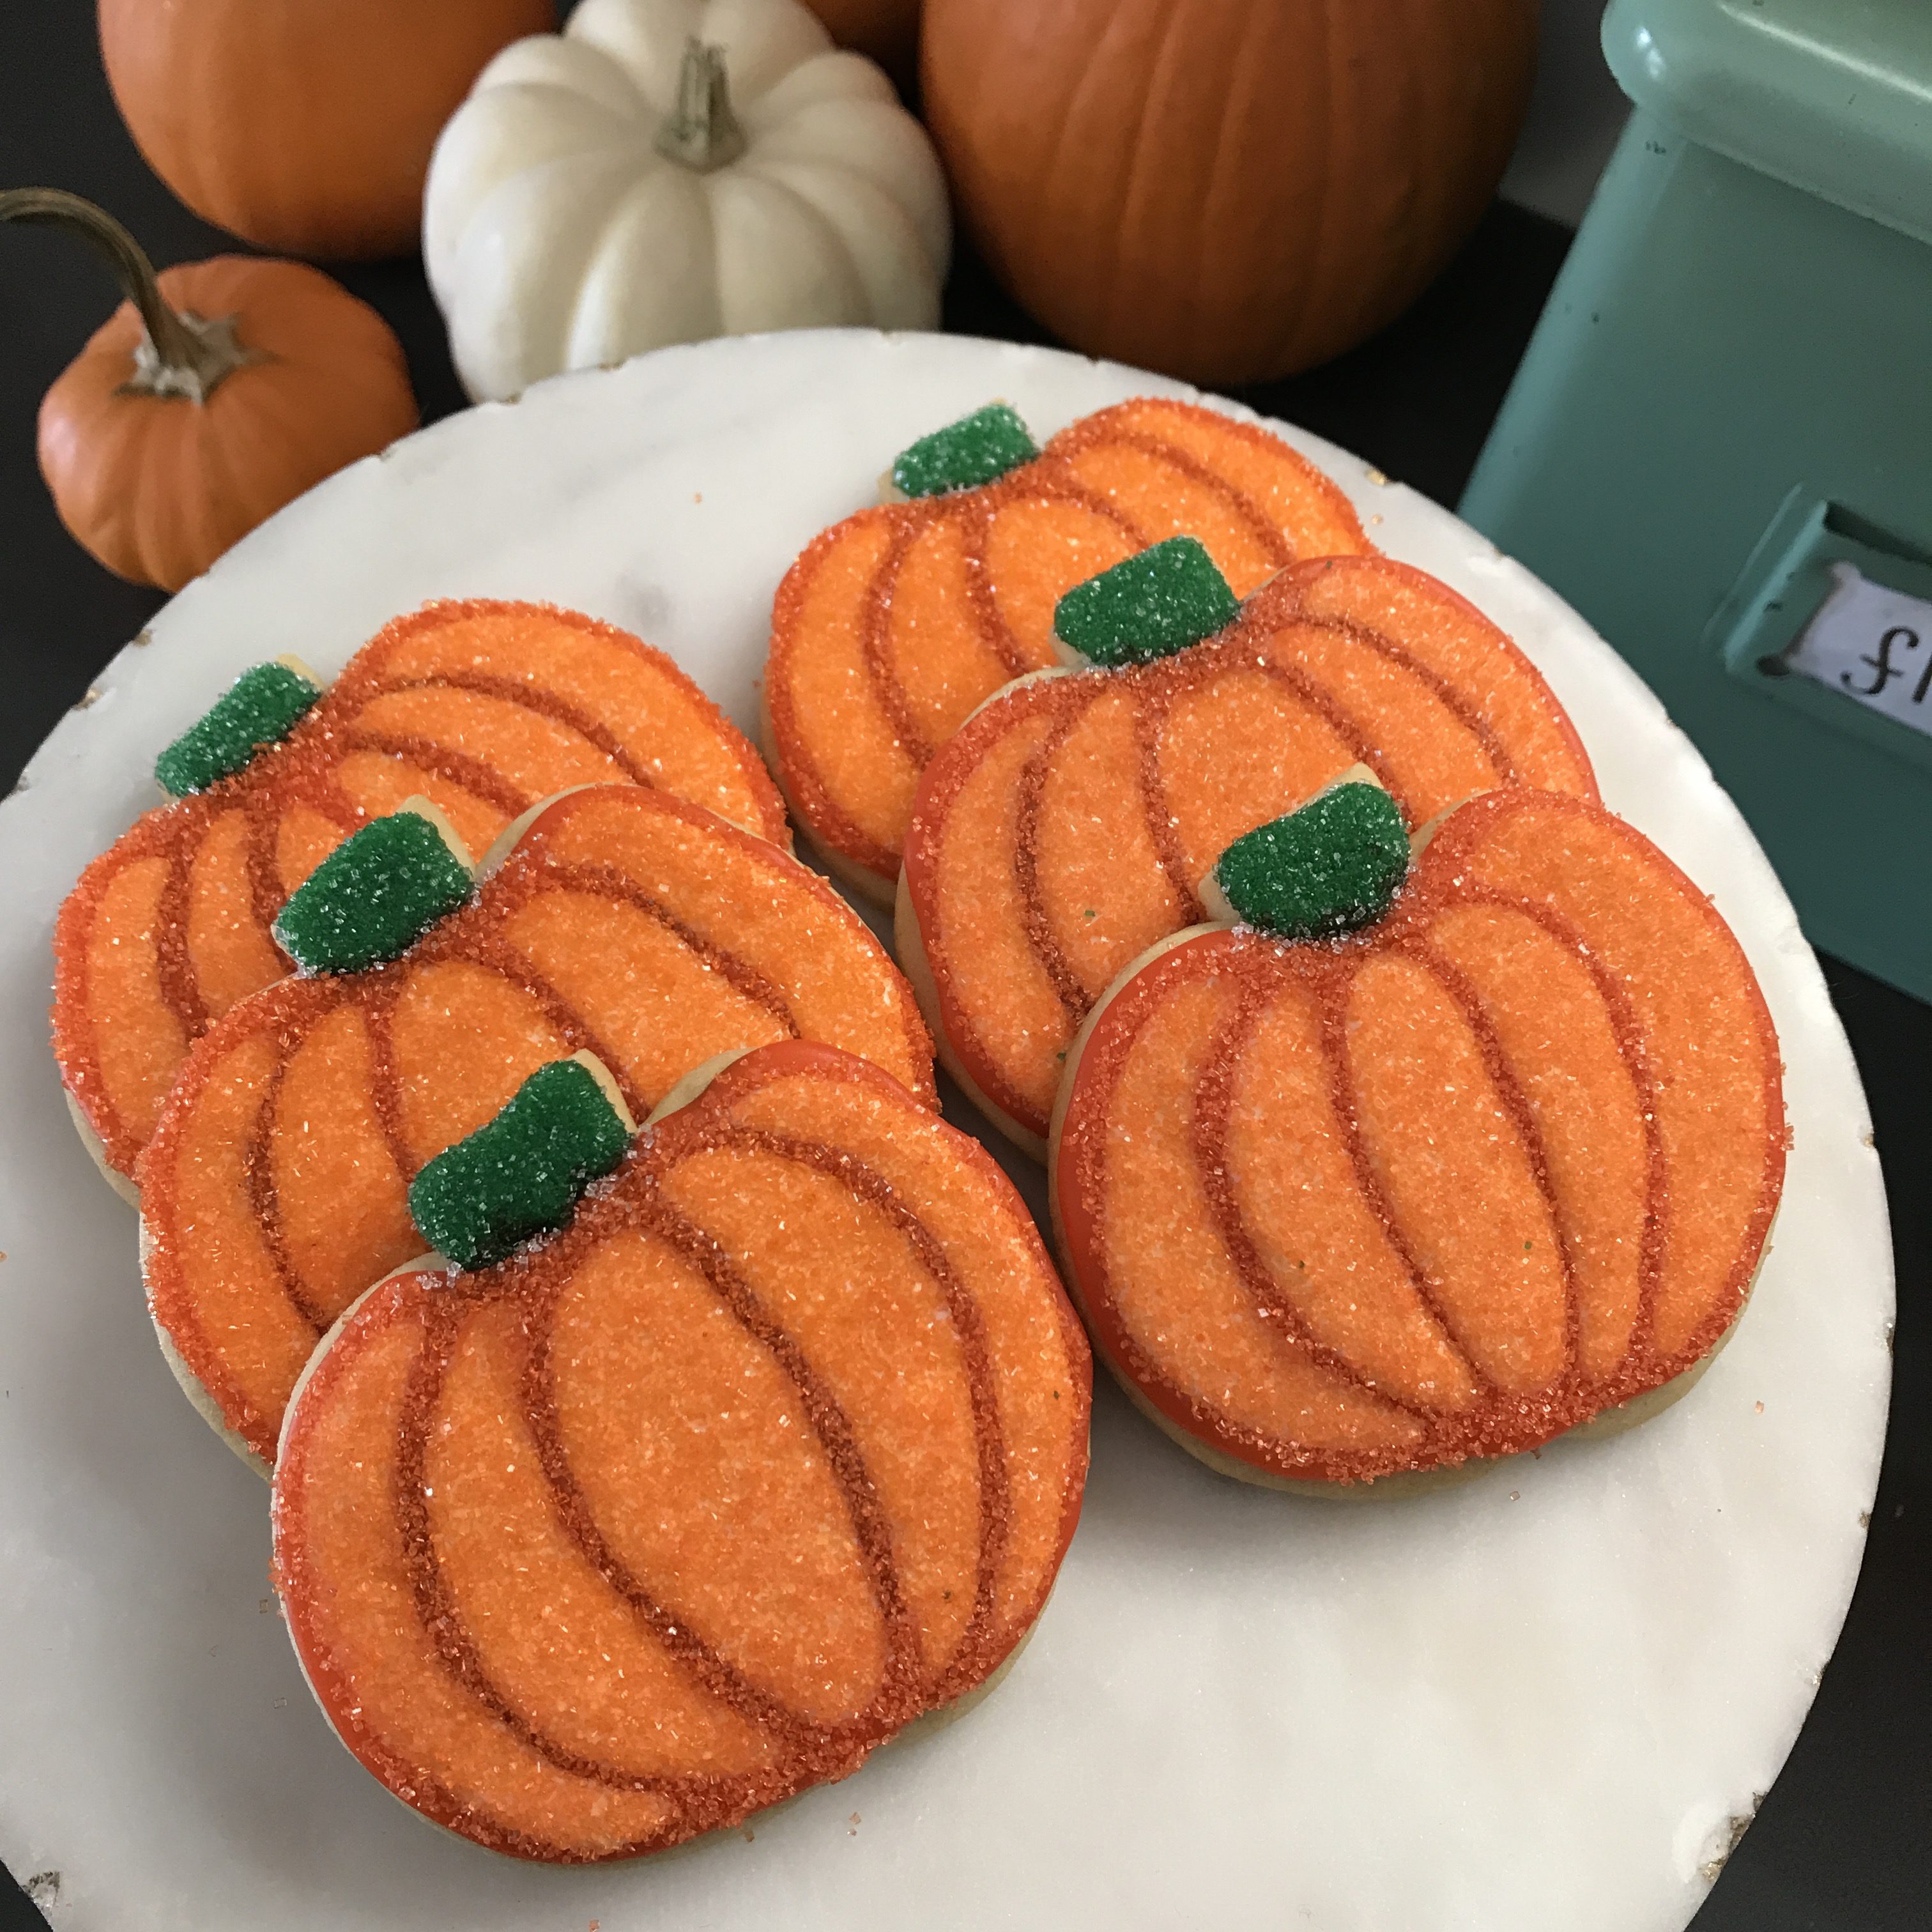
- Sprinkles:** Finish the cookies with edible glitter or fall-themed sprinkles.
Tips for Successful Pumpkin Decorating
Here are some practical tips from my own baking adventures:
- Always let cookies cool completely before decorating to prevent smudging.
- Experiment with different icing consistencies for different results.
- Practice piping on parchment paper to refine your technique.
Storage and Shelf Life
Proper storage is key to keeping your pumpkin decorated cookies fresh:
- Room Temperature: Store in an airtight container for up to one week.
- Refrigeration: Can last up to two weeks in the fridge but may lose some texture.
- Freezing: Frozen cookies can last up to three months. Just thaw them before decorating.
FAQs about Pumpkin Decorated Cookies
1. Can I use different flavors for the cookie base?
Absolutely! While pumpkin flavor is a classic, you can experiment with gingerbread, chocolate, or even vanilla cookies as a base.
2. Are pumpkin cookies gluten-free?
Yes, you can substitute all-purpose flour with gluten-free flour to accommodate dietary restrictions.
3. How do I get vibrant colors for my icing?
Use gel food colors instead of liquid. A little goes a long way and will not alter the consistency of your icing.
4. Can I use store-bought icing?
Definitely! Store-bought icing is a great time-saver, especially if you’re short on time.
Conclusion: A Sweet Autumn Tradition
Making pumpkin decorated cookies is more than just baking; it’s an experience filled with creativity and joy. Whether you’re preparing for a special occasion or simply want to embrace the spirit of fall, these cookies are a delightful addition to any gathering. With the right ingredients, tools, and a bit of imagination, you can create cookies that are not only tasty but visually stunning. So gather your loved ones, roll up those sleeves, and let’s get baking!