Rice Krispies treats have a special place in my heart, not only for their delightful crunch and chewiness but also for the nostalgia they evoke. Growing up, my family would whip up a batch for every occasion, and now, as an adult, I find joy in decorating these treats for various celebrations. In this comprehensive article, we’ll delve into the art of decorating Rice Krispies treats, explore creative ideas, and share tips to help you elevate this classic dessert. Whether it’s for a birthday party, holidays, or just a fun family activity, the irresistible charm of decorated Rice Krispies treats is sure to impress!
What Are Rice Krispies Treats?
Rice Krispies treats are a simple yet delightful dessert made from three primary ingredients: Rice Krispies cereal, marshmallows, and butter. This classic treat is easy to prepare, making it a favorite among both kids and adults. The chewy texture combined with the sweet, gooey marshmallow creates a satisfying snack that can be enjoyed plain or dressed up in numerous ways.
The History of Rice Krispies Treats
Did you know that Rice Krispies treats were first introduced in the 1930s? They were created as a way to promote the Rice Krispies cereal and quickly became popular in households across America. The original recipe was published in the 1941 edition of the “Great American Cookbook”, sparking creativity among bakers everywhere. Over the decades, countless variations and decorating ideas have emerged, making them a staple for celebrations of all kinds.
Basic Rice Krispies Treats Recipe
Before we dive into the decorative aspects, let’s start with a simple and classic Rice Krispies treats recipe.
Ingredients
- 3 tablespoons unsalted butter
- 1 package (10 oz) mini marshmallows or 4 cups of regular marshmallows
- 6 cups Rice Krispies cereal

Instructions
- In a large saucepan, melt the butter over low heat.
- Add the marshmallows and stir until completely melted and smooth.
- Remove from heat and add the Rice Krispies cereal. Stir until evenly coated.
- Press the mixture into a greased 9×13-inch pan using a buttered spatula or wax paper.
- Allow to cool before cutting into squares or shapes.
Decorating Your Rice Krispies Treats
Now that we have our basic Rice Krispies treats ready, let’s explore how to decorate them for various occasions.

Why Decorate Rice Krispies Treats?
Decorating Rice Krispies treats not only enhances their visual appeal but also allows you to personalize them for different events. Whether you want to make them festive for a holiday, elegant for a wedding, or whimsical for a child’s birthday party, the possibilities are endless!
Common Decorating Supplies
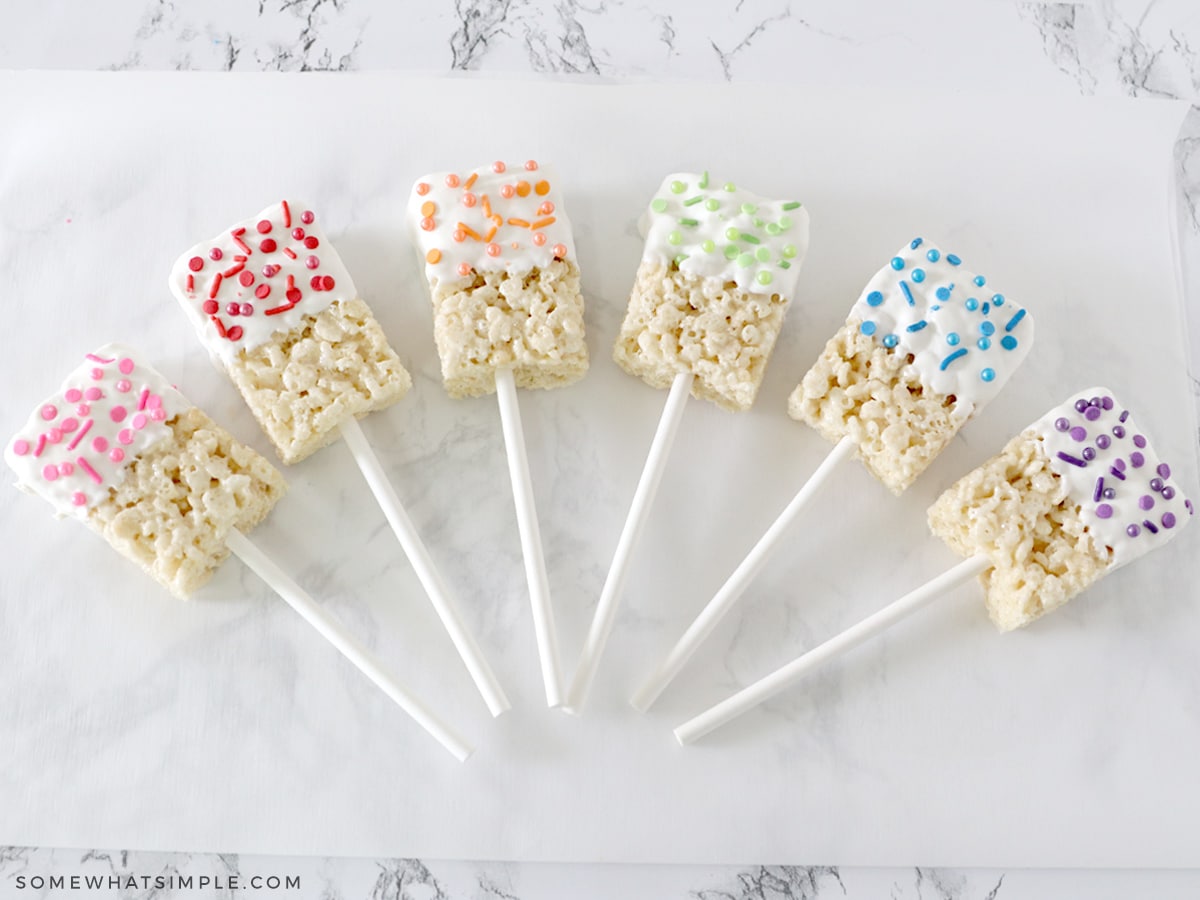
- Colored melting chocolate or candy melts
- Sprinkles and edible glitter
- Frosting and icing
- Fruit and candy toppings (M&Ms, gummy bears, etc.)
- Food coloring
- Cookie cutters for shaping

Creative Decorating Ideas
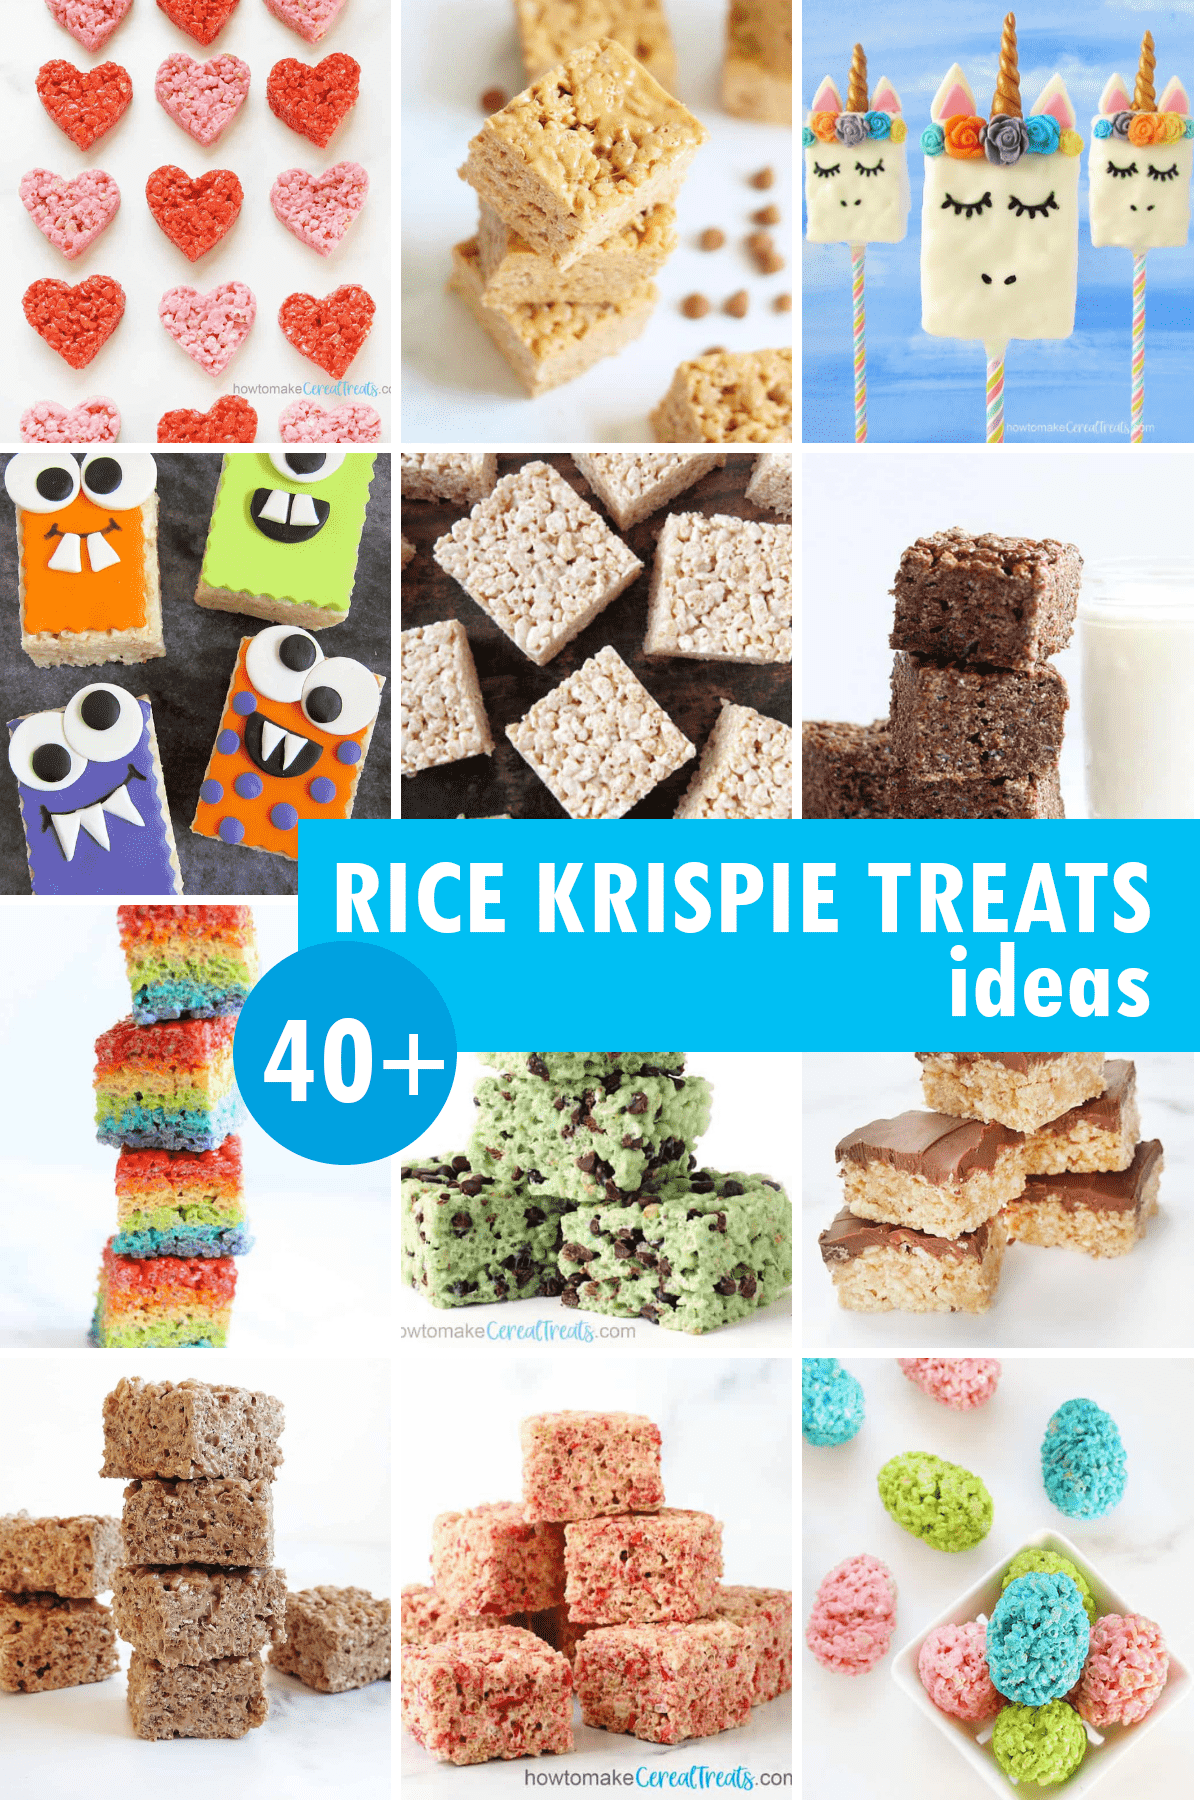
Here are some fun ideas to inspire your decorating journey!
1. Holiday-Themed Treats
For any holiday, you can change up the colors and add themed decorations.

Halloween Treats
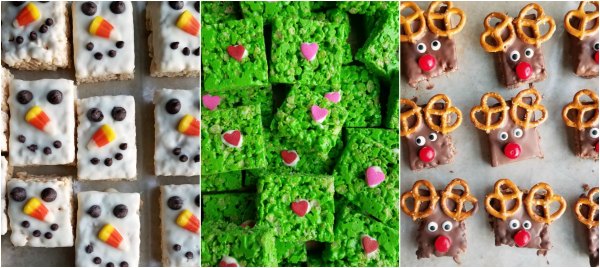
- Use orange and black melting chocolate to coat your treats.
- Add candy eyes or gummy worms for a spooky touch.
Christmas Treats
- Coat with white chocolate and sprinkle with red and green edible glitter.
- Shape the treats into Christmas trees using cookie cutters and add star-shaped candy on top.

2. Birthday Party Treats
Make the birthday celebration extra special with personalized treats.
Character-Themed Treats
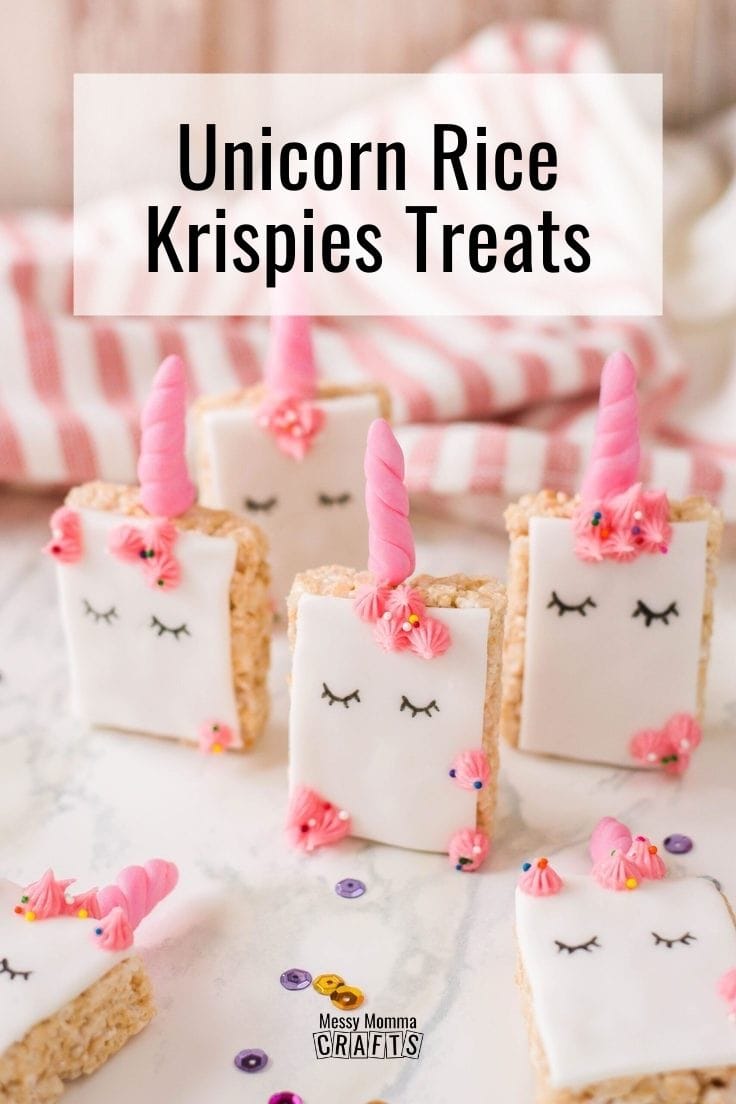
Use food coloring to create treats in the colors of the birthday child’s favorite character. Add relevant toppings like themed sprinkles and other candies to match.

Rainbow Treats
Layer different colors of Rice Krispies treats in a tall mold for a beautiful rainbow effect that can be cut into fun squares.
3. Elegant Treats for Weddings
Surprise your guests with sophisticated Rice Krispies treats at your wedding.

Gold-Dusted Treats
Coat the treats in white chocolate and then sprinkle with edible gold dust for a luxurious finish.
Floral Accents
Add delicate edible flowers or sugar flowers on top to create a romantic touch.
Tips for Successful Decorating
Here are my top tips for achieving perfect Rice Krispies treats every time!
1. Use Quality Ingredients
The better the ingredients, the better the taste and appearance. Opt for high-quality marshmallows and chocolate to elevate your treats.
2. Experiment with Flavors
Consider adding flavor extracts (like vanilla or almond) to the melted marshmallows for an extra layer of deliciousness. You can also mix in crushed cookies, nuts, or dried fruit for added texture.
3. Get Creative with Shapes
Use cookie cutters to make themed shapes, or create fun sculptures by stacking and molding the treats. Let your imagination run wild!
Comparison of Decorating Techniques
Let’s compare a few popular decorating techniques to help you choose the best one for your occasion.
| Decoration Technique | Best For | Time Required | Difficulty Level |
|---|---|---|---|
| Chocolate Coating | All occasions | 10 minutes | Easy |
| Layering Colors | Birthdays, holidays | 15 minutes | Medium |
| Fondant Shapes | Weddings, special events | 30 minutes | Hard |
Pros and Cons of Decorated Rice Krispies Treats
Pros
- Highly customizable for any event or theme.
- Easy to make and transport.
- A fun activity for kids and adults alike.
- Inexpensive compared to other desserts.
Cons
- Can be messy if not careful with the decorating process.
- May require practice to get the decor just right.
- Some ingredients can be tricky to work with (e.g., melted chocolate).
Storing and Serving Rice Krispies Treats
To keep your decorated Rice Krispies treats fresh and delicious, here are some storage tips:
Storage Tips
- Store in an airtight container at room temperature for up to one week.
- If using chocolate or delicate toppings, consider refrigerating for short-term storage, but allow to return to room temperature before serving.
- Keep away from direct sunlight to prevent melting or fading of colors.
Serving Suggestions
- Cut into bite-sized pieces for easy sharing.
- Serve on decorative platters or individual cupcake wrappers for a festive touch.
- Pair with milk, hot cocoa, or coffee for a delightful treat experience!
Frequently Asked Questions (FAQs)
1. Can I make Rice Krispies treats in advance?
Yes! You can make them a day or two in advance. Just be sure to store them in an airtight container to keep them fresh.
2. How do I prevent my treats from becoming hard?
Make sure not to overcook the marshmallows and butter. Also, storing them in an airtight container helps retain their softness.
3. What can I use as a substitute for Rice Krispies cereal?
You can use similar puffed cereals, such as puffed rice, cornflakes, or even granola for a unique variation.
4. Is there a gluten-free version of Rice Krispies treats?
Yes! Use gluten-free Rice Krispies and check your marshmallows to ensure they are gluten-free.
5. How can I color my Rice Krispies treats?
You can add food coloring to the melted marshmallows before mixing in the cereal for vibrant colors.
Conclusion
Decorating Rice Krispies treats can transform a simple recipe into a stunning centerpiece for any occasion. With countless creative ideas at your fingertips and the ability to personalize each batch, your treats will surely be a hit. So gather your friends and family, embrace your creativity, and let the decorating fun begin! Happy baking and decorating!