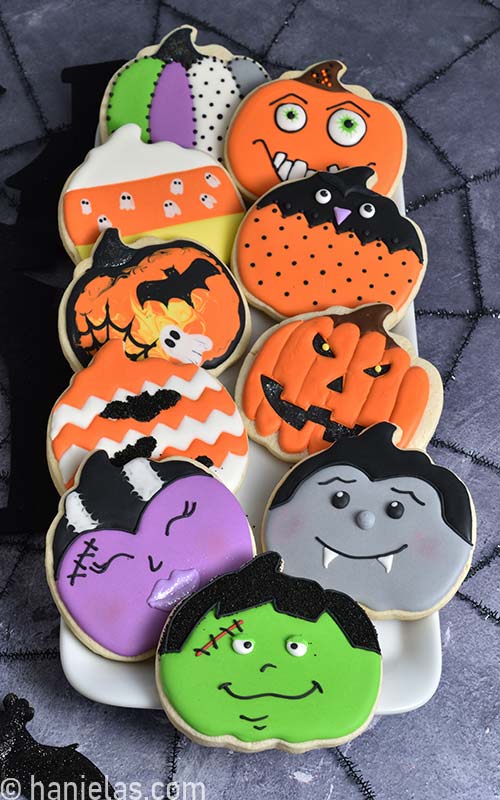
When autumn rolls around, one of my favorite traditions is baking and decorating pumpkin cookies. There’s something magical about the smell of pumpkin spice wafting through the house, not to mention the joy of creating fun and festive cookie designs. In this article, I’ll share my personal experiences, decorating tips, and some of the most creative ways to make your pumpkin cookies a true showstopper this fall.
Why Pumpkin Cookies?
Pumpkin cookies are not only delicious but they also offer a perfect canvas for creative decoration. Their soft, moist texture pairs well with various icings and toppings that can enhance their fall-themed appearance. Plus, they’re a fun activity for family gatherings, Halloween parties, or even a cozy night in.
A Brief History of Pumpkin Cookies
Pumpkin cookies date back to colonial times when pumpkins were a staple ingredient in many dishes. Over the years, they have evolved into the sweet and spiced cookies we know today. Today, they are a symbol of fall baking and bring a sense of nostalgia to many.
Essential Ingredients for Pumpkin Cookies
Before we dive into decorating, let’s make sure you have a solid cookie base. Here are the essential ingredients you’ll need:
| Ingredient | Purpose |
|---|---|
| All-purpose flour | Forms the base of the cookie |
| Pumpkin puree | Adds flavor and moisture |
| Brown sugar | Provides sweetness and depth |
| Cinnamon and nutmeg | Brings warmth and fall flavor |
| Butter | Gives richness and tenderness |
| Baking soda and baking powder | Helps cookies rise |
| Eggs | Acts as a binder |

Preparing Your Pumpkin Cookies
Once you’ve gathered your ingredients, it’s time to bake your cookies! Here’s a simple step-by-step guide:
- Preheat your oven to 350°F (175°C).
- In a large mixing bowl, cream together the butter and sugars until light and fluffy.
- Add the pumpkin puree and eggs, mixing until combined.
- In a separate bowl, whisk together the dry ingredients (flour, spices, baking soda, and powder).
- Gradually add the dry ingredients to the wet mixture, being careful not to overmix.
- Drop spoonfuls of dough onto a baking sheet lined with parchment paper.
- Bake for 12-15 minutes, or until the edges are golden. Allow to cool completely before decorating.
Decoration Ideas for Pumpkin Cookies
Now for the fun part—decorating! Here are some creative ideas to make your pumpkin cookies stand out:

Classic Royal Icing
Royal icing is a classic choice for cookie decorating. It dries hard and can be used for intricate designs.
Ingredients for Royal Icing
- 2 egg whites (or 5 tablespoons of meringue powder)
- 3 cups powdered sugar
- 1 teaspoon lemon juice or vanilla extract
Instructions
- In a mixing bowl, beat egg whites until frothy.
- Gradually add powdered sugar and beat until stiff peaks form.
- Add lemon juice or vanilla and mix until combined.
- Use immediately or store in an airtight container.

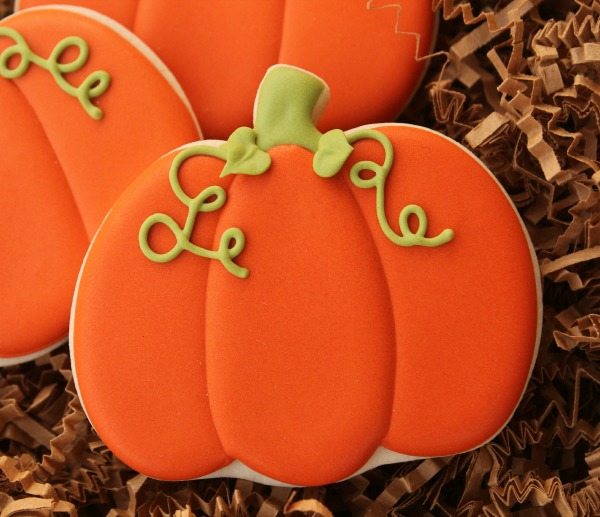
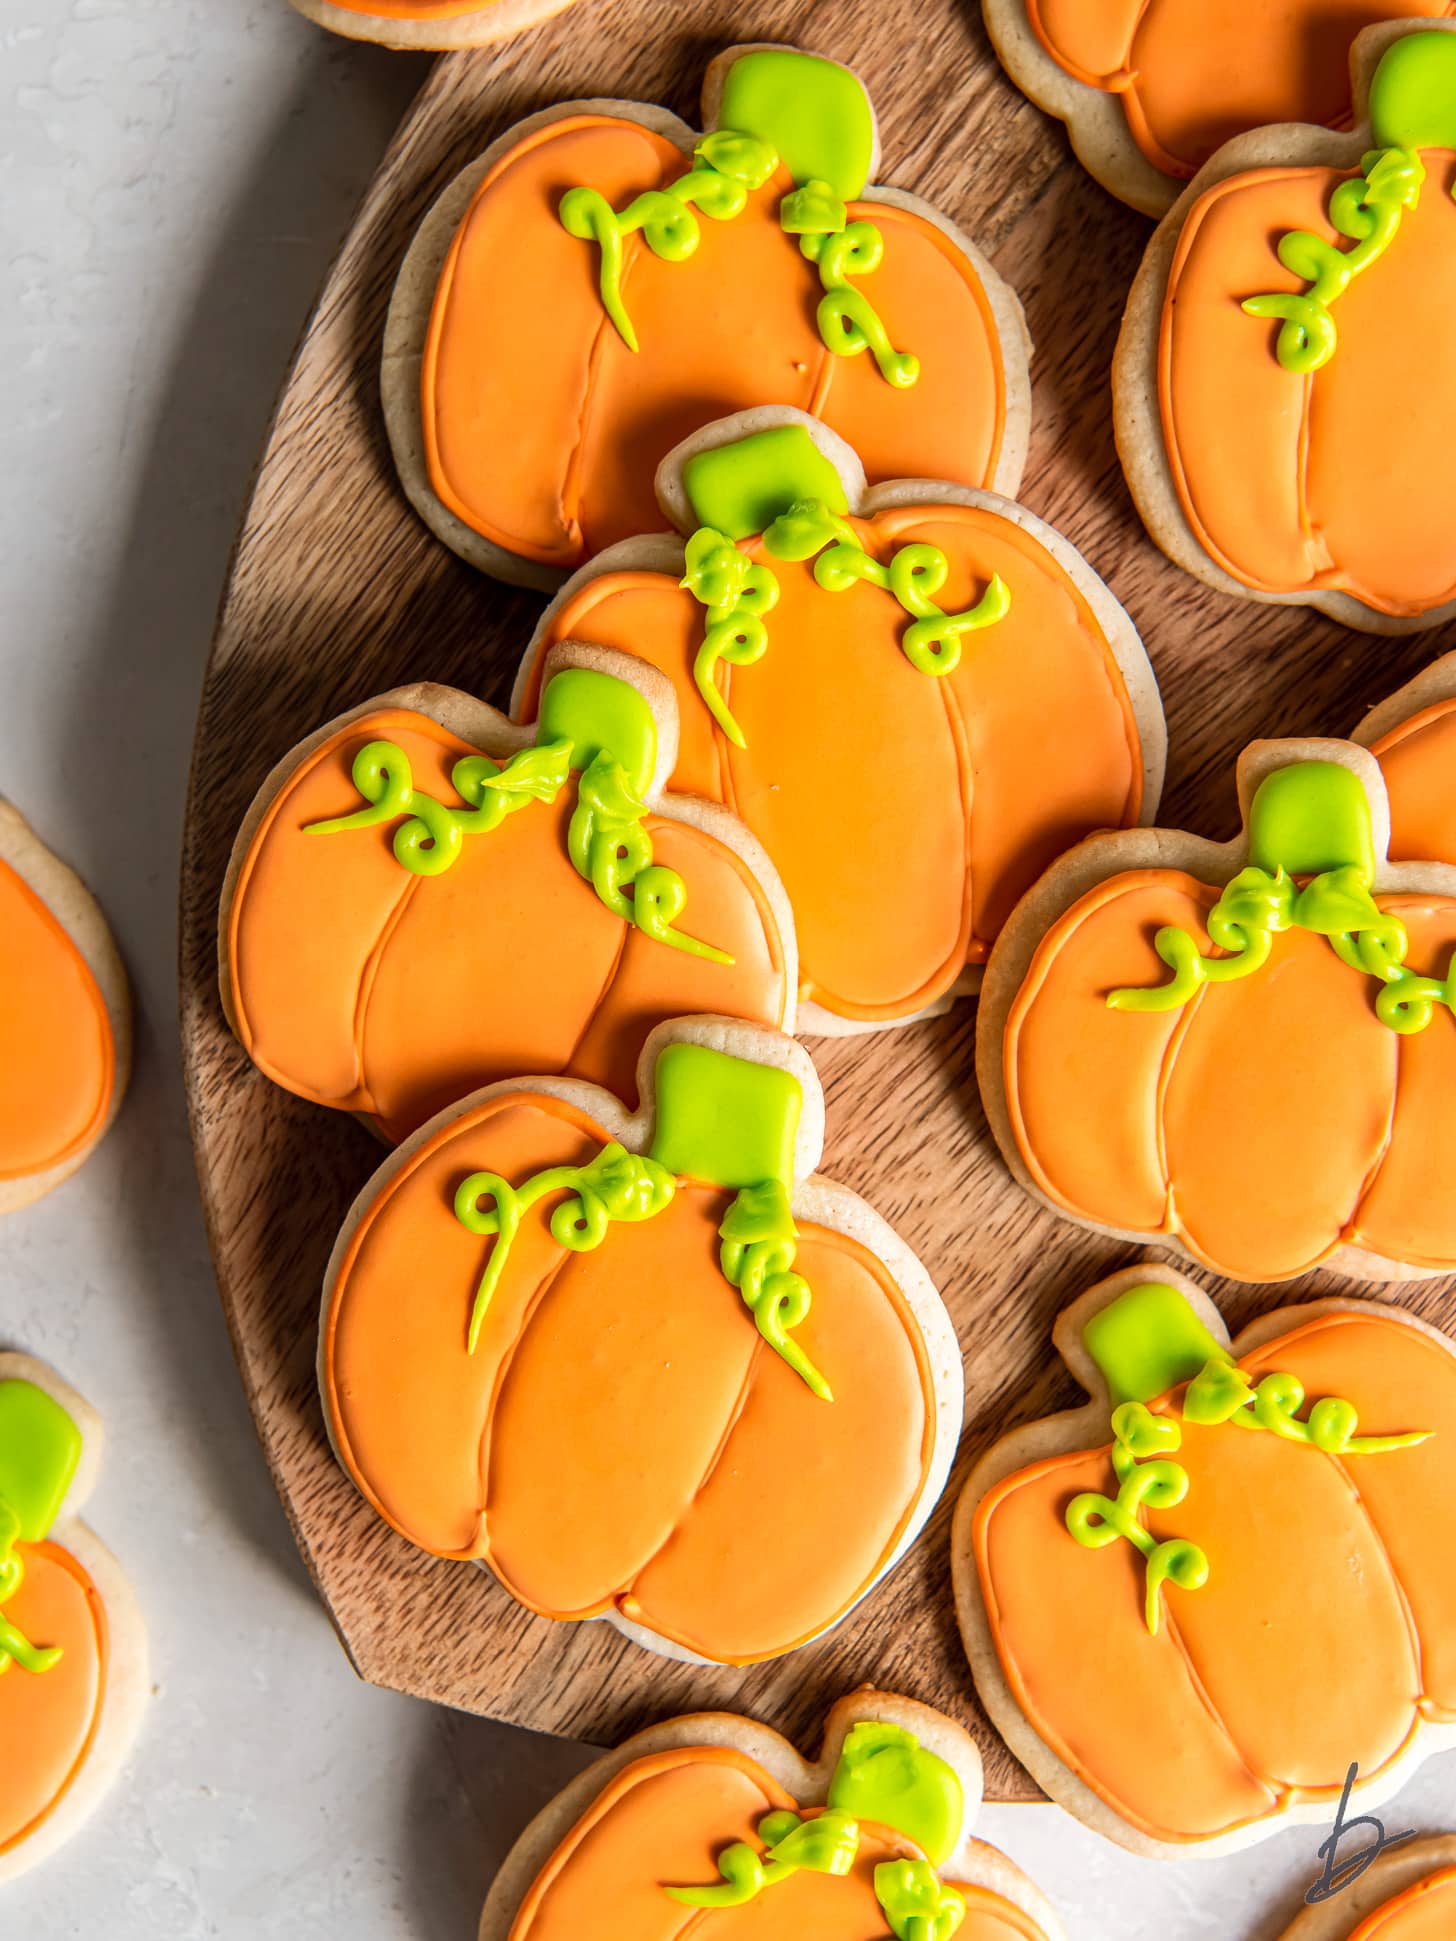
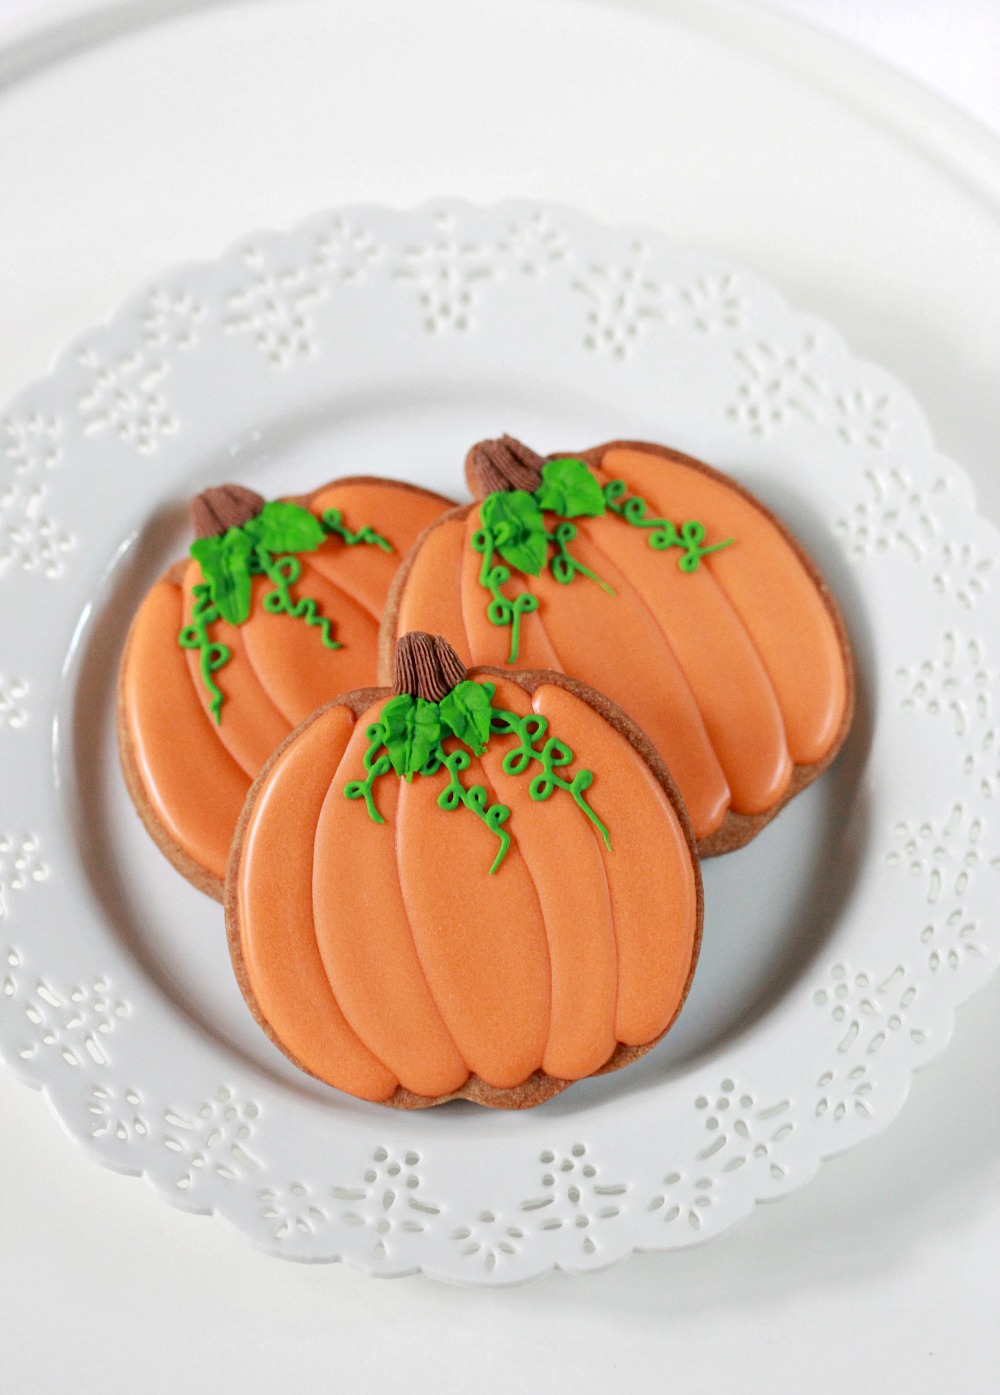
With royal icing, you can outline and flood your cookies with vibrant colors. Use orange for the pumpkin base and green for the leaves!
Creative Fondant Decorations
If you want a polished look, consider using fondant. It allows for smooth finishes and can be molded into various shapes.
Tips for Using Fondant
- Roll it out thinly to avoid overpowering the cookie flavor.
- Use cookie cutters to create fun shapes like leaves or pumpkins.
- Brush a little corn syrup on the cookie to help the fondant stick.

Edible Glitter and Sprinkles
For a festive touch, edible glitter or fall-themed sprinkles can add sparkle to your cookies. Sprinkle them on wet icing or melted chocolate for a beautiful finish.
Pros and Cons of Different Decorating Techniques
Royal Icing
Pros: Great for detailed designs, dries hard for stacking.
Cons: Requires practice to master, can be temperamental with humidity.
Fondant
Pros: Smooth finish, can be molded into shapes, widely available.
Cons: Can add sweetness, may overpower cookie flavor.
Edible Glitter/Sprinkles
Pros: Easy to apply, adds fun and color.
Cons: May not adhere well if not used with icing or chocolate.

Comparison Table of Decorating Techniques
| Decorating Method | Complexity | Time Required | Taste Impact |
|---|---|---|---|
| Royal Icing | High | Moderate | Minimal |
| Fondant | Medium | Moderate | High |
| Sprinkles | Low | Low | Minimal |
Storing Your Decorated Pumpkin Cookies
To keep your decorated cookies fresh, follow these storage tips:
- Allow cookies to cool completely after decorating before storing.
- Store in an airtight container at room temperature for up to one week.
- If using royal icing, avoid stacking cookies until the icing has fully set.

Personal Touches for Your Cookie Decor
Each year, I like to incorporate a personal touch into my pumpkin cookies. Whether it’s adding my family’s favorite toppings or using cookie cutters in unique shapes, these small details really make a difference.
Incorporating Seasonal Flavors
Don’t hesitate to add seasonal flavors to your icing (like maple or chai) or even sprinkle some chopped nuts for added texture. Sharing the story behind your cookie recipe or decoration can also add warmth, especially when serving at gatherings.

FAQs About Decorating Pumpkin Cookies
What icing is best for pumpkin cookies?
Royal icing is popular for detailed designs, while buttercream is preferred for a softer taste and texture. Use fondant for a smooth finish.
Can I freeze pumpkin cookies after decorating?
Yes, but it’s best to freeze un-decorated cookies. If you’ve already decorated them, ensure they are fully dry and place them in a single layer in an airtight container.
How can I make my cookies more colorful?
Use gel food coloring in your icings or fondant. Gel colors are more vibrant and won’t change the consistency of your icing.
Are pumpkin cookies gluten-free?
Yes, you can make gluten-free pumpkin cookies by using gluten-free flour blends. Adjustments to other ingredients may be necessary for texture.
Final Thoughts
Decorating pumpkin cookies is a delightful way to celebrate the fall season. Whether you prefer the intricacy of royal icing, the smooth finish of fondant, or the simplicity of sprinkles, there’s no wrong way to add your personal touch. Enjoy the process, share with loved ones, and let the festive spirit fill your kitchen!