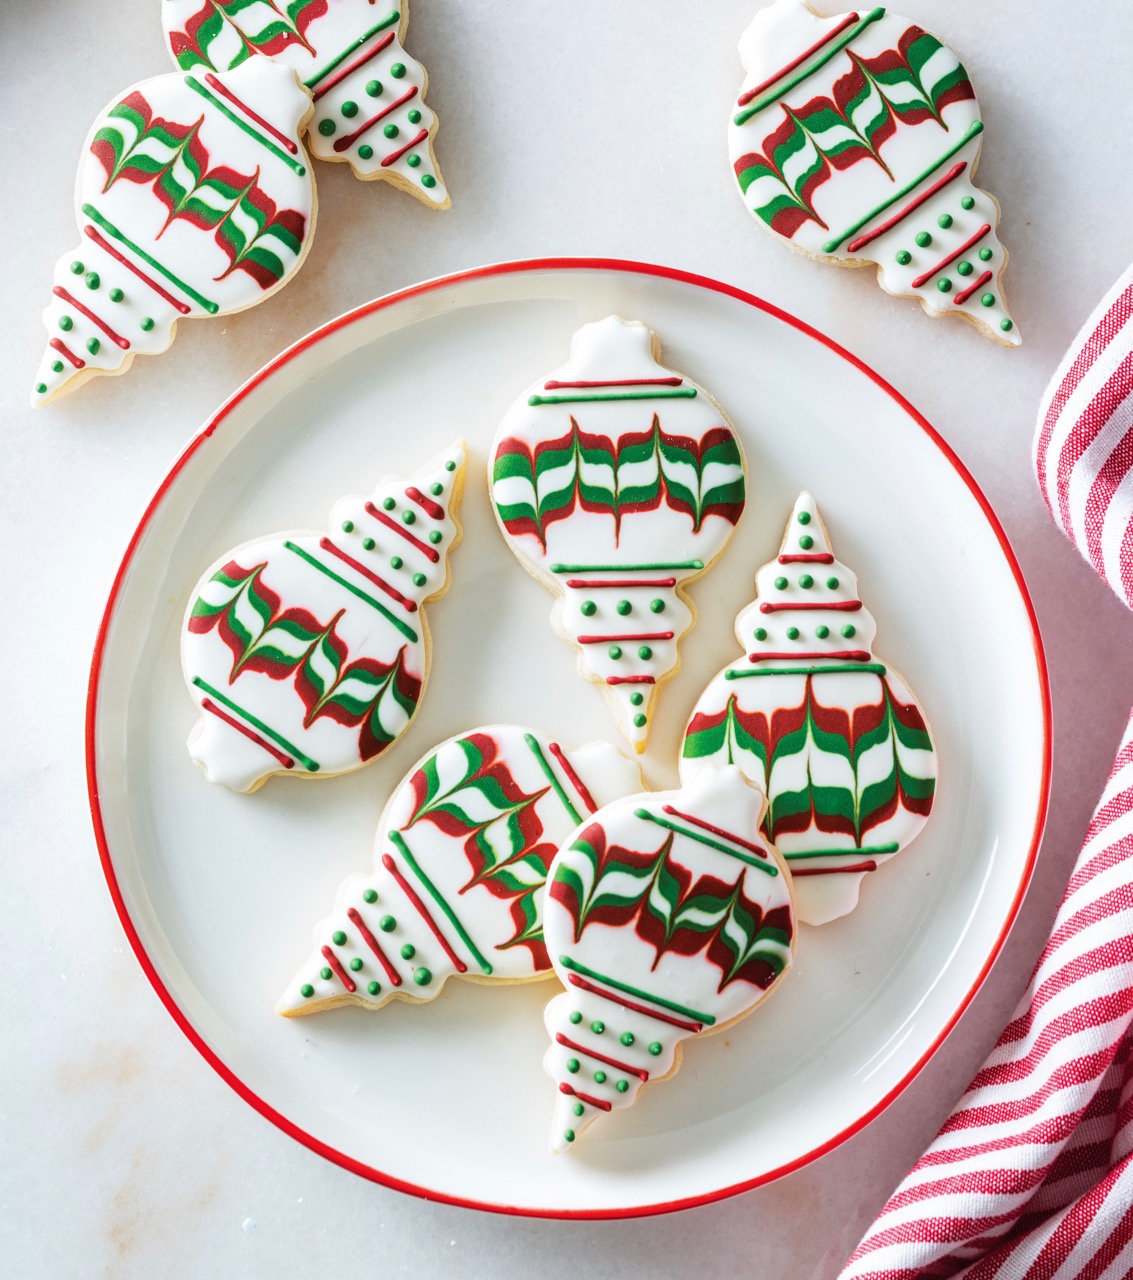
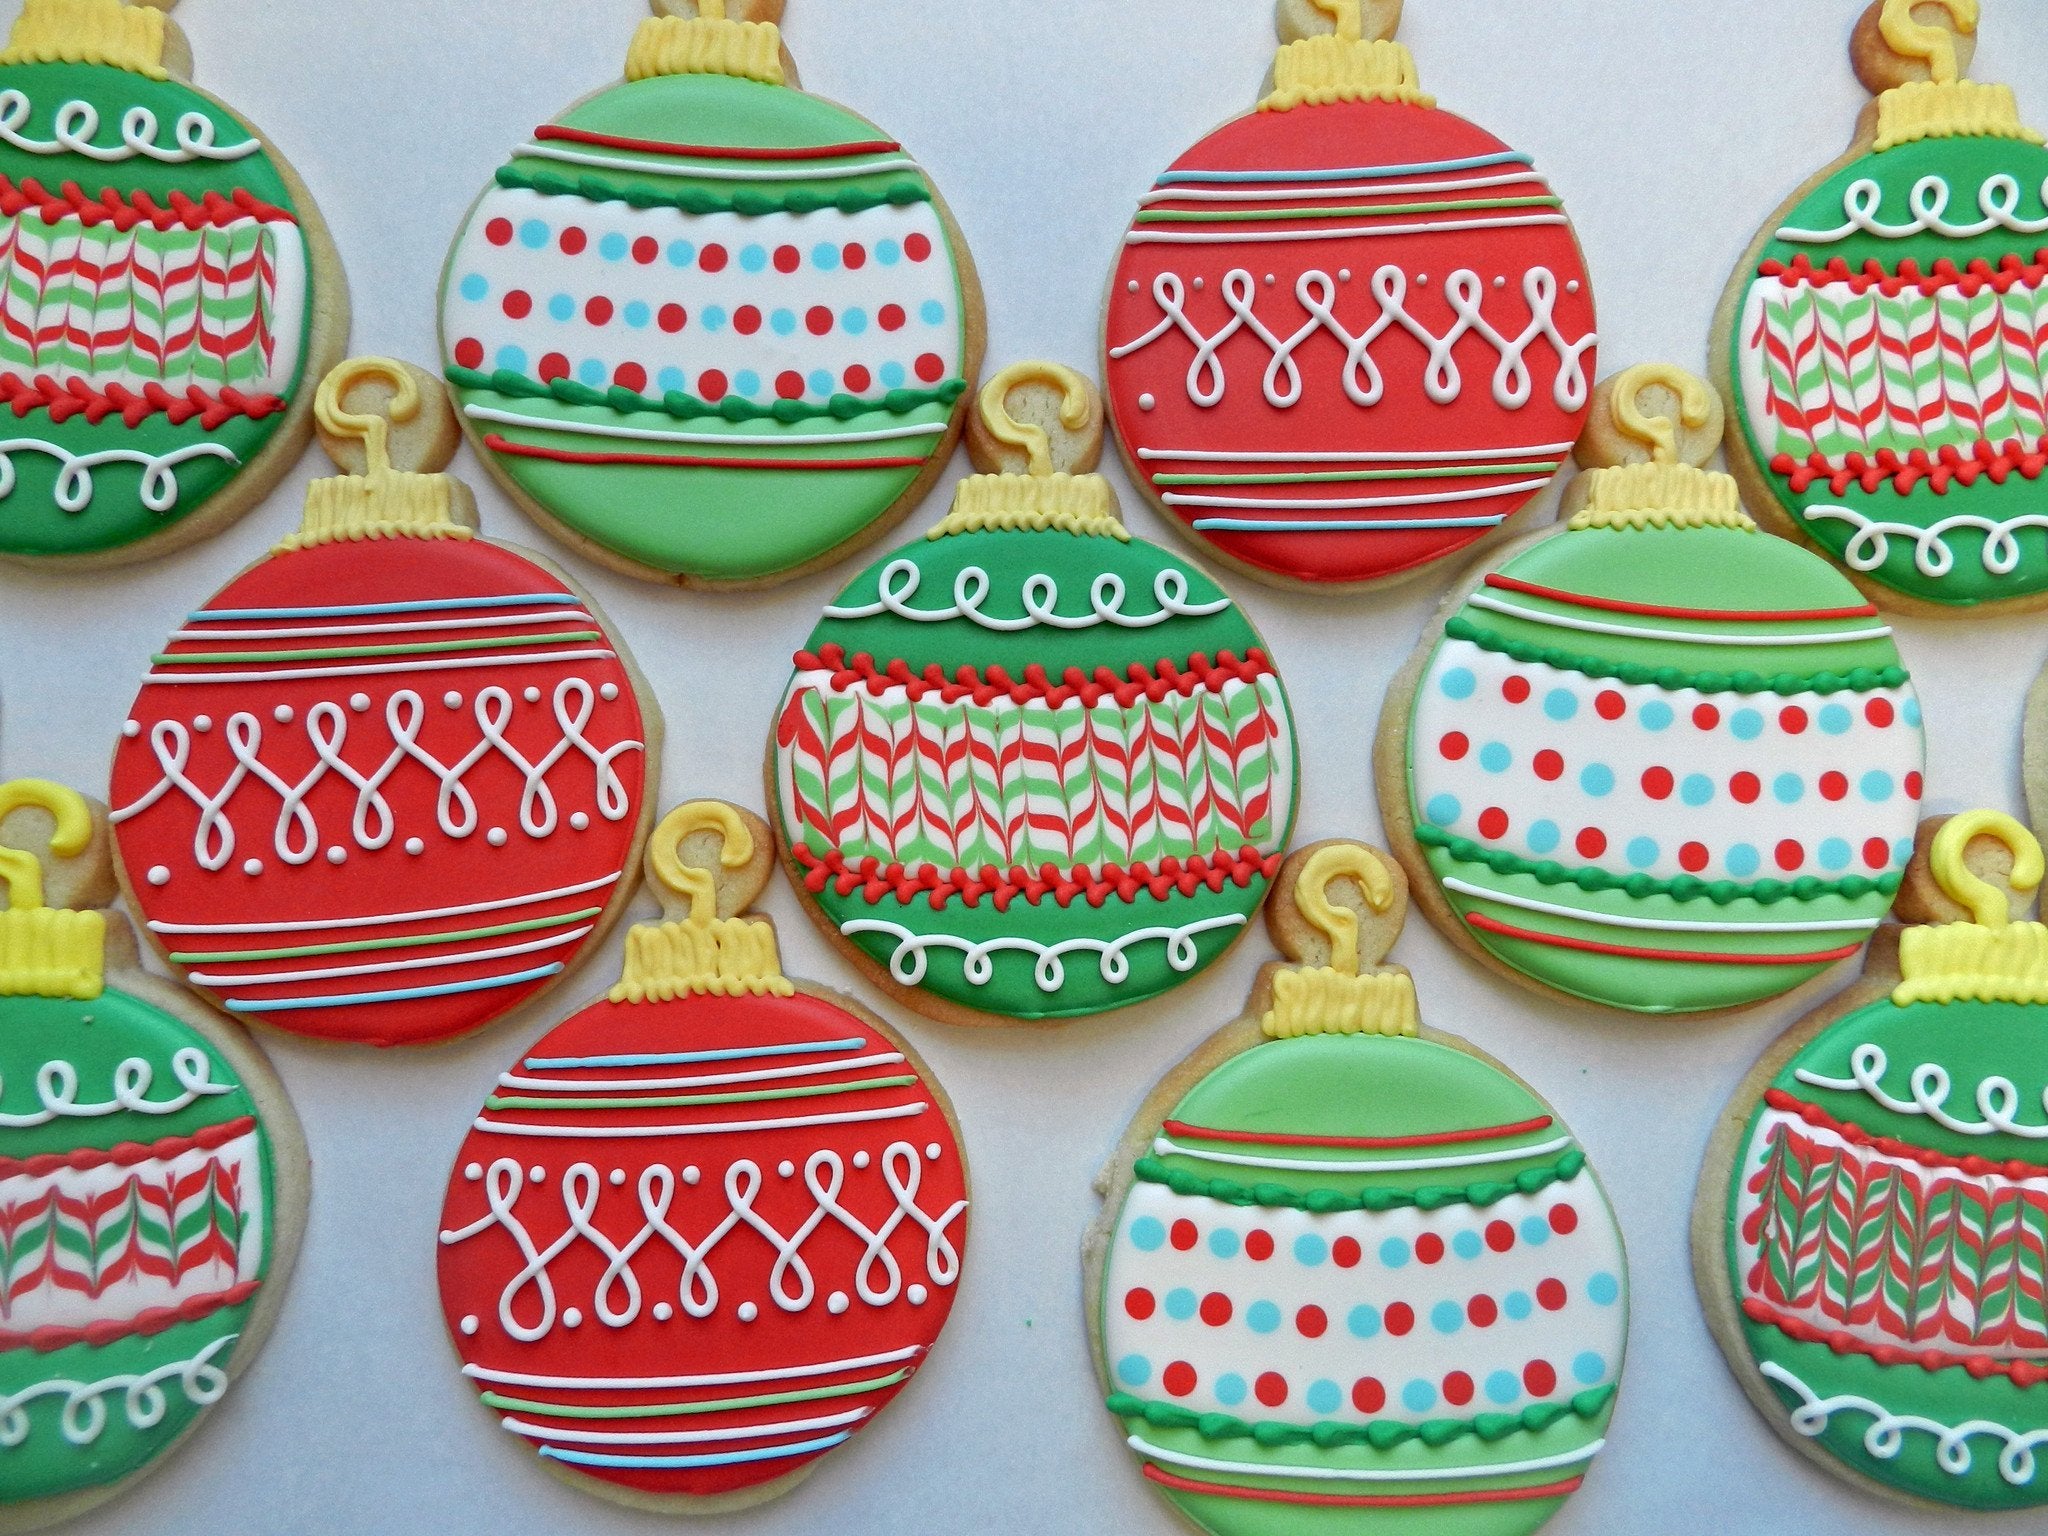
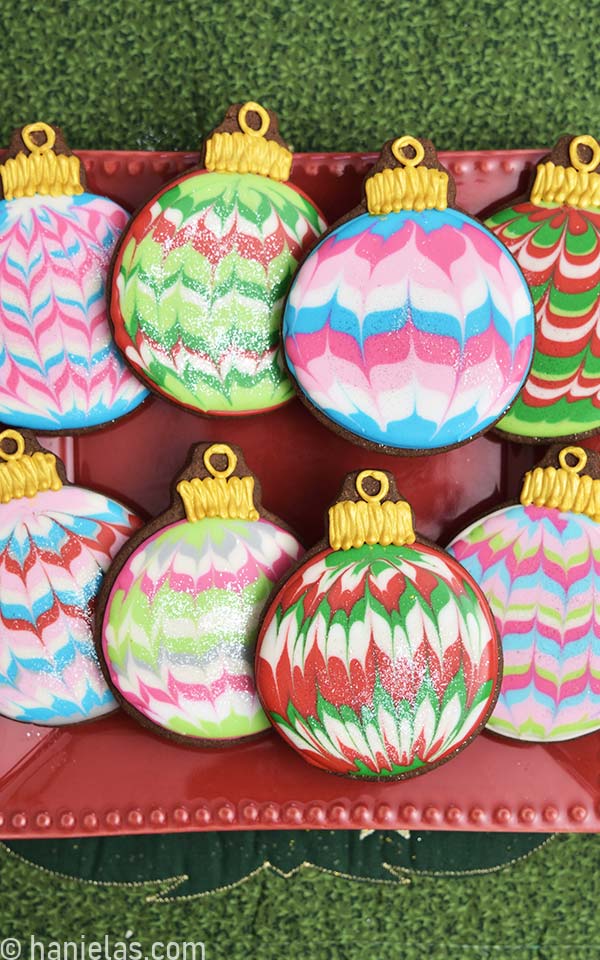
If you’re anything like me, the holiday season brings a special kind of joy—a joy that often revolves around baking, decorating, and indulging in sweet treats. One delightful tradition that never fails to bring a smile is making ornament decorated cookies. These beautiful cookies not only taste great but also serve as festive decorations that can truly elevate the spirit of any occasion. In this comprehensive guide, I’ll share everything you need to know about making these charming cookies, from techniques to ingredients and personal experiences that have shaped my cookie artistry.
What Are Ornament Decorated Cookies?
Ornament decorated cookies are typically sugar cookies shaped like Christmas ornaments but can be made in various designs for any holiday or celebration. These cookies are often adorned with vibrant royal icing, sprinkles, and edible glitter, making them a visual and tasty treat.
Why Choose Ornament Decorated Cookies?
There are numerous reasons why ornament decorated cookies have become a favorite among bakers and holiday enthusiasts alike:
- Creativity: Each cookie is a canvas for creativity. You can personalize designs to match themes or events.
- Gift Potential: Decorated cookies make excellent gifts for family and friends.
- Memorable Moments: Baking and decorating cookies brings families together, creating lasting memories.
Essential Ingredients for the Perfect Cookie
To create delicious ornament decorated cookies, you need to start with quality ingredients. Here’s a list of essentials:
- All-purpose flour
- Unsalted butter
- Granulated sugar
- Eggs
- Vanilla extract
- Baking powder
- Salt
Alternative Ingredients for Specialty Diets
If you or your loved ones have specific dietary needs, here are some alternatives:
- Gluten-Free Flour: Substitute all-purpose flour with a gluten-free blend.
- Dairy-Free Butter: Use a plant-based butter for a dairy-free option.
- Natural Sweeteners: Try honey or maple syrup instead of granulated sugar.

Basic Sugar Cookie Recipe
Here’s a simple sugar cookie recipe that will serve as the foundation for your ornament decorated cookies:
Ingredients
- 2 3/4 cups all-purpose flour
- 1 teaspoon baking powder
- 1/2 teaspoon salt
- 1 cup unsalted butter, softened
- 1 1/4 cups granulated sugar
- 1 egg
- 1 teaspoon vanilla extract

Instructions
- Preheat the oven to 350°F (175°C).
- In a bowl, whisk together flour, baking powder, and salt; set aside.
- In a separate bowl, cream together butter and sugar until light and fluffy.
- Beat in the egg and vanilla extract.
- Gradually mix in the dry ingredients until blended.
- Roll dough into balls and flatten slightly on ungreased baking sheets.
- Bake for 8 to 10 minutes, or until golden. Let cool before decorating.
Decorating Your Ornament Cookies
Once your cookies have cooled, it’s time to let your creativity shine with decorations. Here are some popular options:

Royal Icing
Royal icing is a fantastic choice for cookie decorating as it dries hard and can be used for intricate designs. Here’s a simple recipe:
Royal Icing Recipe
- 3 egg whites (or 4 ounces egg white powder)
- 4 cups powdered sugar
- 1 teaspoon vanilla extract

Instructions
- In a large bowl, beat egg whites until frothy.
- Add powdered sugar gradually while mixing.
- Once combined, add vanilla extract. Mix until stiff peaks form.
Coloring and Piping Techniques
To make your decorated cookies visually appealing, consider these techniques:
- Coloring: Use gel food coloring to achieve vibrant colors.
- Piping: Use piping bags with different tips for various designs.

Tips for Perfect Cookie Decorating
- Let the royal icing dry completely before stacking cookies.
- Experiment with textures using sprinkles, sanding sugar, and edible glitter.
- Practice your piping skills on parchment paper before decorating cookies.
Frequently Asked Questions (FAQs)

1. How far in advance can I decorate cookies?
You can decorate cookies up to a week in advance if stored in an airtight container. The flavors tend to improve over time!
2. Can I freeze decorated cookies?
Yes, you can freeze decorated cookies! Just make sure they’re completely dry before layering with parchment paper in an airtight container.
3. What is the best way to store my cookies?
Store your cookies in an airtight container at room temperature to maintain their freshness.
4. Can I use fondant instead of royal icing?
Absolutely! Fondant can create a smooth finish, but it might not be as easy to work with for fine details.
Pros and Cons of Ornament Decorated Cookies
Pros
- Highly customizable for any occasion.
- Great for kids’ activities and family bonding.
- Can be made in bulk for events and parties.
Cons
- Requires time and patience for decorating.
- Can be messy, especially with kids involved.
- Royal icing can be finicky to work with if not made correctly.
Comparing Cookie Decorating Methods
| Method | Description | Pros | Cons |
|---|---|---|---|
| Royal Icing | A hard icing made from egg whites and powdered sugar. | Great for detailed designs; dries hard. | Can be difficult to get the consistency right. |
| Fondant | A smooth, pliable sugar dough that can cover cookies. | Creates a smooth finish; easy to shape. | Can add a chewy texture; tricky for beginners. |
| Buttercream Icing | A creamy icing made from butter and powdered sugar. | Easy to make; delicious taste. | Doesn’t harden well; can smudge easily. |
Conclusion: Embrace Your Creativity
Ornament decorated cookies are more than just treats; they are an expression of joy, creativity, and tradition. Whether you’re a seasoned baker or just starting, there’s nothing quite like the satisfaction of creating something beautiful and delicious. I hope this guide inspires you to dive into the world of cookie decorating and to share your creations with loved ones. Happy baking!