If you’re a fan of cookies and dinosaurs (let’s be honest, who isn’t?), then you’re in for a treat! In this guide, we’ll dive into the delightful world of dinosaur cookie decorating. Whether you’re decorating for a birthday party, a dinosaur-themed event, or just for fun, this article will equip you with all the information, tips, and tricks you need to create your own dino delights.
Why Choose Dinosaur Cookies?
Dinosaur cookies are not only adorable but also a hit with children and adults alike. They make for fantastic treats at parties, perfect for school events, and ideal for those who want to add a little whimsy to their baking. Here are a few reasons why you should consider dinosaur cookie decorating:
- Engaging Craft Activity: Decorating cookies can be a fun and engaging activity for kids and adults.
- Versatile Designs: From simple shapes to intricate designs, the possibilities are endless!
- Tasty Treats: Who doesn’t love a delicious cookie? Decorated cookies are sure to please any crowd.
Gathering Your Supplies
Before you dive in, let’s discuss what supplies you will need. Having everything on hand will make your dinosaur cookie decorating smoother and more enjoyable.
Essential Ingredients
| Ingredient | Purpose |
|---|---|
| All-purpose flour | Base for your cookie dough |
| Sugar | Adds sweetness |
| Butter | Creates a rich flavor and softer texture |
| Eggs | Binding agent for the dough |
| Baking powder | Helps cookies rise |
| Vanilla extract | Adds flavor |
Decorating Supplies
In addition to the ingredients, you’ll need some decorating supplies:
- Piping bags
- Food coloring
- Royal icing
- Sprinkles and edible glitter
- Dinosaur cookie cutters
- Toothpicks (for detail work)
- Plates for drying
Preparing Your Dino Dough
Now that you’ve gathered your supplies, it’s time to make the dough. Here’s a simple yet delicious dinosaur cookie recipe:
Classic Dinosaur Cookie Recipe
Ingredients:
- 2 3/4 cups all-purpose flour
- 1 teaspoon baking powder
- 1 cup sugar
- 1 cup unsalted butter, softened
- 1 egg
- 1 teaspoon vanilla extract
Instructions:
- Preheat your oven to 350°F (175°C).
- In a bowl, mix the flour, baking powder, and salt together.
- In another bowl, cream the sugar and butter until fluffy.
- Add the egg and vanilla extract, continuing to mix thoroughly.
- Gradually add the flour mixture to the creamed mixture, stirring until well combined.
- Roll out the dough to about 1/4 inch thick, then use dinosaur cookie cutters to cut out shapes.
- Place the cookies on a baking sheet lined with parchment paper.
- Bake for 8-10 minutes or until lightly golden.
- Let them cool completely on a wire rack before decorating.
Decorating Your Dinosaur Cookies
Now for the fun part! Decorating your cookies can be as simple or as elaborate as you like. Below are some tips on how to get started.
Choosing Your Color Palette
Consider using a range of colors that reflect various dinosaurs. Think greens, browns, and yellows for a classic dinosaur look. Here’s how to mix your royal icing colors:
- Green: Mix yellow and blue.
- Brown: Combine red, yellow, and blue.
- Yellow: Use yellow food coloring.
Creating Royal Icing
To achieve detailed designs, royal icing is your best friend. Here’s how to make it:

Royal Icing Recipe:
- 3 egg whites
- 4 cups powdered sugar
- 1 teaspoon lemon juice
Instructions:
- Beat the egg whites until frothy.
- Gradually add powdered sugar, mixing until smooth.
- Add lemon juice and mix until the icing holds a stiff peak.

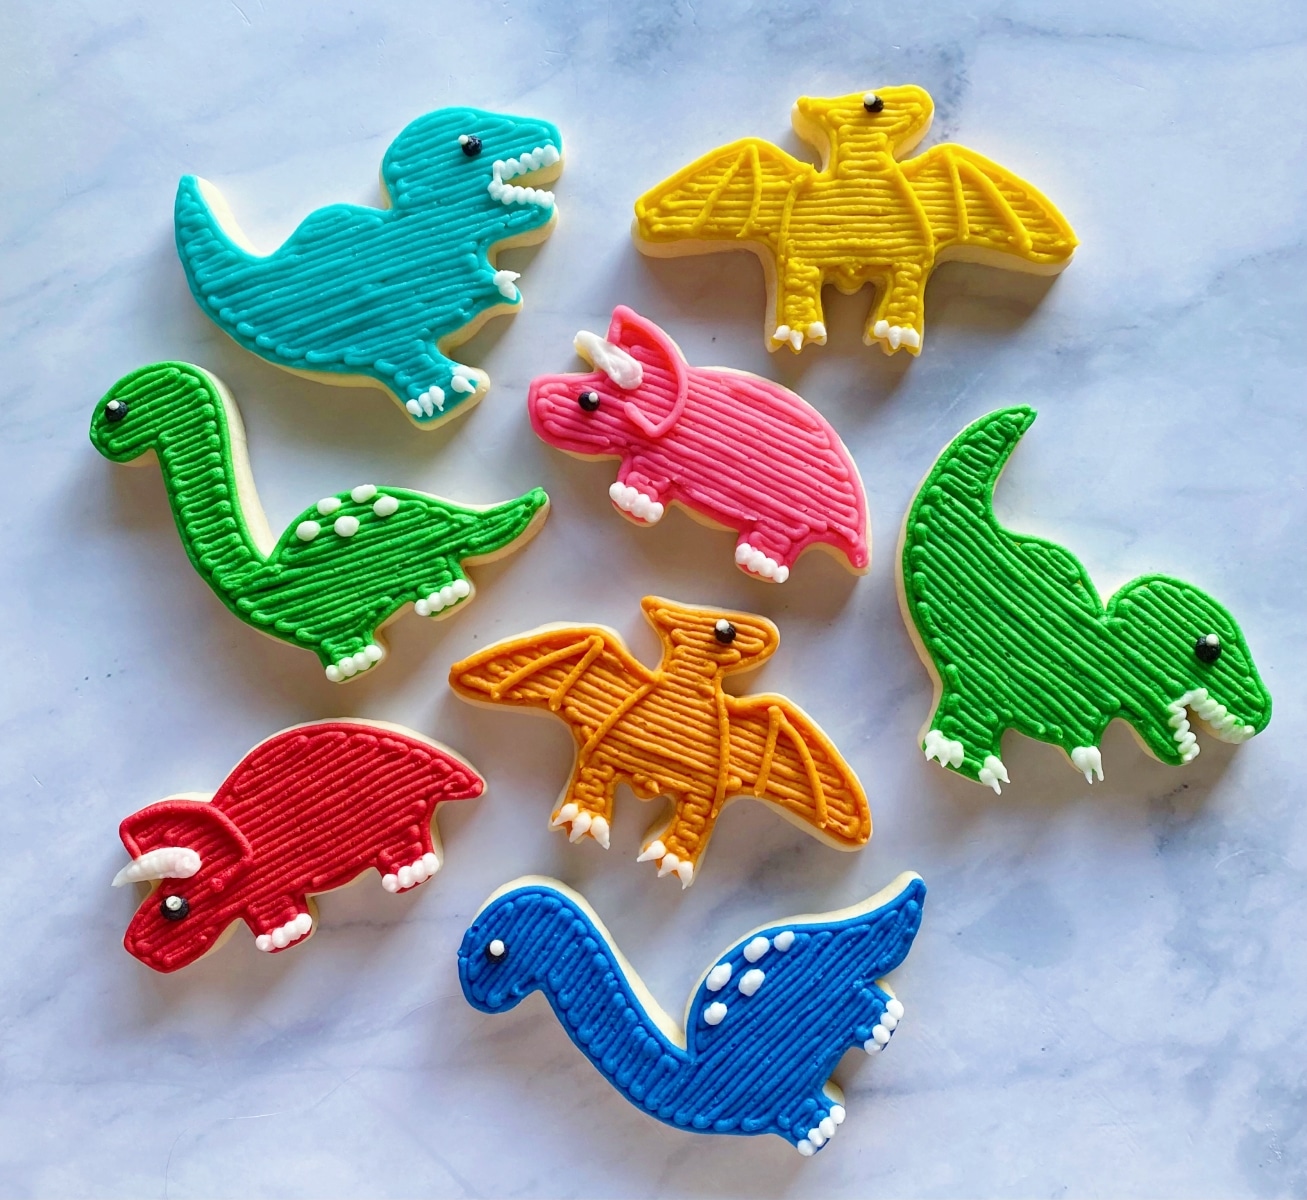
Piping Techniques
When piping royal icing onto your cookies, consider using different tips for different effects:
- Round Tip: Great for outlines and filling in large areas.
- Star Tip: Perfect for creating textured surfaces.
- Flat Tip: Ideal for stripes and zigzags.
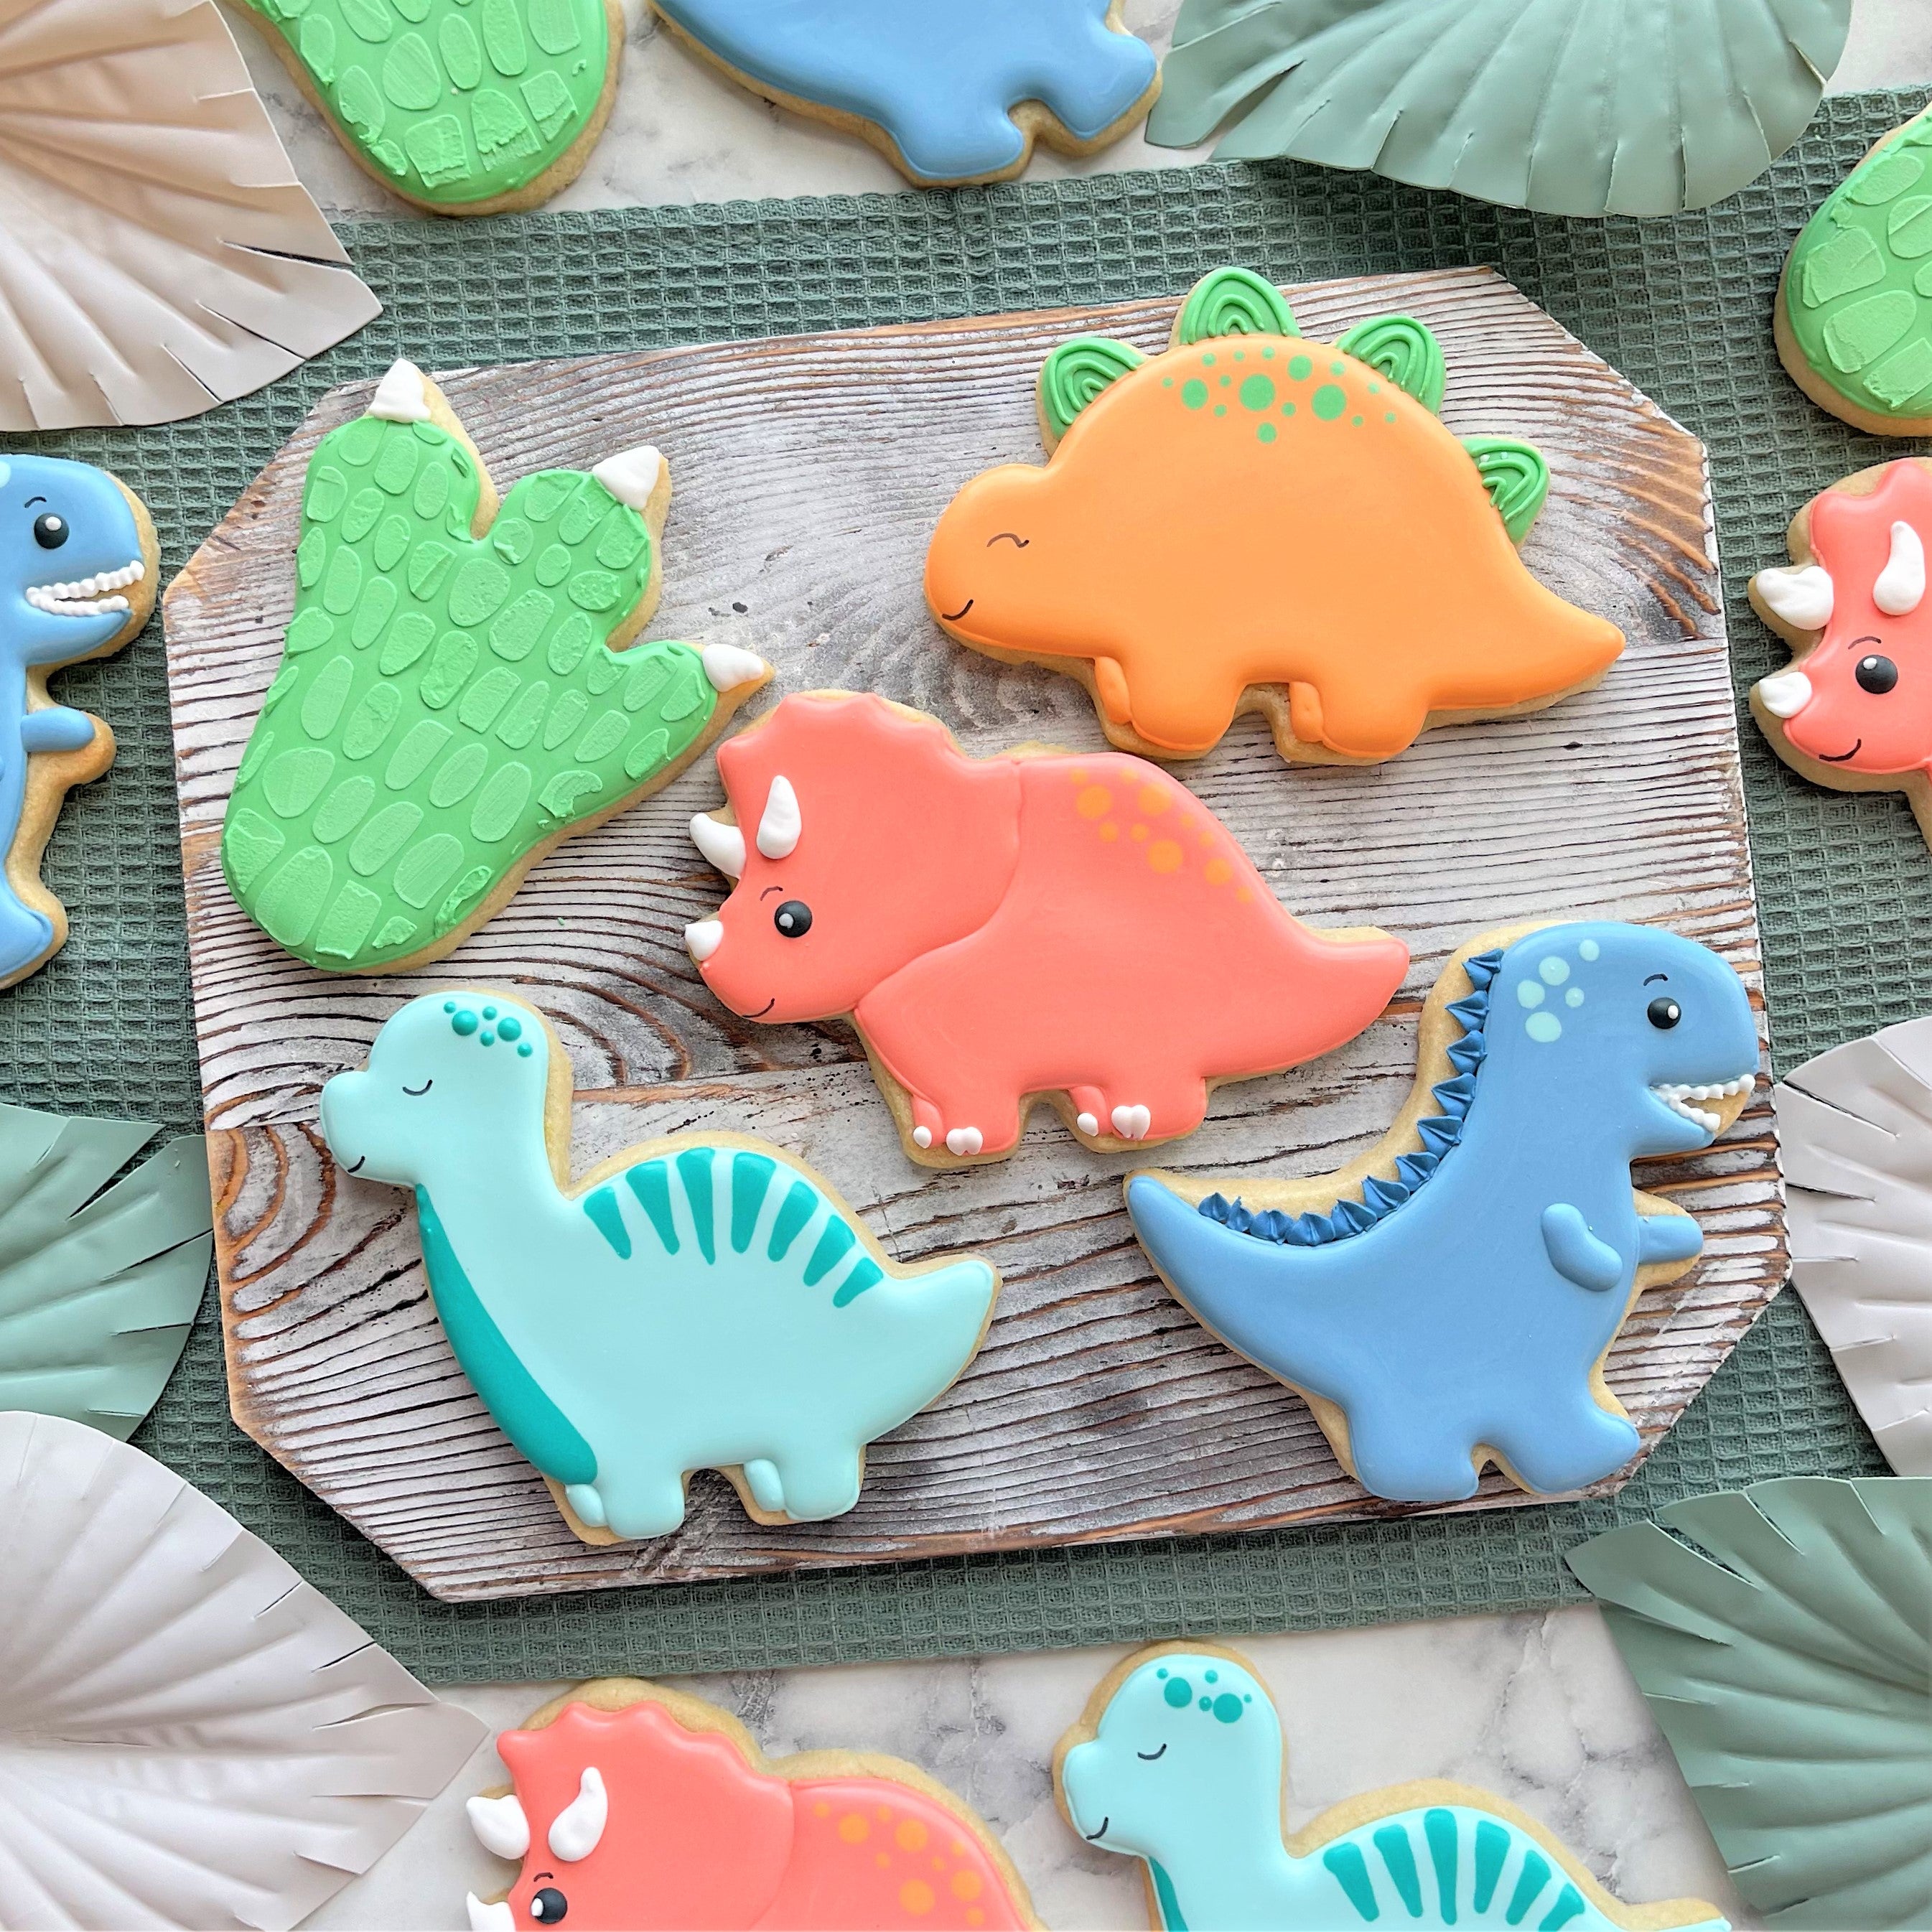
Creative Dinosaur Cookie Design Ideas
Stuck for ideas? Here are some fun dinosaur cookie designs you can try:

Design Inspiration
- Brontosaurus: Use green icing for the body and add details with darker green or brown.
- T-Rex: Go with bold red or orange, and use black icing for the eyes and mouth.
- Pterodactyl: Decorate with purple icing and create wings with fondant.
Tips for a Successful Decorating Session
To ensure your decorating session goes smoothly and is enjoyable, consider the following tips:
- Practice Makes Perfect: Don’t worry if your first cookie doesn’t look perfect; practice will help improve your skills!
- Have Fun: Remember, this is meant to be a fun activity. Enjoy the process and let your creativity shine.
- Get Others Involved: Invite friends or family to join you in decorating. This can be a fun social activity!

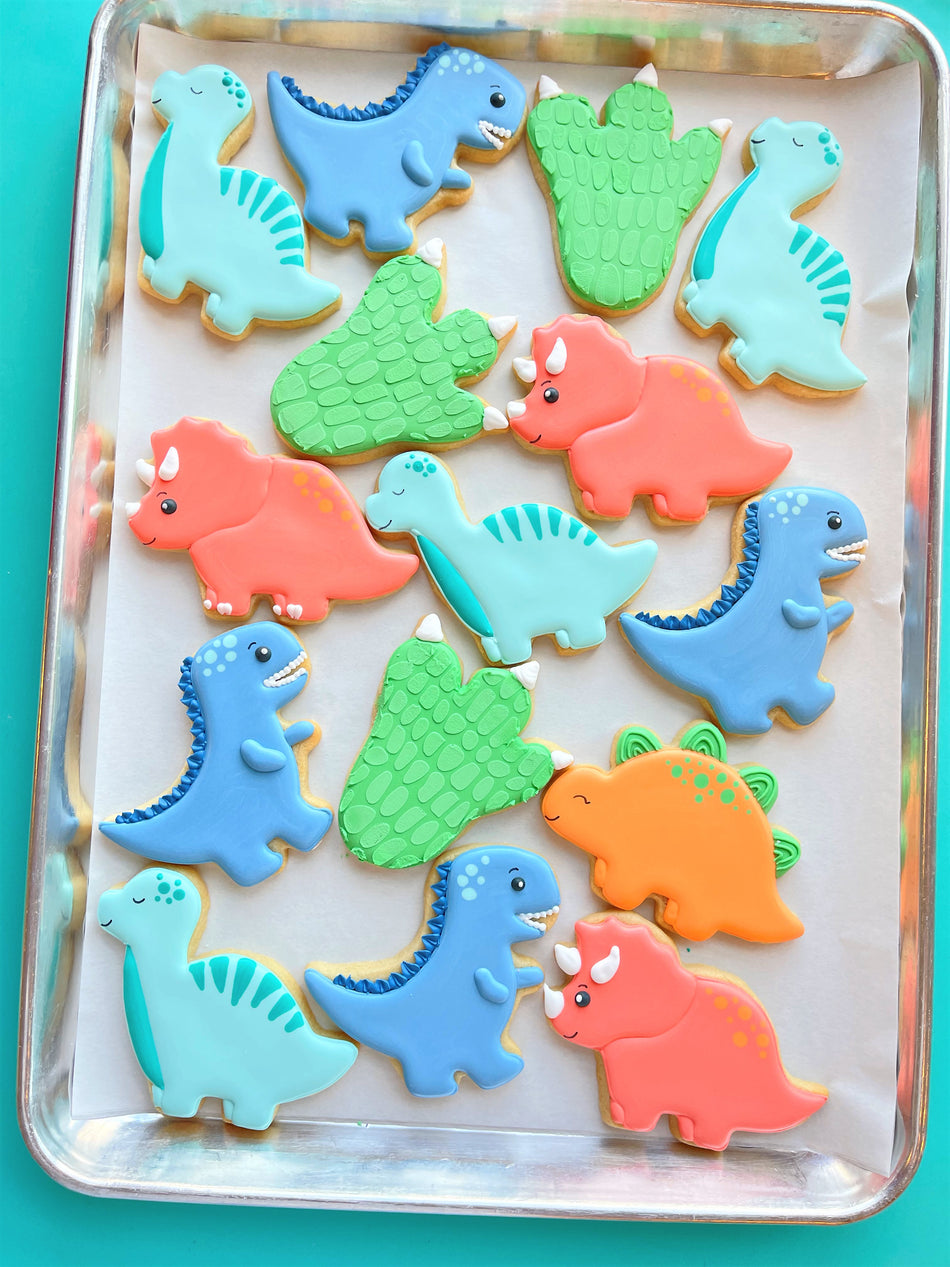
Storage and Presentation Tips
Once your dinosaur cookies are decorated and dried, proper storage is crucial to keep them fresh:
How to Store Your Cookies
Store your decorated cookies in an airtight container to keep them fresh for 1-2 weeks. Make sure they are completely dry before stacking them to prevent damage to the icing.
Presentation Ideas
Make your dinosaur cookies stand out with creative presentation:
- Arrange them on a tray with green paper grass for a jungle effect.
- Use cookie bags tied with ribbons for party favors.
- Display them in themed boxes or containers for added charm.
Common Mistakes to Avoid
Even experienced bakers make mistakes! Here are some common pitfalls and how to avoid them:
List of Mistakes
- Overmixing Dough: This can lead to tough cookies. Mix until just combined.
- Not Letting Icing Dry: Ensure your icing is completely dry before stacking or packaging.
- Poor Cookie Shapes: Be sure to press the cookie cutters firmly and release the dough gently.
Conclusion
Decorating dinosaur cookies is a delightful activity that results in both a creative outlet and delicious treats. Whether you’re crafting these cookies for a party, a special occasion, or just for fun, the process can be enjoyed by all ages. Remember to unleash your creativity, savor the baking experience, and most importantly, have a great time!
Frequently Asked Questions (FAQs)
1. What is the best type of icing for decorating cookies?
Royal icing is generally considered the best for cookie decorating due to its smooth finish and ability to dry hard.
2. How long do decorated cookies last?
When stored properly in an airtight container, decorated cookies can last up to 1-2 weeks.
3. Can I freeze decorated cookies?
Yes, you can freeze cookies. Make sure they are completely dry before wrapping them individually and placing them in an airtight container.
4. What types of decorations can I use for dinosaur cookies?
You can use royal icing, fondant, edible glitter, sprinkles, and even candy pieces for decorations.
5. Are there gluten-free options for dinosaur cookies?
Yes! You can use gluten-free flour blends to create delicious gluten-free dinosaur cookies.