Welcome to the world of dinosaur decorated cookies! If you’re like me, nostalgia draws many of us back to our childhood fascination with these magnificent creatures. This article will help you dive into the fun and creative process of making dinosaur-themed cookies that are not just delicious but also visually stunning. Whether you are preparing for a birthday party, a school event, or a themed gathering, these cookies are sure to impress!
Why Choose Dinosaur Decorated Cookies?
Dinosaur cookies are more than just a sweet treat; they pack a fun punch at any gathering. Here are a few reasons why they are a great choice:
- Engaging Theme: Dinosaurs captivate both kids and adults, making them perfect for themed parties.
- Creative Outlet: Decorating cookies allows for artistic expression and creativity.
- Delicious and Customizable: You can tailor flavors and designs to suit your preferences.
- Great Activity: Baking and decorating cookies can be a fun activity for families and friends.
Gathering Your Supplies
Before we jump into the recipes, let’s gather everything you need to create your dinosaur decorations!
Essential Tools & Equipment

- Baking sheets
- Mixing bowls
- Rolling pin
- Cookie cutters (dinosaur shapes)
- Piping bags and tips
- Food coloring
- Parchment paper
- Cooling rack
Ingredients for Dinosaur Cookies
| Ingredient | Quantity |
|---|---|
| All-purpose flour | 2 3/4 cups |
| Butter (softened) | 1 cup |
| Sugar | 1 cup |
| Brown sugar | 1/2 cup |
| Eggs | 2 large |
| Vanilla extract | 1 tsp |
| Baking powder | 1 tsp |
| Salt | 1/2 tsp |
| Food coloring (various colors) | As needed |
| Powdered sugar (for icing) | 2 cups |
Step-by-Step Recipe for Dinosaur Cookies

Making the Cookie Dough
- In a large mixing bowl, cream together the softened butter, sugar, and brown sugar until light and fluffy.
- Add the eggs, one at a time, and mix in the vanilla extract.
- In a separate bowl, whisk together the flour, baking powder, and salt.
- Gradually mix the dry ingredients into the wet mixture until combined. Make sure not to overmix.
- Wrap the dough in plastic wrap and refrigerate for at least 1 hour.
Shaping and Baking the Cookies
- Preheat your oven to 350°F (175°C).
- On a floured surface, roll out the dough to about 1/4 inch thickness.
- Use dinosaur-shaped cookie cutters to cut out your cookies and place them on greased baking sheets.
- Bake for 8-10 minutes, or until the edges are lightly golden.
- Let the cookies cool on a rack before decorating.
Decorating Your Dinosaur Cookies
Now comes the fun part: decorating! Here are some tips to create stunning dinosaur cookies.

Basic Royal Icing Recipe
Royal icing is perfect for decorating cookies. Here’s a simple recipe:
- In a mixing bowl, combine 2 egg whites with 3 cups of powdered sugar and 1/2 teaspoon of cream of tartar.
- Beat until the mixture forms stiff peaks, about 5-7 minutes.
- If the icing is too thick, add a few drops of water to reach the desired consistency.
Coloring Your Icing
Divide the royal icing into separate bowls and add your desired food coloring. Mix well until you achieve vibrant colors.
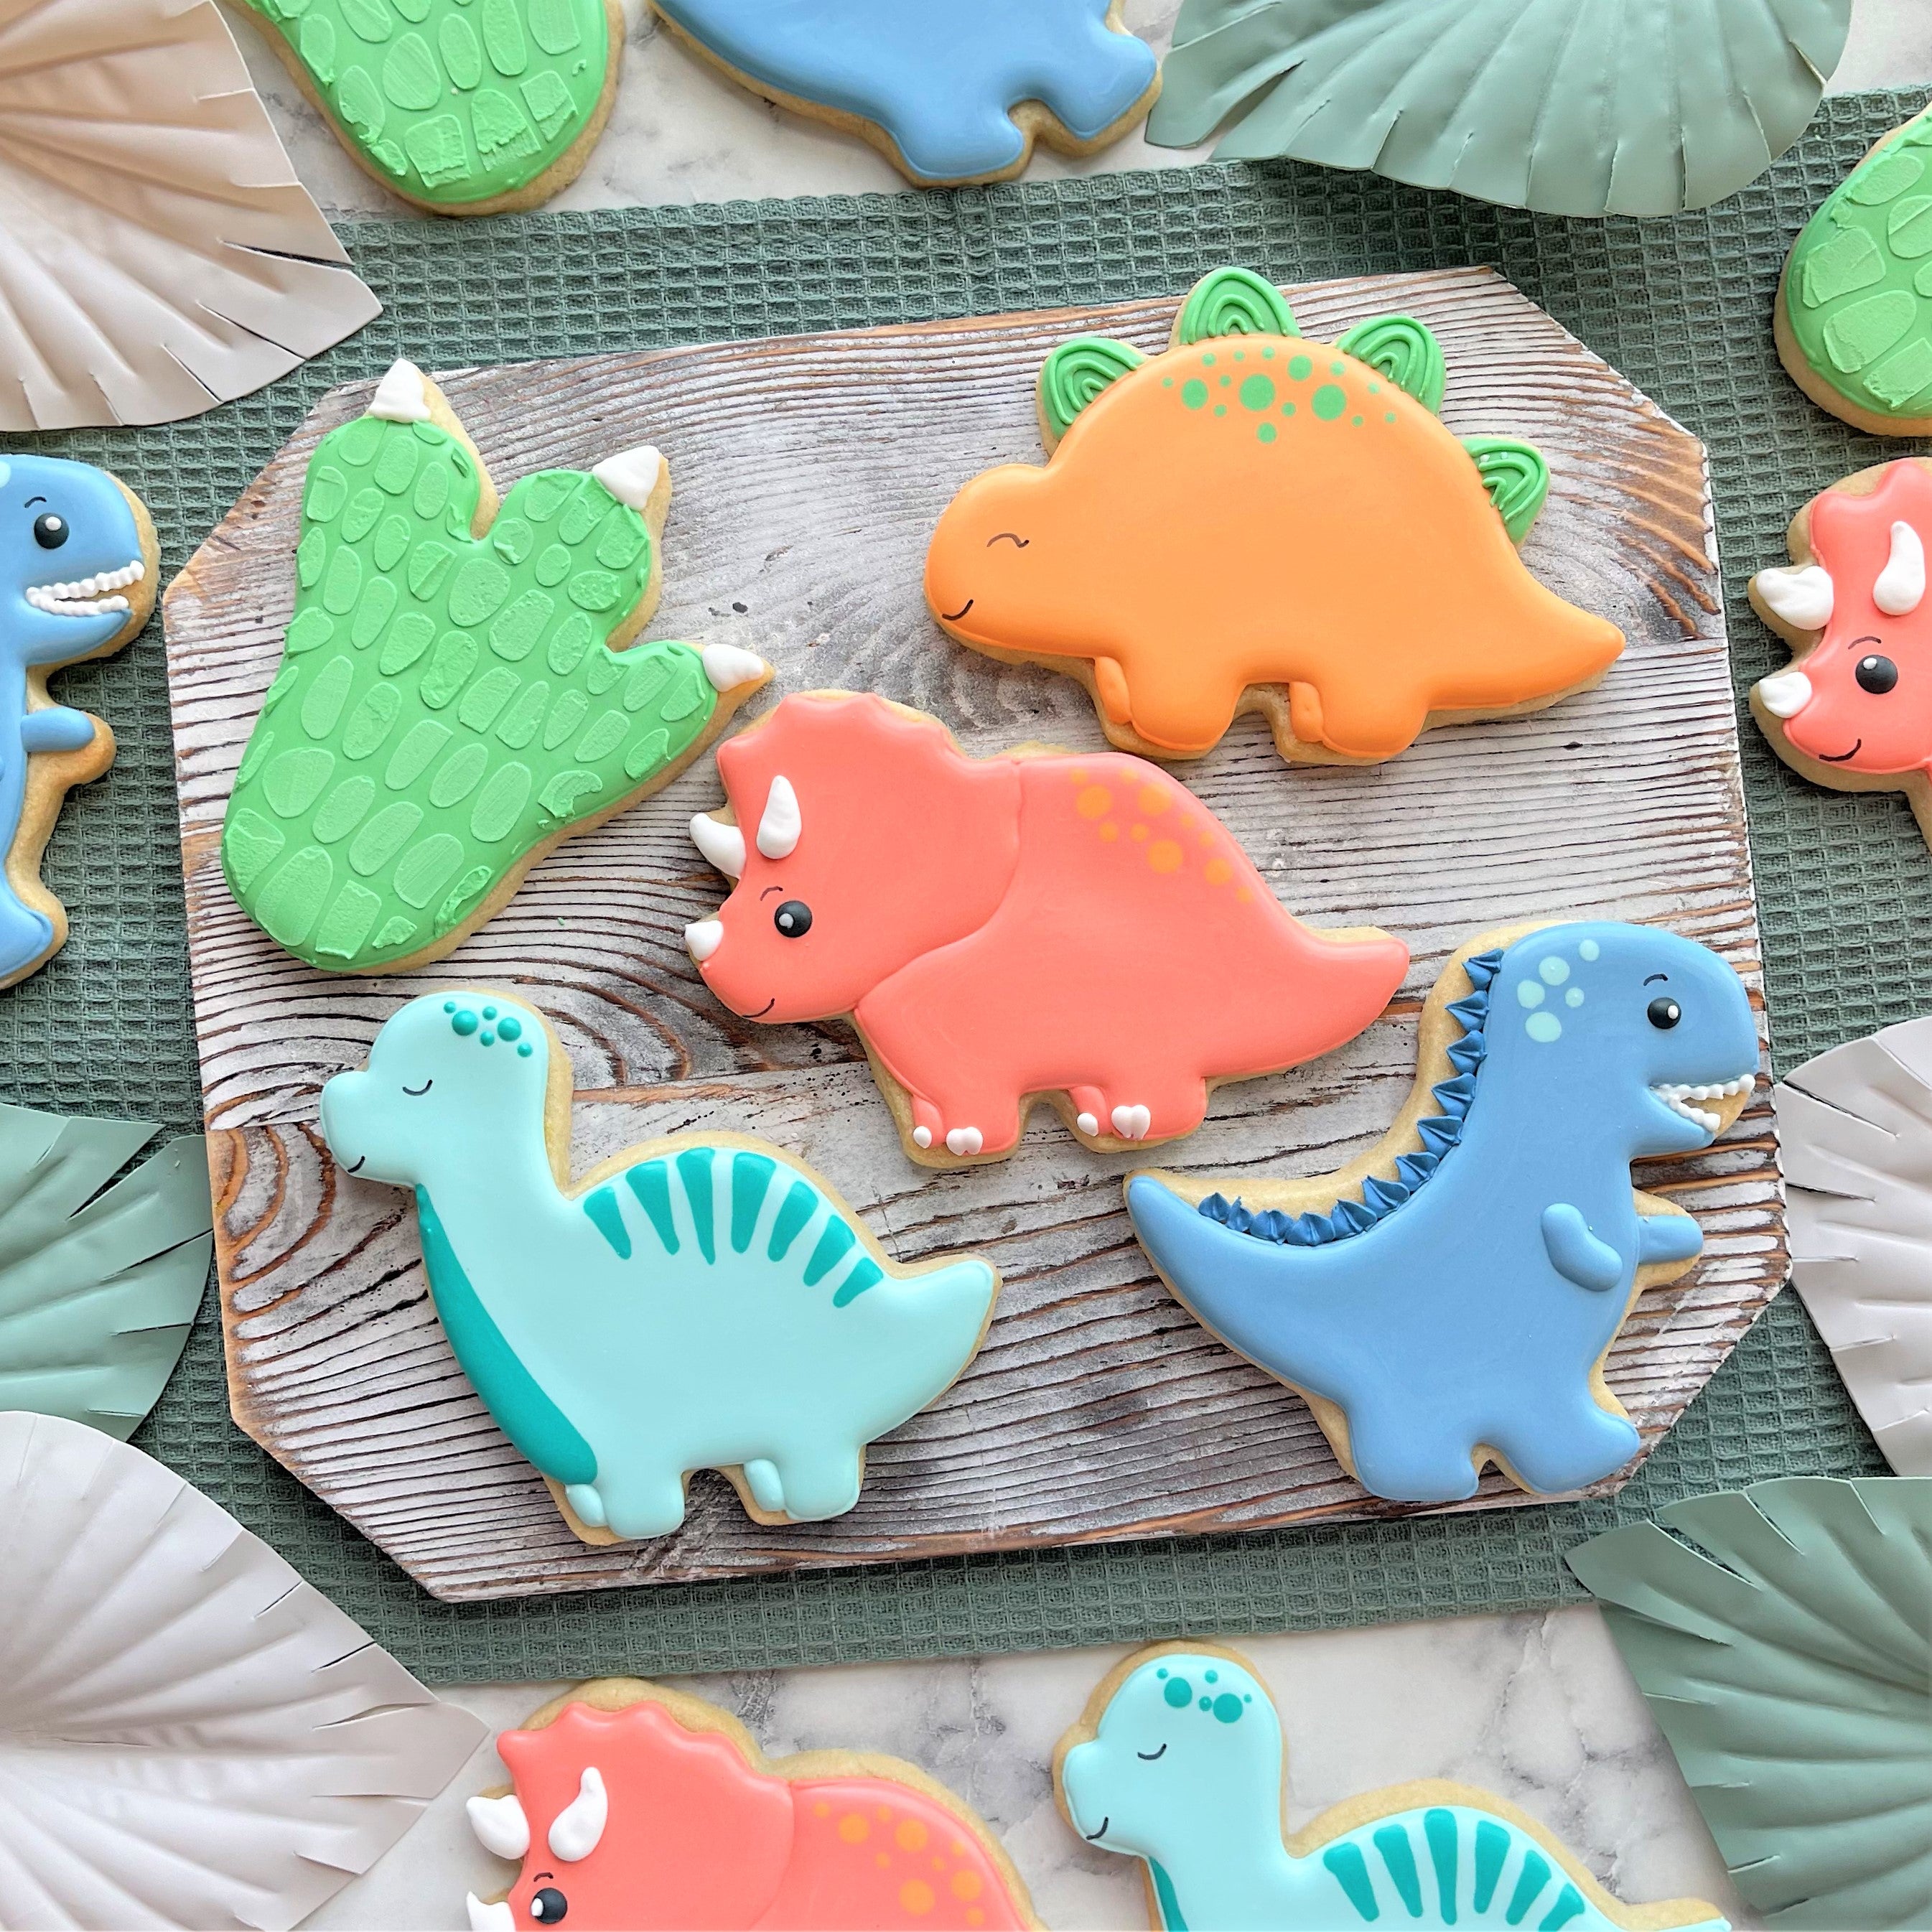
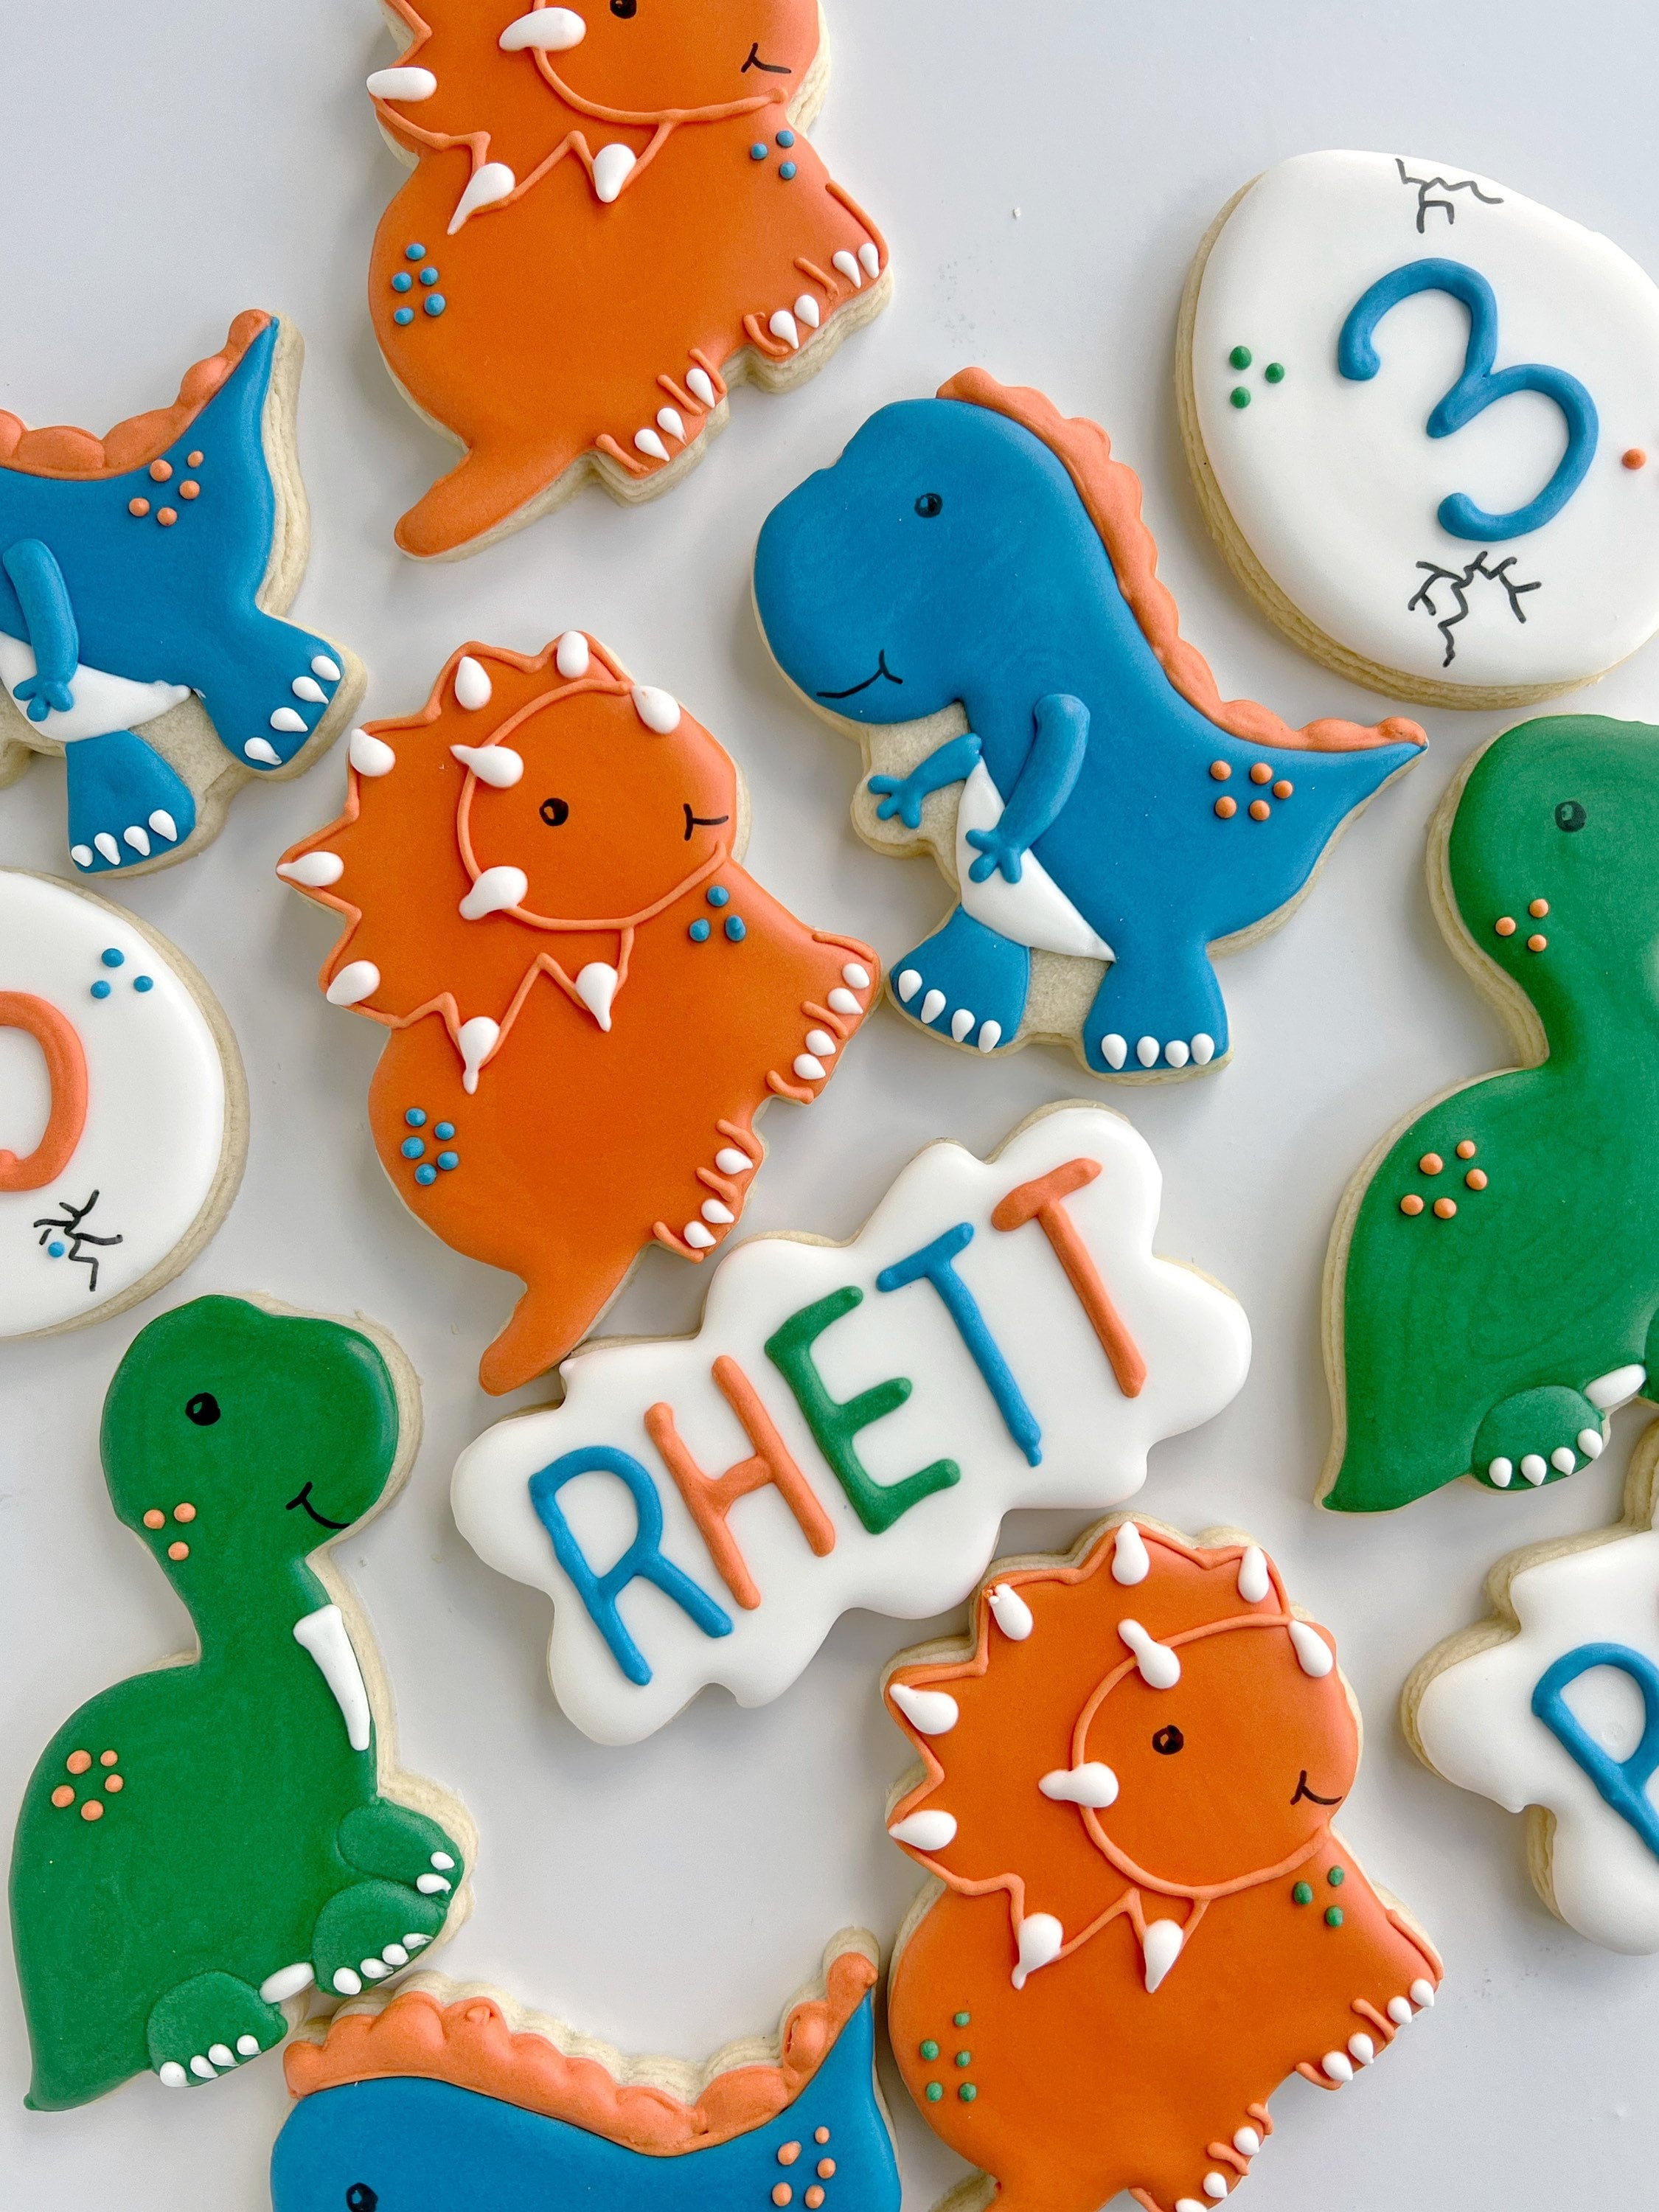
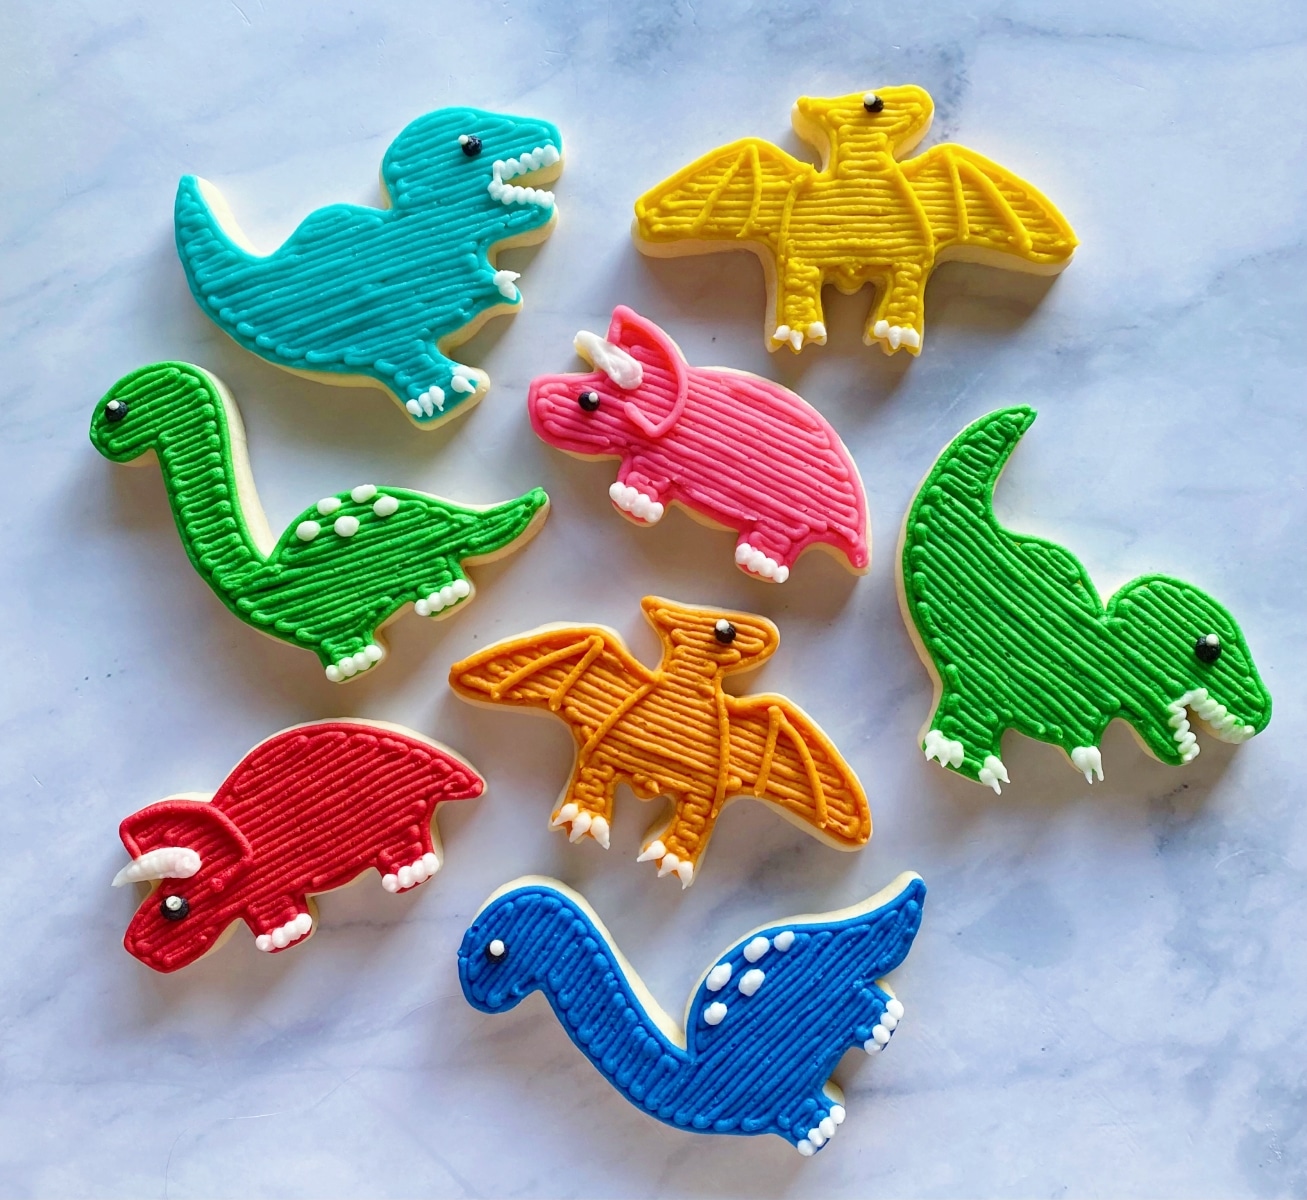
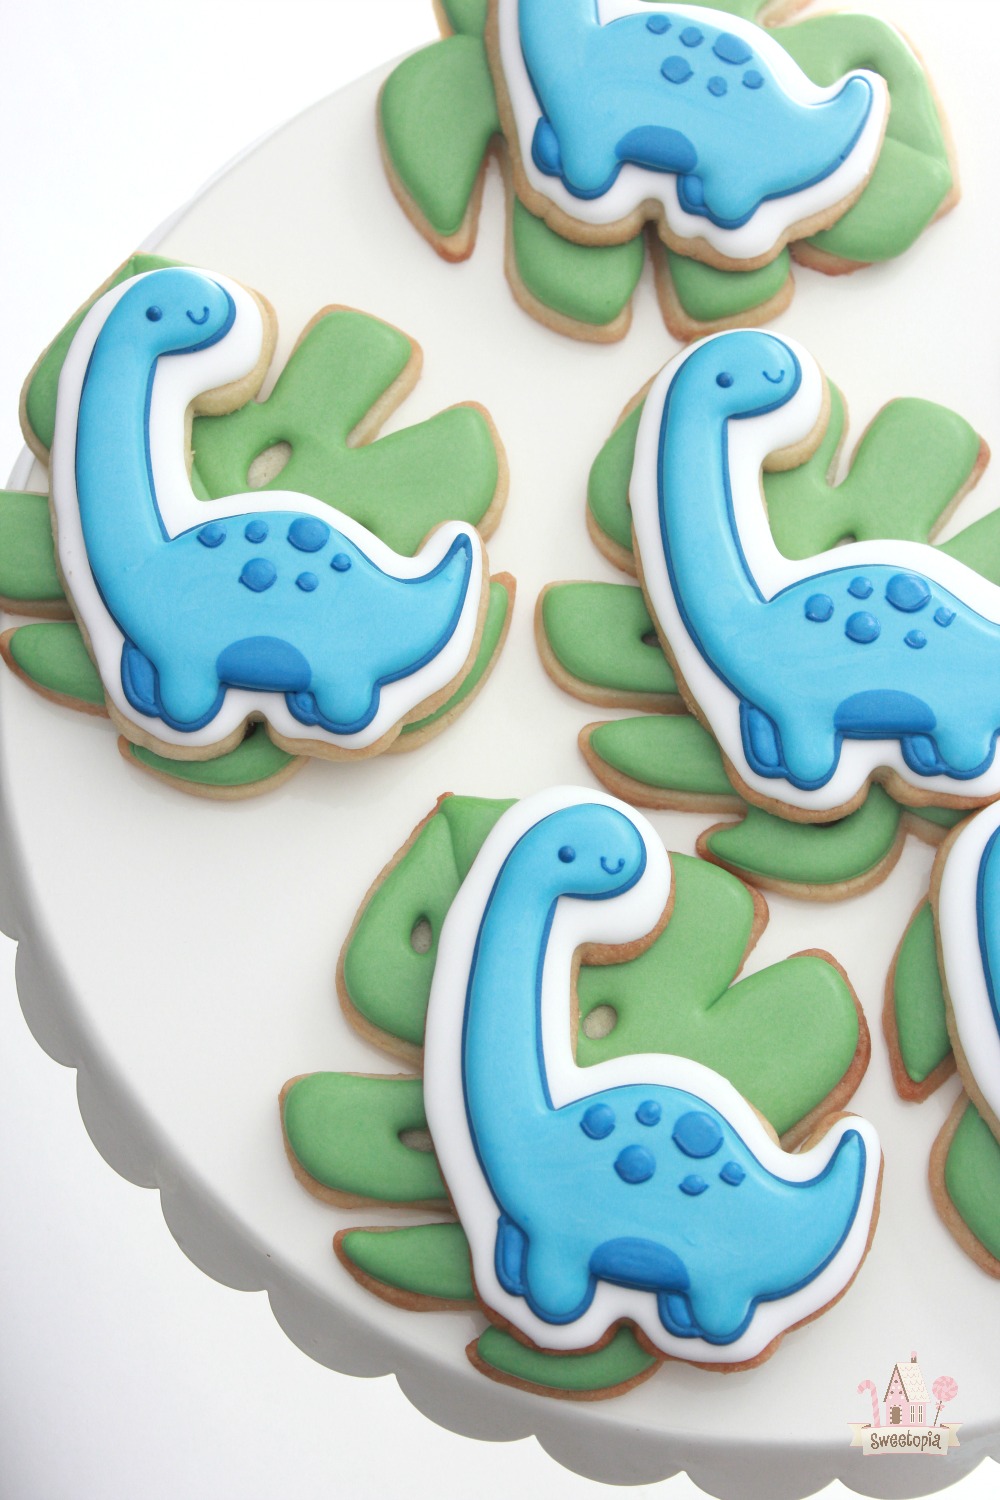
Decoration Techniques
- Piping: Use piping bags with different tips to outline and fill your dinosaur shapes.
- Flooding: After outlining, thin some icing with water and flood the cookie for a smooth finish.
- Sprinkles: Add sprinkles or edible glitter while the icing is still wet for extra flair.
Personal Touch: My Decorating Experience
When I first started decorating cookies, I was a bit intimidated. However, I found that using simple shapes and vibrant colors made the process enjoyable and less stressful. My kids love to help out, and their creativity always brings a smile to my face. One weekend, we spent hours laughing and experimenting with different designs. It’s a memory I cherish!
Tips for Perfect Dinosaur Cookies
- Chill Your Dough: Properly chilling the dough helps cookies maintain their shape while baking.
- Experiment with Textures: Use different piping techniques to create scales, spikes, or other dinosaur features.
- Practice Patience: Allow your decorated cookies to dry completely before stacking or storing them.
- Use Quality Ingredients: High-quality butter and vanilla make a noticeable difference in flavor.
Pros and Cons of Dinosaur Decorated Cookies
| Pros | Cons |
|---|---|
| Fun and engaging for both kids and adults | Time-consuming compared to regular cookies |
| Highly customizable in design and flavor | Requires specific tools and ingredients |
| Perfect for various occasions | Can involve a learning curve for decorating techniques |
Variations of Dinosaur Cookies
Dinosaur cookies can be made in countless ways. Here are some variations you might consider:
Flavor Variations
- Chocolate Chip Dinosaur Cookies: Add chocolate chips for a delicious twist.
- Red Velvet Dinosaurs: Use red velvet cake mix for a unique cookie flavor.
- SPICE Dinosaurs: Incorporate cinnamon or nutmeg for a warm and comforting taste.
Dietary Variations
- Gluten-Free: Substitute all-purpose flour with a gluten-free blend.
- Vegan Option: Use flax eggs and vegan butter to make vegan-friendly cookies.
FAQs about Dinosaur Decorated Cookies
What type of icing is best for decorating dinosaur cookies?
Royal icing is the most popular choice due to its smooth finish and ability to hold intricate designs.
How far in advance can I make the cookies?
You can bake and decorate your cookies up to a week in advance. Just be sure to store them in an airtight container.
Can I freeze dinosaur cookies?
Yes! You can freeze both baked and decorated cookies. Just ensure they are properly wrapped to prevent freezer burn.
What are some good dinosaur cookie cutters to use?
Look for sets that include various dinosaur shapes, such as T-rex, brontosaurus, and triceratops. They come in many sizes and varieties!
Can I personalize dinosaur cookies for parties?
Absolutely! Consider adding names or messages on cookies using fondant or royal icing for a personal touch.
Conclusion
Dinosaur decorated cookies are not just treats; they are a creative project that can be enjoyed by people of all ages. Armed with this guide, you’re ready to embark on your cookie-decorating adventure. Don’t be afraid to experiment, and most importantly, have fun! I hope your kitchen is filled with laughter and joy as you create your Jurassic masterpieces. Happy baking!