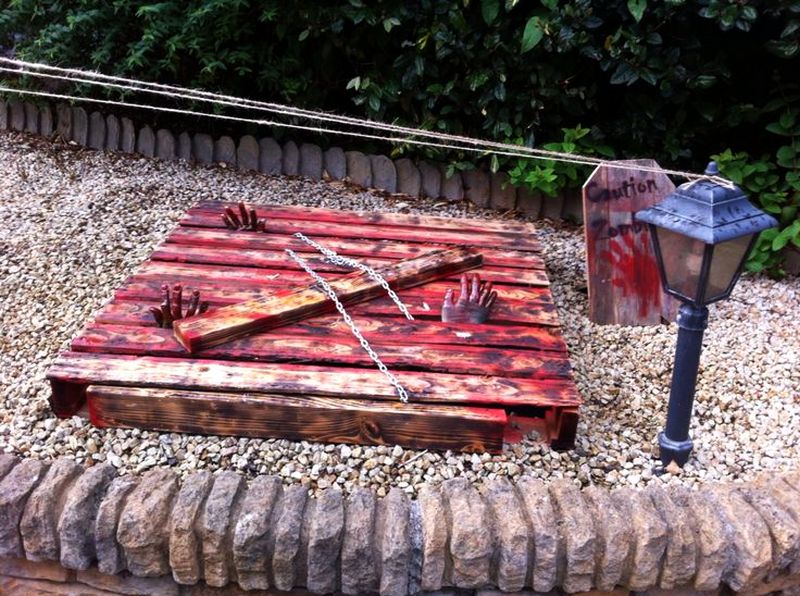
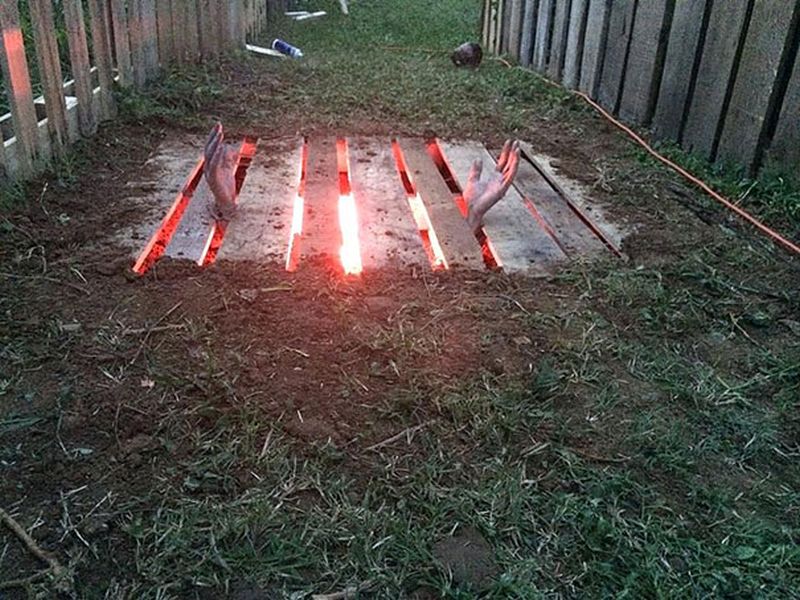
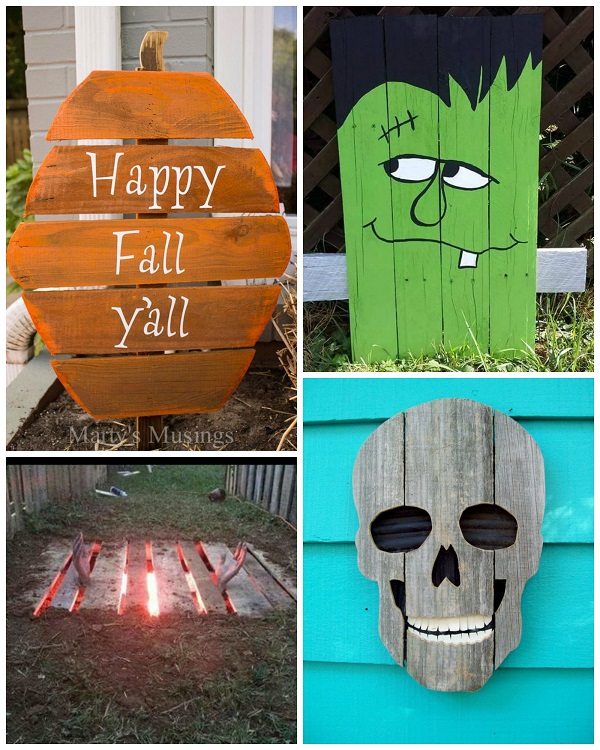
As the leaves turn and nights grow longer, it’s the perfect time to embrace the spirit of Halloween! One of my favorite ways to celebrate is through DIY decorations. If you have some old pallets lying around, you’re in for a treat! This article will guide you through various DIY pallet Halloween decorations that are not only budget-friendly but also a fun way to express your creativity.
Why Choose Pallets for Halloween Decorations?
When it comes to Halloween decorations, pallets offer a unique charm. Here’s why they should be your go-to choice:
- Affordable: Pallets are often free or very inexpensive.
- Eco-Friendly: Upcycling pallets reduces waste and promotes sustainability.
- Versatile: They can be used for a variety of projects, from spooky signs to eerie props.
Getting Started with DIY Pallet Decorations
Essential Tools and Materials
Before diving into your projects, gather these essential tools and materials:
- Pallet wood
- Saw (hand saw or power saw)
- Screwdriver and screws
- Nails and hammer
- Sandpaper
- Paint (preferably weather-resistant for outdoor projects)
- Brushes and sponges
- Optional: stencils, hooks, or decorations like fabric or lights
Safety First!
Always wear protective gear, such as gloves and safety goggles, when working with tools and materials. Also, ensure the pallets you’re using are safe, free of chemicals, and in good shape.
Creative DIY Pallet Halloween Decoration Ideas
1. Spooky Pallet Signs
Pallet signs are a classic decoration that sets the tone for Halloween. Here’s how to make one:
Materials Needed:
- Pallet wood
- Paint (black, orange, and white)
- Paintbrush
- Stencils (optional)
Instructions:
- Sand the pallet to remove any rough edges.
- Paint the base color (black or orange) and let it dry.
- Add spooky designs or phrases like “Beware” or “Enter If You Dare”.
- Display it at your entrance or front yard!
Pros and Cons
| Pros | Cons |
|---|---|
| Customizable with different colors and messages | Can take time to dry |
| Great for outdoor and indoor use | Requires some painting skills |

2. Halloween Pallet Ghosts
Bring a ghostly vibe to your yard with adorable pallet ghosts. Here’s how to make them:
Materials Needed:
- Pallet wood
- White paint
- Black fabric or paint for eyes
- Twine or lightweight chain for hanging
Instructions:
- Cut the pallet into ghost shapes or leave them rectangular for a more abstract look.
- Paint the wood with white paint and let it dry.
- Add eyes using black fabric or paint.
- Use twine to hang the ghosts from trees or your porch.
Pros and Cons
| Pros | Cons |
|---|---|
| Simple and quick to make | May require hanging equipment |
| Can be adjusted in size and shape | Less effective in rainy weather |
3. Frankenstein’s Pallet Monster
Give a fun twist to your decorations with a pallet rendition of Frankenstein!
Materials Needed:
- Pallet wood
- Green, black, and white paint
- Paintbrushes
- Wood screws
- Optional: bolts (or large nails) for added details
Instructions:
- Sand the pallet and paint it green.
- Once dry, paint on facial features using black and white paint.
- Attach bolts to the corners for a 3D effect.
- Place it in your yard as a welcoming figure for little trick-or-treaters.
Pros and Cons
| Pros | Cons |
|---|---|
| Unique and creative design | More time-consuming than other projects |
| Children love it! | May require multiple coats of paint |

4. Pallet Bat Decorations
Create a batty atmosphere with these easy and cute pallet bats!
Materials Needed:
- Pallet wood
- Black paint
- Scissors and black paper
- Glue or nails
Instructions:
- Cut out bat shapes from the pallet wood or use the entire plank for larger bats.
- Paint them black and let dry.
- Add wings using cutouts from black paper.
- Display your bats on walls or from trees!
Pros and Cons
| Pros | Cons |
|---|---|
| Fun for kids to help with | May not withstand strong winds if outside |
| Quick to create | Limited size options unless using large pallets |
5. Pallet Pumpkin Display
Pumpkins are a staple of any Halloween decor. Here’s a simple way to create pallet pumpkins:
Materials Needed:
- Pallet wood
- Orange paint
- Green paint for the stems
- Wire or twine for hanging
Instructions:
- Cut the pallet into large circles or squares for a pumpkin shape.
- Paint them orange and let them dry.
- Add green details for leaves and stems.
- Optional: Create a cluster of pumpkins in different sizes!
Pros and Cons
| Pros | Cons |
|---|---|
| Bright and inviting decoration | Requires multiple coats of paint |
| Can be used year after year | Can take up space if large |

Tips for Successful DIY Pallet Projects
To ensure your DIY pallet Halloween decorations turn out great, consider these tips:
- Plan your projects before gathering materials. Sketch your ideas out if needed.
- Choose pallets that are untreated and safe for use.
- Don’t rush the painting process. A little patience can lead to a nicer finish.
- Involve the family for a fun bonding experience, especially with kids!
Frequently Asked Questions (FAQs)

Can I use any pallet for my decorations?
It’s best to use pallets that are marked with the “HT” stamp, which indicates they are heat-treated and safe for home use. Avoid pallets that have been treated with chemicals.
How can I make my pallet decorations last longer outdoors?
Use weather-resistant paint and sealant to protect the wood from the elements. Make sure to store them indoors after Halloween if possible.

Are pallet decorations expensive to make?
No! One of the best aspects of DIY pallet decorations is that they are cost-effective, often costing little to nothing if you have free pallets.
How do I find free pallets?
Check local businesses like grocery stores, warehouses, or home improvement stores. You can also find them listed for free on websites like Craigslist or Facebook Marketplace.

Conclusion
DIY pallet Halloween decorations not only bring creativity to your home but also save you money while allowing you to enjoy the festive spirit of Halloween. Whether you choose to create spooky signs, adorable ghosts, or vibrant pumpkins, each project reflects your personality and style. So gather those pallets, unleash your imagination, and let’s make this Halloween the spookiest yet!