The holiday season is upon us, and what better way to celebrate than with some personal, homemade decorations? DIY Christmas wood decorations bring warmth and charm to your home while allowing you to unleash your creativity. From rustic wooden ornaments to charming holiday signs, the possibilities are endless. In this article, I’ll share my personal experiences, tips, and tricks for crafting beautiful wooden decorations that will make your holiday season even more special.
Why Choose Wood for Your Christmas Decorations?
Wooden decorations offer a unique blend of natural beauty, durability, and a touch of nostalgia. Here are some reasons why you should consider wood for your festive decor:
- Durability: Unlike plastic or paper, wood can withstand the test of time, making it perfect for heirloom decorations.
- Eco-Friendly: Using reclaimed or sustainable wood reduces environmental impact and adds character.
- Customizability: Wood can be painted, stained, or left natural, allowing for endless styling options.
Getting Started with Your DIY Christmas Wood Decorations
Tools and Materials You’ll Need
Before diving into your woodworking project, gather the necessary tools and materials. Here’s a handy list:
| Tools | Materials |
|---|---|
| Saw (hand saw or jigsaw) | Wood (pine, plywood, or reclaimed wood) |
| Drill with drill bits | Sandpaper (various grits) |
| Paintbrushes | Wood glue |
| Pencil and ruler | Paint or wood stain |
| Clamps | Twine or string (for hanging) |
Safety First!
Always prioritize safety when working with tools. Wear safety glasses, gloves, and a dust mask to protect yourself.
Top 5 DIY Christmas Wood Decoration Ideas
1. Rustic Wooden Ornaments
These ornaments not only look great on your tree but also provide a personal touch. Here’s how to make them:

Materials Needed
- Wood slices (available at craft stores or made from branches)
- Paint (acrylic or chalk paint)
- Twine or ribbon for hanging
Steps
- Start by sanding the wood slices for a smooth finish.
- Paint or stain the slices in your desired color.
- Add designs using paint pens or stamps.
- Drill a small hole at the top and thread twine or ribbon through it to hang.

Pros and Cons
| Pros | Cons |
|---|---|
| Personalized touches for gifts or tree | May require multiple coats of paint for full coverage |
| Affordable and easy to make | Possible splintering, so handle with care |
2. Wooden Holiday Signs
Create charming signs to welcome guests into your home. Here’s a quick guide:
Materials Needed
- Wood planks (reclaimed wood adds character)
- Stencils or stickers for lettering
- Paint or wood stain
Steps
- Cut the wood planks to your desired shape and size.
- Sand the edges for a polished look.
- Use stencils or your artistic flair to paint festive greetings.
- Seal with a clear coat if desired for outdoor use.
Comparison Table: Sign Styles
| Style | Effect | Difficulty |
|---|---|---|
| Rustic | Warm, inviting | Easy |
| Modern | Chic, minimalistic | Medium |
| Vintage | Classic, timeless | Medium |
3. Wooden Advent Calendar
Counting down to Christmas is even more fun with a personalized wooden advent calendar. Here’s how to create yours:
Materials Needed
- Wooden blocks (20 small blocks for days plus a larger block for decoration)
- Paint or stains
- Number stickers or paint for numbering
- Wood glue
Steps
- Paint the blocks in festive colors.
- Add numbers to the blocks for each day leading up to Christmas.
- Decorate the larger block as a visual centerpiece.
- Stack or arrange the blocks creatively on a table or shelf.

Pros and Cons
| Pros | Cons |
|---|---|
| Interactive and engaging | Requires more time to prepare |
| Reusable for years | Can take up space |
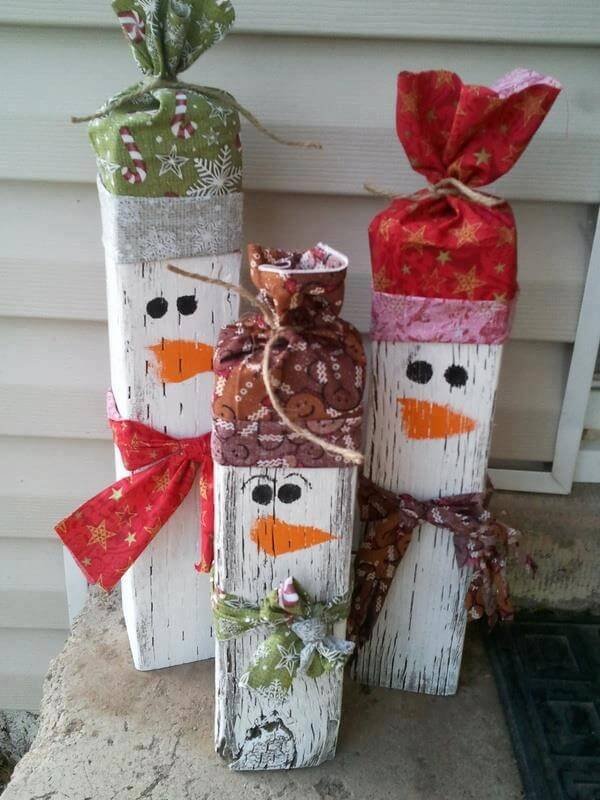
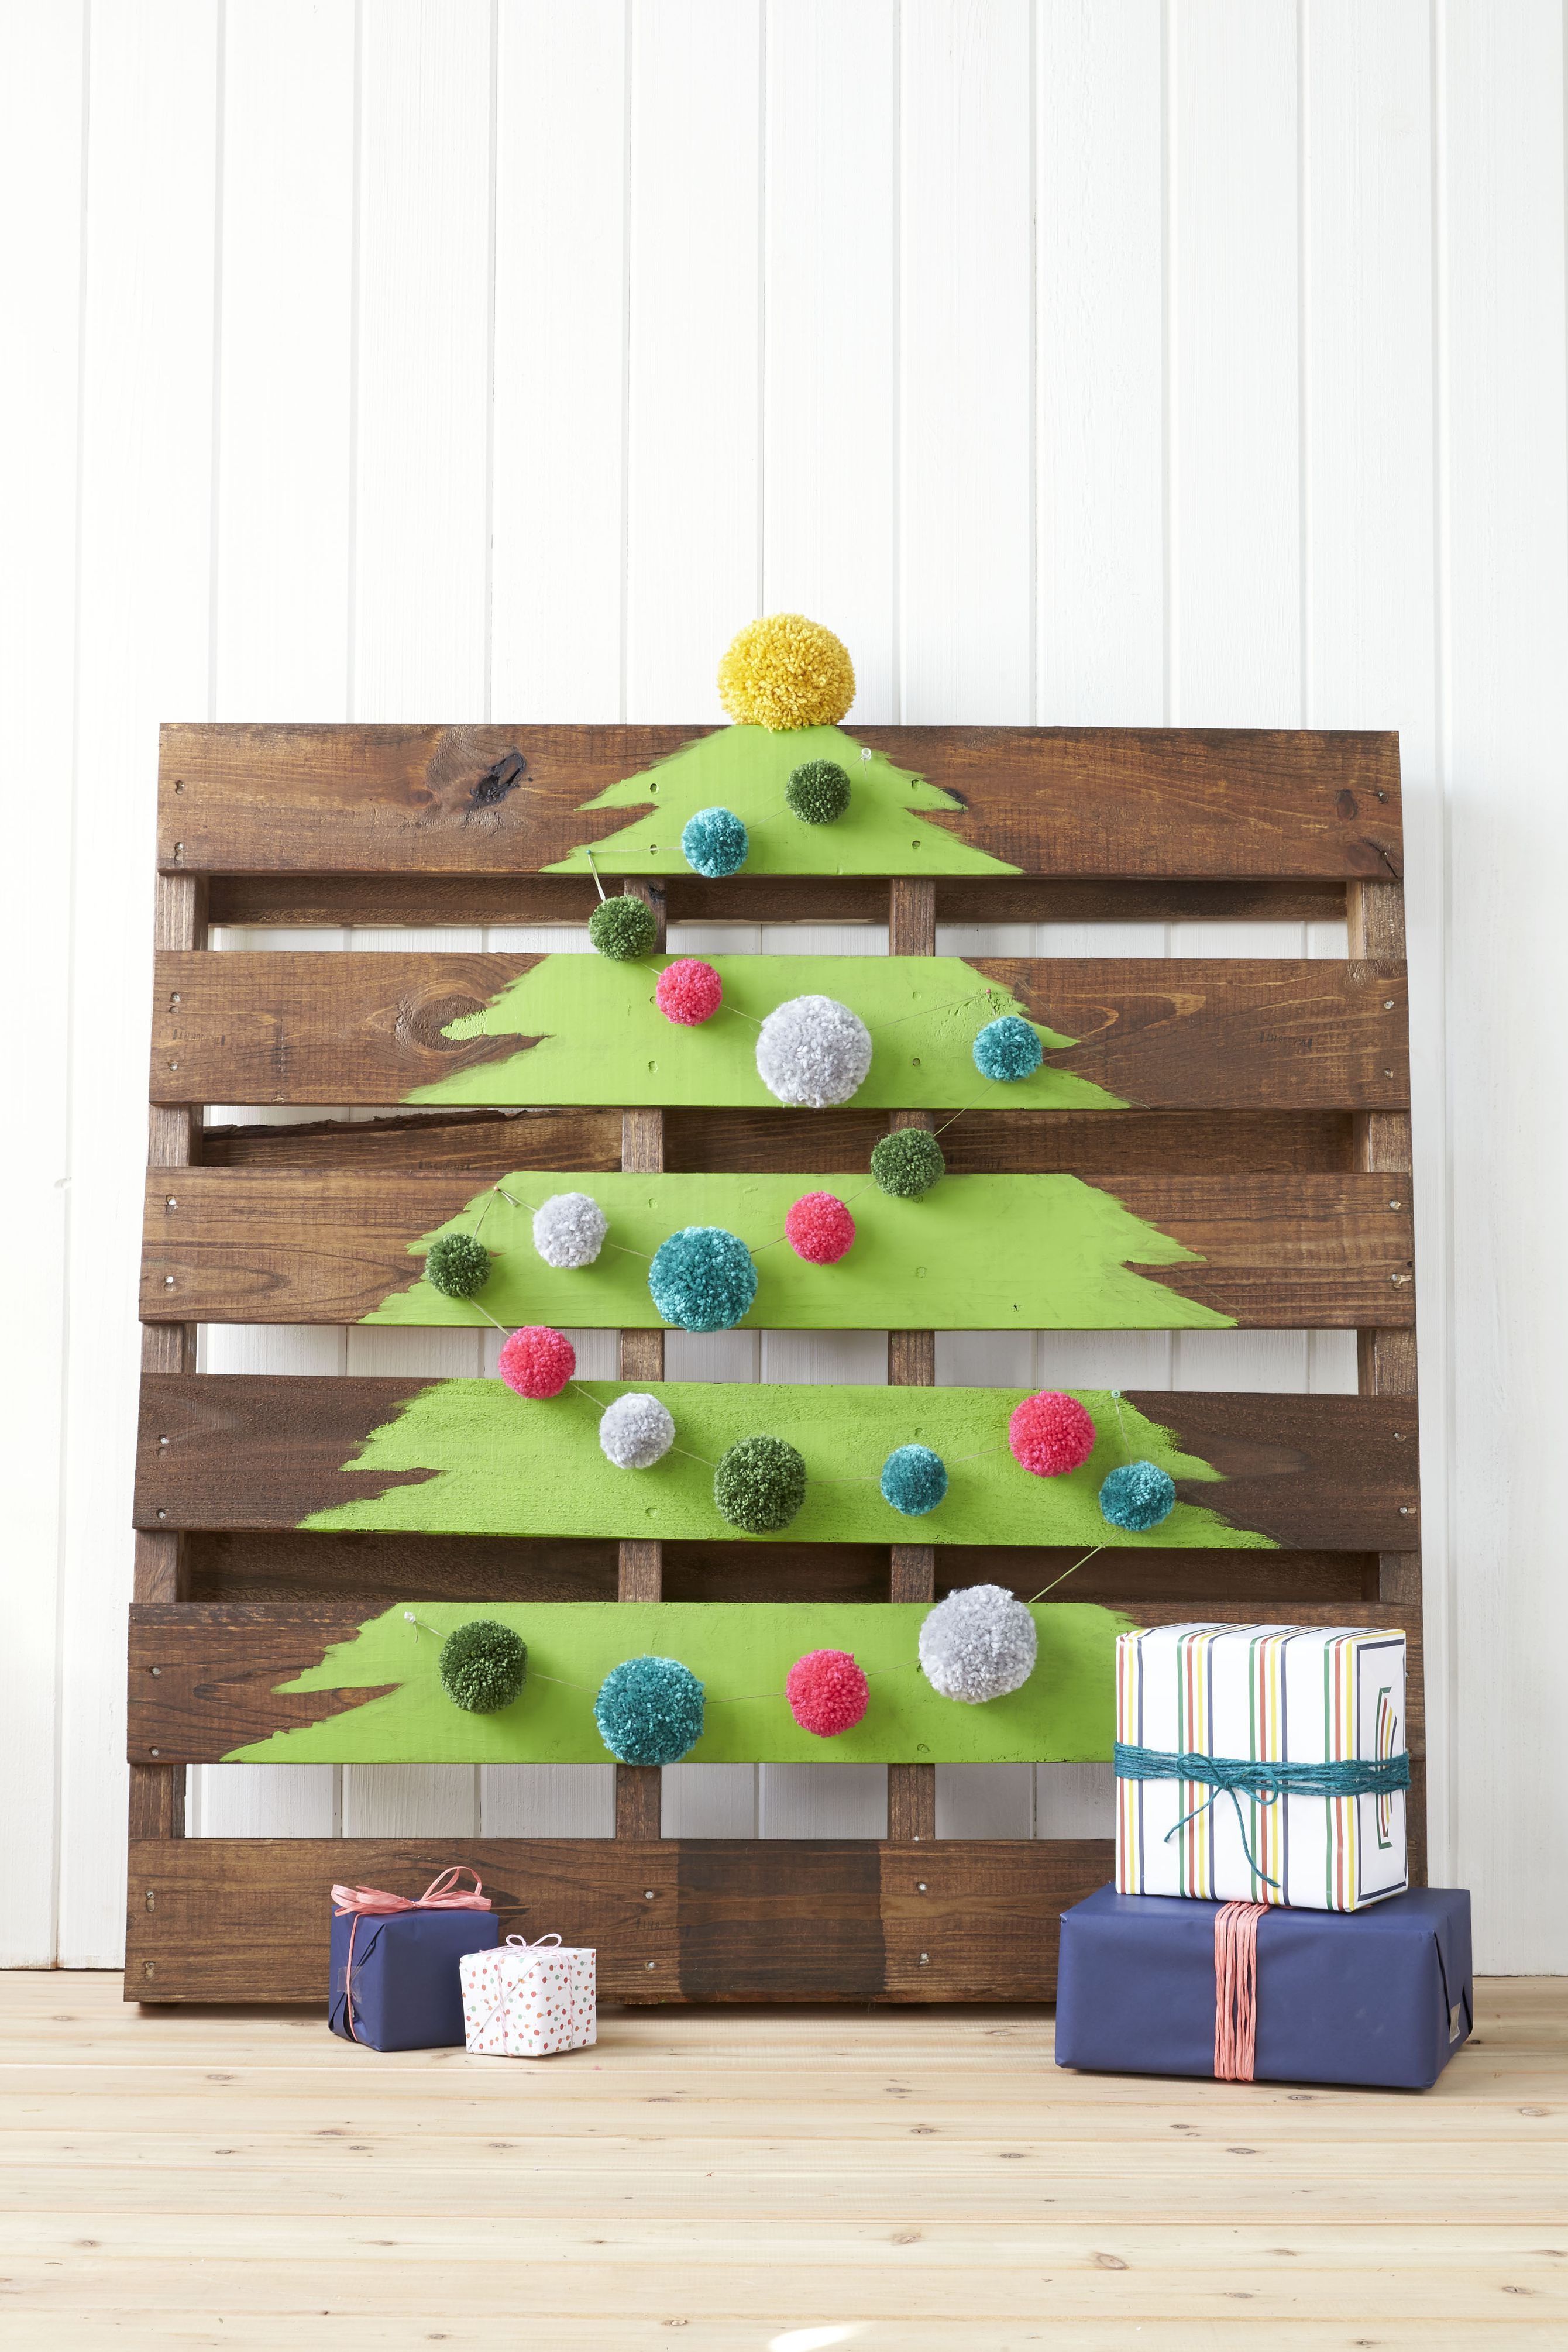
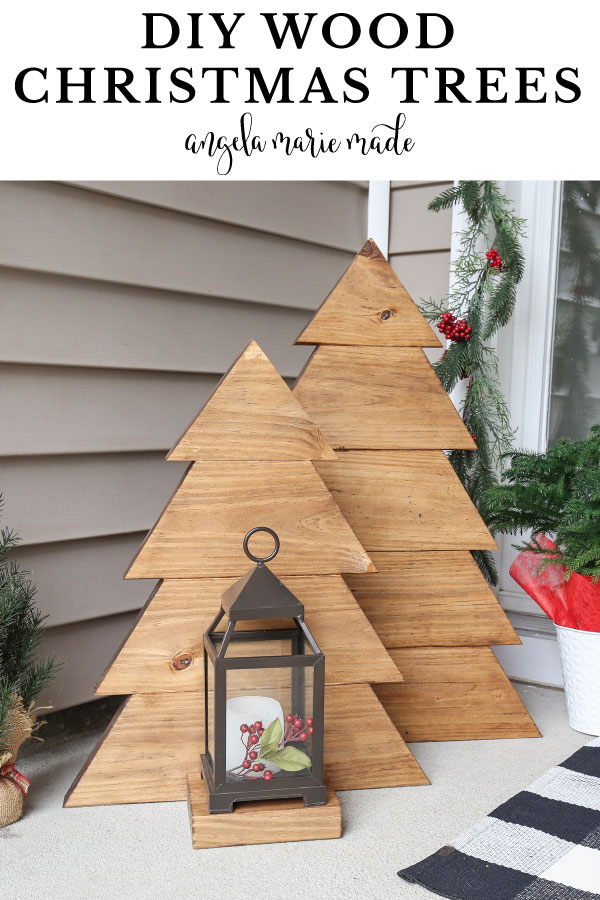
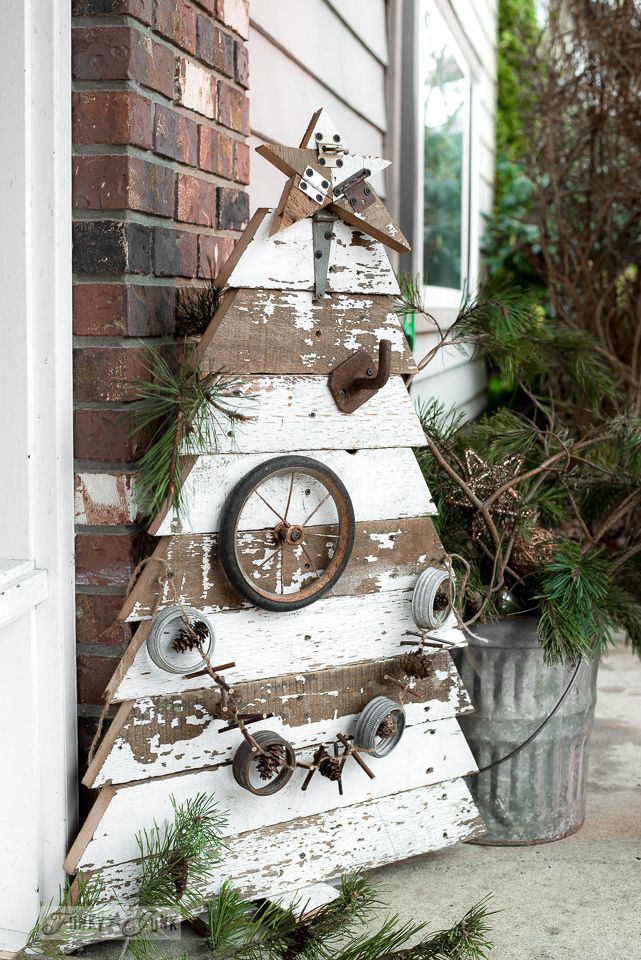
4. Wooden Christmas Trees
Bring the beauty of nature indoors with wooden Christmas trees. These are fun to make and serve as great decorations!
Materials Needed
- Wood boards (various sizes)
- Paint or wood stain
- Decorative elements (like beads or garlands)
Steps
- Cut wood into triangle shapes for tree forms.
- Attach smaller branches or sticks to create tree layers.
- Paint and decorate as desired.
- Position them on your porch, mantel, or table.
Comparison Table: Tree Sizes
| Tree Size | Location | Assembly Time |
|---|---|---|
| Small (1-2 ft) | Tabletop | 1 hour |
| Medium (3-4 ft) | Entryway | 2 hours |
| Large (5+ ft) | Living Room | 3+ hours |
5. Wooden Nativity Scene
Create a meaningful centerpiece with a DIY wooden nativity scene. It’s a great family project that can be passed down through generations.
Materials Needed
- Wood blocks or shapes for figures
- Paint or markers
- Wood glue
- Base wood for the scene
Steps
- Design and cut out figures for the nativity scene.
- Paint the figures with bright colors.
- Glue the figures onto a base for stability.
- Display prominently to celebrate the season!
Pros and Cons
| Pros | Cons |
|---|---|
| Great teaching tool for kids | Time-consuming, especially for details |
| Creates lasting memories | Requires some woodworking skills |
Tips for Successful DIY Christmas Wood Decorations
- Choose the right wood: Softwoods like pine or cedar are ideal for beginners.
- Embrace imperfections: Distressed wood adds charm to your projects!
- Get creative: Don’t be afraid to experiment with colors and designs.
- Enlist help: Involve family and friends for a fun, crafting party.
- Keep it simple: Start with straightforward projects and build your skills!
Frequently Asked Questions (FAQs)
What types of wood are best for Christmas decorations?
The best wood types for Christmas decorations are pine, cedar, and plywood. They are easy to work with and will provide a rustic look.
How can I preserve my wooden decorations?
Use a clear wood sealant to protect your wooden decorations from moisture and damage, especially if displayed outdoors.
Can I paint my wood decorations?
Absolutely! Acrylic paints work well on wood. Just ensure you sand the surface beforehand for better adhesion.
Are DIY Christmas wood decorations suitable for beginners?
Yes! Many of the projects listed are beginner-friendly. Start with simple designs and gradually progress to more complex ones.
Where can I find reclaimed wood for my projects?
Local lumberyards, Habitat for Humanity ReStores, or even old furniture can provide reclaimed wood. Always inspect for quality and safety.
Conclusion: Unleash Your Creativity This Holiday Season
DIY Christmas wood decorations are not just about beautifying your space; they’re about creating memories and sharing joy. As someone who has delighted in crafting these pieces year after year, I can vouch for the satisfaction they bring. So, grab your tools, gather your materials, and let your creativity flow as you make your holiday season more magical and personal. Happy crafting!