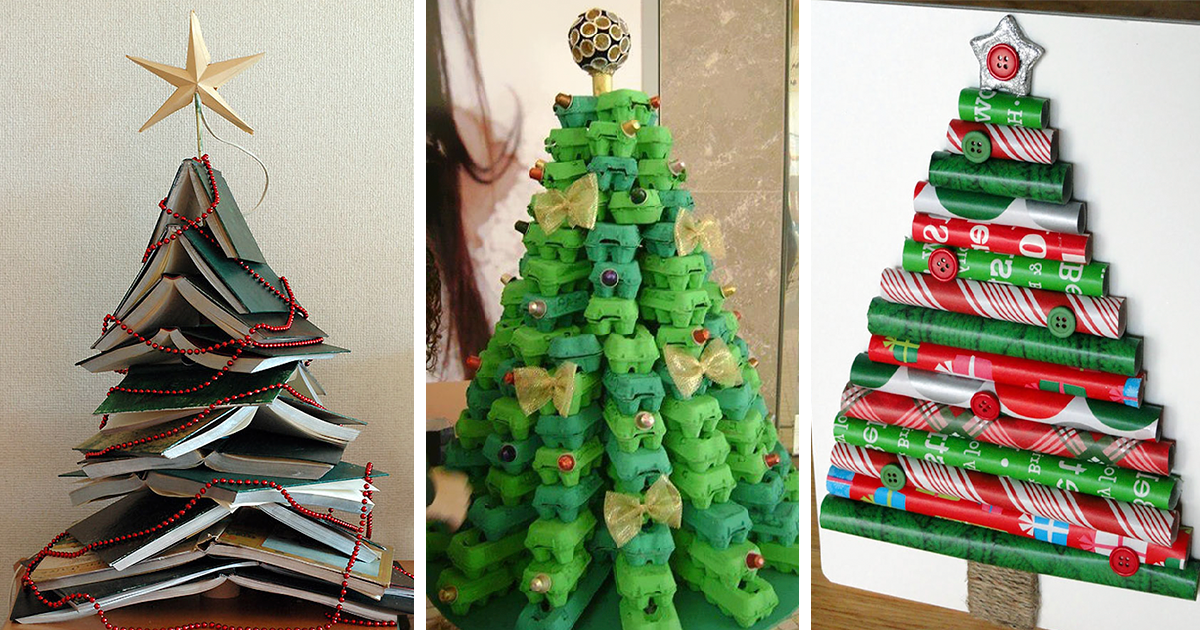
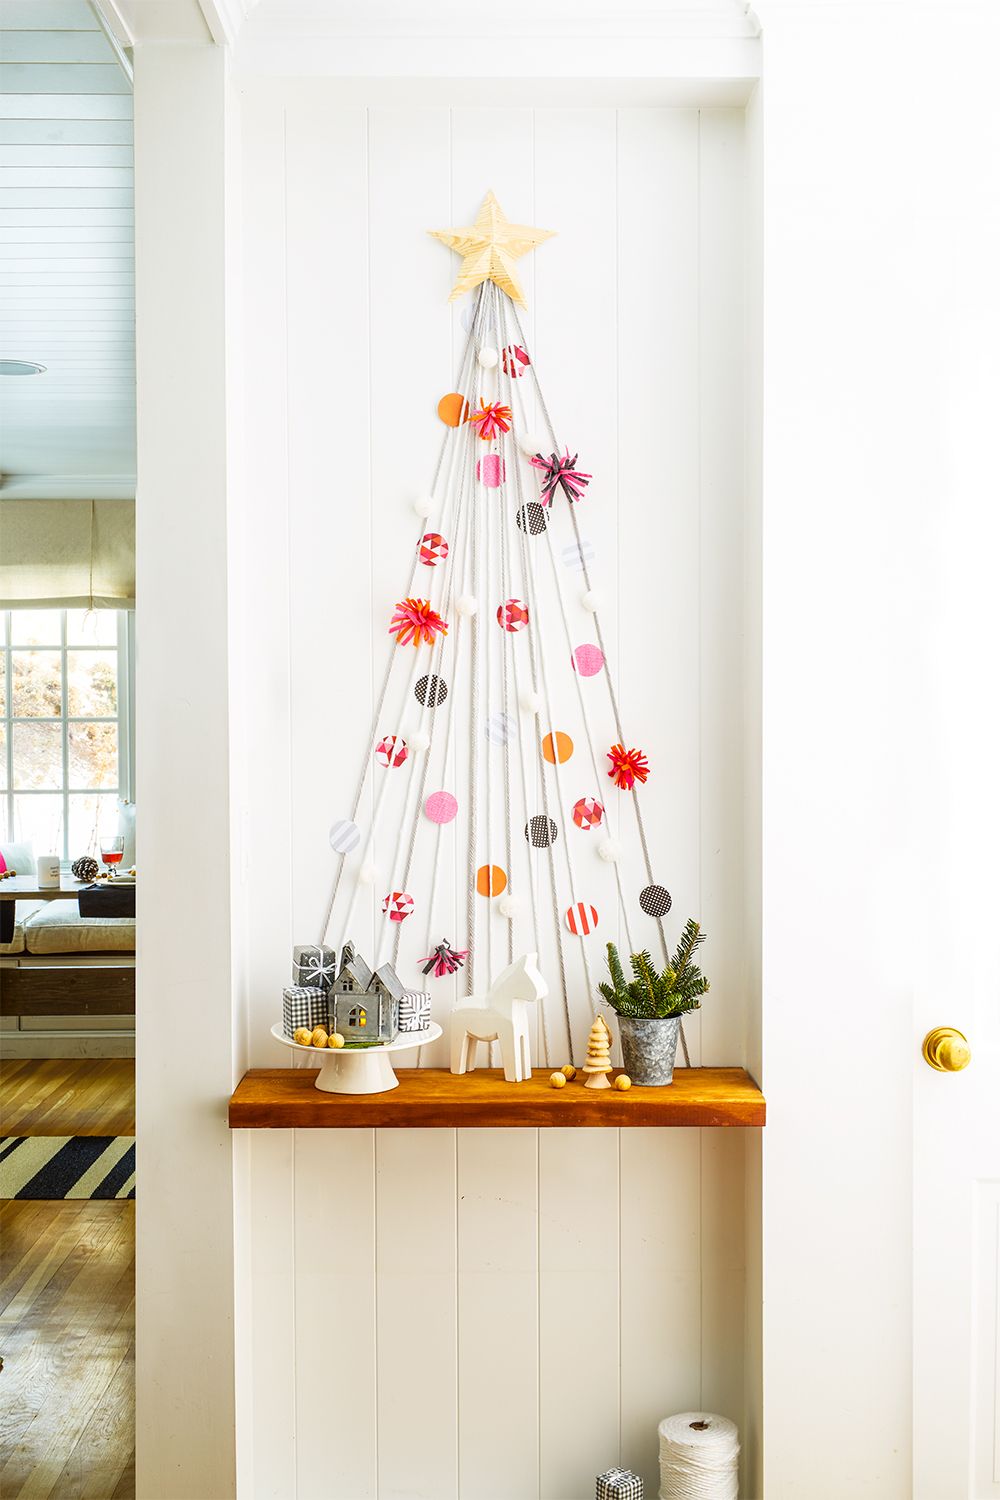
There’s something truly enchanting about the Christmas season, and the centerpiece of that magic often lies in the Christmas tree. This year, I decided to channel my inner crafter and create a DIY decor Christmas tree that reflects my personal style and creativity. Join me as I guide you through the process, sharing tips, ideas, and secret hacks to make your festive decor truly unique!
Why Choose a DIY Decor Christmas Tree?
Before we dive into the how-to’s, let’s discuss why a DIY Christmas tree may be the best choice for you this holiday season. Here are some compelling reasons:
- Personalization: Craft a tree that suits your style, décor, and personality.
- Budget-Friendly: Save money by using materials you already have or can find inexpensively.
- Creativity: Unleash your inner artist and create something truly one-of-a-kind.
- Family Bonding: Involve family members for a fun and memorable holiday activity.
Gathering Your Materials
Let’s talk about what you’ll need for your DIY Christmas tree. You can create a tree from various materials such as:
Essential Supplies
- Tree Frame (can be made from cardboard, wood, or metal)
- Decorative Elements (lights, ornaments, garlands)
- Crafting Tools (scissors, glue, tape)
- Other optional materials (felt, ribbons, natural elements)
Choosing the Right Location
Before you start creating, consider where you want your tree to be displayed. Do you want it in the living room, by the window, or perhaps in a cozy corner? The right location can enhance the overall aesthetics of your holiday decor.
Step-by-Step Guide to Crafting Your DIY Decor Christmas Tree
Now that you have your materials and location sorted, it’s time to get crafting!

1. Designing Your Tree Structure
You can create various shapes and sizes for your Christmas tree. Here’s a comparison of a few popular designs:
| Tree Design | Description | Difficulty Level |
|---|---|---|
| Cardboard Tree | Simple to make using large cardboard cut-outs. | Easy |
| Wooden Pallet Tree | Rustic look using old wooden pallets. | Moderate |
| Fabric Tree | Using felt or other fabric for a cozy feel. | Moderate |
| Natural Element Tree | Utilizing branches and pinecones for a garden-inspired tree. | Challenging |
2. Assembling the Frame
Once you’ve decided on the design, start assembling your tree structure. For a cardboard tree, cut out triangle shapes and glue or tape them together. For a wooden tree, you’ll need nails and tools for assembly.

3. Adding Lights
String lights are essential for bringing your tree to life. Wrap them around your frame, ensuring they have even coverage and create a warm glow.
4. Decorating Your Tree
Now comes the fun part! Add ornaments, garlands, or any other decorative elements you have. Here’s a list of some popular choices:
- Homemade ornaments
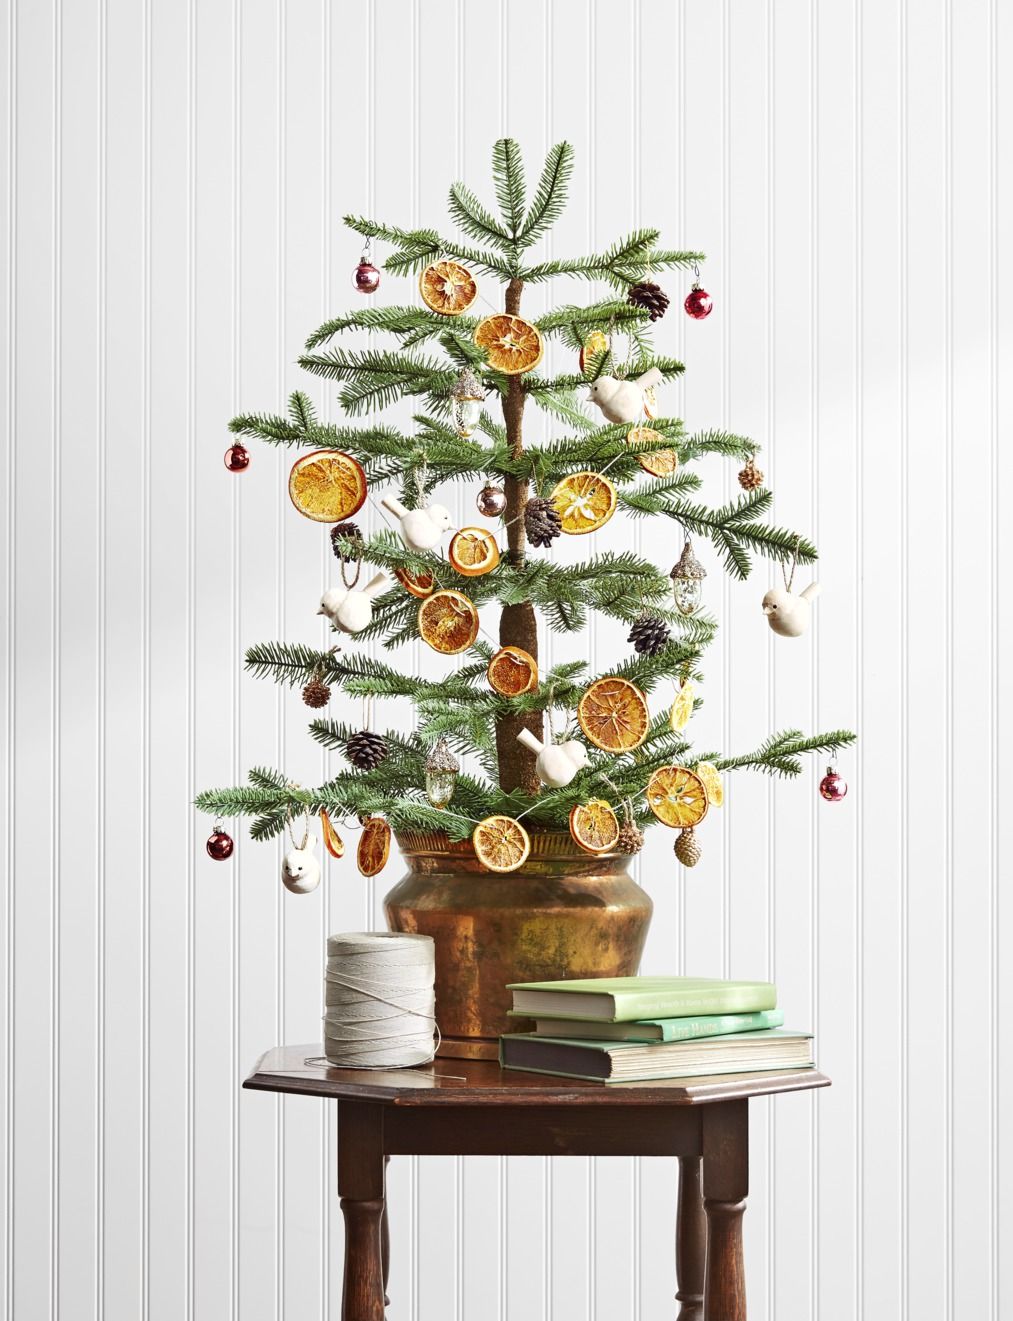
- Natural elements like dried oranges or pinecones
- Felt decorations for a soft touch
- Ribbons and bows for added flair

5. Final Touches
Don’t forget the tree topper! It can be anything from a star to a DIY bow. Lastly, step back and admire your work!
Pros and Cons of DIY Christmas Trees
Like anything, DIY Christmas trees have their ups and downs. Here’s a quick summary:
| Pros | Cons |
|---|---|
| Highly customizable | Time-consuming to make |
| Can be budget-friendly | Requires crafting skills |
| Unique style | May not have the same durability as store-bought trees |
| Great bonding activity | Messy crafting process |

Incorporating a Theme
Choosing a theme for your tree can enhance the overall look. Here are some popular themes you might consider:
Classic Red and Green
This timeless combination never goes out of style. Use traditional ornaments, ribbons, and even some fresh greenery.

Rustic Farmhouse
Incorporate natural elements, burlap, and wooden accents for a cozy, country feel.
Winter Wonderland
Whites, blues, and silvers can create a beautiful snowy effect, complete with frosted ornaments and icicles.

Minimalist Elegance
Less is more with a minimalist theme. Focus on a few beautiful decorations and keep the color scheme simple.
Personal Experience: My DIY Christmas Tree Journey
This year, I opted for a natural element tree, using branches from my backyard and crafting ornaments from twine and pinecones. The process was both challenging and rewarding. I remember sitting with my family, sharing stories while we crafted our decorations. It brought us together, and the final result was not only beautiful but also filled with memories.

Frequently Asked Questions (FAQs)
1. How much does it cost to make a DIY Christmas tree?
The cost can vary widely based on materials. If you use items you already have or natural elements from your backyard, it can be quite budget-friendly!
2. How do I store my DIY Christmas tree after the holidays?
Depending on the materials used, break down the tree and store it in a dry, cool place. Use boxes or bags to keep everything organized.
3. Can I involve kids in the DIY process?
Absolutely! It’s a great way to engage children, but make sure to supervise them with any crafting tools.
4. What materials should I avoid for a DIY Christmas tree?
Avoid using materials that are flammable or too heavy. Also, steer clear of small objects that could pose a choking hazard for pets or young children.
Conclusion
Creating a DIY decor Christmas tree is not just about decorating; it’s about creating a space filled with joy, love, and cherished memories. Whether you choose to involve family and friends or indulge in some solitary crafting time, the result will surely be a masterpiece that reflects your creativity. Embrace the holiday spirit, and let your DIY journey begin!