Wall mirrors are more than just functional items; they serve as incredible decorative pieces that can transform any space in your home. In this article, we’ll explore everything you need to know to create your own decorative wall mirror, drawing from personal experiences and insights. Whether you’re a DIY novice or a seasoned artist, let’s dive into the wonderful world of DIY wall mirrors!
Why Create a DIY Decorative Wall Mirror?
Creating your own wall mirror has several benefits:
- Customization: You can design a mirror that perfectly fits your personal style and home decor.
- Cost-effective: DIY projects often come at a fraction of the cost of buying ready-made pieces.
- Creative Outlet: Crafting allows you to express your creativity and try new techniques.
Getting Started: Materials and Tools You’ll Need
Essential Materials
Here’s a list of materials that you’ll typically need:
- Mirror glass (pre-cut or large sheet)
- Backing board (wood or MDF)
- Adhesive (mirror adhesive or construction glue)
- Decorative elements (frames, paint, beads, etc.)
- Safety gear (gloves, goggles)
Tools Required
Having the right tools makes the process smoother:
- Measuring tape
- Utility knife or glass cutter
- Paintbrushes
- Drill (for hanging)
- Level (to ensure your mirror hangs straight)
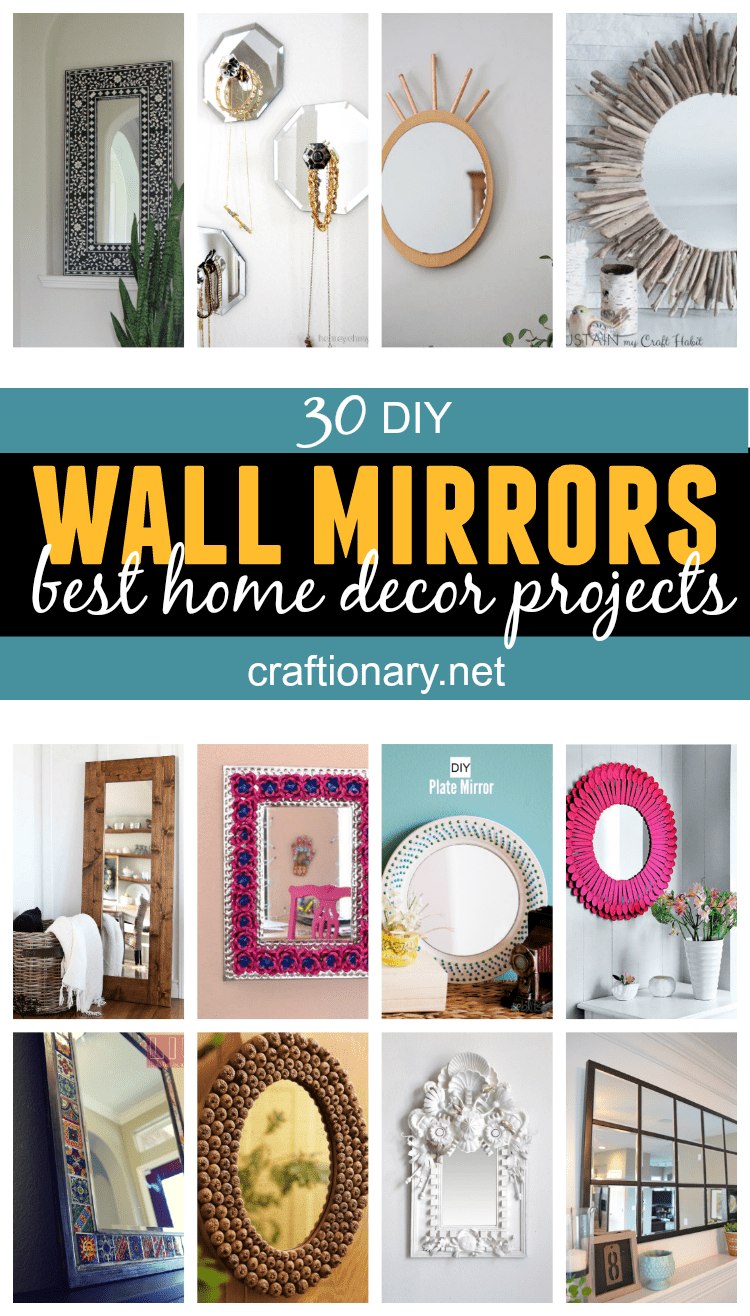
Choosing Your Mirror Style
Before you start crafting, it’s essential to decide what style you want. Here are a few popular options:
1. Rustic Wooden Mirror
This style is perfect for a cozy, farmhouse vibe. It typically features reclaimed wood and can be as simple or intricate as you want.

2. Geometric Mirror
Modern and edgy, geometric mirrors use sharp lines and angles to create a striking appearance that can serve as a focal point.
3. Vintage Shabby-Chic Mirror
This mirror style often incorporates distressed paint and ornate designs, making it an excellent choice for a romantic, vintage look.

Step-by-Step Guide to Making Your DIY Decorative Wall Mirror
Step 1: Measure and Cut
Begin by measuring the area where the mirror will be placed. Based on your desired mirror dimensions, cut the backing board to size using a utility knife or saw.
Step 2: Prepare Your Mirror
If you have a sheet of mirror glass, it may need to be cut to size. Always follow safety protocols when handling glass. Wear gloves and goggles, and use a glass cutter for clean edges.
Step 3: Attach the Mirror to the Backing Board
Apply a generous amount of adhesive to the backing board and carefully place the mirror on top. Ensure it is centered and press down evenly. Allow it to set according to the adhesive’s instructions.
Step 4: Add Decorative Elements
Here’s where your creativity can shine! You can paint the edges, add embellishments, or even frame your mirror with decorative moldings or beads. The choices are limitless!
Step 5: Prepare for Hanging
Once everything is dry, you can prepare your mirror for hanging. Use a drill to attach hanging hardware at the back, making sure it’s secure and weight is evenly distributed.

Step 6: Hang Your Mirror
Choose the right spot and use a level to ensure your mirror is straight before hanging. Secure it to the wall using wall anchors if necessary for added stability.
Pros and Cons of DIY Decorative Wall Mirrors
Pros
- Customization options are endless.
- Cost savings compared to store-bought mirrors.
- Satisfaction from creating something with your own hands.
Cons
- Time-consuming, especially for intricate designs.
- Requires some level of skill or patience.
- Potential for mistakes, especially when working with glass.
Comparison Table: DIY vs. Store-Bought Mirrors
| Feature | DIY Decorative Wall Mirror | Store-Bought Decorative Wall Mirror |
|---|---|---|
| Customization | High | Low |
| Cost | Less Expensive | More Expensive |
| Time Investment | High | Low |
| Skill Required | Moderate | None |
Personal Experiences and Tips
Having made several DIY mirrors myself, I can attest to the joy they bring when placed in your home. One memorable project involved using an old window frame as the base for my mirror, giving my hallway a charming vintage feel. Here are some tips from my experiences:
- Always measure twice to avoid mistakes.
- Don’t rush the drying process of adhesives; patience is key!
- Experiment with shapes and sizes; mirrors don’t always have to be rectangular.

FAQs About DIY Decorative Wall Mirrors
What type of mirror is best for DIY projects?
It is best to use a thin, lightweight mirror or mirror tiles for easier handling and installation.
Can I use an existing mirror instead of buying a new one?
Absolutely! Upcycling an old mirror is a fantastic way to create something new while saving costs.

What are some easy decorative ideas for a DIY mirror?
Consider using paint, washi tape, or even fabric to enhance the frame of your mirror.
How do I clean my DIY decorative wall mirror?
Use a gentle glass cleaner and a microfiber cloth to avoid scratches.
Final Words: Your DIY Journey Awaits
Creating a DIY decorative wall mirror is not just a craft project; it’s a journey into self-expression and creativity. With the right materials, tools, and a bit of patience, you can create a stunning piece that adds personality to your space. So gather your tools, put on your creative hat, and start crafting your masterpiece!