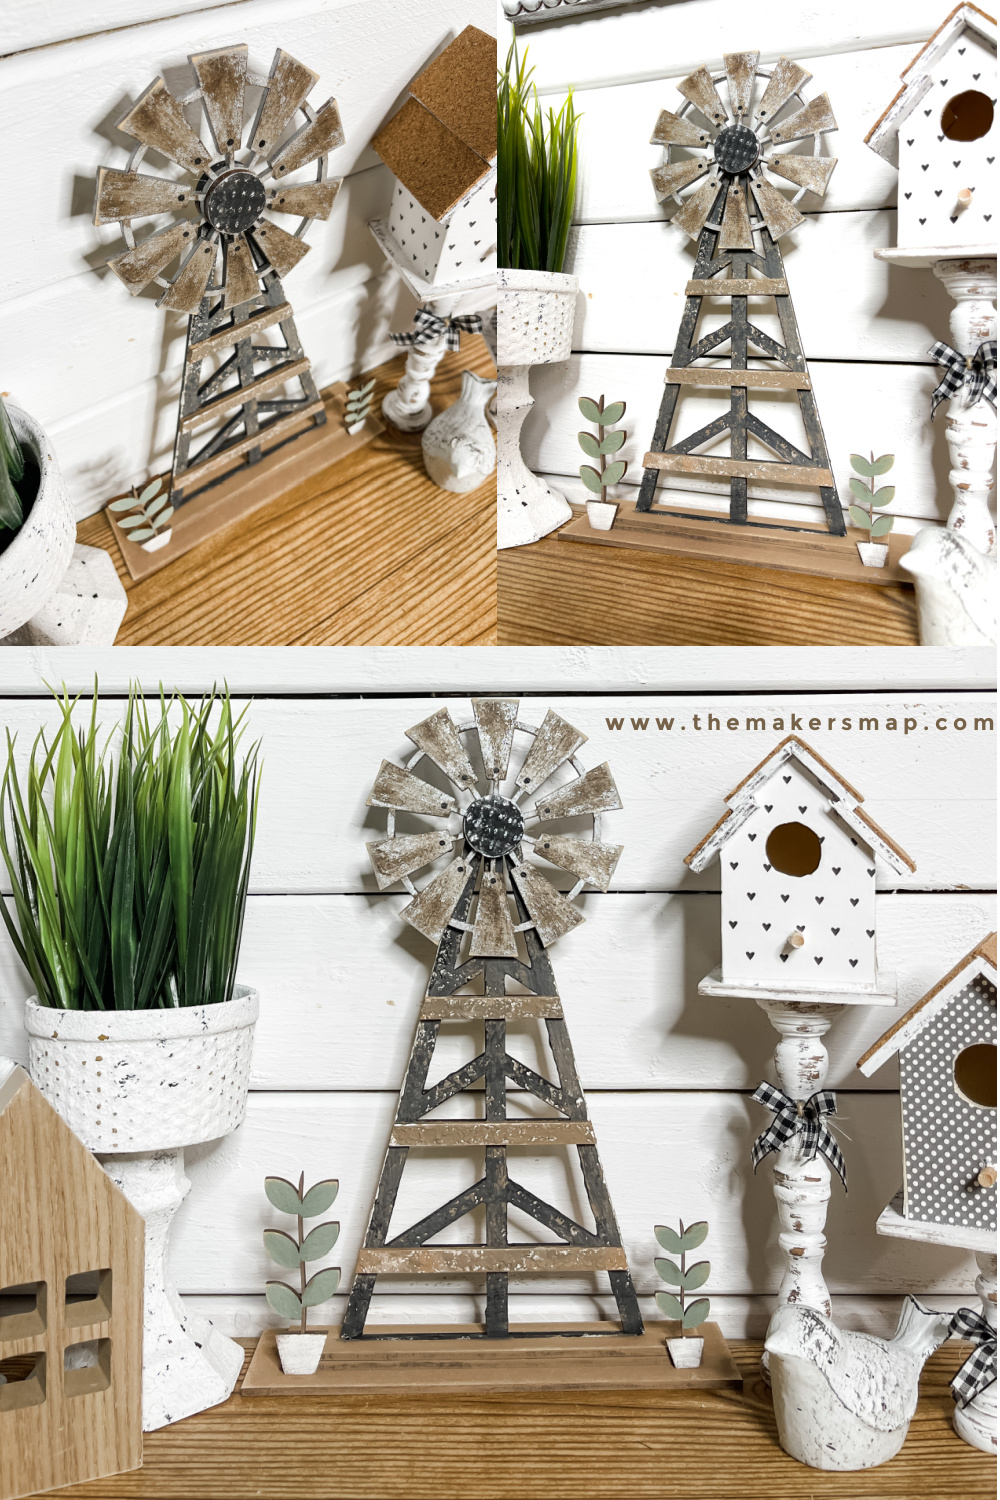
Have you ever gazed at a charming windmill in a garden or a quaint village and wished you could bring that magic into your own space? Well, you’re in luck! This guide will walk you through the delightful process of crafting your own decorative windmill, adding a whimsical touch to your garden or backyard.
Why Choose a DIY Decorative Windmill?
Creating a DIY decorative windmill offers numerous advantages:
- Customizable Design: Tailor the windmill to match your style.
- Cost-Effective: Building your own can save money compared to purchasing a ready-made version.
- Therapeutic Activity: Working on DIY projects can be a relaxing and fulfilling hobby.
In this guide, I will share my personal experiences, tips, and tricks, making it easier for you to embark on your DIY journey.
Materials You’ll Need
Essential Supplies
Before diving into the project, gather the following materials:
- Wooden boards: Choose weather-resistant wood like cedar or pine.
- Plywood: For the main body of the windmill.
- Paint: Outdoor acrylic paint or wood stain for a lasting finish.
- Wood screws and nails: For assembly.
- Wood glue: For added stability.
- Sandpaper: To smooth rough edges.
- Measurements tools: Ruler, tape measure, and protractor.
- Power tools: Saw, drill, and sander (if available).
Optional Decorative Elements
To enhance the aesthetic appeal, consider these decorative items:
- Fairy lights
- Garden figurines
- Colorful flowers or plants around the base
Step-by-Step Instructions
1. Planning Your Design
The first step is to sketch your windmill design. Consider factors like scale, style, and color. Here’s a simple outline:
- Height: 3-5 feet is typical for garden windmills.
- Blade Shape: Square or rectangular blades work well.
- Color Scheme: Go for bright colors to make it pop or a more muted palette for subtle elegance.
2. Cutting the Wood
Using your sketch as a guide, cut the wooden boards and plywood into the necessary shapes. Don’t forget to wear safety gear when using power tools!
Tips for Cutting
- Make straight cuts for clean edges.
- Measure twice, cut once.
3. Assembling the Windmill Structure
Assemble the main body of the windmill using wood glue and screws. Ensure everything is secure and sturdy. Here’s a basic structure:
- Create a square base.
- Attach the main pole vertically for support.
- Build the blade framework on top of the main body.
4. Crafting the Windmill Blades
The blades are essential for capturing the wind, so pay extra attention to their design. Cut and assemble your blades and ensure they can rotate freely.
Blade Design Tips
- Angle the blades for maximum wind capture.
- Paint the blades in contrasting colors for visual interest.

5. Painting and Finishing Touches
Once assembled, sand down any rough edges, then paint your windmill. Allow it to dry completely before placing it outdoors.
6. Installing Your Windmill
Choose a suitable location in your garden or yard. Ensure the area receives adequate wind for the windmill to function. Secure the base firmly to prevent tipping.

Maintenance Tips for Your Decorative Windmill
To keep your windmill looking fresh and charming, follow these maintenance tips:
- Inspect for any signs of wear or damage regularly.
- Repaint or touch up as needed, especially after harsh weather conditions.
- Clear away debris or leaves that may obstruct the blades.
Pros and Cons of DIY Decorative Windmills
Like any project, there are advantages and disadvantages. Here’s a brief overview:
| Pros | Cons |
|---|---|
| Customized to your taste | Time-consuming to build |
| Cost-effective | Requires some DIY skills |
| Provides a therapeutic outlet | Weatherproofing may be necessary |

Common Questions About DIY Decorative Windmills
What materials can I use for my windmill?
While wood is the most common material, you can also use PVC, metal, or recycled materials for a unique twist!
How big should my windmill be?
The size depends on your available space. A height of 3-5 feet is usually ideal for gardens.

Can I use my windmill indoors?
Absolutely! Indoor windmills can serve as decorative pieces, though you’ll need to fix the blades for aesthetic purposes.
Do I need special tools to build a windmill?
Basic tools like a saw, drill, and sander will suffice. However, more advanced tools can make the process easier.

How can I protect my windmill from the elements?
Applying a weatherproof sealant or paint can help protect your windmill from rain and UV damage.
Conclusion: Create Your Own Whimsical Oasis
Building a DIY decorative windmill is an engaging project that can enhance your garden’s beauty and charm. Whether you opt for bright colors or a rustic finish, your creativity will make your windmill special. I hope this guide inspires you to create something unique for your space!
So gather your materials and let the fun begin—your decorative windmill awaits!