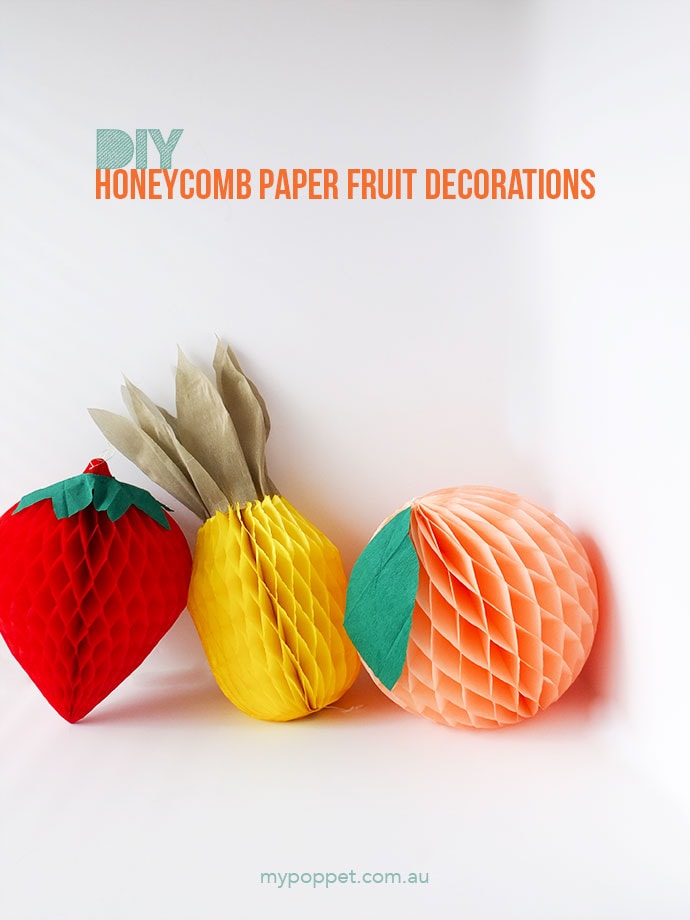
When it comes to adding a special touch to any celebration, DIY honeycomb decorations are a crowd favorite. They are simple, affordable, and bring an element of charm to parties, weddings, and home decor. In this article, we’ll explore everything you need to know about making your own honeycomb decorations, from materials and techniques to tips and inspiration to ignite your creativity.
Why Choose Honeycomb Decorations?
Honeycomb decorations have gained popularity for several reasons:
- Versatile: Suitable for any occasion from birthdays to holidays.
- Customizable: You can choose colors and sizes to fit your theme perfectly.
- Eco-friendly: Many materials used can be recycled or are biodegradable.
- Budget-friendly: They can be created using inexpensive materials.
Materials You’ll Need for DIY Honeycomb Decorations
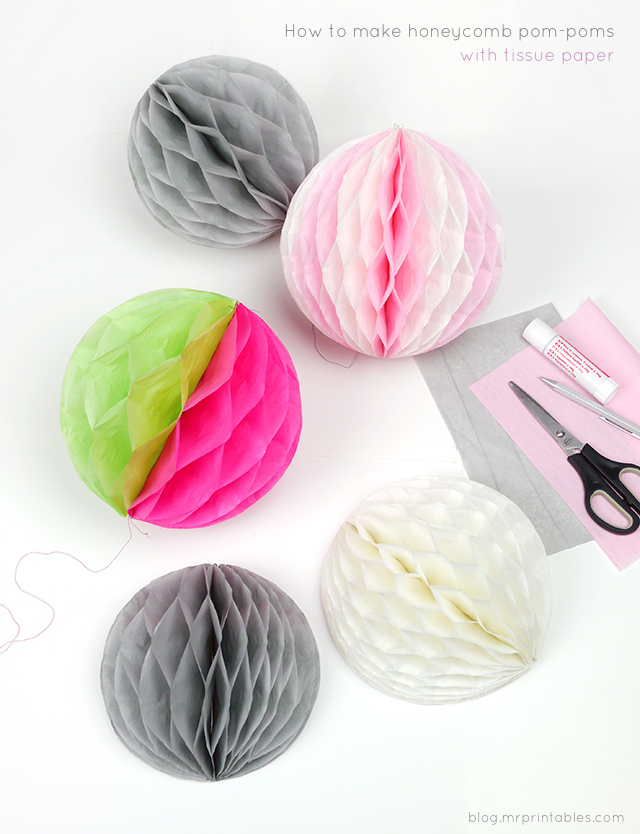
Creating honeycomb decorations is a fun project that requires minimal materials. Here’s a list to get you started:
- Colored tissue paper or lightweight paper
- Scissors
- Glue stick or double-sided tape
- String or fishing line (for hanging)
- Decorative items (glitter, stickers, etc.) for embellishments
Step-by-Step Guide to Making Honeycomb Decorations
Step 1: Gather Your Materials
Before you begin, make sure you have all your materials organized. This helps streamline the process and makes it enjoyable.
Step 2: Choose Your Shape
Honeycomb decorations can be made in various shapes such as circles, hearts, or even customized designs. Decide on the shape you want to create.
Simple Shapes for Beginners
| Shape | Difficulty Level |
|---|---|
| Circle | Easy |
| Heart | Medium |
| Star | Medium |

Step 3: Cut the Paper
Cut multiple layers of tissue paper into your chosen shape. The more layers you use, the fuller the decoration will look.
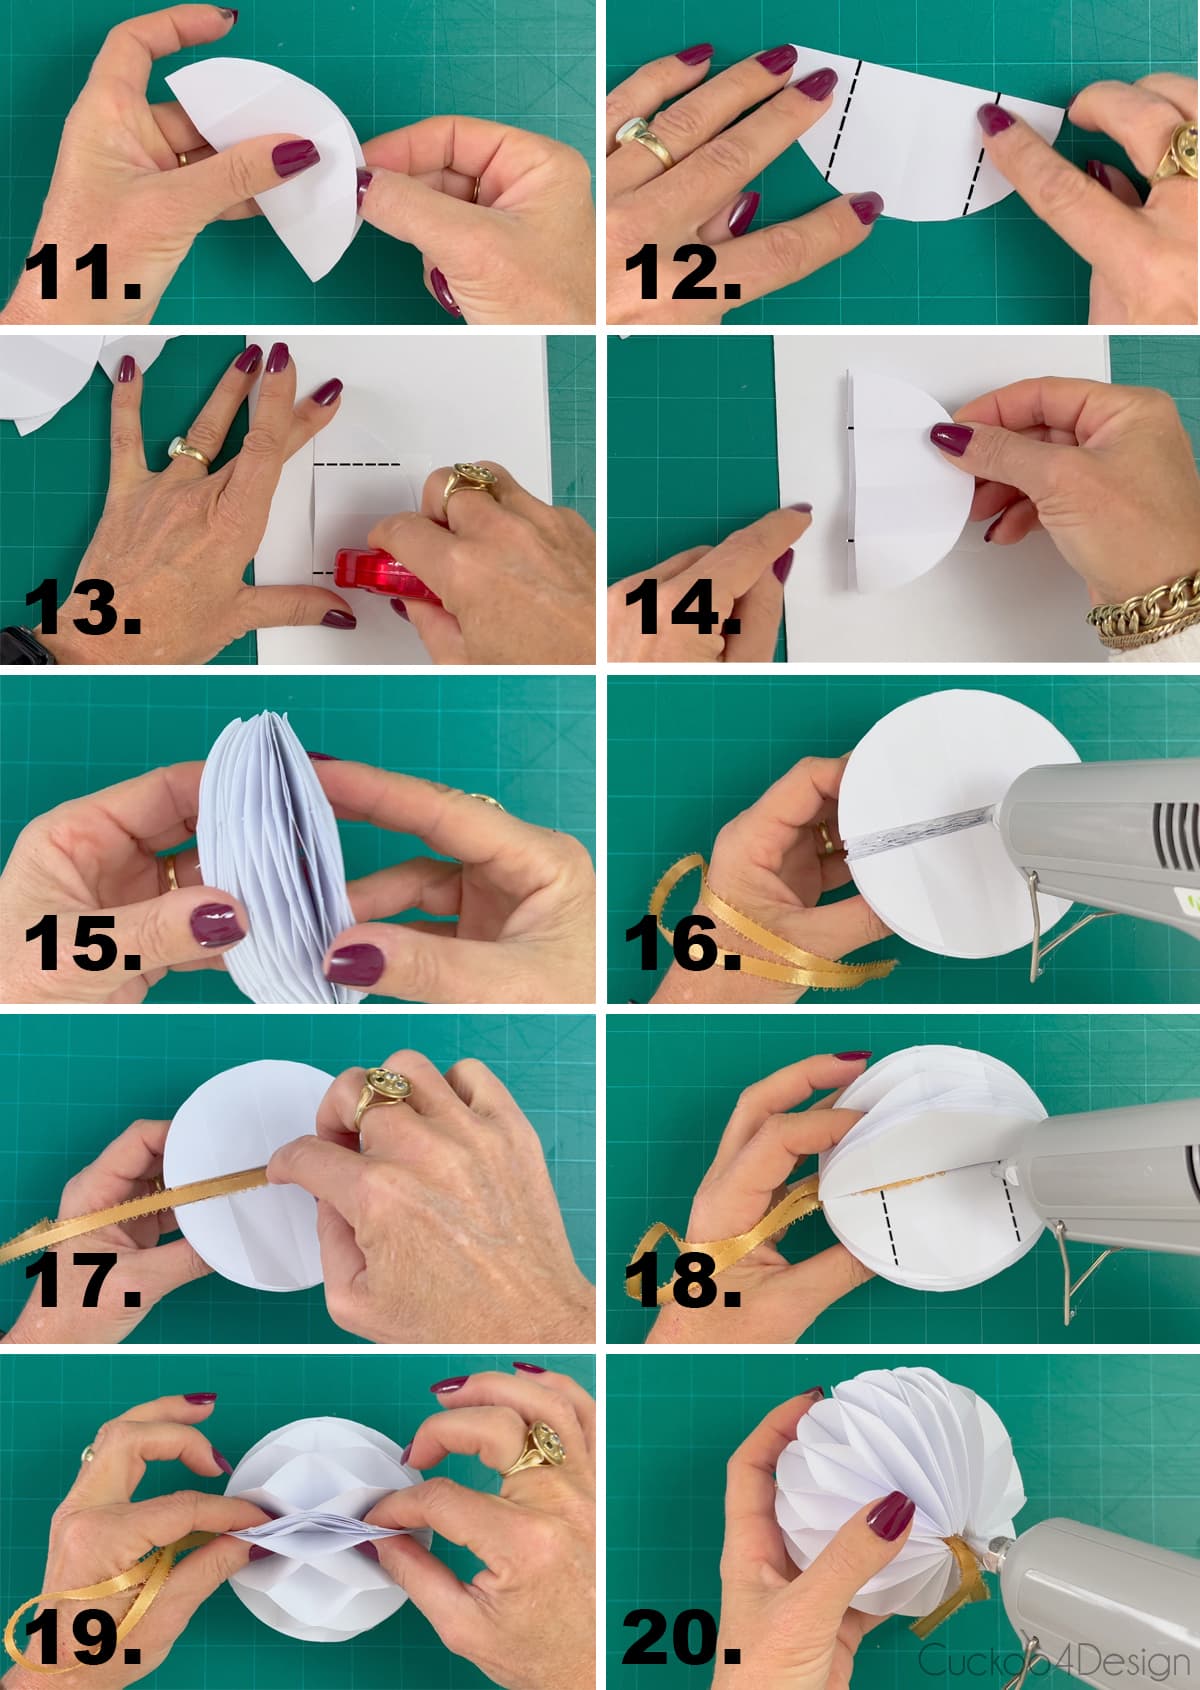
Step 4: Fold and Glue
Once you have your shapes ready, fold the edges of each layer slightly and apply a small amount of glue or tape between the layers.

Step 5: Open Up the Honeycomb
Carefully pull apart the layers to create the honeycomb effect. This step is where your decoration truly takes shape.
Step 6: Add String for Hanging
If you wish to hang your decoration, attach a piece of string or fishing line at the top for easy display.
Step 7: Personalize and Finish
Feel free to add embellishments like glitter or stickers for extra flair. This is where you can really let your creativity shine!
Tips for Successful Honeycomb Decorations
1. Experiment with Colors and Patterns
Mix and match colors or use patterns to create unique designs that stand out. Consider your event’s color scheme to make cohesive decorations.
2. Use Different Sizes
Combine different sizes of honeycomb decorations to create dimension and interest in your display.
3. Create a Honeycomb Garland
For a more dramatic effect, string multiple honeycomb shapes together to create a garland. This can be hung across walls, doorways, or tables.
DIY Honeycomb Decoration Ideas
Birthday Parties
Use bright, colorful honeycomb decorations to create a festive atmosphere. Hang them in clusters above the cake or food table for impact.
Weddings
For a wedding, consider using soft pastels or metallic colors. Honeycomb decorations can add texture to the backdrop or be incorporated into table settings.

Holiday Decor
For Christmas or Halloween, customize your honeycomb shapes to match the theme—think snowflakes for winter or pumpkins for Halloween!
Pros and Cons of DIY Honeycomb Decorations
Pros
- Cost-effective
- Easy to make and customize
- Environmentally friendly options available
- Fun and engaging activity
Cons
- Time-consuming, depending on complexity
- Delicate materials may tear easily
- May require several attempts to perfect the technique
Frequently Asked Questions (FAQs)
What material is best for honeycomb decorations?
Lightweight tissue paper is ideal due to its vibrant colors and ease of manipulation, but you can also use craft paper for a sturdier option.
How can I make my honeycomb decorations more durable?
Using thicker paper or coating your decorations with a light spray of fixative can help them hold up better over time.
What are some alternative methods to create honeycomb effects?
You can experiment with fabric, felt, or even cardboard. These materials may offer different textures and appearances for your decorations.
Can I store my honeycomb decorations for future use?
Yes! If stored properly, honeycomb decorations can be reused. Just be sure to keep them flat in a dry place to prevent damage.
Inspiration from Personal Experience
When I first attempted to make honeycomb decorations for my daughter’s birthday party, I was amazed at how quickly they transformed our space. With just a few hours and minimal supplies, we created a vibrant, fun atmosphere that everyone loved. It became a cherished memory, and now I look forward to making them for every festive occasion!
Conclusion
DIY honeycomb decorations offer a simple and enjoyable way to enhance your celebrations. With endless customization options, they can fit any event or theme. So gather your materials, unleash your creativity, and make your next gathering unforgettable with beautiful honeycomb decorations!